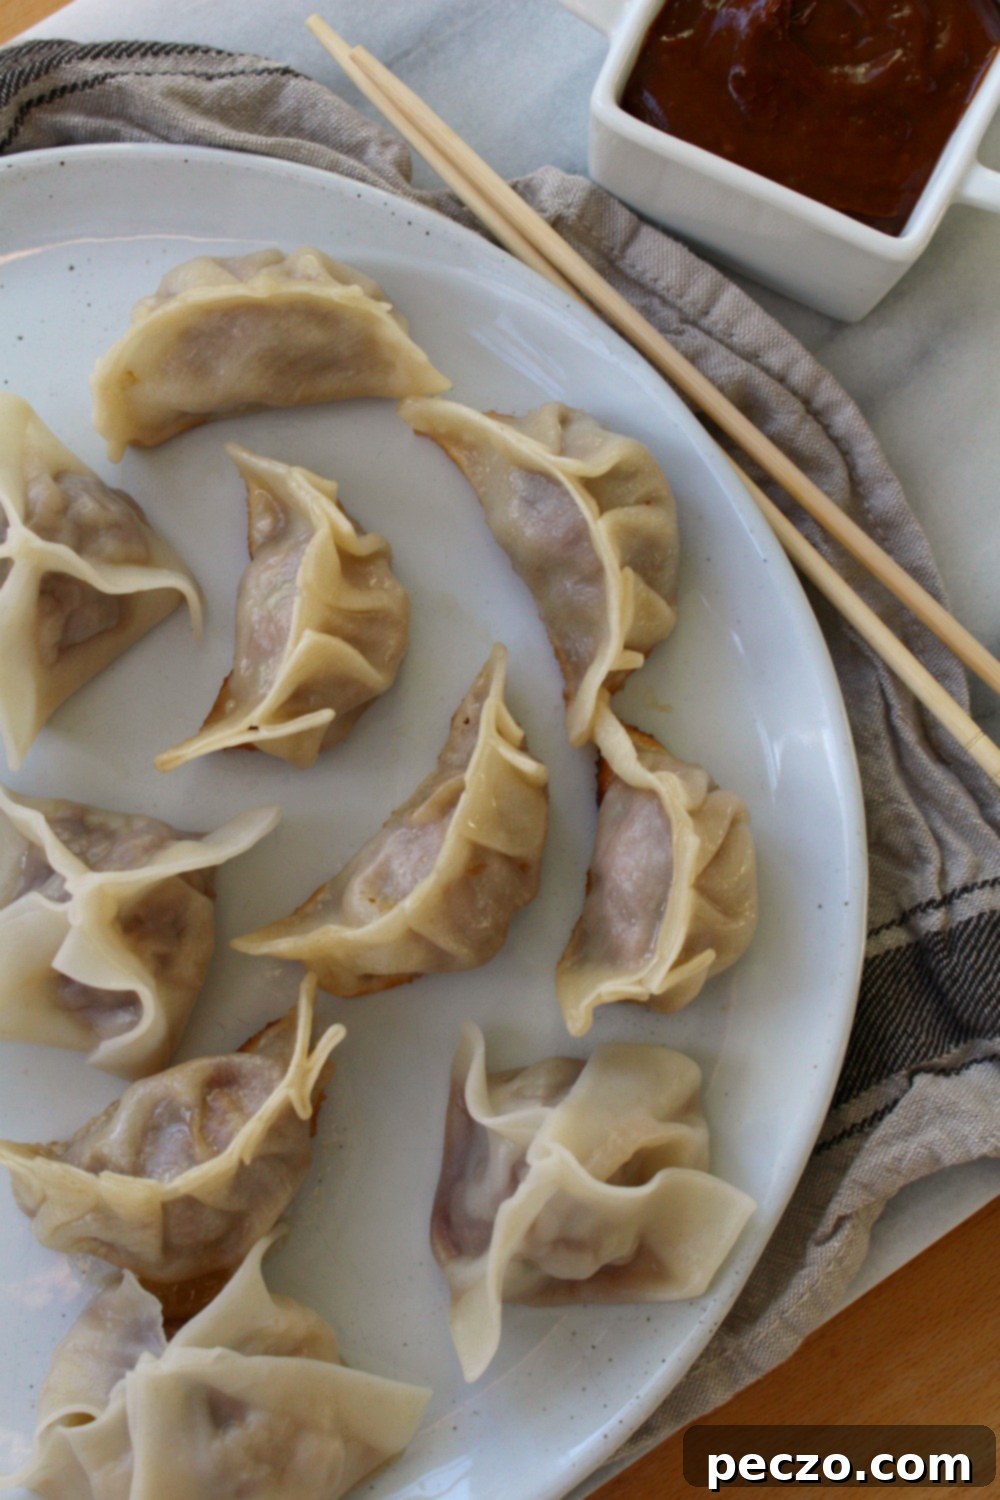
Mastering Homemade Dumplings and Potstickers: A Family-Friendly Guide to Deliciousness
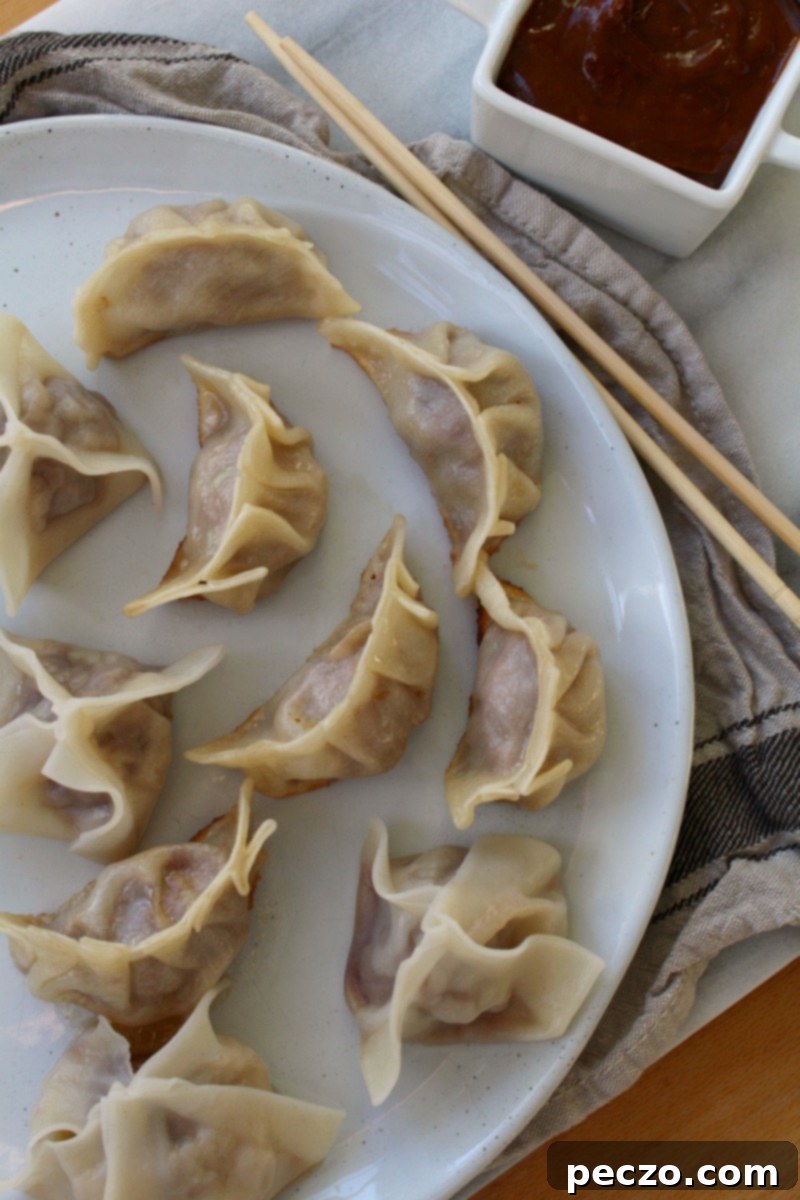
There’s something incredibly comforting and satisfying about homemade dumplings. While often associated with festive occasions like Lunar New Year, we believe that the joy of making and eating dumplings should be a year-round affair. It’s not just about the delicious outcome; it’s a delightful activity that brings people together. Our kitchen, for instance, frequently transforms into a dumpling assembly line, a tradition that started long ago with our loved ones. It’s a wonderful way to connect, share stories, and create lasting memories.
One of the most common misconceptions about making dumplings from scratch is that it’s overly complicated or requires expert culinary skills. We’re here to tell you that’s simply not true! The process is far less daunting than it looks, offering a fantastic opportunity to spend quality time with family or friends. Little hands, in particular, often possess a natural knack for manipulating the soft dough of the wrappers, making it a perfect activity for kids. The beauty of homemade dumplings lies in their forgiving nature: whether you fold them perfectly like a seasoned chef or create uniquely shaped parcels, as long as they’re sealed, they will cook up beautifully and taste absolutely wonderful. In fact, children often surprise us with their imaginative, tiny dumpling creations that you might never have envisioned yourself.
Crafting the Perfect Dumpling Filling: Flavors and Variations
The heart of any great dumpling lies in its filling, and the possibilities are truly endless. Traditionally, ground pork is a very common choice, celebrated for its rich flavor and tender texture. However, you’re absolutely not limited to it. Feel free to experiment with ground beef, chicken, turkey, or even finely chopped shrimp for a delightful seafood twist. For those seeking vegetarian options, a mixture of finely minced mushrooms, firm tofu, cabbage, or a medley of your favorite vegetables works wonderfully.
The key to a flavorful filling is the seasoning. A typical base includes a generous splash of soy sauce, finely chopped green onions, and often some fresh cilantro (if you’re a fan – don’t discard the stems, as they add great flavor!). A drizzle of sesame oil, freshly grated ginger, and minced garlic are essential for that classic aromatic profile. To brighten the flavors, a splash of rice wine or vinegar can be added, and often, a pinch of sugar helps to balance everything out. For added depth and texture, consider incorporating finely chopped and sautéed mushrooms or bok choy into your mixture. These ingredients add a fantastic umami boost and a pleasing crunch.
Unlike making meatballs, where the binding of the mixture is crucial, you don’t need to stress about your dumpling filling holding together perfectly on its own. The wrapper itself will act as the perfect bundle, encasing all those delicious ingredients. This flexibility means you can be more adventurous with your ingredient ratios and textures.
Choosing and Working with Dumpling Wrappers
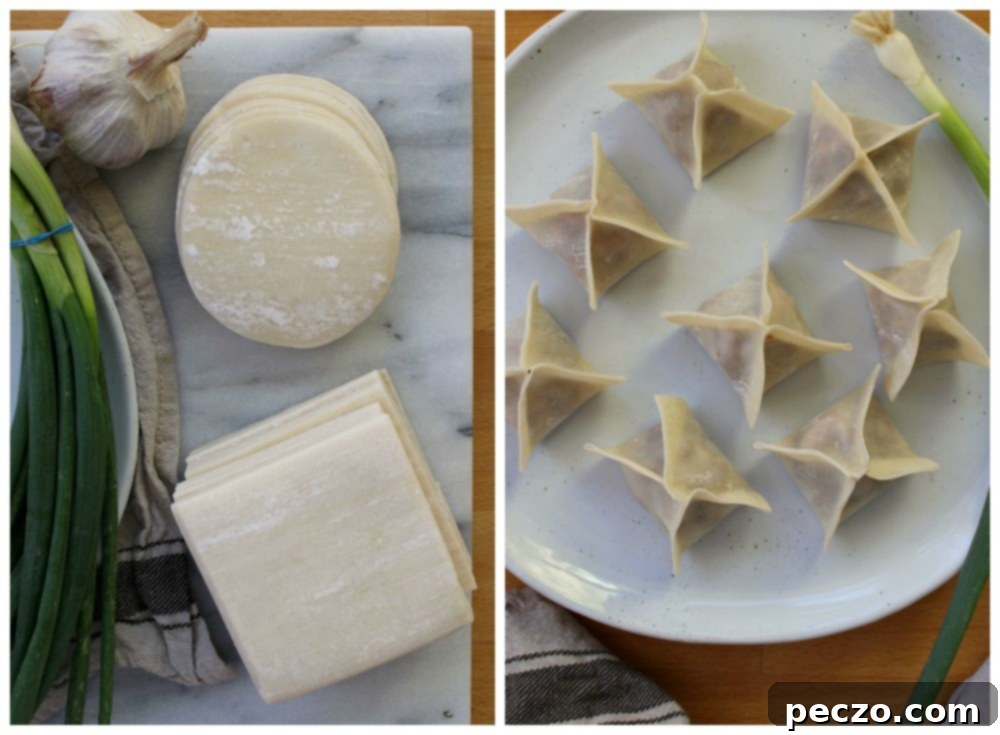
The good news is that high-quality dumpling wrappers are readily available. Most mainstream grocery stores now stock them, but for a wider and often cheaper selection – especially if you’re looking for fresh wrappers – a visit to your local Asian market is highly recommended. You might find them labeled as “wonton wrappers,” “gyoza wrappers,” or simply “dumpling wrappers.” Both round and square shapes are perfectly fine, depending on your preferred sealing method and the aesthetic you’re aiming for.
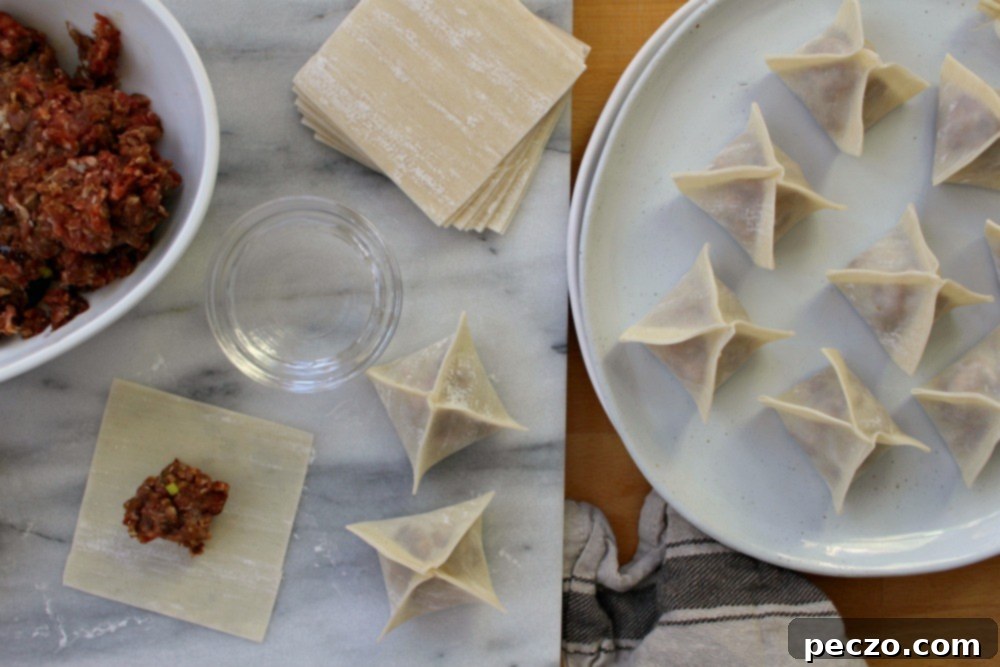
Don’t let the thought of sealing intimidate you. These wrappers are surprisingly easy to work with and, unlike some other thin pastry doughs, they don’t dry out in a matter of minutes, giving you ample time to perfect your technique. The basic process is straightforward: spoon a modest amount of filling into the center of the wrapper. Then, moisten the edges by running a finger dipped in water around the entire perimeter. This creates a seal that will hold your dumpling together during cooking.
Popular Sealing Techniques:
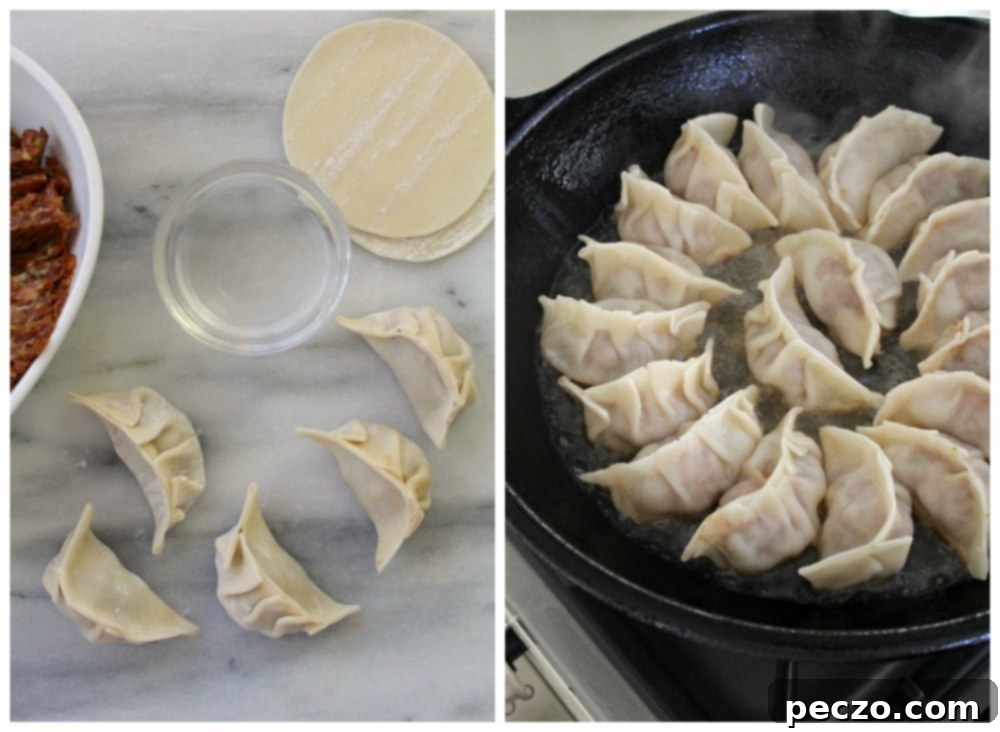
- Simple Half-Moon: The easiest method. Fold the wrapper in half, pressing the edges firmly together to form a crescent shape, much like a pierogi.
- Basic Pleat: For a slightly more refined look and added stability, fold the wrapper in half, then create a few small pleats along one side of the seam, pressing them against the unpleated side. This creates a gentle curve. For a visual guide, you can refer to helpful tutorials like this example of pleating.
- Four-Corner Tent (for square wrappers): Bring all four corners of a square wrapper up to meet in the middle, pressing them together. Then, firmly pinch and seal the seams along the sides to create a small “tent” or “X” shape on top. This method is not only easy but can also be quite meditative and satisfying, especially when you need a little focused distraction.
Experiment with different styles! The beauty is that as long as your filling is securely enclosed, your dumplings will be delicious. This hands-on process is also fantastic for social gatherings; instead of just meeting for coffee, invite friends over for a dumpling-making session. You’ll be amazed at how many dumplings you can assemble together, perfect for filling your freezer for future quick meals.
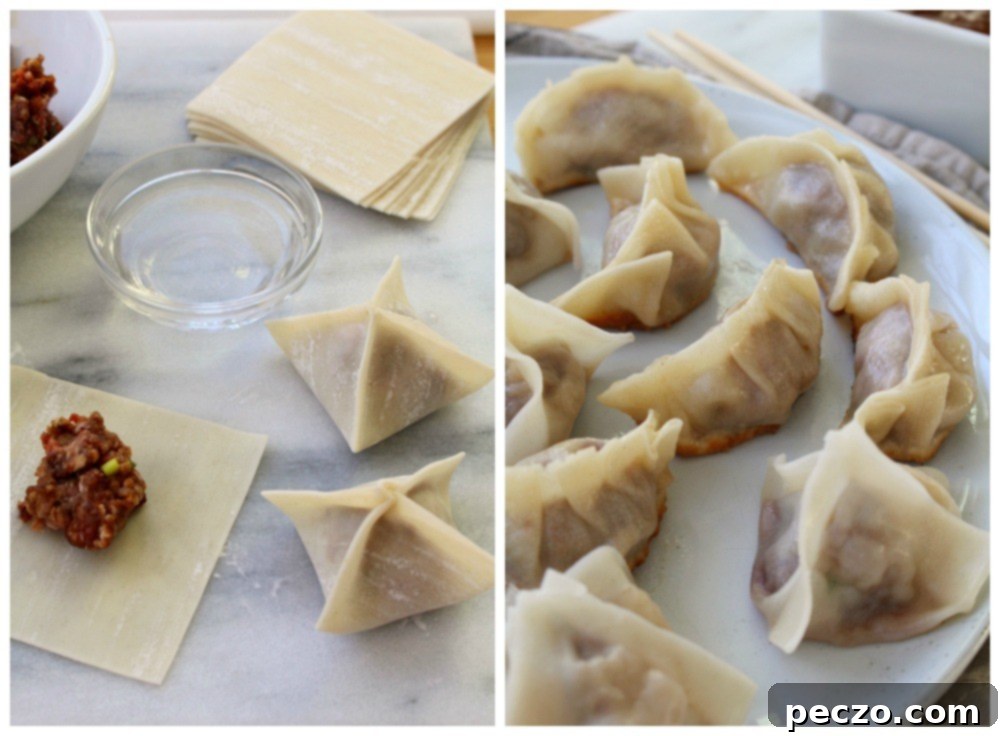
Cooking Your Homemade Dumplings: Boiling vs. Pan-Frying
Once your dumplings are assembled, you have a couple of primary cooking methods to choose from, each offering a distinct texture and flavor profile. We often prepare a batch of classic pork potstickers for their crispy bottoms and a batch of beef dumplings that we boil, serving them with a delicious peanut sauce – a popular “thing” in Montréal since the 80s or 90s!
1. Boiled Dumplings: Quick, Tender, and Perfect with Peanut Sauce
Boiled dumplings are incredibly simple and result in a soft, tender wrapper and juicy filling. They are particularly well-suited for lighter fillings or when you prefer a less oily preparation. For the famous Montréal-style peanut butter dumplings, you simply boil them. Bring a large pot of salted water to a rolling boil. Carefully drop the dumplings into the boiling water, making sure not to overcrowd the pot. They will sink to the bottom initially. Once they float to the surface, let them cook for another 3-4 minutes, or until the filling is cooked through. You can usually tell by the wrapper looking slightly translucent and plump. Remove them with a slotted spoon and serve immediately with your favorite peanut sauce.
2. Pan-Fried Potstickers: The Crispy, Golden Standard
Potstickers, despite their name, don’t actually stick to your pot when cooked correctly; rather, they develop a wonderfully deep golden, crispy crust on the bottom. This method offers a delightful textural contrast between the crispy base and the tender steamed top. While it involves a couple more steps than boiling, it’s very straightforward once you get the hang of it, and a large batch can be cooked in under 10 minutes.
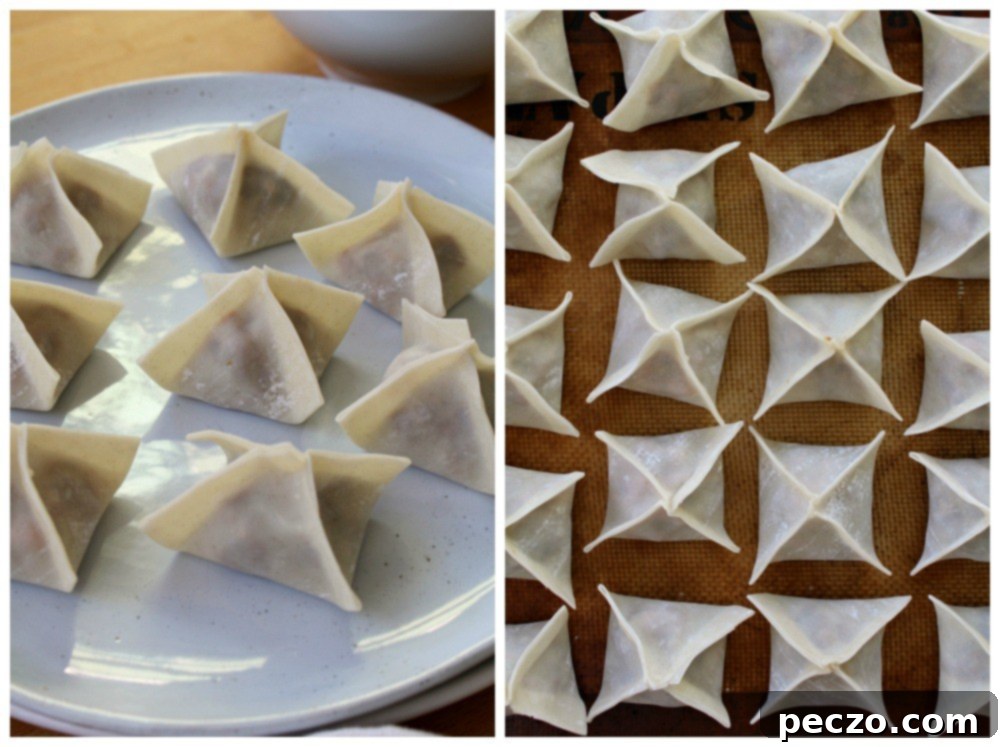
We highly recommend using a cast iron skillet for potstickers, as it holds and conducts heat exceptionally well, ensuring an even crust. Here’s how to achieve perfection:
- Sear: Heat a tablespoon or two of your preferred cooking oil (such as vegetable, canola, or sesame oil) in a large skillet over medium-high heat until shimmering. Carefully arrange the dumplings in the hot skillet, seam-side up, in a single layer. Make sure not to overcrowd the pan, as this can lower the temperature and prevent proper browning. Let them cook undisturbed for 2-3 minutes, or until their bottoms turn a beautiful deep golden brown. This is where the “potsticker” magic happens!
- Steam: Once the bottoms are golden, carefully pour about ½ cup of water or chicken/vegetable stock into the skillet. Be cautious, as it will splatter and create steam immediately. Quickly cover the skillet with a lid (or foil if your pan doesn’t have one). Reduce the heat to medium-low and let them steam for about 5-7 minutes. The intense steam will thoroughly cook the filling and the top portion of the wrapper.
- Crisp: After the steaming period, remove the lid. Increase the heat back to medium-high and allow any remaining excess moisture to cook off. Continue to cook for another 1-2 minutes until the bottoms are re-crisped and any liquid has evaporated.
That’s it! Pan-fried potstickers are truly a crowd-pleaser. In our household, the boys would be absolutely thrilled if we served them every single day for dinner. They are incredibly satisfying and surprisingly quick to make once you get into the rhythm.
Essential Dipping Sauces and Serving Suggestions
No dumpling experience is complete without a delicious dipping sauce. While your dumplings are cooking, you can quickly whip up a simple yet flavorful sauce. A classic combination involves combining soy sauce, rice vinegar, a touch of sugar, and a pinch of chili flakes (for a little kick) in a small jar. Shake it vigorously to combine, and you have a perfect accompaniment. Feel free to adjust the ratios to your taste, adding more spice or a squeeze of lime juice for brightness.
For boiled dumplings, especially the Montreal-style, a creamy peanut sauce is a must. You can find many recipes online or use a good quality store-bought version as a base, enhancing it with a little lime, chili, and ginger. Beyond the sauce, consider serving your dumplings alongside a simple side dish like steamed bok choy with garlic, a light cucumber salad, or plain steamed rice to complement the rich flavors.
Make-Ahead Tips and Freezing for Future Enjoyment
One of the greatest advantages of making dumplings at home is the ability to prepare a large batch and freeze them for later. This makes for incredibly convenient weeknight meals or spontaneous entertaining. To freeze fresh, uncooked dumplings, arrange them in a single layer on a parchment-lined baking sheet, ensuring they don’t touch each other. Place the baking sheet in the freezer for about 1-2 hours, or until the dumplings are solid. Once frozen solid, transfer them to an airtight freezer bag or container. This prevents them from sticking together. Frozen dumplings can be cooked directly from the freezer; simply add a few extra minutes to the boiling or steaming time.
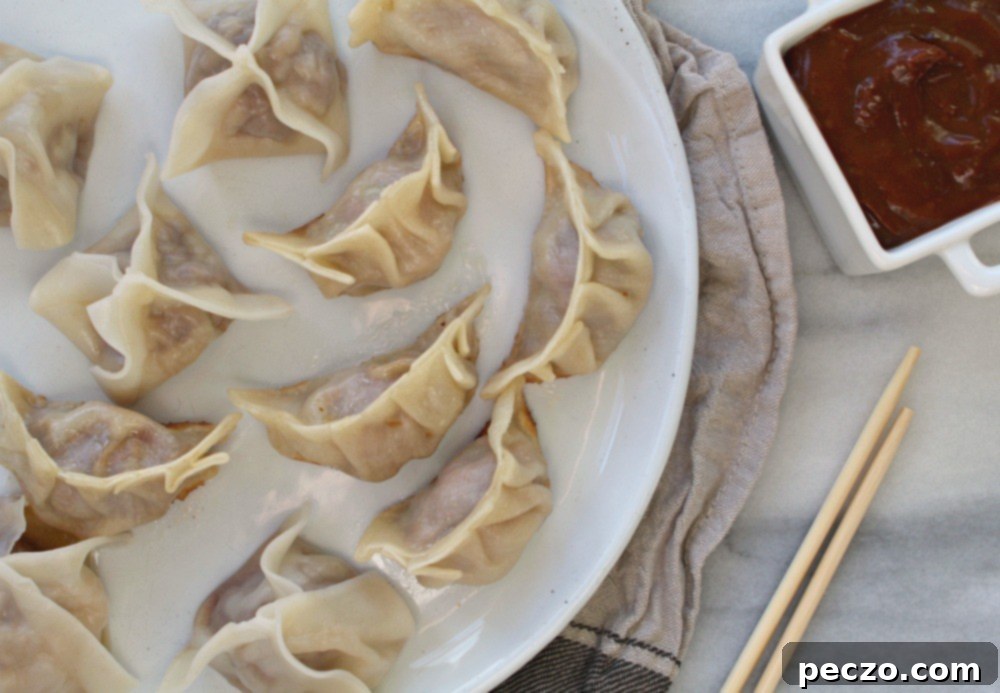
Conclusion: Embrace the Joy of Homemade Dumplings
Making dumplings at home is more than just cooking; it’s an experience. It’s a chance to experiment with flavors, engage in a fun and meditative activity, and create delicious, wholesome food that brings smiles to faces. Whether you opt for the tender embrace of a boiled dumpling with peanut sauce or the satisfying crunch of a pan-fried potsticker, you’re embarking on a culinary journey that is both rewarding and incredibly tasty. So, gather your ingredients, call your loved ones, and start pinching – your homemade dumpling adventure awaits!
