The Easiest Homemade Twinkie Cake Recipe: A Nostalgic Birthday Treat for All Ages
The Quest for the Perfect (Easy) Birthday Cake
As a parent, I count myself truly fortunate to have a son who doesn’t demand elaborate, Pinterest-perfect creations for his birthday. There was one memorable exception, of course. When he turned five, his heart was set on a meticulously crafted How to Train Your Dragon cake. My husband, Mike, and I dedicated an entire night to painstakingly assemble whatever specific dragon design he envisioned, using layers of cake and generous dollops of frosting. We were undeniably proud of our efforts, yet the final result, if we’re being honest, bore a striking resemblance to something a talented five-year-old might have sculpted themselves.
The moment of truth arrived as we presented our glorious, green-hued dragon to a table full of eager kindergarteners. Before anyone had even touched, let alone tasted, the cake, one particularly perceptive child declared with a wrinkle of their nose, “It tastes like toothpaste!” A collective gasp of horror rippled through the young crowd at the mere suggestion of mint-flavored cake. Despite our fervent protests that it was simply green, not minty, not a single child dared to take a bite. It was a lesson learned: sometimes, simplicity triumphs over ambitious, multi-tiered confectionary dreams.
Why a Homemade Twinkie Cake? Celebrating Substance Over Appearance
Thankfully, my son, W, matured into a connoisseur of “substance over appearance,” a trait I sincerely hope will serve him well in all aspects of life. For me, it’s a huge relief, as my patience for intricate cake decorating is notoriously thin. Adding another layer of complexity, his birthday always falls during the bustling August long weekend. This means his actual birthday is usually spent in the tranquil embrace of Tofino. My enthusiasm for elaborate baking plummets when I’m so tantalizingly close to indulging in fresh fish tacos and the soothing sounds of the beach. The days leading up to the trip are invariably a frantic scramble, wedged between the chaos of Stampede season and the desperate rush to conclude weeks of work in mere days, all in anticipation of our escape.
Last year, we opted for a chocolate “monstrosity” layered with Oreos and Kit Kat bars, then generously smothered in sprinkles – truly a ten-year-old’s dream come true! This year, however, a new obsession has taken hold: Twinkies. This culinary fascination sparked an idea: why not transform the beloved golden snack into a full-sized cake? What I discovered was a surprisingly easy and incredibly satisfying process, resulting in a cake that perfectly captures the nostalgic essence of its inspiration. This homemade Twinkie cake became an instant hit, proving that sometimes the simplest ideas yield the most delightful results.
Crafting the Perfect “Twinkie” Flavor: Cake & Filling
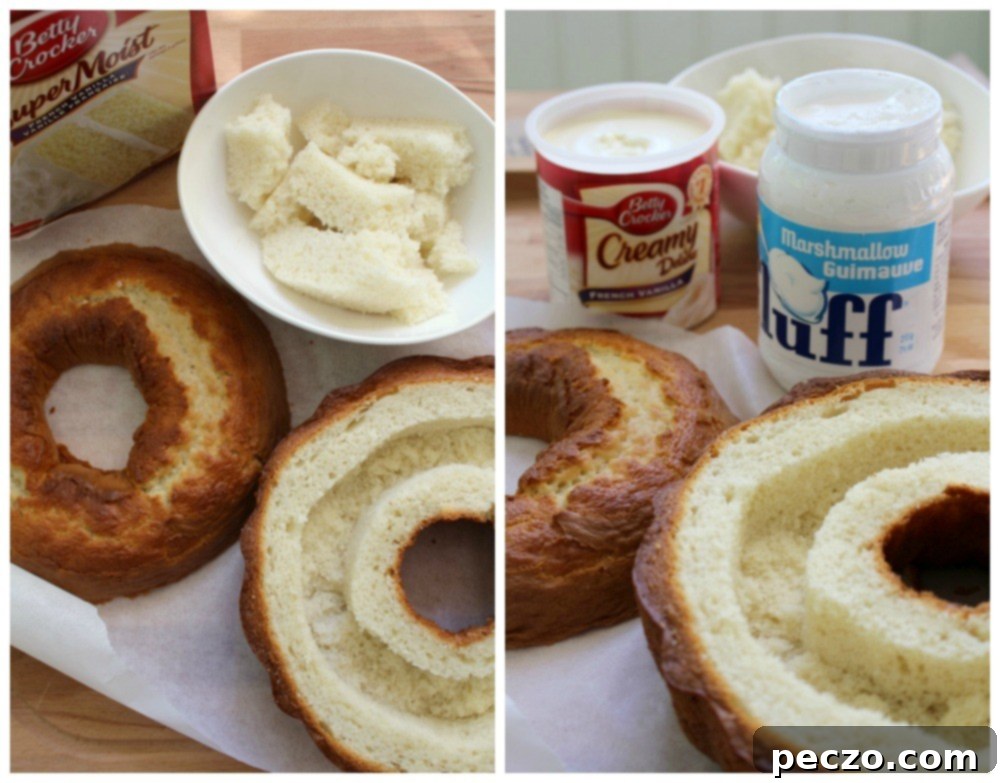
Some might argue that a true baker would insist on a yellow cake from scratch. And while I admire that dedication, we’re talking about recreating the essence of a Twinkie here, aren’t we? The goal was authenticity of flavor, not a culinary endurance test. I reasoned that a Betty Crocker French Vanilla cake mix would flawlessly do the trick, providing that distinct, slightly artificial, yet utterly comforting, vanilla cake flavor so characteristic of a Twinkie. Opting for a quality cake mix not only saved precious time but also ensured a consistent base that truly tasted “authentic” to our nostalgic snack. After all, if it’s all made from scratch, is it truly a Twinkie-inspired cake, or just a really good vanilla cake?
The filling was the next crucial component. The original Twinkie cream is a unique enigma – not quite marshmallow, not quite traditional cream, and certainly not a standard frosting. My solution was a stroke of genius (if I do say so myself): I took a tub of French vanilla frosting and, with a few vigorous whips, transformed its texture. Then, I gently folded in half a jar of Marshmallow Fluff. The result? Pure magic. The combination achieved that elusive, creamy, slightly airy, and distinctly sweet filling that perfectly mimics the iconic snack. Bingo! This concoction was an eleven-year-old’s dream, and let’s be honest, probably a good many adults’ dreams too. It perfectly balanced ease of preparation with the unmistakable taste we were aiming for, proving that summertime baking should indeed be easy and enjoyable.
The Bundt Cake Advantage: A Creative and Versatile Approach
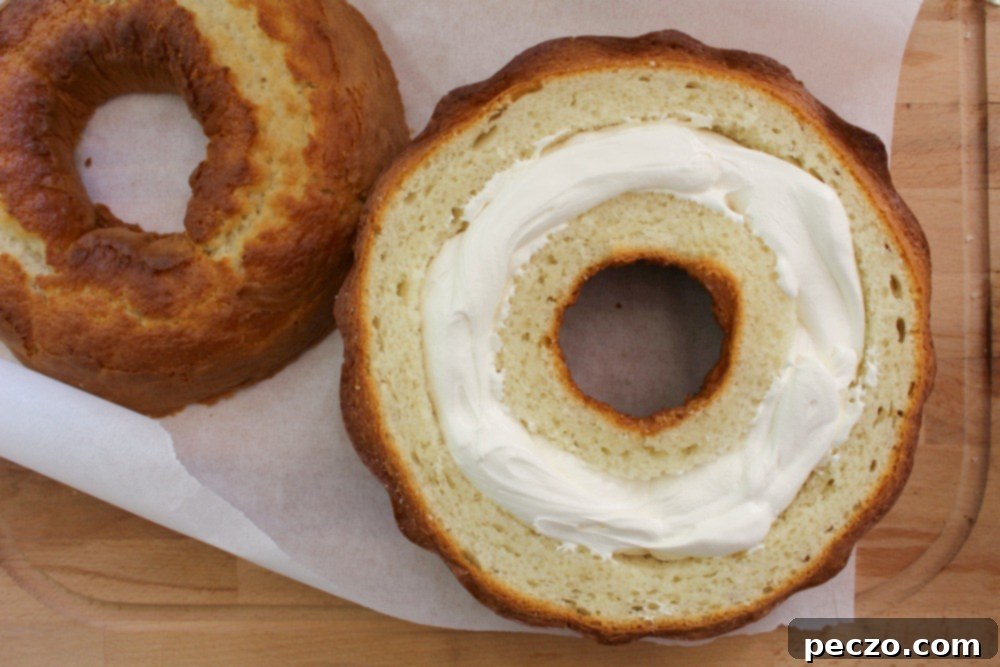
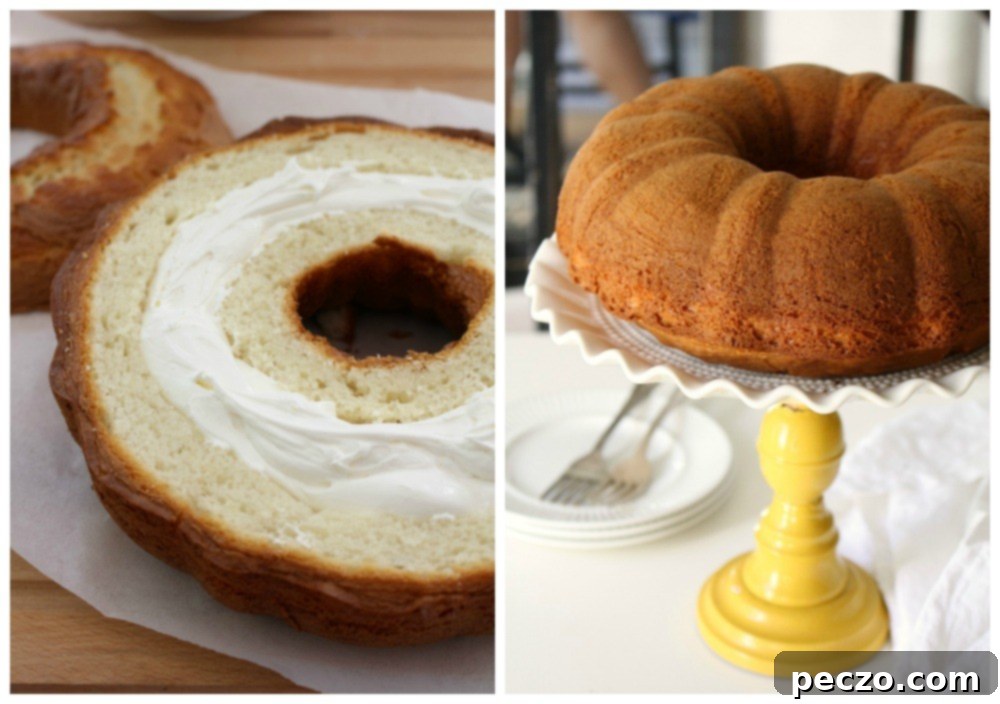
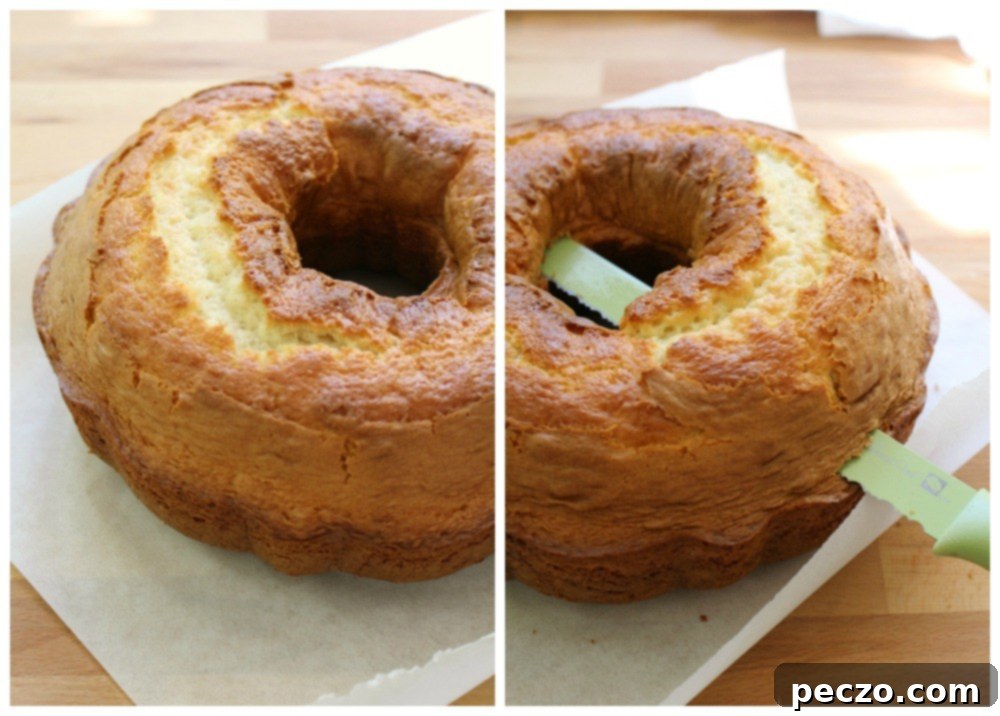
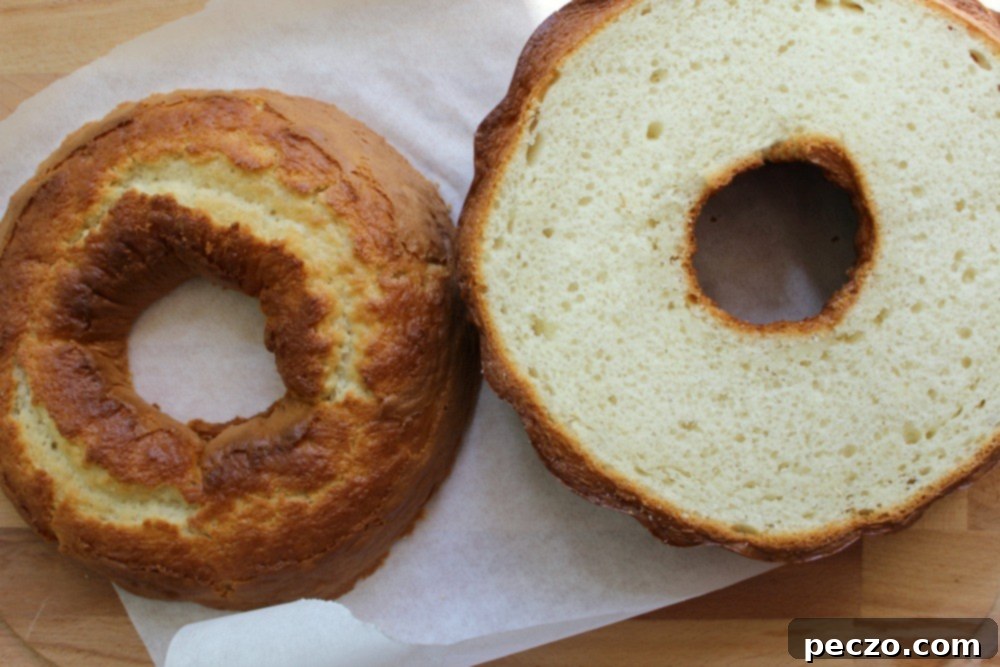
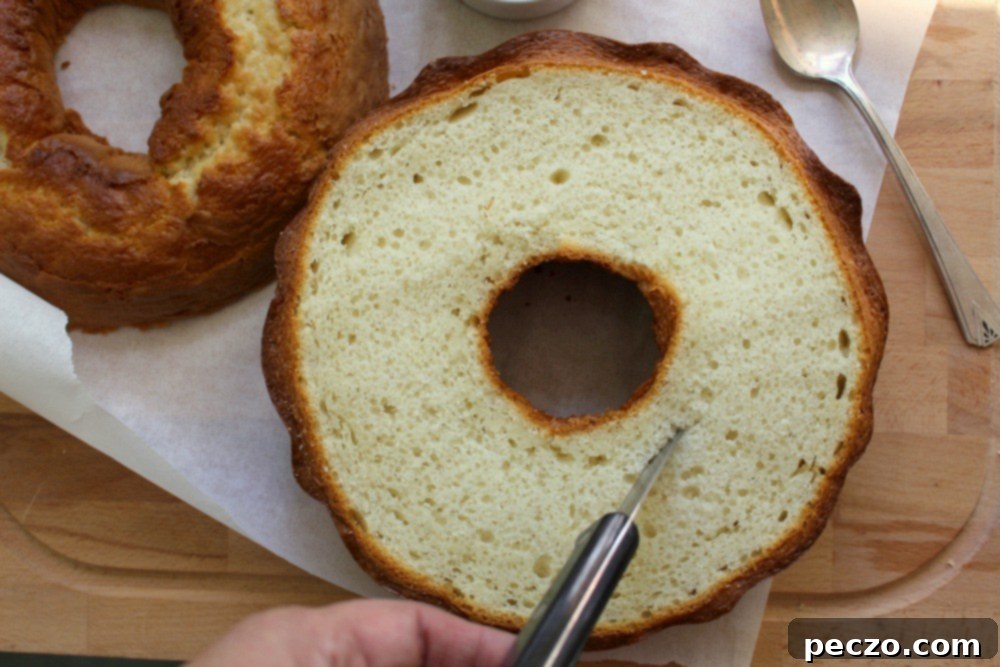
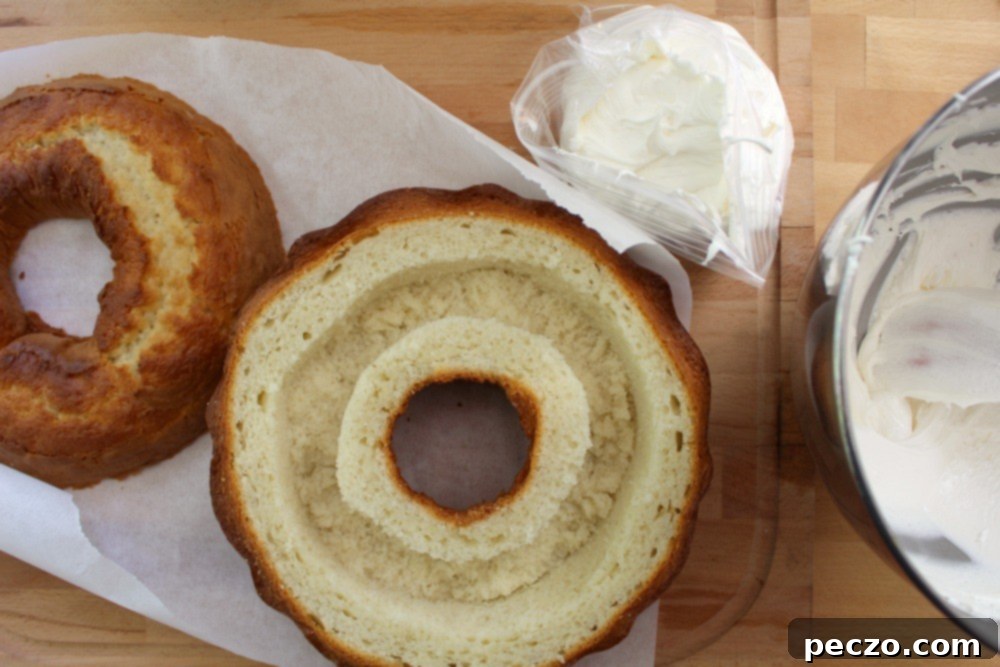
I’ve seen various approaches to the Twinkie cake concept floating around the web – some feature elaborate layers, others utilize cream injection techniques. However, I decided on a different, far simpler, and incredibly effective method: baking a bundt cake and then hollowing out its middle. This might sound intimidating, but I promise you, it’s significantly easier than it appears. The soft, tender innards of the bundt cake are surprisingly easy to scoop out, creating a perfect trough for the creamy filling. And, of course, digging out those delightful pieces meant immediate, delicious snacking – a baker’s perk!
As I hollowed out the cake, a wonderful realization struck me: the versatility of this method is immense. Imagine the possibilities! This “Twinkie cake” concept could easily be adapted to hold a vibrant key lime cream, a rich chocolate mousse, or truly any kind of creamy, mousse-like delight. Picture a vanilla bundt filled with lemon curd and fresh blueberries, or a delicate almond cake brimming with vanilla cream and plump, sliced strawberries. The beauty of this technique is that you can effortlessly combine different flavors and textures, and people will genuinely believe you’re a genius for ingeniously getting one kind of delicious food *inside* another. It’s a simple trick that delivers impressive results and endless creative potential for your next dessert.
Step-by-Step: Assembling Your Twinkie Masterpiece
Ingredients:
- 1 box Betty Crocker French Vanilla cake mix (or similar yellow cake mix), plus ingredients called for on the box (eggs, oil, water)
- 1 (16 oz) tub French vanilla frosting (or plain vanilla)
- 1 (7 oz) jar Marshmallow Fluff (or marshmallow creme)
- Optional: A few drops of yellow food coloring for the cake batter
Instructions:
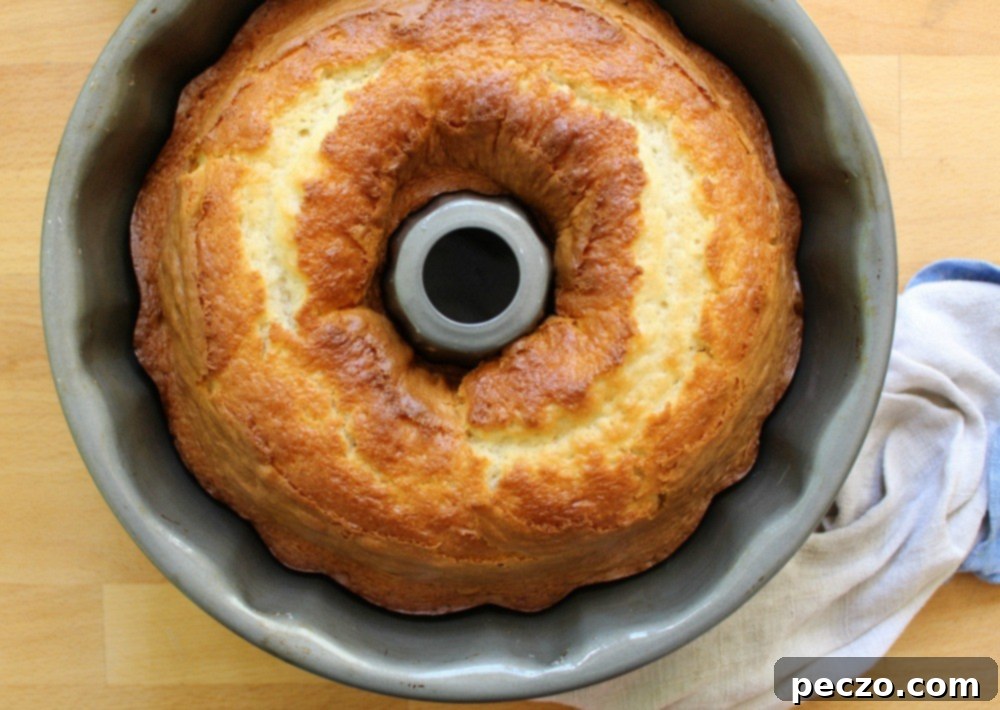
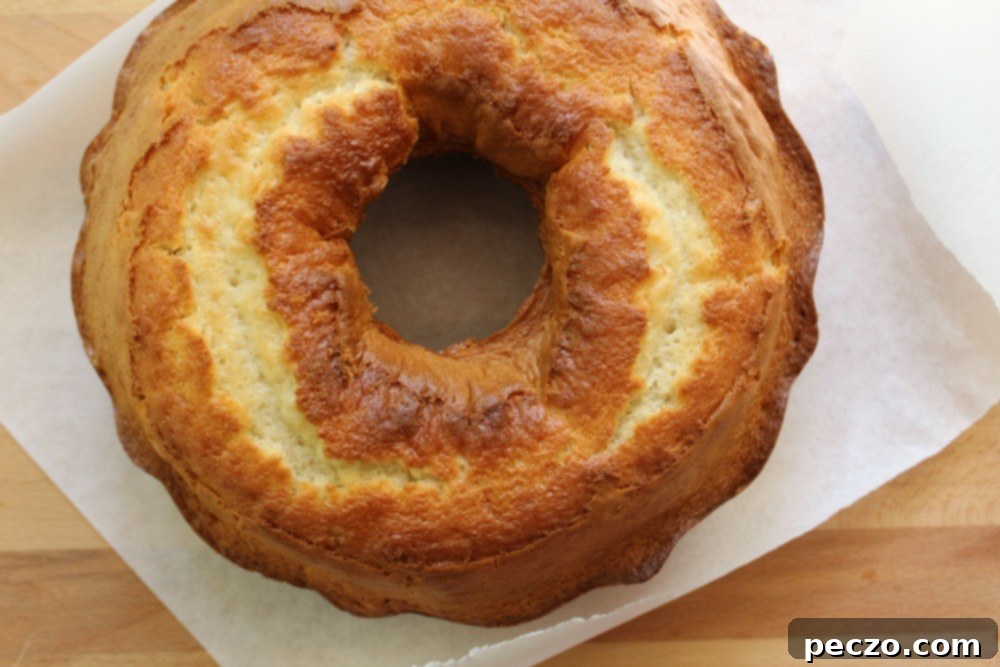
- Bake the Cake: Prepare the cake mix according to package directions, using a standard bundt pan. For a more authentic “Twinkie” yellow, add a few drops of yellow food coloring to the batter before baking. Bake until a toothpick inserted comes out clean. Let the cake cool completely on a wire rack. This is crucial; a warm cake will crumble and melt the filling.
- Prepare the Filling: In a medium bowl, vigorously whip the entire tub of French vanilla frosting for a minute or two until it’s light and fluffy. Then, gently fold in half (or the whole jar, depending on your desired volume and sweetness) of the Marshmallow Fluff until well combined and smooth. This creates the signature creamy, dreamy Twinkie-like filling. Note: This amount of filling is generous and could easily fill two bundt cakes, which, come to think of it, is an excellent idea for a larger gathering!
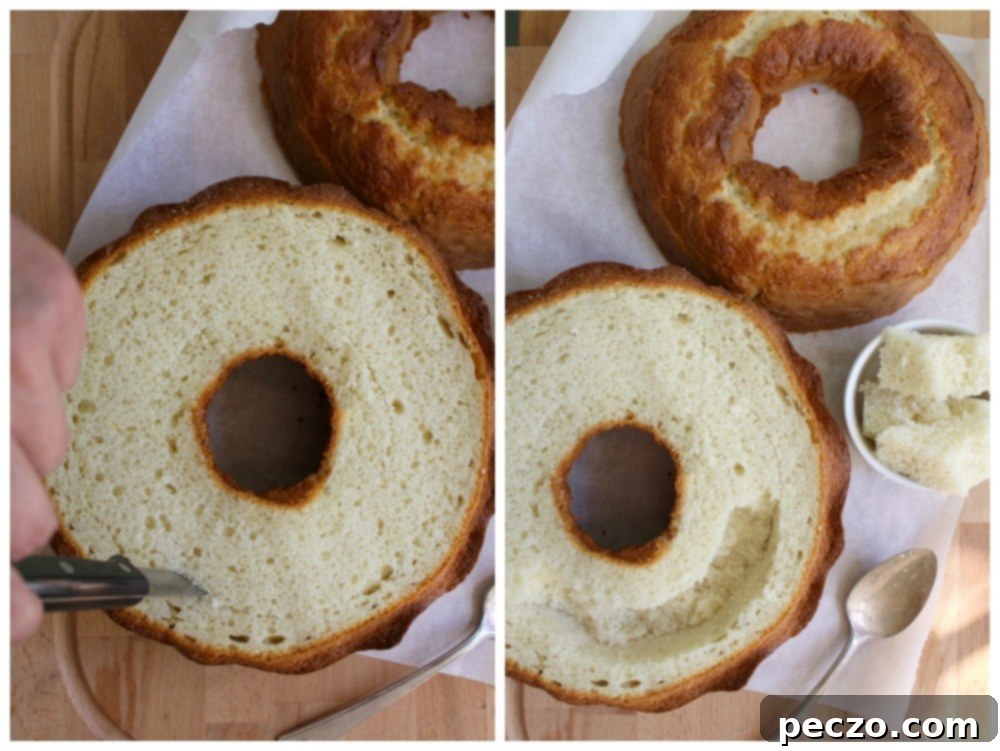
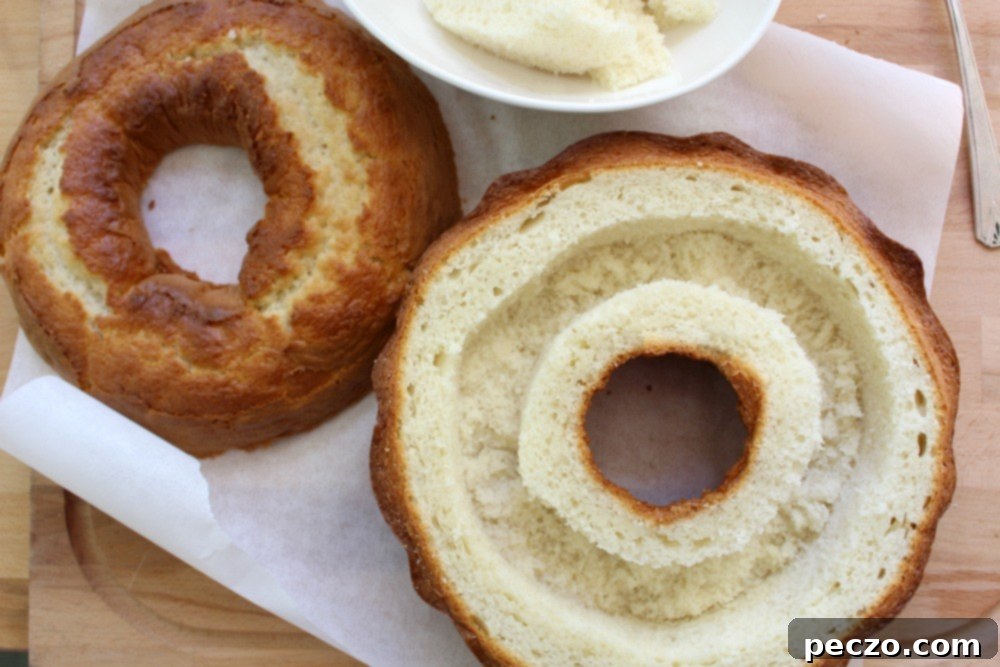
- Hollow the Cake: Once completely cool, carefully invert the bundt cake onto your serving plate or a clean surface. Using a sharp knife or a spoon, gently hollow out the middle trench of the bundt cake, leaving a sturdy border and bottom. Be careful not to cut all the way through. Don’t discard the removed cake pieces – they make for a delicious baker’s snack!
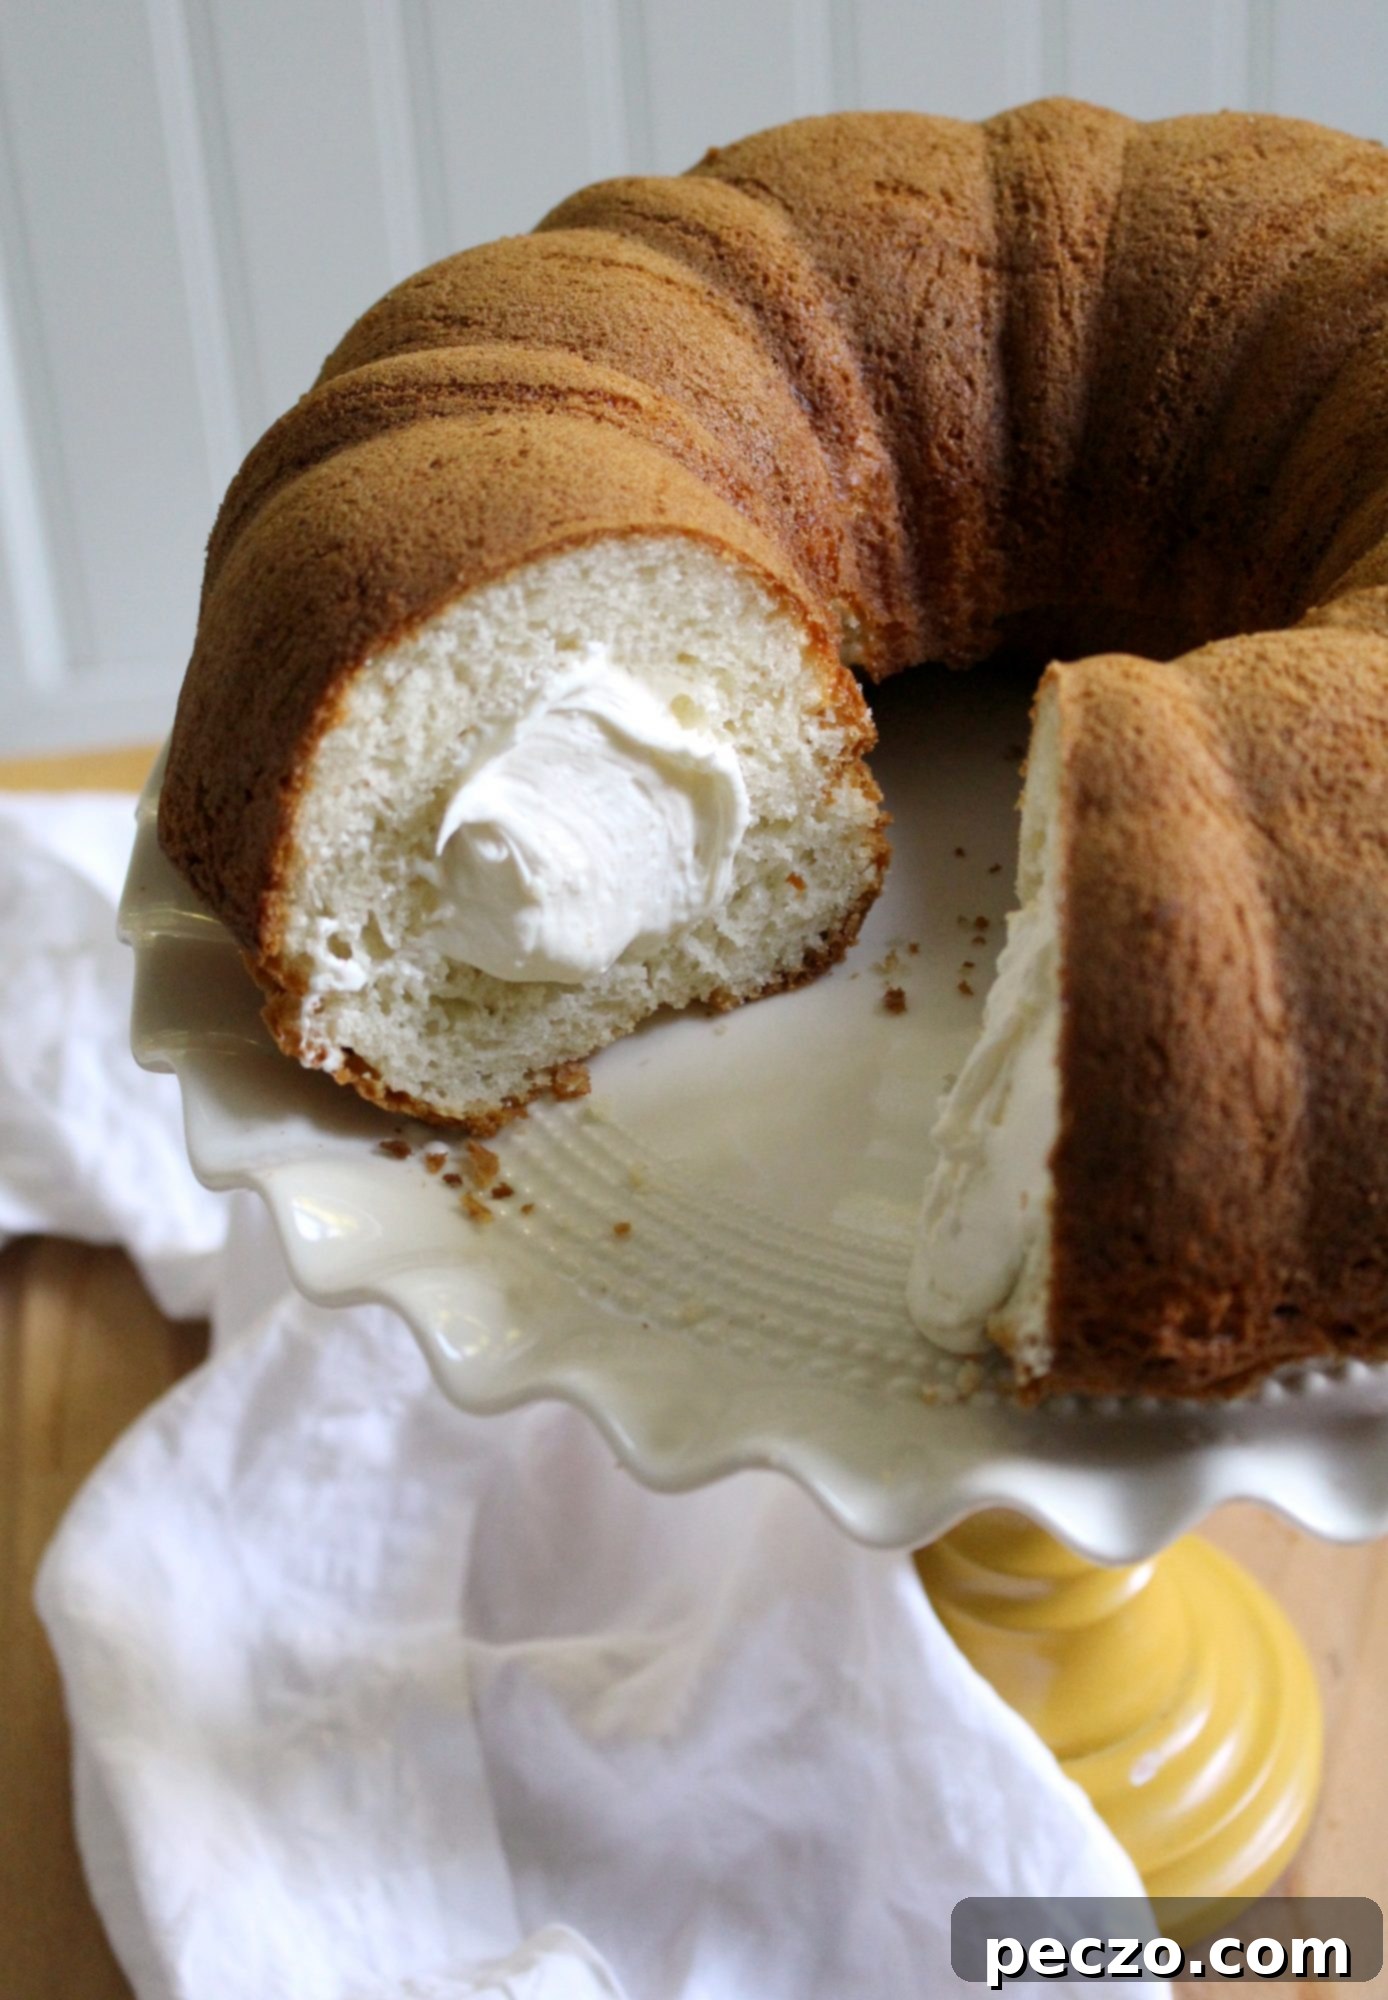
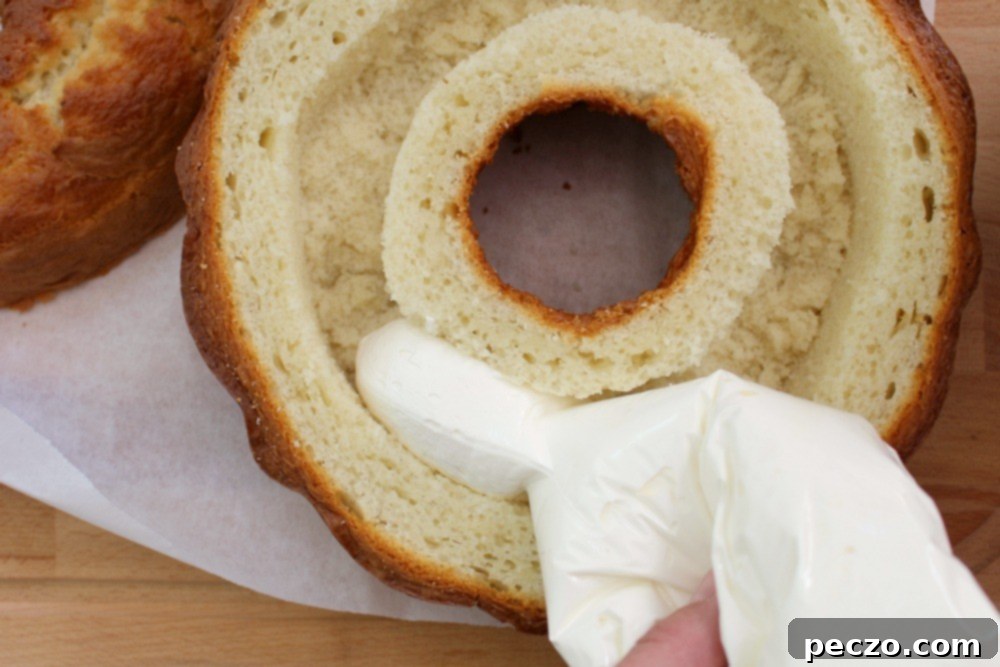
- Fill the Cake: You can simply spoon the creamy filling into the hollowed-out trough of the cake. However, for a neater and more satisfying process, I highly recommend spooning the filling into a large Ziploc bag, snipping off one corner, and piping it directly into the cake. This gives you more control and a beautiful, even fill.
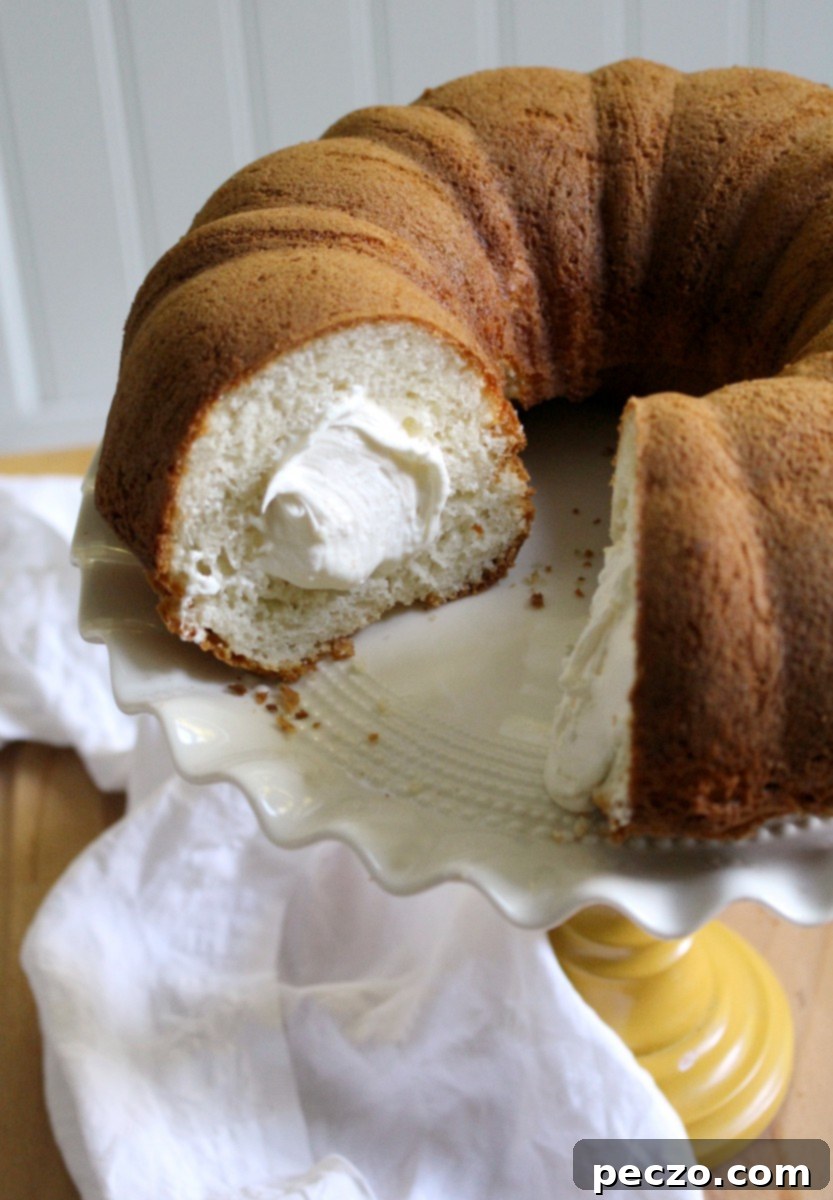
- Serve and Enjoy: Once filled, your Twinkie cake is ready to be admired and devoured!
The Verdict: Better Than a Twinkie?
The true test, of course, was the family’s reaction. Mike, my ever-supportive husband, declared that I had “nailed it,” going so far as to say it was “better than a Twinkie.” High praise indeed! W, my discerning eleven-year-old, had one constructive suggestion: he thought I should have stuffed it with *actual* Twinkies. While that’s an interesting idea for an ultra-indulgent version, the beauty of this cake lies in its accessible homemade charm. For those aiming for an even more visually “authentic” look (despite the bundt’s deviation from the classic Twinkie shape), a tiny drop of yellow food coloring added to the cake batter will enhance that iconic golden hue. The result? A truly magnificent TWINKIE CAKE!
Twinkies, Nostalgia, and Ghostbusters
Every time the word “Twinkie” comes up, my mind instantly drifts to the classic scene from Ghostbusters, where Egon Spengler uses a Twinkie to illustrate the massive amount of psychokinetic energy accumulating in New York City. “That’s a big Twinkie,” he famously says. Perhaps this cinematic moment, forever embedding the Twinkie in popular culture, explains its enduring craze, even decades later? Let’s just go with it. The beloved golden sponge cake, with its mysterious creamy filling, holds a special place in the hearts of many, symbolizing a simpler, often sweeter, time. Recreating this iconic snack in cake form taps into that powerful sense of nostalgia, making it a hit with both kids and adults who grew up with the treat.
Creative Serving Suggestions & Variations
While the filling can certainly be spooned directly into the cake’s trough, there’s a surprising amount of satisfaction to be gained from using a piping bag. Simply scoop the creamy filling into a large Ziploc bag, snip off one corner, and pipe it out smoothly. It’s clean, efficient, and makes for a beautifully presented cake. Plus, you can easily toss the bag afterward, making cleanup a breeze. And on a humorous note, unlike that notorious green dragon cake, this delicious filling definitely won’t be mistaken for toothpaste!
As I write this, my imagination is already running wild with even more possibilities for this versatile cake. Imagine scooping soft-serve ice cream into the middle of the hollowed-out bundt, then freezing the entire cake for an incredible summer dessert. The potential here is truly limitless! You could also gently warm any remaining filling and drizzle it over the top of the cake, then shower it with colorful sprinkles, allowing them to stick where they may. This adds a playful touch and another layer of sweetness. However, I must confess, I have a particular fondness for leaving this cake completely “naked,” just like a real Twinkie – its simple golden exterior and creamy interior are perfectly appealing on their own. It’s a testament to the fact that sometimes, less is indeed more, especially when the flavors are this good.
Budget-Friendly Baking: A Sweet Deal
Here’s a fantastic bonus: the total cost for creating this delightful homemade Twinkie cake came in at under $10. When you consider how much even the most basic, undecorated bakery cake can cost these days, this represents a pretty incredible deal. It’s a delicious, crowd-pleasing dessert that won’t break the bank, leaving you with more money for other essential indulgences – like those highly anticipated fish tacos!
