Simple & Satisfying: Your Guide to Delicious Homemade Chicken Enchiladas

Hello, wonderful friends! It feels like an eternity, and for that, I sincerely apologize. It’s been far too long since my last post, certainly the longest hiatus in over a decade! Your thoughtful emails asking “what’s up?” truly touched me, and I appreciate your care and concern more than words can say. Life, as it often does, became a whirlwind: a beautiful, bustling summer, demanding work commitments, and that endless quest to catch up on everything. And, yes, finally tackling the monumental task of organizing the basement storage room – a space that for the past twelve (!!) years has been less of a room and more of an obstacle course of boxes, paint cans, and adventurous cobwebs. Doesn’t time just feel like a runaway train these days?
But enough about my domestic adventures. Let’s talk about something far more delicious and comforting: enchiladas. This particular dish often finds its way into my kitchen thanks to a charming package of locally-made corn tortillas. They arrive beautifully wrapped in thick paper, usually in a stack far more generous than I can consume in one go, meaning the rest inevitably find their way into the freezer for another day. It was precisely this scenario – a treasure trove of tortillas and a string of successful barbecue sessions leaving us with plenty of delicious leftover spatchcocked chicken – that inspired a spontaneous enchilada night. And let me tell you, a good homemade enchilada can be a rare and cherished treat in these parts.
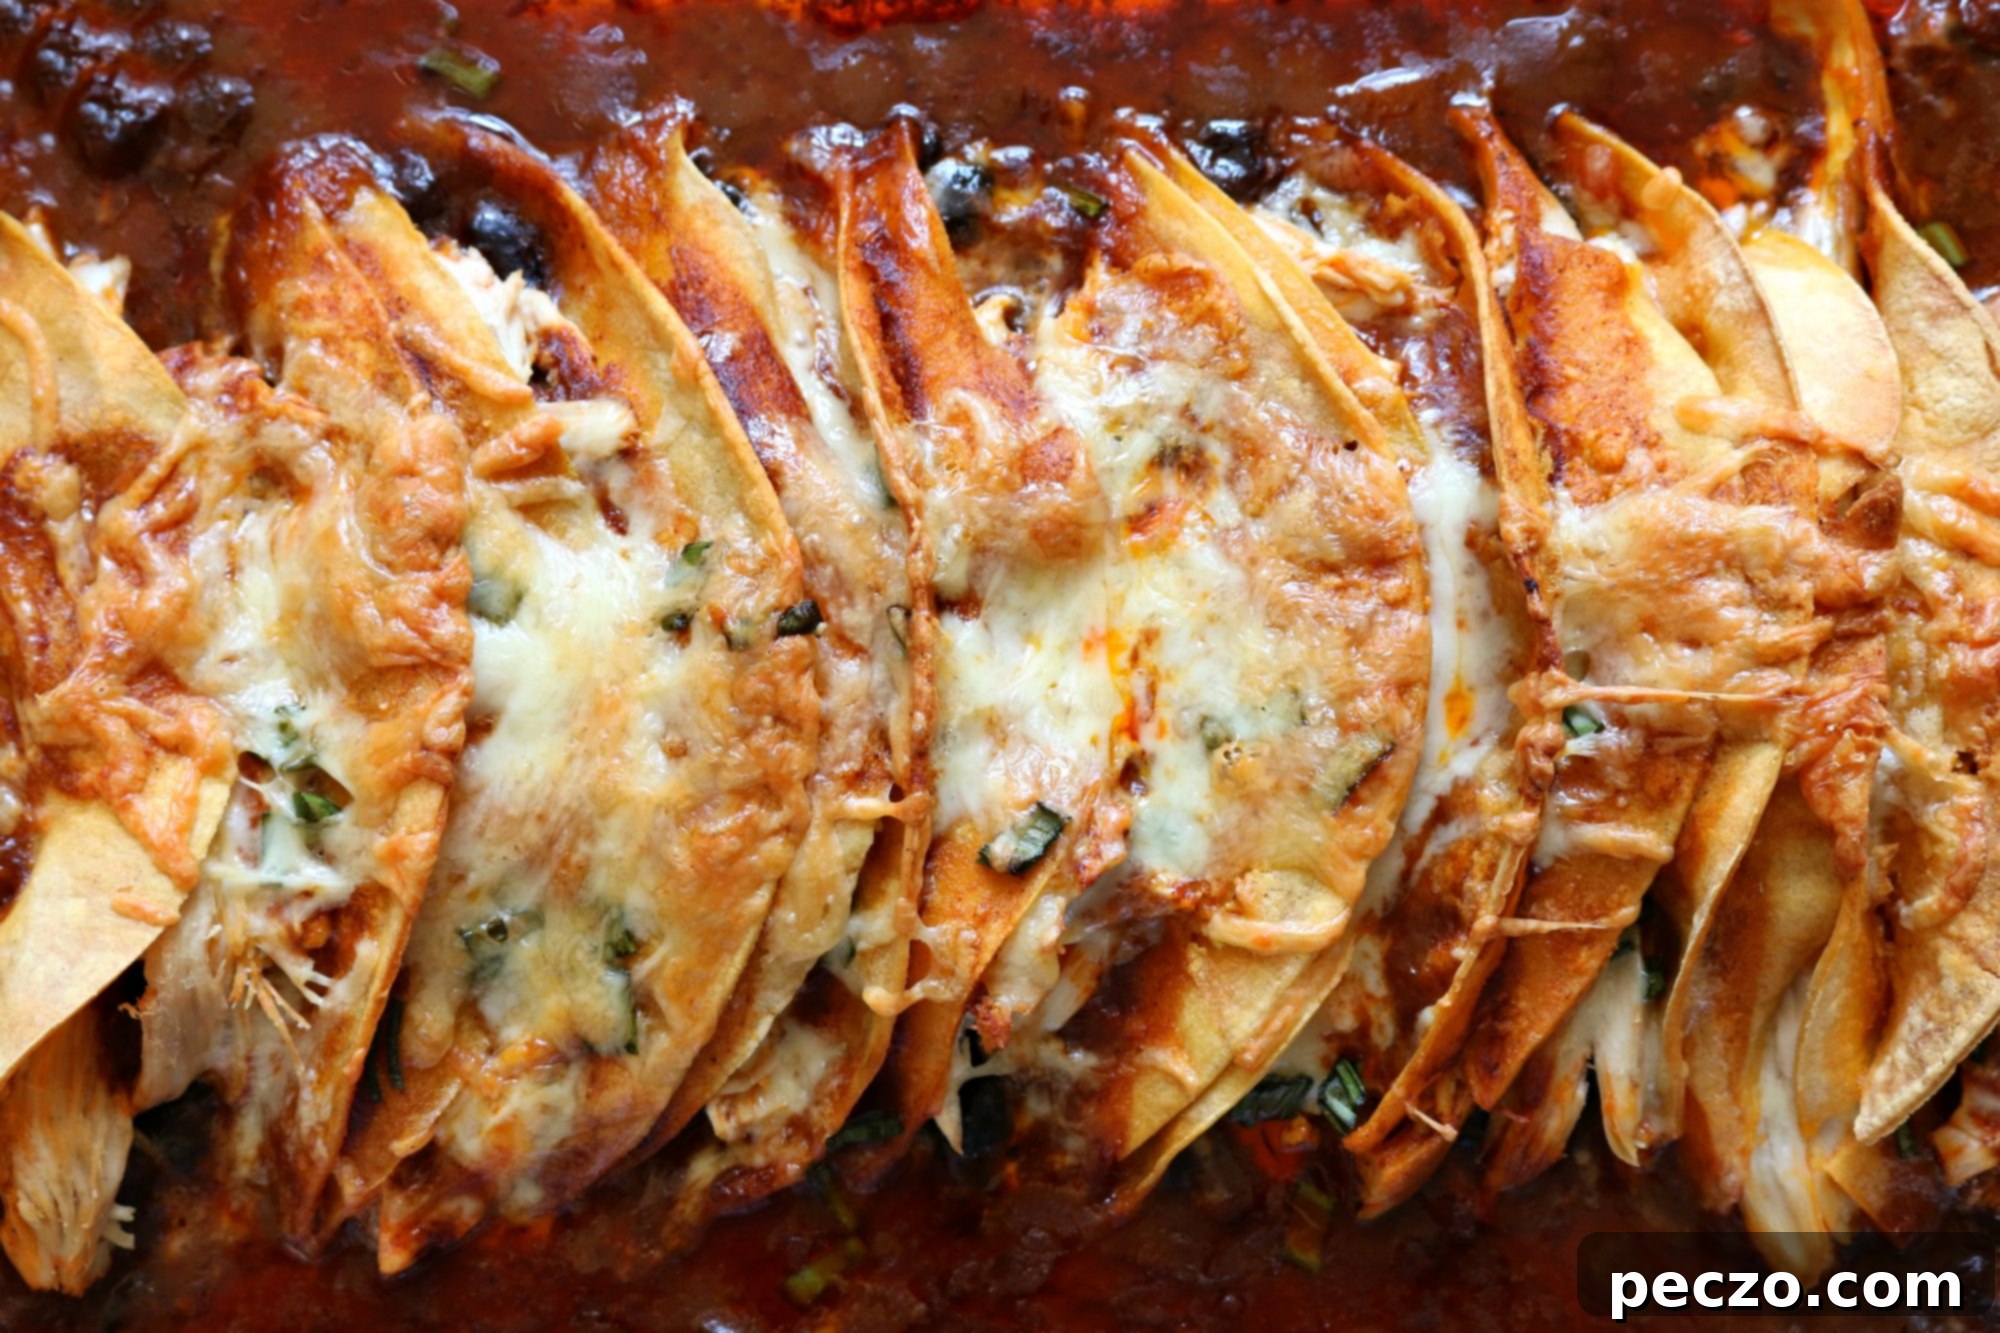
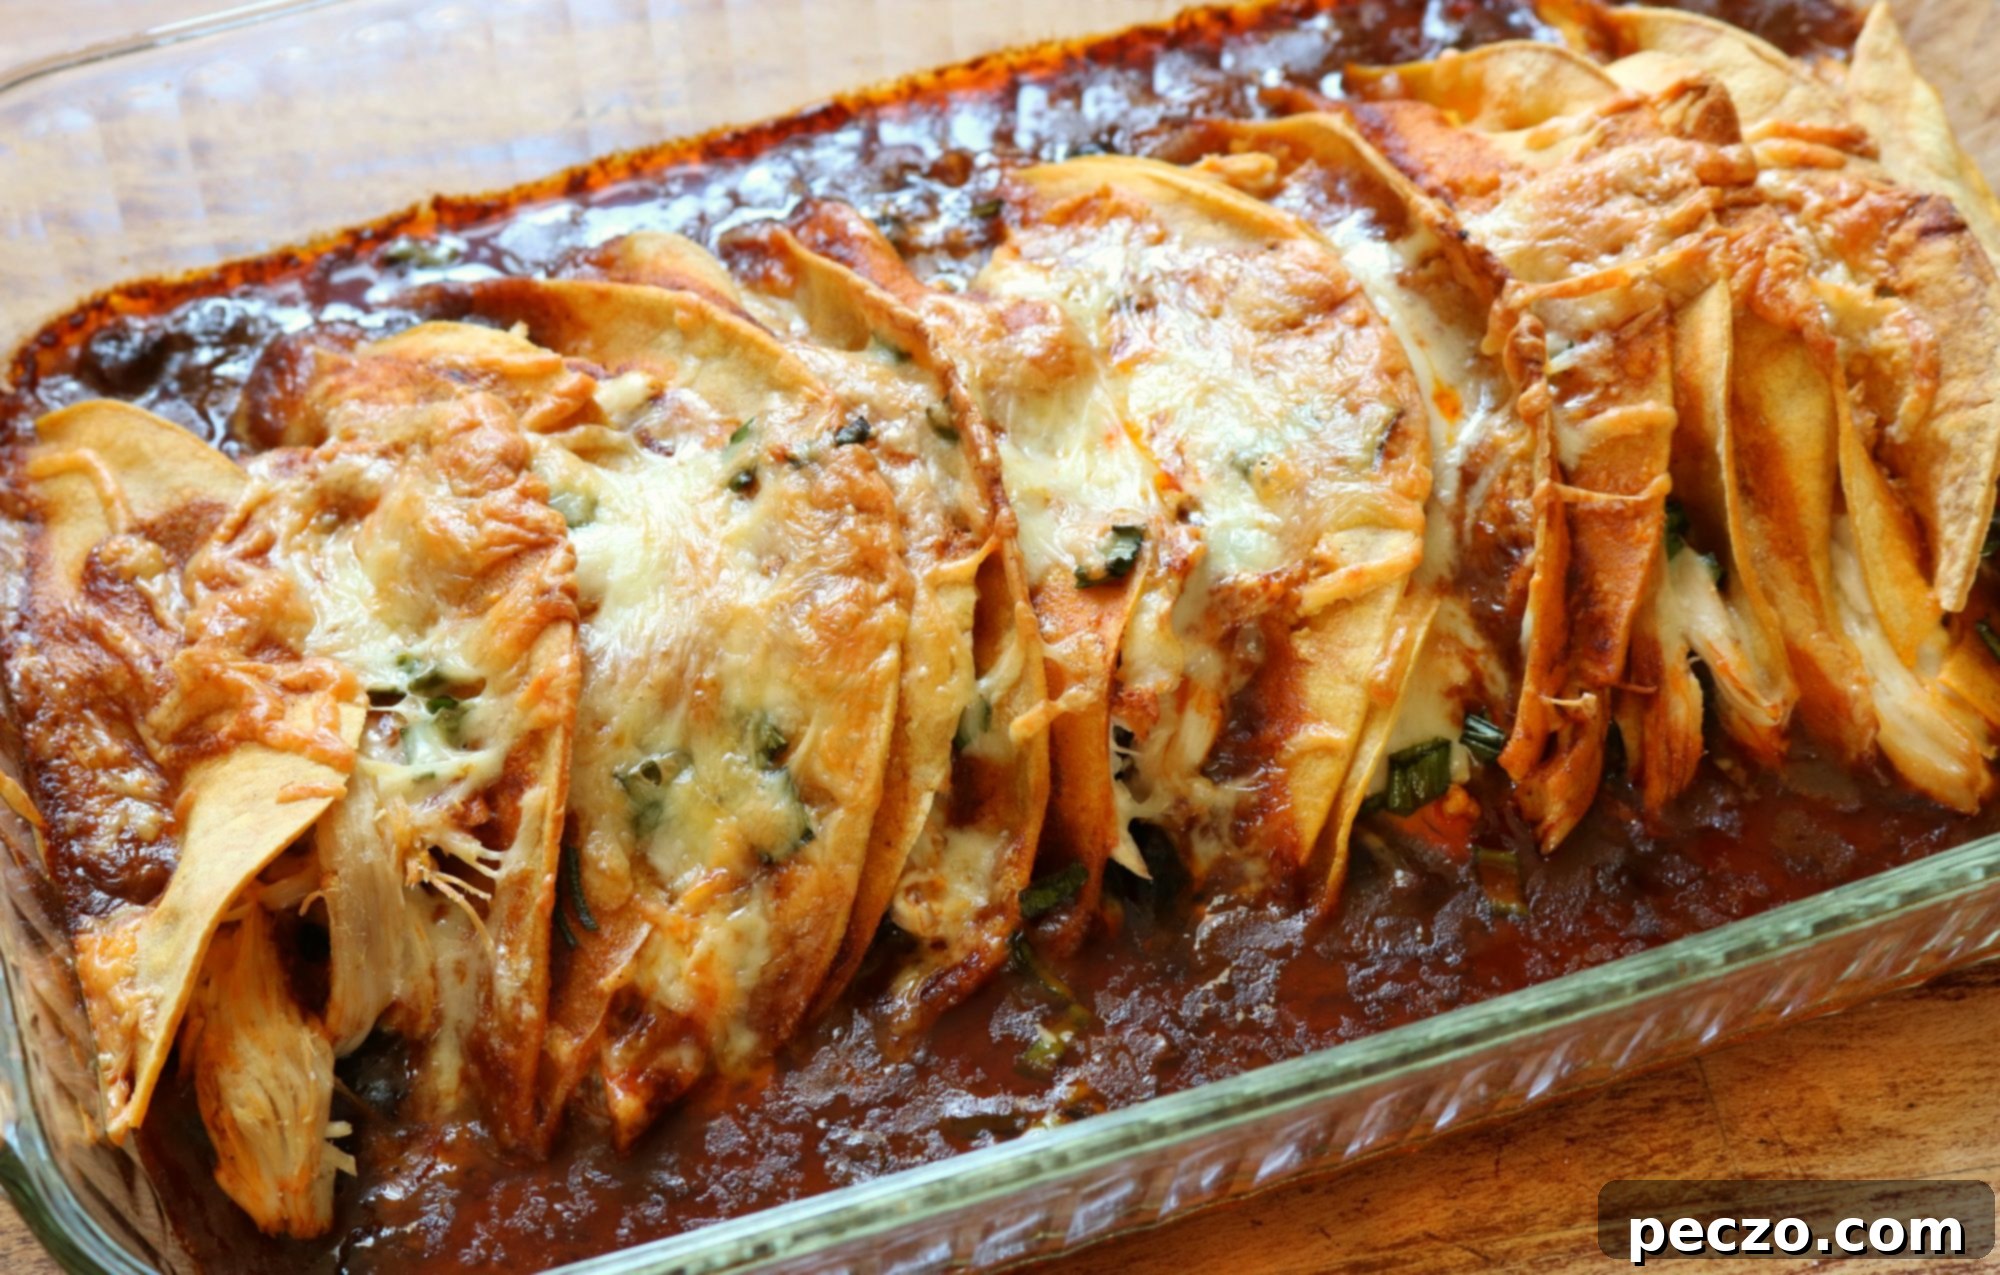
Now, about those tortillas. The ones from Las Tortillas are fantastic, but they’re also a touch thicker and less pliable than some other varieties. This presented a slight challenge for the traditional tightly rolled enchilada. So, I improvised! Instead of rolling, I arranged them open, much like tacos, snuggled closely together in the baking dish. Then, I generously poured that rich, homemade enchilada sauce right over the top, allowing it to permeate and soften the tortillas as they baked to perfection. The result? A glorious, mouthwatering fusion that tasted like tacos met lasagna met chilaquiles met classic enchiladas. It was a delightful, savory mess, and so utterly satisfying that I immediately pulled the remaining tortillas from the freezer, already planning another batch for tomorrow.

The Secret to Sensation: Homemade Enchilada Sauce
While you can certainly pick up a can of enchilada sauce from the store – and there are some decent options out there if you’re in a pinch – I’ve always found that the homemade version elevates this dish to an entirely new level. And here’s the best part: it’s spectacularly simple to make, often with ingredients you already have lurking in your pantry. Forget those elaborate notions of sourcing an assortment of brick-red dried chilies, soaking them, and then blending them into a complex paste. While that can be a wonderful culinary adventure for another day, this everyday version is surprisingly robust and incredibly flavorful.
Crafting Your Rich Enchilada Sauce
My go-to homemade enchilada sauce relies on just a few key components: chili powder, flour, chicken stock, and tomato sauce. The quantity of chili powder might seem generous at first glance, but it’s important to remember that most commercial chili powders (especially those found in North American supermarkets) are a blend of various mild chilis, cumin, oregano, garlic powder, and sometimes a hint of cayenne. They contribute deep, earthy flavors rather than overwhelming heat. It’s the backbone of the sauce, providing that iconic, comforting enchilada taste without searing your taste buds.
The process is straightforward: a quick roux made with oil and flour forms the base, which is then seasoned with the chili powder. This mixture is then whisked with chicken stock and tomato sauce, simmering gently until it thickens into a velvety, rich consistency. This sauce not only infuses the dish with incredible depth but also plays a crucial role in softening the tortillas as they bake, allowing them to meld perfectly with the melted cheese and savory chicken filling. The aroma alone as it simmers is enough to make your stomach rumble!
Assembling Your Masterpiece: The Chicken Enchilada Experience
Beyond the incredible sauce, the beauty of homemade enchiladas lies in their versatility and the sheer comfort they deliver. Let’s delve into the components that make this dish a true weeknight hero or a delightful weekend project.
The Star of the Show: Shredded Chicken
For this recipe, leftover cooked chicken is an absolute dream. My barbecue spatchcocked chicken provided the perfect tender, flavorful shreds, but any cooked chicken will do. Think rotisserie chicken for ultimate convenience, slow-cooked chicken breasts, or even poached chicken thighs. The key is to have it pre-cooked and easily shreddable, as this saves immense time and effort. You want juicy, well-seasoned chicken that will absorb the sauce and complement the cheese.
Tortilla Talk: Corn vs. Flour
The classic enchilada often features corn tortillas, and they offer a distinct, earthy flavor and texture. However, as I discovered with my thicker local variety, sometimes they’re not as pliable as you’d like. Dipping them in hot oil or warming them briefly before rolling can help, but my “open-faced” method is a fantastic workaround if your corn tortillas are stubborn. This approach ensures they soften beautifully in the sauce while still delivering that authentic corn flavor. If corn tortillas aren’t your preference, or if you simply have them on hand, small flour tortillas work wonderfully as well. They’ll be more pliable and likely easier to roll if you prefer that traditional presentation.
The Gooey Goodness: Cheese!
No enchilada is complete without generous amounts of melted cheese. A good Monterey Jack, cheddar, or a Mexican blend works perfectly. The cheese not only adds a creamy, salty counterpoint to the rich sauce and savory chicken but also helps to bind everything together into that irresistible, bubbling casserole. Don’t be shy with the cheese – it’s an essential element of that comforting, delicious mess we all crave.
Step-by-Step: Bringing Your Enchiladas to Life
Once you have your chicken shredded and your glorious sauce simmering, the assembly process is incredibly rewarding. This narrative walk-through will guide you:
- Prepare Your Sauce: Begin by making your homemade enchilada sauce. In a saucepan, melt a couple of tablespoons of butter or oil over medium heat. Whisk in about two tablespoons of all-purpose flour to create a roux, cooking for a minute or two until lightly golden. Stir in two to three tablespoons of quality chili powder (adjusting to your taste, remembering it’s more flavor than heat), along with a teaspoon of cumin and half a teaspoon of dried oregano for extra depth. Cook for another minute until fragrant.
- Build the Liquid Base: Gradually whisk in about two cups of chicken stock, ensuring no lumps form. Then, stir in one 8-ounce can of tomato sauce (or half a 15-ounce can). Bring the mixture to a gentle simmer, stirring occasionally, and let it cook for about 5-7 minutes, or until it thickens to your desired consistency – it should be rich and pourable, not too thin or too thick. Season with salt and pepper to taste.
- Warm Your Tortillas (Optional for Open-Faced): If you’re opting for the open-faced style as I did, simply lay your corn tortillas directly into your prepared baking dish. If you prefer to roll them, lightly warm your corn tortillas in a dry skillet or microwave for a few seconds each to make them more pliable.
- Assemble the Filling: In a large bowl, combine your shredded cooked chicken with about a cup of your enchilada sauce, ensuring the chicken is well coated. You can also mix in a handful of shredded cheese at this point for an extra cheesy filling.
- Layering for Perfection: Ladle a thin layer of enchilada sauce onto the bottom of a 9×13 inch baking dish. Arrange your tortillas in the dish. If rolling, fill each tortilla with a generous spoonful of the chicken mixture and a sprinkle of cheese, then roll it up tightly and place it seam-side down in the dish. If going open-faced, simply spread the chicken mixture evenly over each tortilla. Pack them in snugly to maximize space and ensure they stay upright if you’re layering them taco-style.
- Sauce and Cheese Shower: Pour the remaining enchilada sauce evenly over the arranged tortillas, ensuring every piece is well coated. Top generously with your favorite shredded cheese (I used about 2 cups total for the whole dish, including the filling).
- Bake to Golden Perfection: Cover the baking dish loosely with foil and bake in a preheated oven at 375°F (190°C) for 20-25 minutes, or until the sauce is bubbly and the tortillas have softened. Remove the foil for the last 5-10 minutes to allow the cheese to melt, bubble, and turn golden brown.
- Rest and Garnish: Let the enchiladas rest for 5-10 minutes after baking. This allows the flavors to meld and the dish to set slightly, making it easier to serve. Garnish with fresh cilantro, a dollop of sour cream or Greek yogurt, sliced avocado, or pickled red onions for a pop of freshness.
Tips for Enchilada Success
- Don’t Overcrowd: While you want to fit as many enchiladas as possible into your dish, avoid cramming them in too tightly. Give them a little breathing room for even baking and proper sauce distribution.
- Flavorful Stock: A good quality chicken stock or homemade broth will make a noticeable difference in the depth of your sauce.
- Make Ahead: Enchiladas are fantastic for meal prep! You can assemble the entire dish, cover it, and refrigerate it for up to 24 hours before baking. You might need to add an extra 10-15 minutes to the baking time if baking from cold.
- Freezing Instructions: Unbaked enchiladas freeze beautifully. Assemble in a freezer-safe dish, cover tightly with plastic wrap and then foil, and freeze for up to 3 months. Thaw overnight in the refrigerator before baking, or bake from frozen (this will significantly increase baking time, often doubling it).
- Serving Suggestions: Beyond the mentioned garnishes, consider serving your enchiladas with a side of Mexican rice, black beans, or a simple green salad to complete the meal.
Wonderful Variations to Explore
The beauty of enchiladas lies in their adaptability. Don’t be afraid to get creative with your fillings!
- Beef Enchiladas: Swap the chicken for shredded, chopped, or even ground beef. Cook ground beef with taco seasoning for a quick and flavorful filling, or slow-cook a chuck roast until it’s fork-tender and shreddable.
- Vegetarian Delight: For a meatless option, roasted vegetables are incredibly delicious. Think bell peppers, zucchini, corn, and black beans. You could also crumble in some queso fresco or cotija cheese for a salty, creamy touch. Spinach, mushrooms, and sweet potatoes are other excellent additions.
- Pork Enchiladas: Leftover slow-cooked pork shoulder (carnitas style!) would be an incredible substitute for chicken, offering a rich and succulent alternative.
- Spice It Up: If you love heat, feel free to add a pinch of cayenne pepper to your sauce, or incorporate diced jalapeños or serrano peppers into your chicken filling. A dash of your favorite hot sauce on top before serving is also a great idea.
Whether you’re a seasoned chef or a kitchen novice, these homemade chicken enchiladas are a fantastic dish to master. They offer warmth, comfort, and an explosion of flavors that will transport your taste buds straight to a cozy Mexican kitchen. It’s truly a dish that brings people together, and once you realize how simple and incredibly satisfying it is to make from scratch, you might just find yourself, like me, always keeping a stack of tortillas handy. So, go ahead, gather your ingredients, and dive into the delicious world of homemade enchiladas. You won’t regret it!
