Easy Homemade Whipped Cream Recipe: The Secret to Fluffy, Stable, and Delicious Dessert Topping
Easy whipped cream is a universally adored topping, cherished for its incredibly soft, light, and undeniably delicious qualities. It’s the quintessential finishing touch that transforms an ordinary dessert into something truly special. In this comprehensive recipe tutorial, I’m thrilled to reveal the simple yet crucial secrets to perfecting this delightful confection at home. Say goodbye to store-bought alternatives; my straightforward recipe will instantly elevate your desserts to new heights, delivering a homemade taste that’s far superior!
Whether you’re looking to crown a warm, comforting slice of pie, add a luxurious flourish to a bowl of fresh berries, or create a decadent topping for your hot chocolate, this homemade whipped cream recipe is guaranteed to impress. It’s remarkably easy to make, incredibly versatile, and the resulting texture and flavor are simply unmatched by anything you can buy.
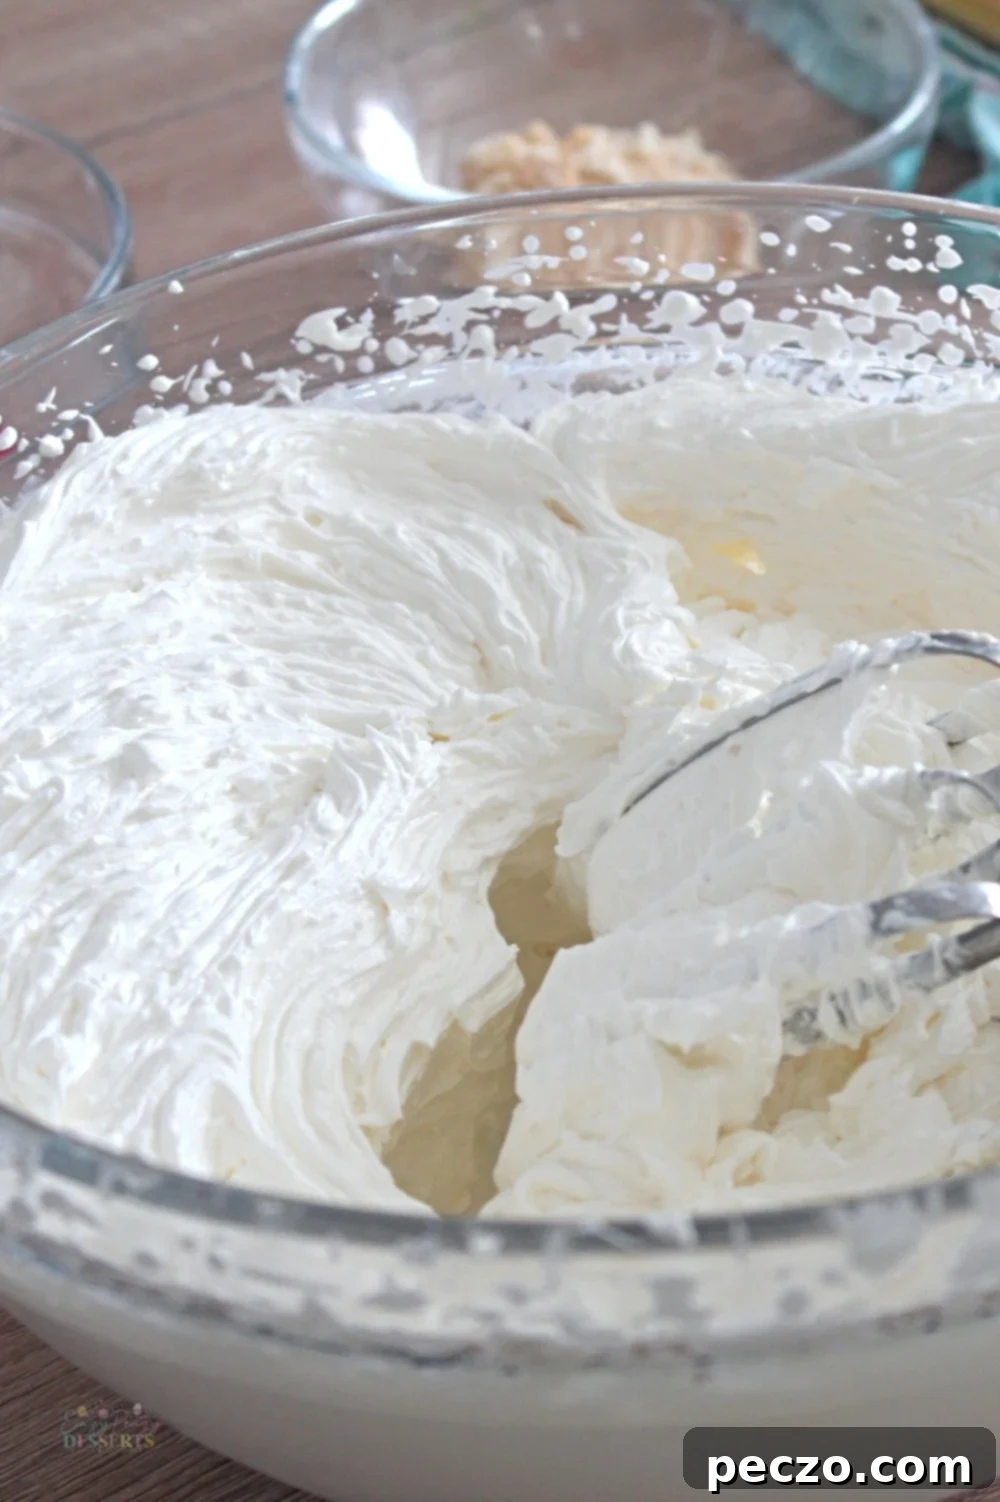
This homemade whipped cream isn’t just tastier; it’s a game-changer for all your sweet treats. Our quick and easy recipe has become our most beloved dessert topping, making simple fruit desserts incredibly rich, heavy cakes and pastries more luscious, and hot chocolate an exceptionally special indulgence. The beauty of making whipped cream at home lies in its fresh flavor and the ability to control the sweetness and texture precisely to your liking.
You’ll absolutely love making this easy whipped cream because it demands only two core ingredients and can be whipped up in less than 10 minutes. What truly sets this particular recipe apart from many traditional ones is the type of sugar we use. While most recipes call for powdered sugar or confectioners’ sugar, this one champions granulated sugar. The result is a surprisingly smoother, remarkably stable whipped cream with a clean, delicate hint of sweetness that won’t leave a powdery residue. This choice of sugar also contributes to a more robust structure, helping the whipped cream hold its shape longer, perfect for decorating or simply dolloping generously.
Effortless Homemade Whipped Cream Recipe
Essential Whipped Cream Ingredients
As highlighted, my preferred method for making easy whipped cream involves granulated sugar. But what about the other key ingredient? Well, there’s truly no other ingredient besides the whipping cream itself and the sugar. That’s right! This incredibly simple recipe requires just these two fundamental ingredients to create a perfect, fluffy topping.
For the cream, you have a couple of options: regular whipping cream or heavy whipping cream. While regular whipping cream (often 30-35% milk fat) will certainly whip up, it tends to be lighter and may lose its shape and desired texture more quickly. For a truly stable, richer, and longer-lasting whipped cream, I consistently recommend opting for **heavy cream** (typically 36% milk fat or higher). The higher fat content in heavy cream is what gives it superior stability, allowing it to hold stiff peaks beautifully for extended periods, which is ideal for decorating or when you want your dessert to look its best for hours.
Equipment Needed:
- A medium-sized **mixing bowl** (preferably metal or glass for better chilling).
- An **electric mixer** with a whisk attachment or **beaters** (a hand mixer or stand mixer works best for consistent results and ease).
Step-by-Step Instructions to Make Perfect Whipped Cream
Before you begin whipping your cream, there’s a small but crucial preparatory step: thoroughly shake the carton or can of heavy cream for at least a minute. This ensures that the fat and liquid components are completely blended. If any fat has separated and settled at the bottom, your cream might not be rich enough to whip properly, resulting in a less stable or even un-whippable product. This simple shake makes all the difference.
- Pour the thoroughly chilled heavy cream into a chilled mixing bowl. The colder everything is, the better your cream will whip and stabilize.
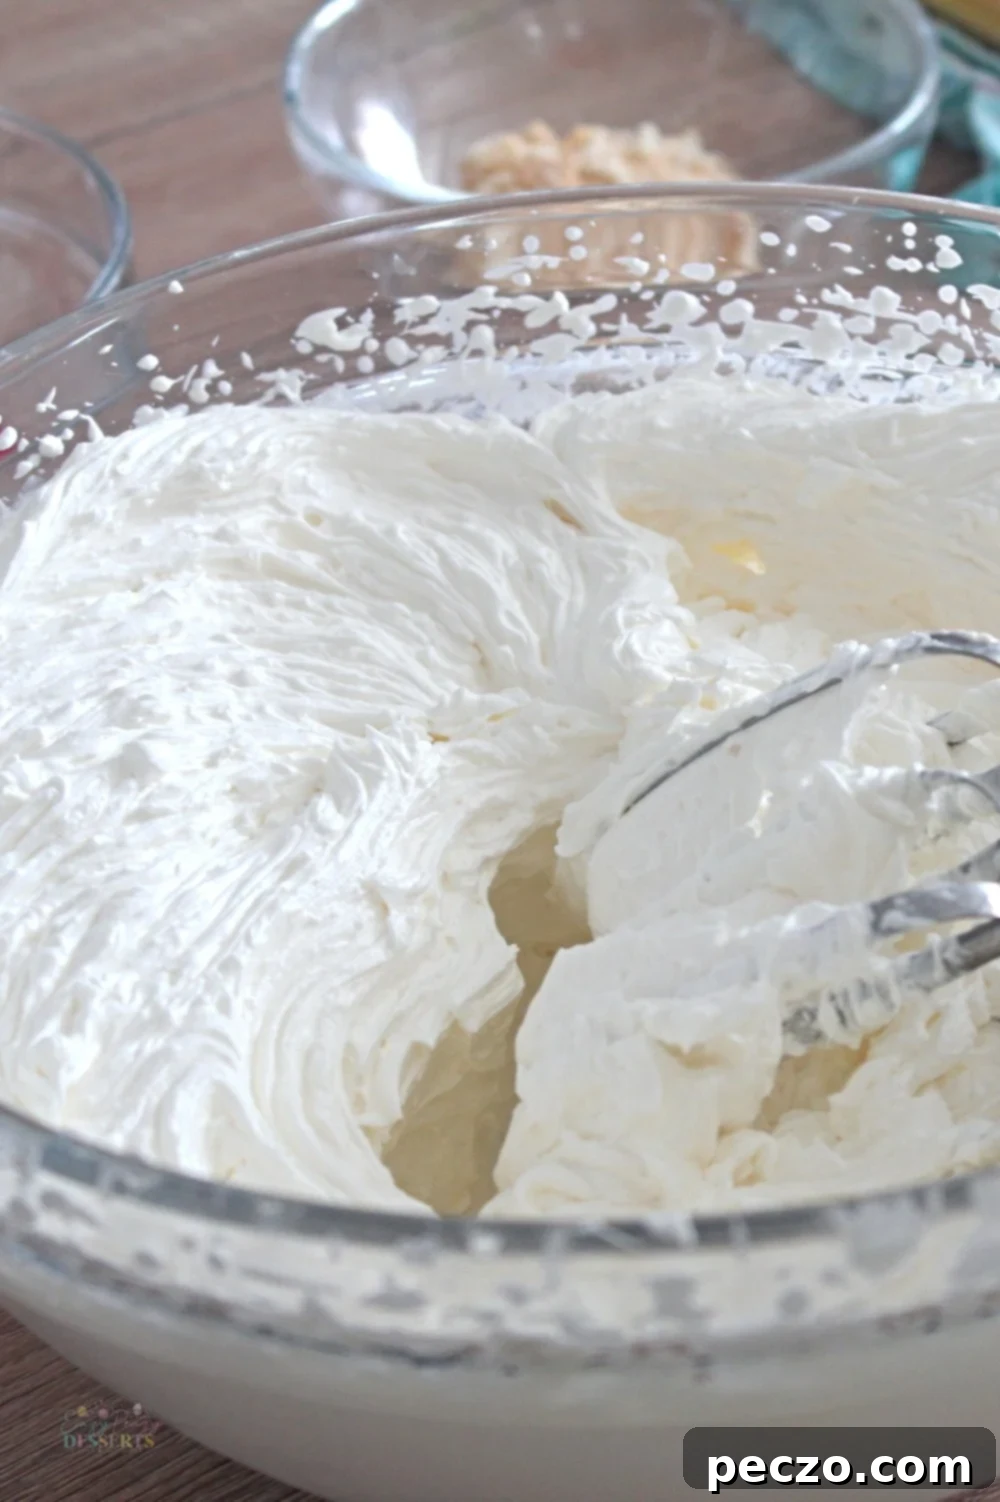
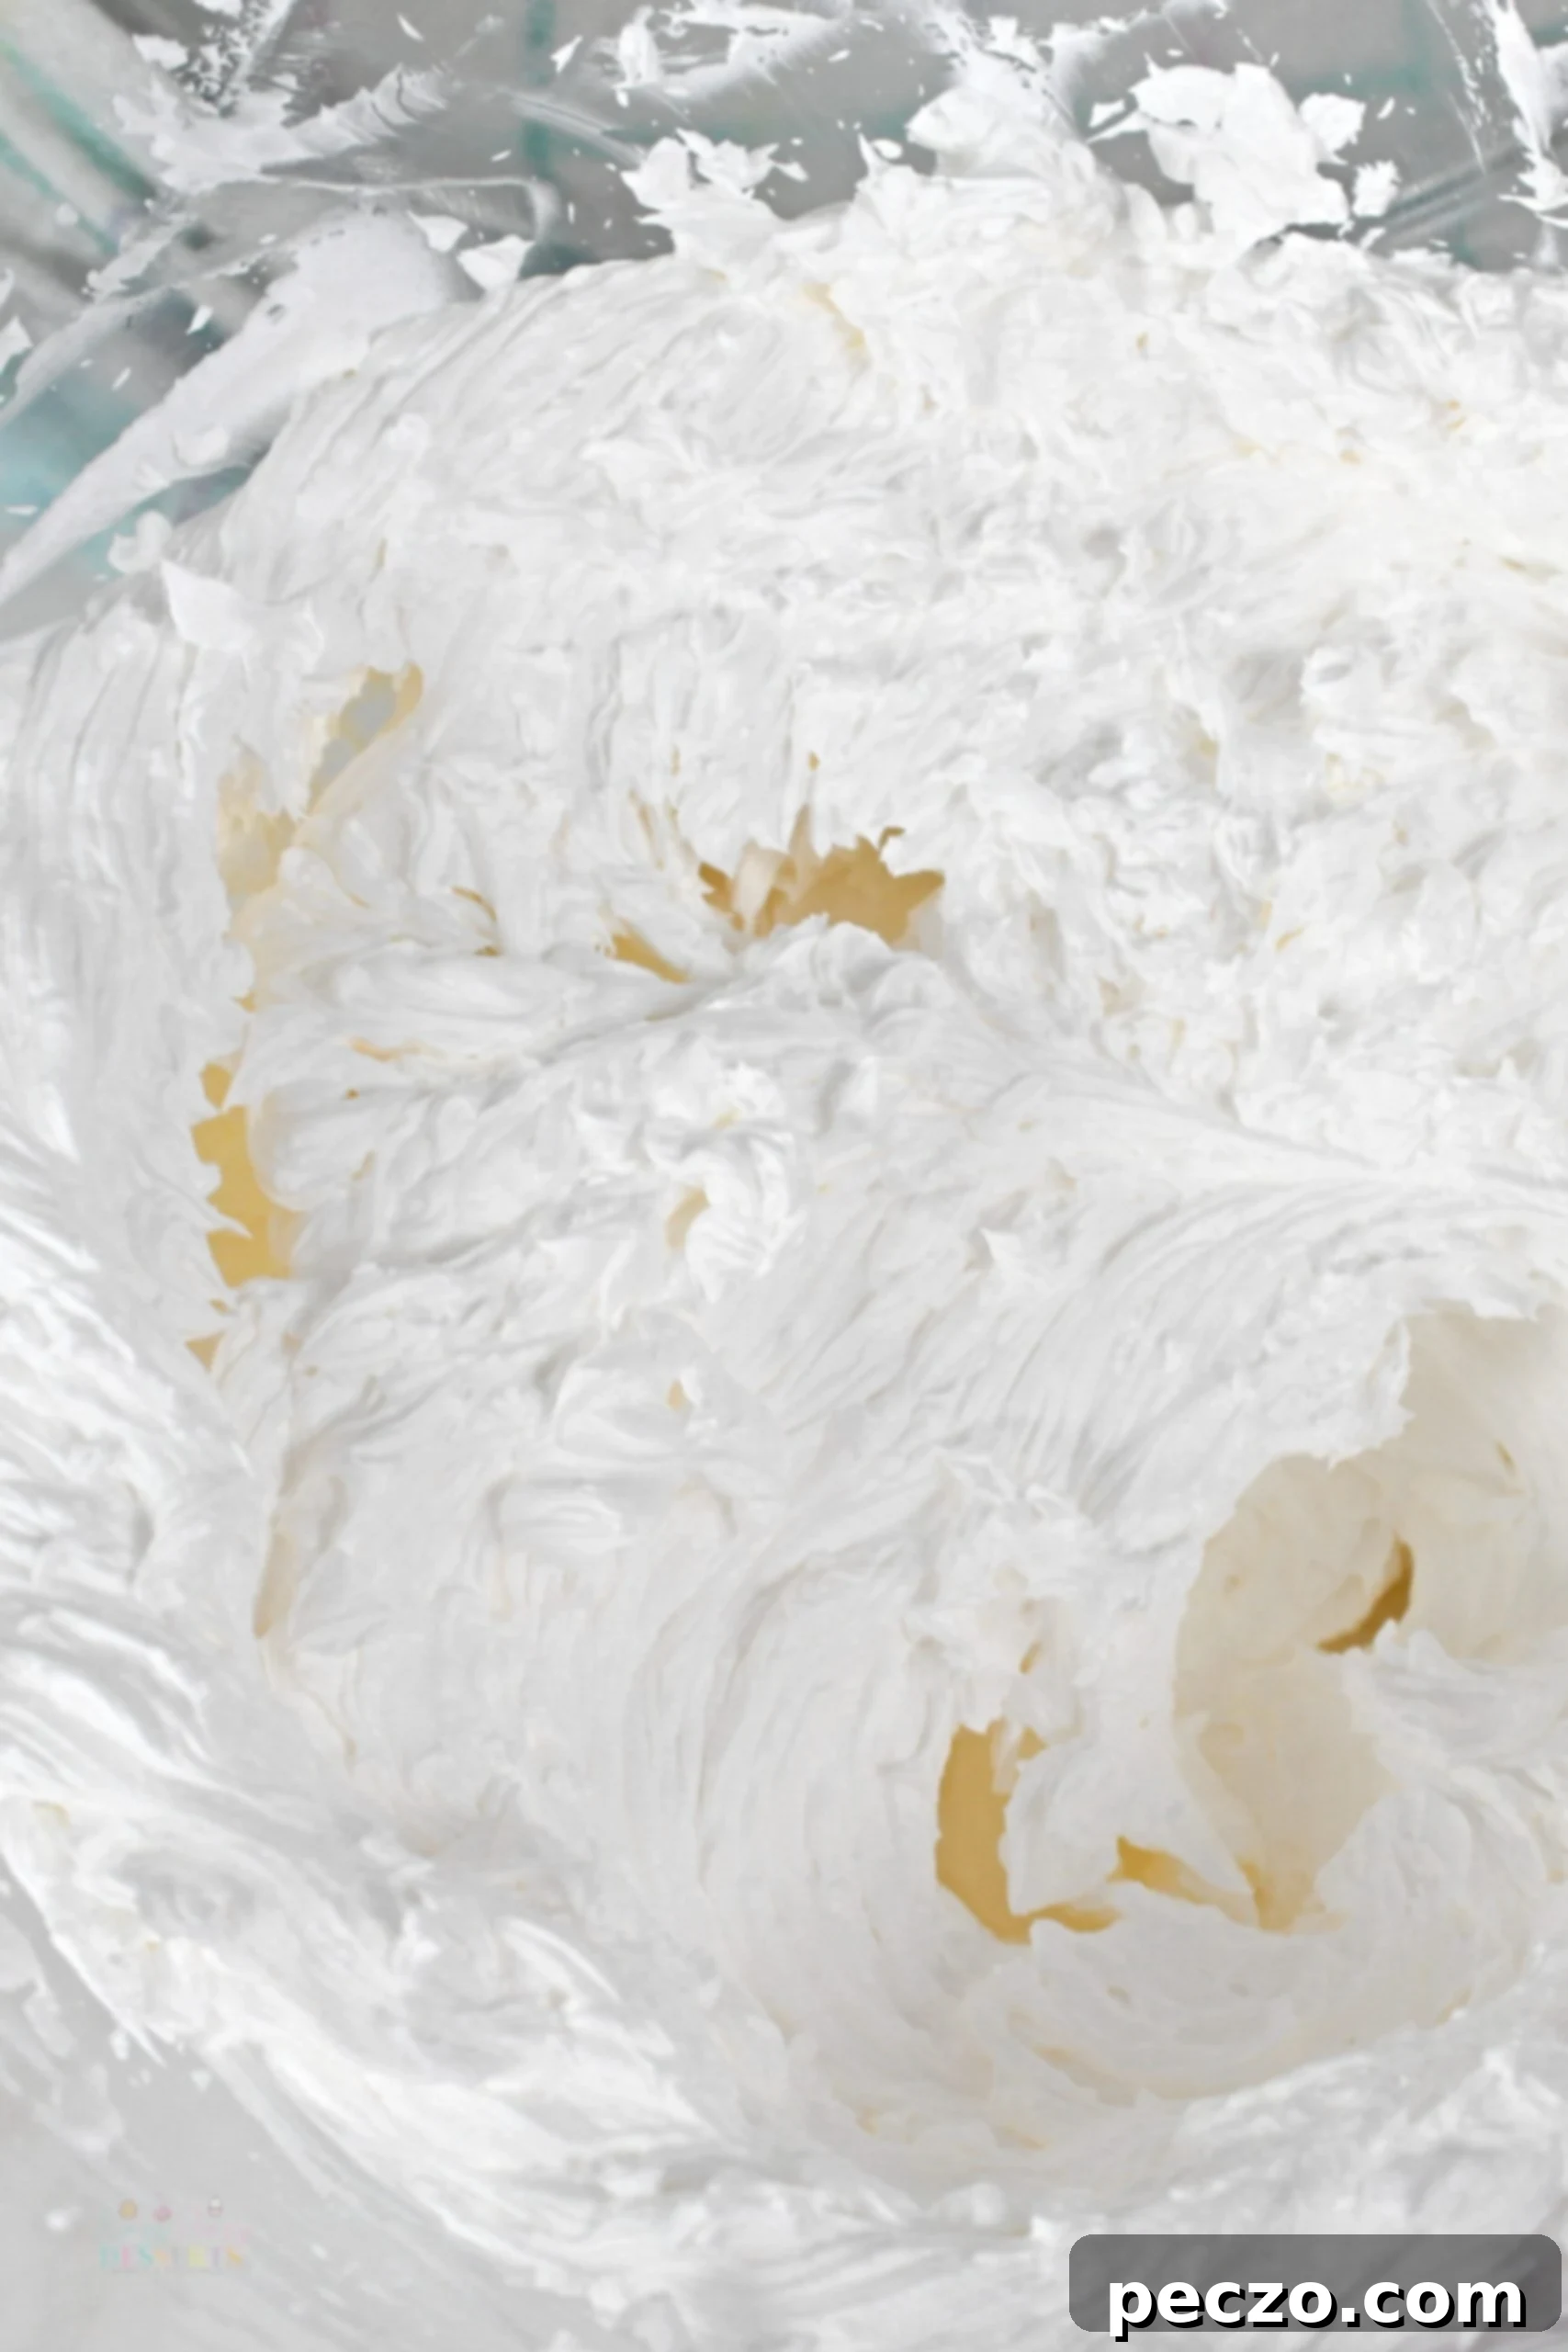
- Add the granulated sugar to the cold cream. Begin beating with chilled beaters on medium-high speed. Continue to beat until stiff peaks form and, most importantly, ensure that the granulated sugar has completely dissolved. You can test this by rubbing a small amount of cream between your fingers; if it feels smooth, the sugar is dissolved. This process typically takes around 5-7 minutes, depending on your mixer’s power and the coldness of your ingredients.
Once your whipped cream has reached the desired consistency, you can add any preferred flavors if needed (see variations below). Remember to fold them in gently to maintain the airy texture.
Expert Tips for the Perfect Homemade Whipped Cream
Achieving light, fluffy, and stable whipped cream is simple with these expert tips:
- The Sugar Choice: While this recipe champions granulated sugar for its superior texture, you technically can use white granulated sugar or even brown sugar for a subtle caramel note. If using brown sugar, note that it will impart a slight color and a less intense sweetness than white sugar. For the smoothest whipped cream and to guarantee complete dissolution, especially with granulated sugar, opt for brands with finer grains. This helps prevent a gritty texture and ensures the sugar fully incorporates into the cream.
- The Chill Factor is Key: This is arguably the most critical tip. For optimal results, ensure your heavy cream, mixing bowl, and electric mixer beaters are all thoroughly chilled. Place them in the refrigerator for at least 2 hours, or even better, overnight. For an extra boost of cold, you can place the bowl and beaters in the freezer for 15-20 minutes just before you start. The colder the fat molecules in the cream are, the more efficiently they will emulsify and trap air, leading to a much more stable and voluminous whipped cream. Start whipping the cream immediately after taking the ingredients from the fridge/freezer to maintain this crucial cold temperature.
- Add Sugar Gradually: Instead of dumping all the sugar in at once, add it in small batches while whisking. This allows the sugar to dissolve more evenly and completely, preventing grittiness and ensuring a smooth final product. It also helps in monitoring sweetness to your preference.
- Avoid Overbeating: This is a common pitfall! Whipped cream can quickly turn from perfectly fluffy to grainy and even into butter if overbeaten. Keep a close eye on the cream. As soon as soft peaks form and the sugar is dissolved, stop beating. The cream should be able to hold its shape when you lift the beaters, but still be light and airy. Use it immediately for the best texture.
- Whip in Smaller Batches: Rather than attempting to make a very large amount of whipped cream at once, consider making smaller batches. Smaller quantities are generally easier to whip evenly, tend to be more stable, and achieve a better, consistent texture throughout. This also helps prevent overbeating some parts while others are still under-whipped.
Delicious Recipe Variations for Your Homemade Whipped Cream
While classic whipped cream is divine on its own, it’s also an excellent canvas for creative flavor combinations:
- For a subtly flavored whipped cream, incorporate a teaspoon of pure **vanilla extract**, almond extract, or even maple syrup after the sugar has dissolved. Other popular choices include peppermint extract for holiday treats or a splash of orange or lemon zest for a citrusy lift.
- To create a rich chocolate whipped cream, gently fold in a tablespoon or two of high-quality **cocoa powder** after the cream has reached soft peaks, or mix in melted and thoroughly chilled chocolate. Ensure the melted chocolate is not warm, as it could curdle the cream.
- For a thicker, more decadent, and creamier whipped topping, beat in a few tablespoons of mascarpone cheese or softened cream cheese along with the heavy cream. This adds tanginess and significant stability.
- For a delightful dairy-free option, use full-fat **coconut cream** (chilled overnight, skimming off the liquid) instead of heavy cream. The process is similar, yielding a wonderfully rich and creamy alternative.
Serving Suggestions for Your DIY Whipped Cream
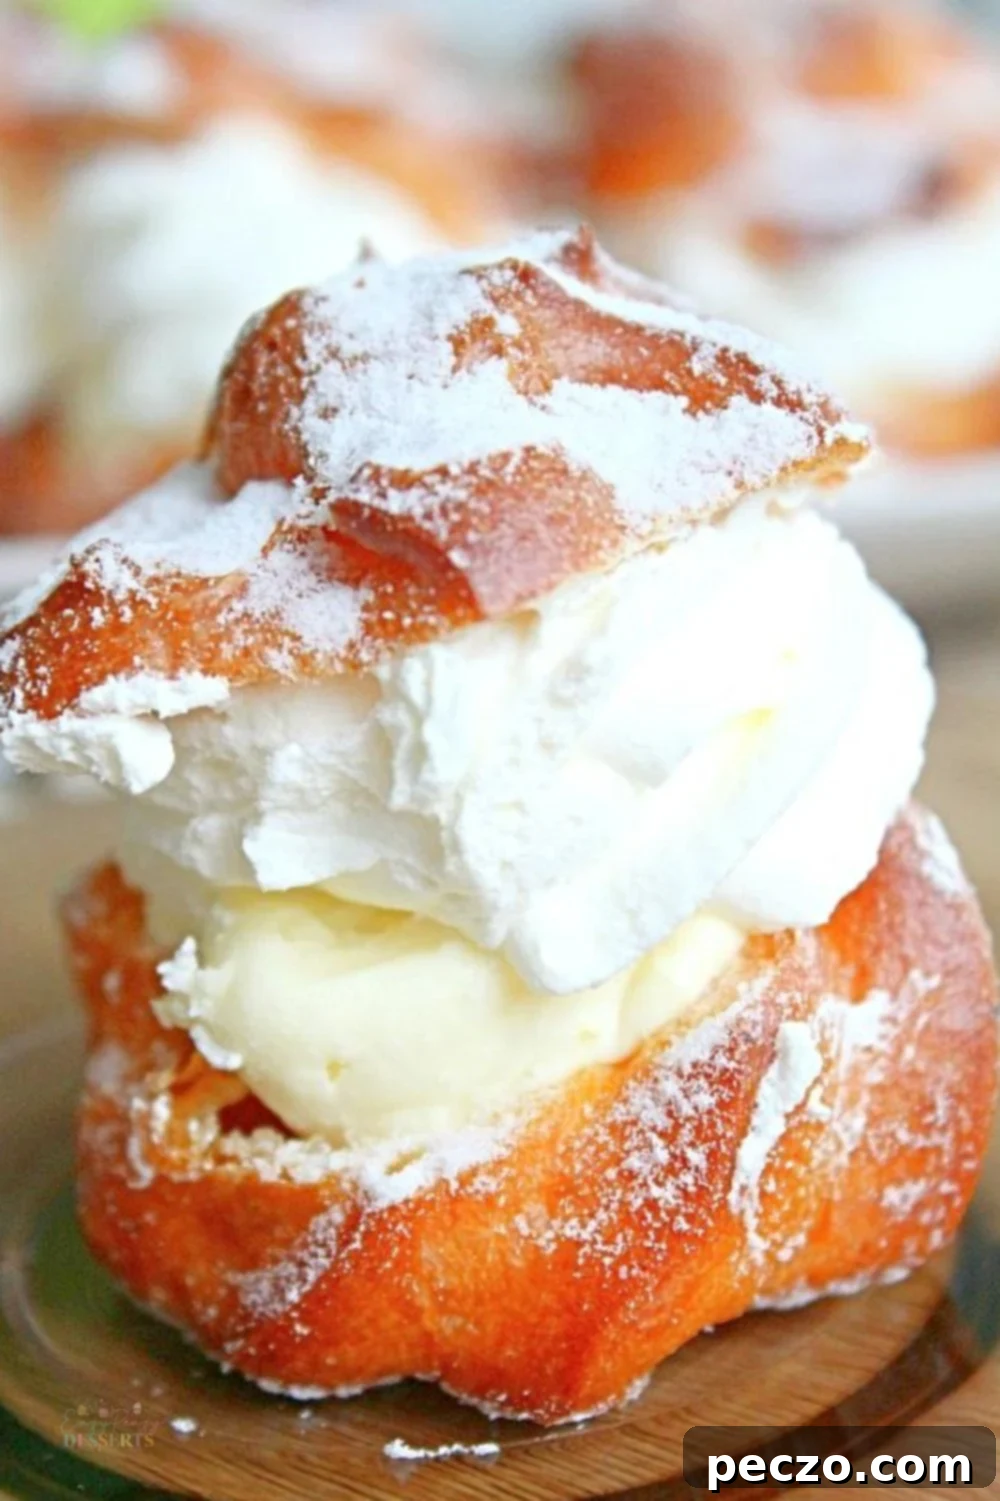
This amazing homemade whipped cream is incredibly versatile and can enhance virtually any dessert. While it pairs beautifully with almost everything, I find its absolute best match to be fruit desserts. Its light, airy texture and delicate sweetness perfectly complement the natural flavors and acidity of fresh fruit. You’ll find whipped cream featured in countless beloved treats, such as classic French cream puffs, elegant birthday cakes, layered trifles, or delicate fruit tarts – and frankly, it’s hard to imagine these desserts without its signature cloud-like presence.
Beyond traditional uses, this easy whipped cream also makes an exceptional frosting idea for cakes, especially for home bakers who might be less experienced with more complex buttercreams. It comes together in just a few minutes, is wonderfully light, and spreads effortlessly on a cake, requiring no special skills or fancy tools. Don’t believe me? Check out this easy chocolate mousse cake that I completely covered in this frosting in literally 2 minutes!
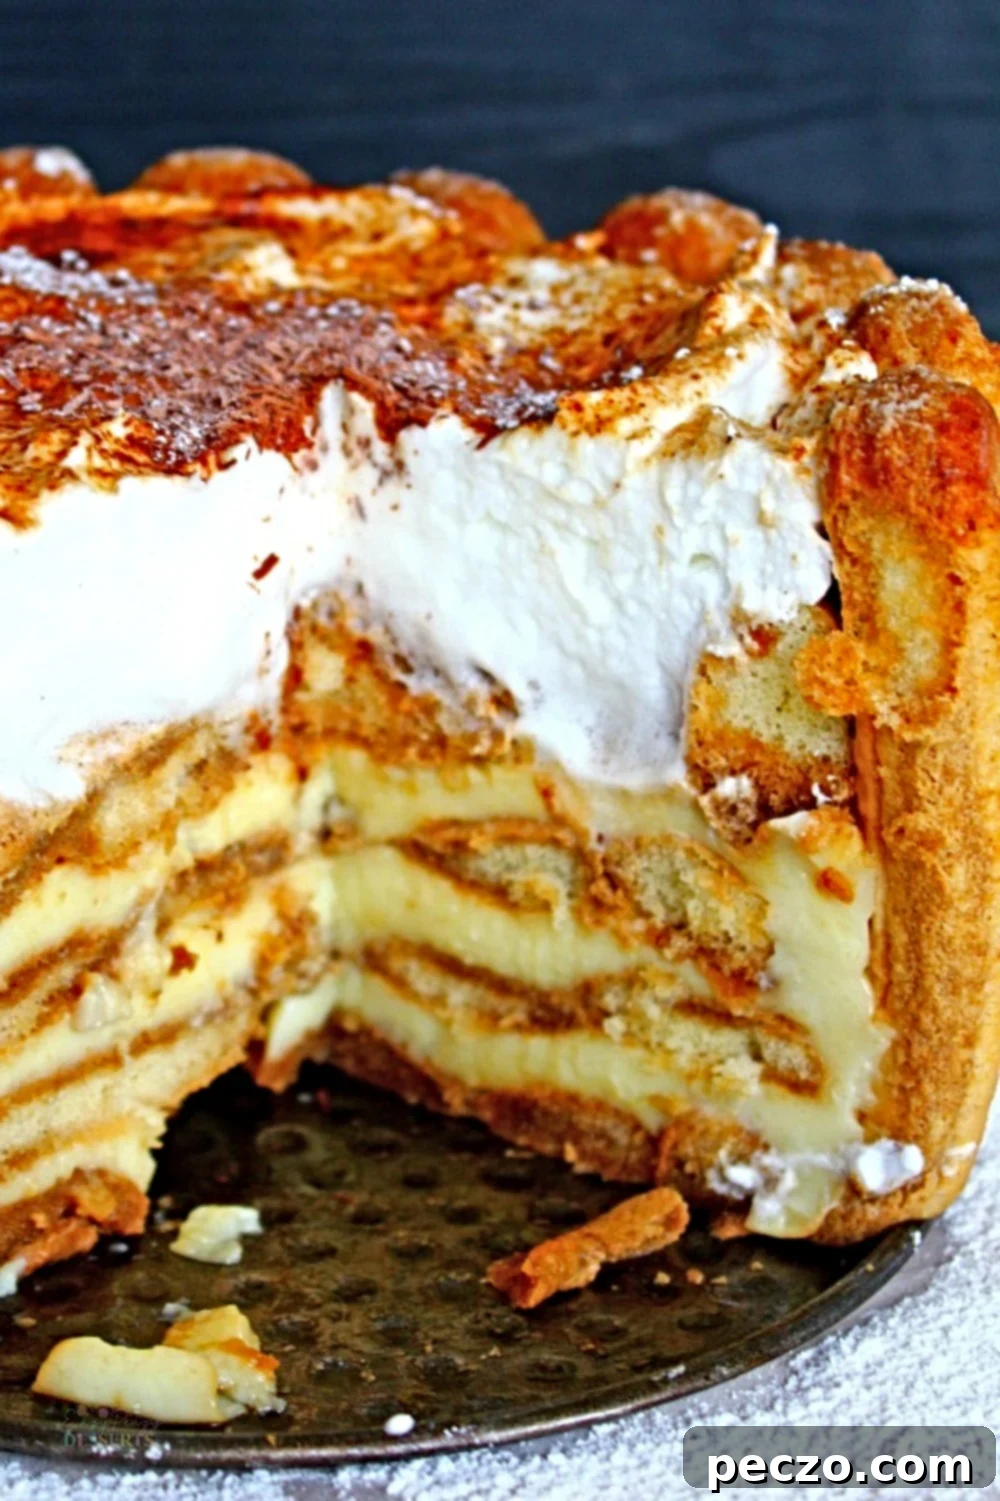
I also adore adding generous dollops of it to cupcakes, fudgy brownies, creamy mousse desserts, a steaming mug of hot chocolate, and even my morning coffee for an indulgent treat. Furthermore, it’s my go-to topping or filling for any cheesecake, rich cream pie, or tiramisu cake I prepare, like this exquisite apple tiramisu and this vibrant raspberry tiramisu. Its versatility knows no bounds!
Frequently Asked Questions About Making Whipped Cream
What’s the secret for foolproof easy whipped cream every time?
I frequently receive questions about the correct way to whip cream. It’s a common challenge for many home bakers; some fail to chill the ingredients sufficiently (or at all), while others either under-whip or over-whip it. Regardless of the mistake, the outcome often isn’t what we expect, which can be disheartening, especially when it spoils an otherwise perfect dessert. So, what is the secret to the perfect whipped cream recipe?
I have a couple of “secrets” that, without exception, consistently yield the most perfect whipped cream with just the right texture and exquisite taste:
- **Extreme Cold Cream:** My first secret is to chill the heavy cream overnight in the refrigerator. The cream must be very cold when whipped; I use it straight from the fridge. If the cream isn’t sufficiently chilled, it simply won’t whip well, remaining soft and soupy no matter how long you beat it or how much sugar you add. Please note: freezing the cream to speed up the chilling process is *not* a solution, as it can separate the fat and water, leading to an undesirable texture. Slow, thorough chilling in the fridge is always best.
- **Chilled Equipment:** My second secret involves using a cold bowl and cold beaters. You can place your metal or glass mixing bowl and the beaters in the freezer for about 20-30 minutes before you start whipping. Alternatively, place them on top of a frozen bag of vegetables to quickly cool them down.
The fundamental trick is to keep everything – the cream and all your equipment – as cold as possible. A cream that is too warm will not be able to effectively incorporate the air you’re adding to it. While it might still whip up to some degree, it won’t achieve the desired volume or the light, fluffy texture that cold cream readily develops. This cold environment helps the fat globules solidify and form a stable network, trapping air effectively.
How much sugar should I add to whipped cream frosting?
Many recipes for whipped frosting use icing sugar (or powdered sugar), but I personally have a strong preference for granulated sugar. I find that the resulting texture is significantly better. With granulated sugar, the fine crystals slowly dissolve and seamlessly incorporate into the cream as you beat it, leading to a wonderfully fluffy, creamy, melt-in-your-mouth whipped topping. You won’t perceive any grittiness from the sugar at all, which can sometimes be an issue with icing sugar if not fully blended.
It’s true that using granulated sugar may require a bit more beating time, as you need to ensure all the sugar granules are completely dissolved. However, the superior texture and cleaner taste make it absolutely worth the extra minute or two! The ideal texture for whipped cream should range from soft to stiff peaks – meaning it holds its shape well when the beaters are lifted – but it should never be crumbly or watery and loose. We certainly don’t want our lovely dessert to collapse, do we?
The precise amount of sugar to add truly depends on individual preferences, as some people enjoy sweeter desserts while others prefer just a hint of sweetness. For our household, I’ve found that a perfect balance is a 1:2 ratio – for each cup of granulated sugar, I use 2 cups of heavy whipping cream. However, I’ve also achieved excellent results using half that amount of sugar when making this easy whipped cream for desserts that are already quite sweet on their own, such as cupcakes or elaborate cakes. Keep in mind that the sugar content will influence not only the level of sweetness but also the texture of your cream: whipped cream with more sugar will tend to have a denser, richer, and more stable texture, while creams with less sugar will be airier and slightly less rich.
What is the best way to make homemade whipped cream?
You can use various tools to make whipped cream: a regular blender, a hand mixer, or a stand mixer. However, the whipping time will largely depend on the power of your chosen tool. Whipping by hand with a whisk, for instance, will not only be incredibly time-consuming but also requires significant arm strength! Therefore, I always recommend using either a hand mixer or a stand mixer. A hand mixer is often my favorite because it allows me to move it around the bowl freely, ensuring I capture and whip all the cream and sugar evenly. If you opt for a stand mixer, you’ll likely need to stop it halfway through and scrape down the sides of the bowl to ensure uniform whipping.
Remember that heavy cream will roughly double in volume as it whips, so always choose a mixing bowl that is large enough to comfortably accommodate this growth, preventing spills and allowing ample space for the beaters to incorporate air effectively.
What happens if I overbeat whipped cream?
It’s essential to keep a close watch on your cream as it whips. As soon as soft peaks form and you’ve confirmed the sugar is dissolved, you must stop beating. Fluffy peaks can turn into a grainy, separated paste in a matter of mere seconds, unfortunately ruining your beautiful cream for its intended use. What occurs when you overbeat cream is that the fat globules, which are normally suspended in water, begin to clump together and separate from the liquid. This process essentially turns the cream into butter!
Don’t worry, though, there’s no need to throw it away! If you accidentally overbeat it, simply keep beating. Continue until it fully separates into solids and liquid, and you’ll end up with delicious homemade butter. The remaining liquid is buttermilk, which you can use for delectable cakes, tender cupcakes, or fluffy pancakes.
You can also attempt to rescue slightly overbeaten cream by slowly adding a tablespoon or two of fresh, cold heavy cream and a tiny bit more sugar. Gently whisk this in until the cream comes together again, nice and fluffy. However, if this doesn’t happen after a few seconds of gentle mixing, your cream is likely beyond saving for a fluffy topping, and your best bet is to make peace with turning it into butter and buttermilk.
What can I add to flavor the cream?
You can certainly enjoy this easy whipped cream as is, appreciating its pure, delicate flavor. However, it’s also wonderfully adaptable and can be flavored during the last whipping stage with just about anything your heart desires:
- **Extracts:** Popular choices include classic vanilla extract, vibrant orange or lemon extracts, a sophisticated rum extract, or a nutty almond extract. Start with a small amount (like 1/2 to 1 teaspoon) and add more to taste.
- **Spices:** Warm spices like cinnamon powder, cocoa powder for a subtle chocolate note, or even a mix of pumpkin pie spices can add wonderful depth, especially for seasonal desserts.
- **A Touch of Alcohol:** For a grown-up dessert, add a small “kick” with a splash of whiskey, rum, or your favorite dessert liqueur. This enhances the flavor profile and adds an intriguing complexity.
Always fold in these additions gently once the cream has achieved soft peaks to maintain its airy texture.
How to prevent whipped cream from melting in hot weather?
If you’re making or serving homemade whipped cream in a warm or humid environment, you might encounter difficulties getting it fluffy and preventing it from melting too quickly. The key to combating this heat is a multi-pronged approach.
The primary secret remains to thoroughly chill the cream, the mixing bowl, and the beaters beforehand, as this is the foundation for stability. Additionally, you can add a stabilizer to the cream after it has been beaten to soft peaks. Common and effective stabilizers include a small amount of cornstarch, unflavored gelatin (dissolved and cooled), or even milk powder. A tablespoon of cornstarch or milk powder per cup of heavy cream, or 1 teaspoon of dissolved gelatin, can significantly improve the cream’s ability to hold its shape at room temperature. This way, your stabilized whipped cream will maintain its firm, beautiful peaks and can be confidently piped onto your dessert even when the temperature rises.
Storing Your Homemade Whipped Cream
Your easy homemade whipped cream will keep well in an airtight container in the refrigerator for about 2-3 days. While it might decrease slightly in volume and become a little less airy over time, don’t worry! You can often whip it again briefly with chilled beaters right before using it to restore some of its original fluffiness.
You can also freeze leftover whipped cream. Transfer it to a freezer-safe bag or an airtight container for longer-term storage, where it will remain good for up to 3 months. To use, thaw it in the fridge for a few hours. Once thawed, give it a quick whip with chilled beaters before incorporating it into recipes or as a topping. While frozen and thawed whipped cream is perfectly fine for midweek desserts or to add to drinks, for special occasions, I highly recommend making a fresh batch. The fresh cream’s look, texture, and taste will undoubtedly be superior!
Other Frosting Recipes You Will Love:
- Simple Cream Cheese Frosting
- Rich Chocolate Mousse Dessert
- Easy Chocolate Buttercream Frosting
Homemade whipped cream truly is a versatile, delectable, and essential addition to nearly any dessert. With just two simple ingredients and a few minutes of effort, you can effortlessly create a light, fluffy, and incredibly creamy topping that will elevate your desserts from good to absolutely extraordinary. So, the next time you’re contemplating reaching for that can of store-bought, imitation whipped cream, consider making it at home instead. The fresh flavor, superior texture, and overall delightful experience will be profoundly worth the minimal extra effort!
If you enjoyed this easy whipped cream recipe and found these tips helpful, please let me know in the comments below! I love hearing about your culinary successes. Don’t forget to sign up for my newsletter to receive new, delicious, and easy dessert recipes straight to your inbox! Happy baking and happy whipping!
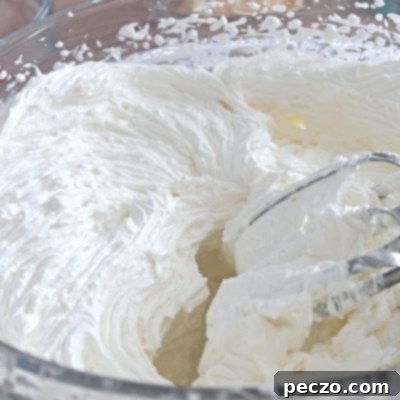
Easy Whipped Cream
petro
Pin Recipe
Equipment
-
Hand Mixer
-
Large Mixing Bowl
Ingredients
- 1 cup heavy cream (very well chilled)
- 1/2 cup granulated sugar (or to taste)
Instructions
-
Pour the thoroughly chilled heavy cream into your chilled mixing bowl.

-
Add the granulated sugar to the cold cream.

-
Beat with your chilled beaters on medium-high speed until firm, soft peaks form and all the sugar is completely dissolved. Be careful not to overbeat!

Video
Nutrition
