Crispy Golden Homemade Apple Fritters with Vanilla Glaze: Your Ultimate Guide
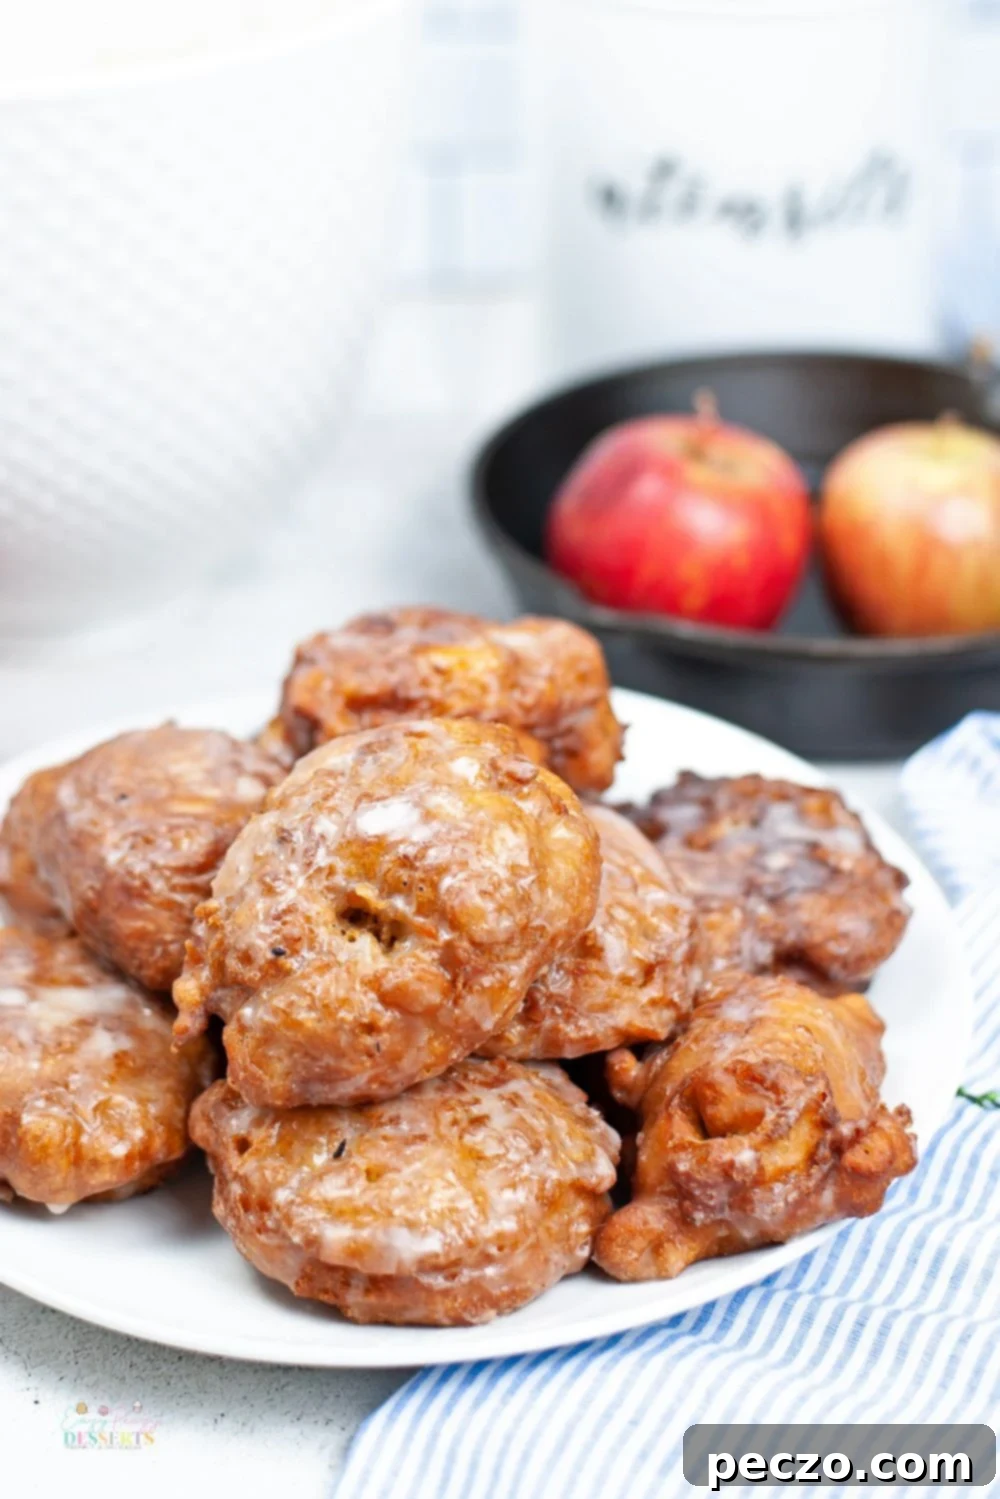
Deep-fried to golden perfection, generously filled with tender fresh apple pieces, and lovingly coated with a sweet, luscious vanilla glaze, these easy homemade apple fritters are an absolute dream. Whether you’re searching for a delightful breakfast treat, a comforting dessert, or a special afternoon snack, these fritters promise a taste of pure bliss. Forget complicated bakery recipes – our straightforward guide makes preparing these delectable goodies surprisingly simple, bringing authentic, bakery-quality apple fritters right to your kitchen in under 30 minutes!
Indulge in the Irresistible Charm of Homemade Apple Fritters
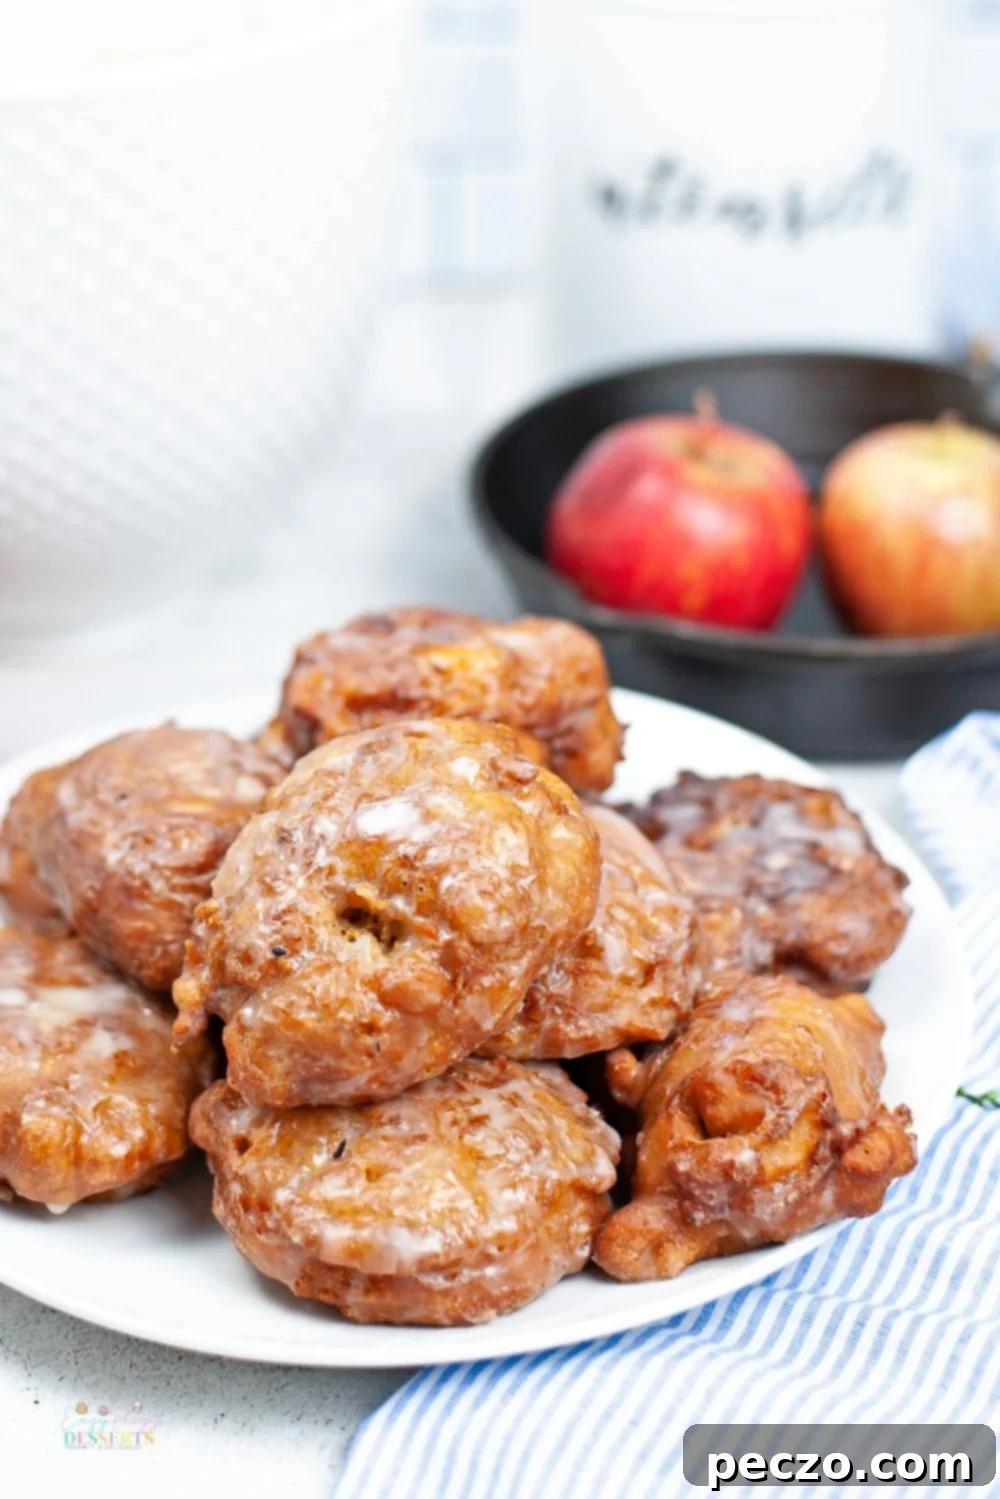
If you’ve been craving that quintessential classic apple fritter experience – the one with the perfect balance of a crisp, golden exterior, a soft, fluffy interior, and warm, spiced apple chunks – then you’ve undoubtedly arrived at the right place. This recipe isn’t just about a simple treat; it’s a gateway to recreating a beloved, nostalgic classic right in your own home. Despite their often intricate appearance, homemade apple fritters are remarkably simple to prepare, making them accessible even for novice bakers. You can impressively whip up a fresh batch of these fried apple delights for your entire family or a gathering of friends in less than half an hour, from initial mixing to final glazing. Imagine the inviting aroma of cinnamon and sweet apples filling your kitchen as these golden-brown treasures emerge from the hot oil, ready to be drenched in a luscious, aromatic vanilla glaze. They’re more than just food; they’re an experience, a memory in the making, and a testament to the unparalleled joy of simple, comforting homemade sweets.
Why Embrace Homemade Apple Fritters?
Beyond their undeniable deliciousness, there are numerous compelling reasons to choose making apple fritters from scratch. Firstly, freshness is a game-changer. Store-bought fritters, while offering convenience, often fall short in delivering the vibrant, crisp flavor of freshly diced apples and the tender, airy texture that only a freshly made batter can provide. When you craft them at home, you have complete control over the quality of every ingredient, ensuring a superior taste profile and the option to make healthier choices (perhaps opting for certain oils or adjusting sugar content in the glaze). Secondly, the baking process itself is incredibly rewarding. There’s a unique satisfaction in transforming a few basic pantry staples into something so utterly delightful and visually appealing. And let’s not overlook the immense joy of customization! Want to amplify the cinnamon? Go for it! Prefer a hint of nutmeg or a different citrus zest in your glaze? The possibilities are truly endless when you’re the master chef, allowing you to tailor these treats exactly to your liking.
Other Apple Desserts You’ll Love to Explore
If you’re an avid apple enthusiast, the culinary world offers an abundant bounty of delightful desserts beyond the beloved fritter. Apples are incredibly versatile, lending their sweet and tart notes to a myriad of incredible creations. Here are a few other fantastic apple-based treats that are sure to tantalize your taste buds and expand your apple dessert repertoire:
- Apple Roses with Puff Pastry: These elegant, rose-shaped pastries are surprisingly simple to assemble and make a stunning presentation for any occasion.
- Apple Coffee Cake: A perfect companion for your morning coffee or a delightful brunch offering, featuring a moist cake base swirled with a sweet apple filling and often topped with a crumbly streusel.
- Puff Pastry Apple Danish: Enjoy the flaky, buttery layers of puff pastry enveloping a sweet, spiced apple filling, making it an ideal treat for breakfast or a quick snack.
- Incredibly Delicious Apple Tiramisu: A unique and creative twist on a classic Italian dessert, layering flavors and textures in an unforgettable combination that will surprise and delight.
- Apple Pull Apart Bread: This fun and interactive bread is not only satisfying to bake but also incredibly enjoyable to eat, perfect for sharing with family and friends.
- Apple Cinnamon Muffins: A comforting and wholesome option, these tender muffins are packed with apple pieces and warm cinnamon, making them great for a quick breakfast or a grab-and-go snack.
Remembering the Starbucks Apple Fritter: A Homemade Revival
For many, the mere mention of apple fritters might evoke fond memories of a certain popular coffee shop chain. Indeed, Starbucks did feature apple fritters on its menu several years ago, where they quickly became a highly sought-after sweet treat. Their rendition was well-loved, boasting perfectly diced apples generously coated in warm cinnamon and finished with a classic vanilla glaze, much like the one we’re crafting today. However, to the disappointment of many loyal fans and pastry enthusiasts, this beloved item has unfortunately since been discontinued from their offerings. But fear not! While you might no longer be able to find them at your favorite local Starbucks, that certainly doesn’t mean you have to miss out on those sweet, comforting, and nostalgic flavors. This quick and easy homemade recipe empowers you to not only recreate that delightful experience but often surpass it in terms of freshness, warmth, and bespoke taste. You can savor the unparalleled satisfaction of biting into a warm, freshly made apple fritter, knowing precisely what wholesome ingredients went into it, all from the cozy comfort of your own kitchen.
Essential Ingredients for the Best Homemade Apple Fritters
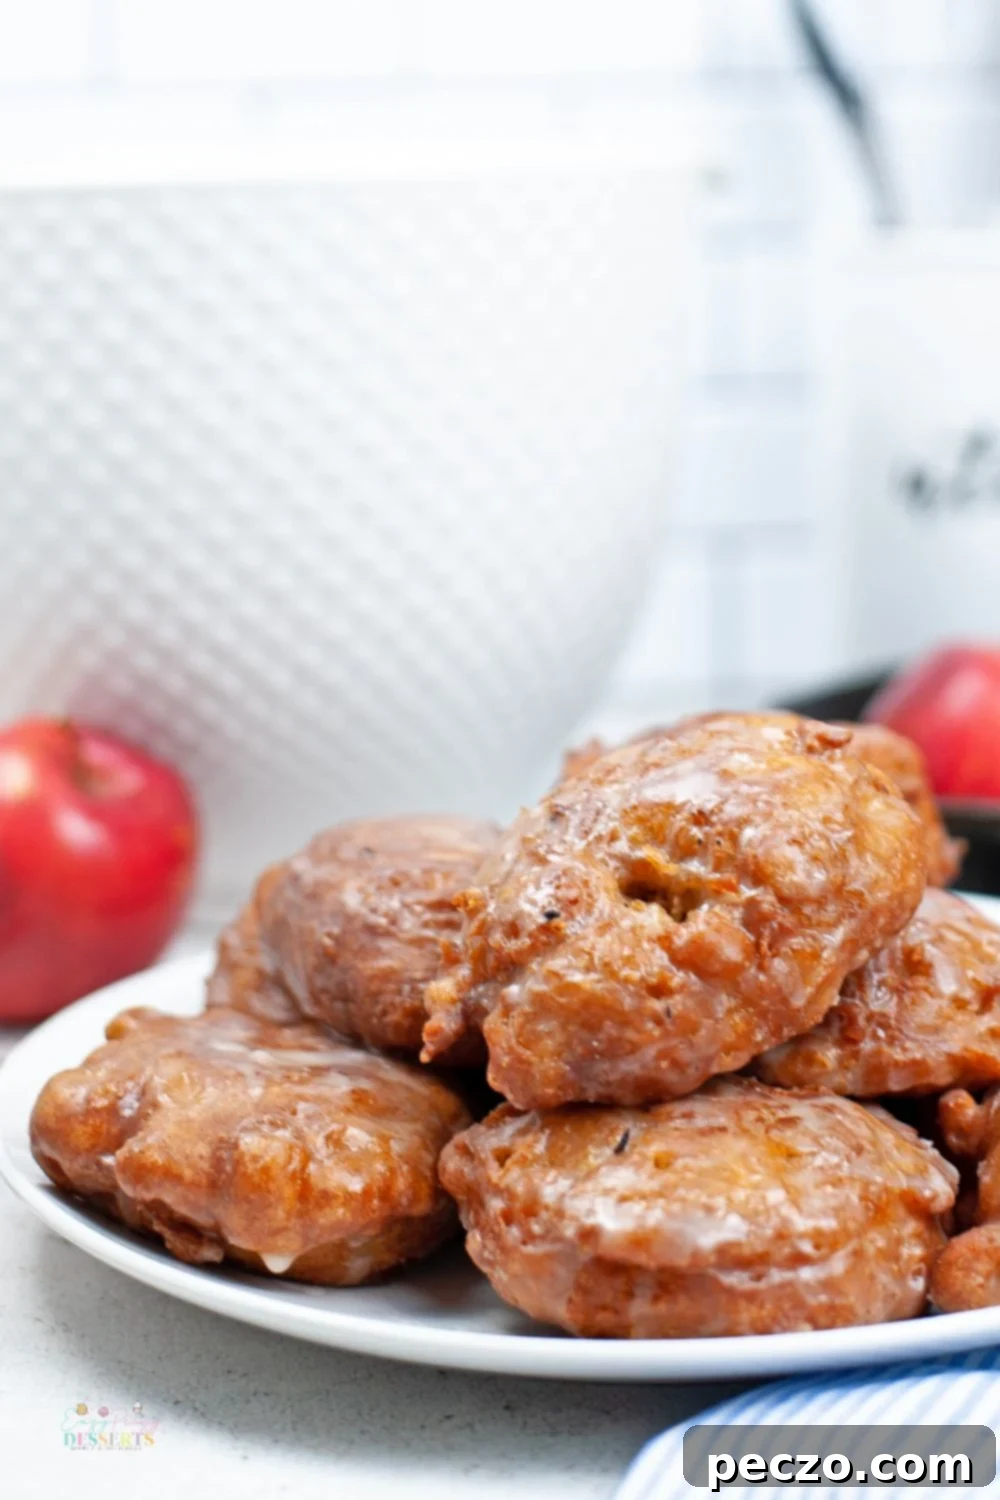
One of the most appealing aspects of this simple, yet incredibly satisfying treat is that the ingredients required are likely already familiar staples found in your pantry and refrigerator. You won’t need to embark on a quest to specialty stores for exotic items; most of what you need is readily available at your local grocery store. These easy homemade apple fritters taste just like, if not even better than, the delicious fritters you might remember from traditional bakeries or even the discontinued Starbucks version. To embark on your delicious apple fritter journey, gather the following high-quality ingredients:
- Fresh Apples: The undisputed star of the show! We’ll delve into selecting the best varieties shortly to ensure perfect texture and flavor.
- Eggs: Act as a crucial binding agent, adding essential richness to the batter and helping the fritters achieve a desirable rise and tender crumb.
- Applesauce: Provides additional moisture and an intensified apple flavor, all while keeping the batter light and preventing it from becoming overly dense.
- All-Purpose Flour: Forms the fundamental structural base of our delectable fritters, giving them their satisfying chew.
- Baking Powder: Our primary leavening agent, responsible for creating a light, airy, and fluffy texture within each fritter, making them melt-in-your-mouth soft.
- Ground Cinnamon: The quintessential spice that harmonizes perfectly with apples, infusing the fritters with a warm, inviting aroma and classic taste.
- Salt: A crucial pinch of salt enhances and balances all the other flavors, preventing the fritters from tasting overly sweet and bringing out the best in the apples and cinnamon.
- Granulated Sugar: Sweetens the fritter batter to perfection, complementing the natural sweetness of the apples.
- Milk: Adds vital moisture and helps achieve the ideal batter consistency – neither too thick nor too thin – ensuring easy dropping into the oil.
- Oil for Frying: Essential for achieving that coveted golden, crispy exterior. Neutral-flavored oils like vegetable oil, canola oil, or peanut oil are highly recommended for their high smoke point and minimal flavor interference.
- Powdered Sugar (Confectioners’ Sugar): The indispensable base for our smooth and luxurious vanilla glaze.
- Vanilla Extract: Infuses the glaze with a classic, comforting, and deeply aromatic flavor that perfectly complements the apple fritters.
This simple yet powerful list of ingredients combines synergistically to create culinary magic, proving that some of the most extraordinary flavors often emerge from ordinary, readily available components, when skillfully combined.
Mastering the Art: How to Make Perfect Apple Fritters Every Time
Creating these delightful apple fritters is a surprisingly straightforward process, making it an enjoyable baking project even for beginners. Follow these detailed, step-by-step instructions to achieve beautifully golden, perfectly cooked, and lusciously glazed treats every single time:
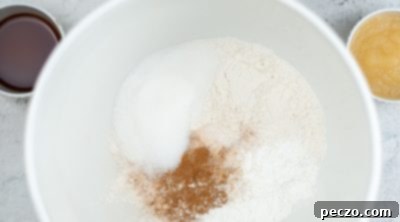
- Prepare the Dry Ingredients: Begin by gathering a large mixing bowl. Into this bowl, thoroughly whisk together the all-purpose flour, granulated sugar, baking powder, ground cinnamon, and salt. It’s crucial to ensure these dry ingredients are impeccably combined to distribute the leavening agent and spices evenly throughout the batter. This step is key for achieving consistent flavor, a uniform rise, and an appealing texture in your finished fritters.
- Combine Wet and Dry Components: Once your dry mixture is ready, create a small, shallow well in its center. Carefully pour in the milk, the lightly beaten eggs, and the applesauce. Using a whisk or spatula, gently mix all the ingredients together until they are just combined. Exercise caution not to overmix the batter; a few small lumps are perfectly acceptable and, in fact, often contribute to a more tender and desirable fritter texture. Overmixing can lead to the development of gluten in the flour, which could result in tough, rubbery fritters.
- Gently Fold in the Apples: With your batter prepared, carefully fold in the peeled and uniformly diced fresh apples. Ensure that the apple pieces are thoroughly and evenly distributed throughout the batter. This step is absolutely crucial for guaranteeing that you get juicy, flavorful apple bits in every single bite, truly defining the essence of an apple fritter.
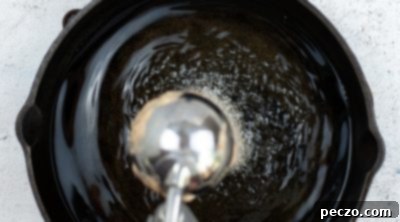
- Heat the Frying Oil to Perfection: In a sturdy, deep pan or a heavy-bottomed skillet (a cast-iron skillet is highly recommended for its excellent and even heat distribution), pour enough neutral oil to achieve a depth of approximately 2 to 3 inches. Place the pan over medium-high heat and allow the oil to heat up until it reaches a precise temperature of 375°F (190°C). Utilizing a reliable kitchen thermometer is absolutely essential for accuracy here, as maintaining the proper oil temperature is the single most critical factor for achieving crispy, golden, and non-greasy fritters. If the oil is not hot enough, the fritters will absorb excessive oil and become unpleasantly soggy. Conversely, if the oil is too hot, they will burn rapidly on the outside before the internal batter and apples have a chance to cook through.
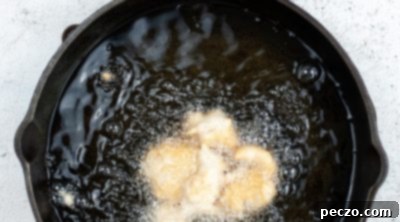
- Carefully Fry the Fritters: Once the oil has reached the ideal temperature, carefully drop approximately 1/4 cup of the apple fritter batter into the hot oil for each fritter. You can use a cookie scoop or two spoons for this. Be mindful not to overcrowd the pan, as doing so will cause the oil temperature to drop significantly and prevent even cooking. Fry the fritters for approximately 3 minutes on each side, or until they have developed a beautiful, deep golden-brown color and are thoroughly cooked through. You may need to make slight adjustments to the heat throughout the process to maintain a consistent oil temperature, ensuring even frying.
- Drain Excess Oil: Using a slotted spoon or a spider strainer, carefully remove the perfectly golden-brown fritters from the hot oil. Immediately transfer them to a baking rack that has been placed over several layers of paper towels. The paper towels will effectively absorb any excess oil, which is vital for ensuring your fritters remain delightfully crispy and light, rather than greasy. Allow them to rest here momentarily while you prepare the glaze.
- Cool Slightly Before Glazing: While still warm from frying, transfer the fritters from the paper towels to a clean, empty baking rack. Allow them to cool slightly, but not completely. This allows the exterior to set just enough to prevent the warm glaze from simply melting off entirely upon application.
- Prepare the Luscious Vanilla Glaze: In a separate, clean mixing bowl, whisk together the powdered sugar (also known as confectioners’ sugar), pure vanilla extract, and milk until you achieve a perfectly smooth, pourable, yet thick glaze consistency. If the glaze appears too thick, add a tiny bit more milk, one teaspoon at a time. If it seems too thin, gradually whisk in a little more powdered sugar until the desired consistency is reached.
- Generously Glaze the Fritters: Position the baking rack containing the slightly cooled fritters over a clean baking sheet (this clever setup will conveniently catch any drips of excess glaze, making cleanup easier). Generously pour the prepared vanilla glaze over each fritter, ensuring they are thoroughly coated on all sides. For an extra thick, decadent, and visually appealing glaze, you can repeat this step 2-3 times, allowing the glaze to set slightly between each coating. Serve these warm, freshly glazed apple fritters immediately and prepare for pure culinary delight!
Choosing the Perfect Apples for Your Fritters
Selecting the right apple variety is a truly crucial step that can significantly impact the success and overall enjoyment of your apple fritters. With an often overwhelming abundance of options available at the grocery store or farmer’s market, it’s easy to feel unsure about which apples to pick. Generally, apples are conveniently categorized into those best suited for baking (which typically hold their shape well during prolonged cooking times) and those better for eating raw or applications requiring quicker cooking. Understanding this fundamental distinction will undoubtedly elevate your fritter game from good to absolutely fantastic.
For traditional baked goods like classic apple pies, comforting apple crumbles, or dense apple breads, you typically seek out firm varieties that are robust enough to maintain their structural integrity and not turn into a watery mush during long cooking periods. Popular choices for baking include varieties like Honeycrisp, Granny Smith (known for its tartness), Fuji, Gala, Braeburn, Jonathan, Honeygold, and Cortland. These apples are celebrated for their ability to withstand extended heat.
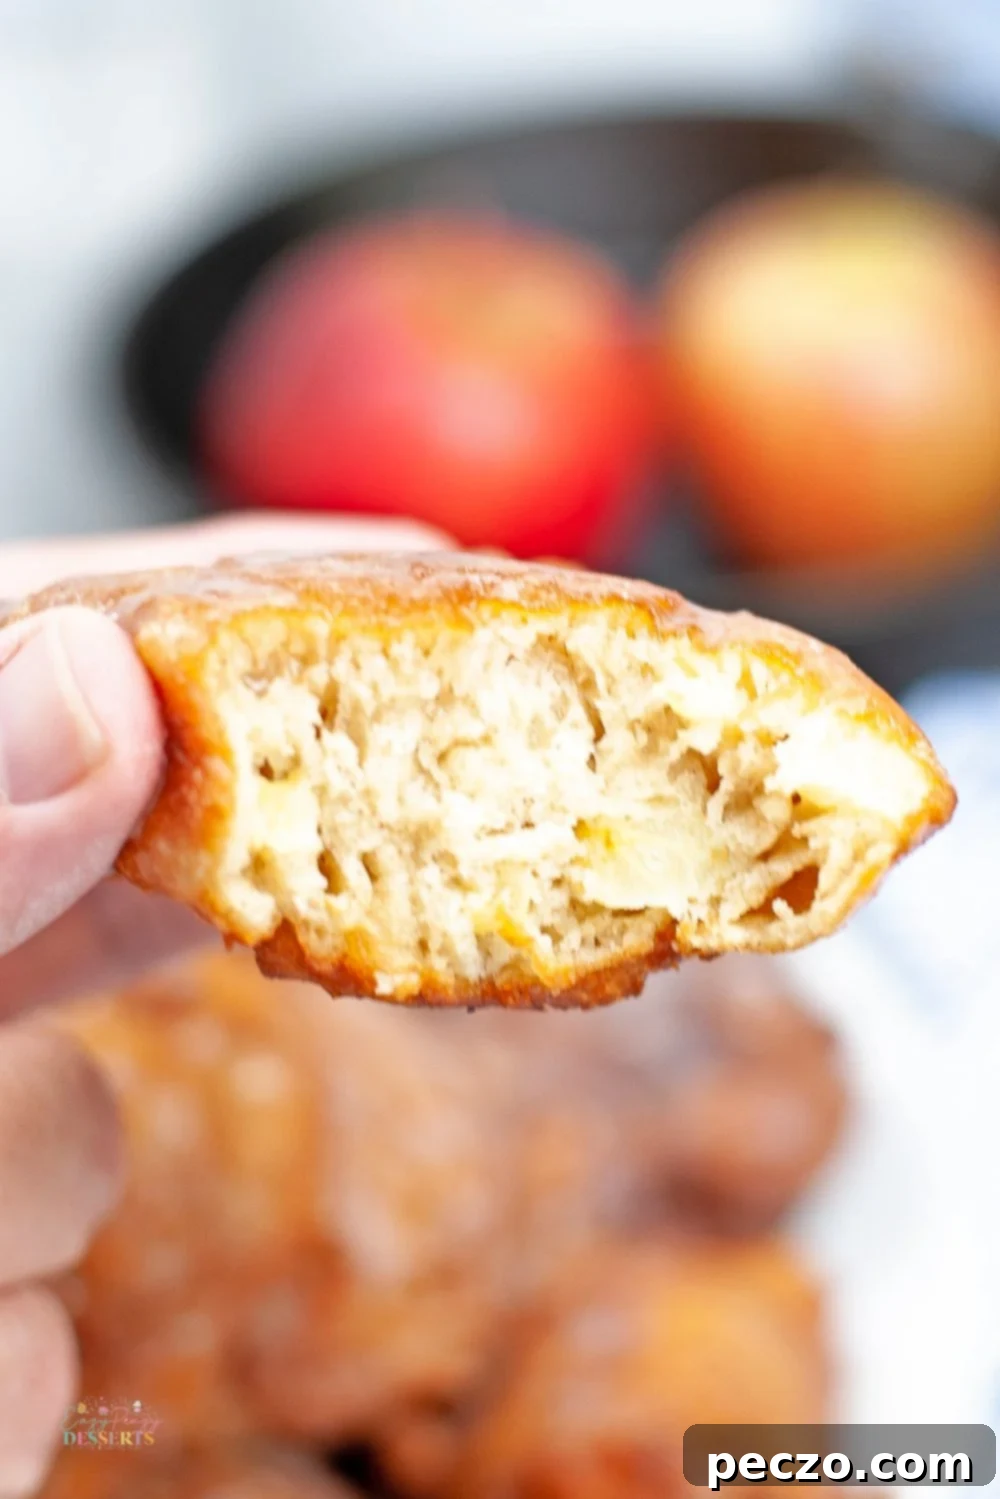
However, when you’re frying apple fritters, the actual cooking time is considerably shorter, typically only a few minutes per side. Therefore, it’s far more beneficial to utilize a more tender apple variety that softens quickly under direct heat. This strategic choice ensures that by the time your fritter batter is beautifully golden brown and thoroughly cooked through, the apple pieces nestled inside are perfectly tender and sweet, rather than remaining unpleasantly crunchy or undercooked. Excellent, highly recommended choices for fritter frying include:
- Golden Delicious: These apples are wonderfully sweet and mellow, softening beautifully to a tender consistency that complements the fritter dough.
- Honeycrisp: (Although also a fantastic baking apple, its inherent crispness and juiciness make it delightful in fritters as it retains some pleasant texture while softening perfectly).
- McIntosh: Known for their soft, juicy flesh and slightly tart flavor, McIntosh apples are ideal for creating a truly tender fritter with a lovely flavor balance.
- Red Delicious: A softer apple variety that will cook down quickly and meld seamlessly into the fritter batter.
- Gala: Sweet and mildly flavored, Gala apples soften well and contribute a lovely, approachable taste to the fritters.
- Fuji: While naturally crisp and sweet, Fuji apples soften nicely when fried, providing a pleasant contrast in texture once they’re tender inside the fritter.
The overarching key is to intelligently avoid overly firm or excessively tart apples that might stubbornly remain too crunchy or necessitate extended frying times, which could inadvertently lead to overcooked or greasy fritters. By opting for these less firm, quicker-softening varieties, you will ensure your homemade apple fritters boast a consistently tender interior throughout, delivering that sought-after melt-in-your-mouth experience with every single delicious bite.
Expert Tips for Buying the Best Apples at the Store
No matter which specific apple variety you ultimately choose for your fritters, remember that a truly exceptional fritter always begins with exceptional apples. When you’re browsing the aisles of your grocery store or exploring the vibrant stalls of a local farmer’s market, keep these expert tips in mind to hand-pick the freshest, highest-quality fruit possible, ensuring your fritters are as flavorful as they can be:
- Check for Firmness: Gently pick up an apple and lightly squeeze it with your fingers. A ripe, fresh apple should feel firm and solid to the touch, without any discernible soft spots, mushiness, or areas that give way under slight pressure. Apples that feel squishy or overly soft are indicators that they are past their prime.
- Inspect for Blemishes: Visually examine the apple’s skin for any imperfections. Look for apples with smooth, unblemished skin. While small freckles or slight, natural variations in color are perfectly normal and characteristic of certain varieties, actively steer clear of any apples displaying obvious bruises, deep cuts, punctures, or signs of insect damage (bug holes).
- Assess Color and Ripeness: The ideal color can vary significantly depending on the apple variety you’re choosing. However, as a general rule, ripe apples will exhibit vibrant, rich, and consistent colors that are characteristic of their type. Green or yellowish spots on varieties that are typically deep red or bright yellow can indicate that the fruit is not yet fully ripe and may lack full flavor.
- Perform the Aroma Test: Gently bring the apple close to your nose, particularly near the stem end, and take a sniff. A truly ripe, fresh, and flavorful apple will emit a subtle, sweet, and distinctly fragrant apple aroma. If there is little to no scent, the apple might be under-ripe or simply less flavorful.
- Consider Its Weight: Pick up a few apples of similar size. A good, juicy apple will feel surprisingly heavy for its size. This weight indicates that the fruit is full of moisture and boasts a rich, concentrated flavor, both of which are desirable for your fritters.
Perfecting Your Apples: Essential Preparation Steps
Before your perfectly diced apples can fully integrate and become the flavorful heart of your delectable fritters, a little thoughtful preparation goes a very long way. These simple yet crucial steps ensure your fruit is impeccably clean, uniformly sized for even cooking, and effectively prevents any undesirable browning that can detract from both appearance and taste.
- Thorough Washing: Always initiate your apple preparation by washing the fruits under cool, running water. Take the time to gently scrub the skin of each apple to meticulously remove any dirt, potential pesticide residue, or the common wax coating often applied for freshness. Even if your intention is to peel the apples, it remains a best practice to wash them first, preventing the inadvertent transfer of any contaminants from the skin to the clean, exposed flesh once peeling begins.
- Peel and Dice with Precision: Using a sharp, high-quality vegetable peeler, carefully and completely remove the skin from each apple. Once peeled, the next step is to cut each apple into quarters. Then, with a sharp paring knife, precisely trim away the fibrous core from the inner edge of each apple quarter. Subsequently, slice each apple piece in half lengthwise, and finally, chop the apple into small, uniform pieces. Aim for cubes that are roughly 1/4 to 1/2 inch in size. Consistency in the size of your apple pieces is paramount, as it directly ensures that all the apple chunks cook evenly within the fritter, resulting in a perfectly tender bite every time.
- Prevent Browning (Optional but Highly Recommended): If there will be a delay between dicing your apples and immediately incorporating them into your fritter batter, it is a highly recommended practice to prevent them from browning. This oxidation process can occur quickly once apples are exposed to air. To counteract this, simply toss the diced apples with a small amount of fresh lemon juice (approximately 1-2 teaspoons for three average-sized apples). The citric acid naturally present in lemon juice acts as a potent natural antioxidant, effectively keeping your apple pieces looking vibrant, fresh, and appealing until they are perfectly ready to be folded into the batter.
Storing Homemade Apple Fritters: Keeping Them Fresh and Delicious
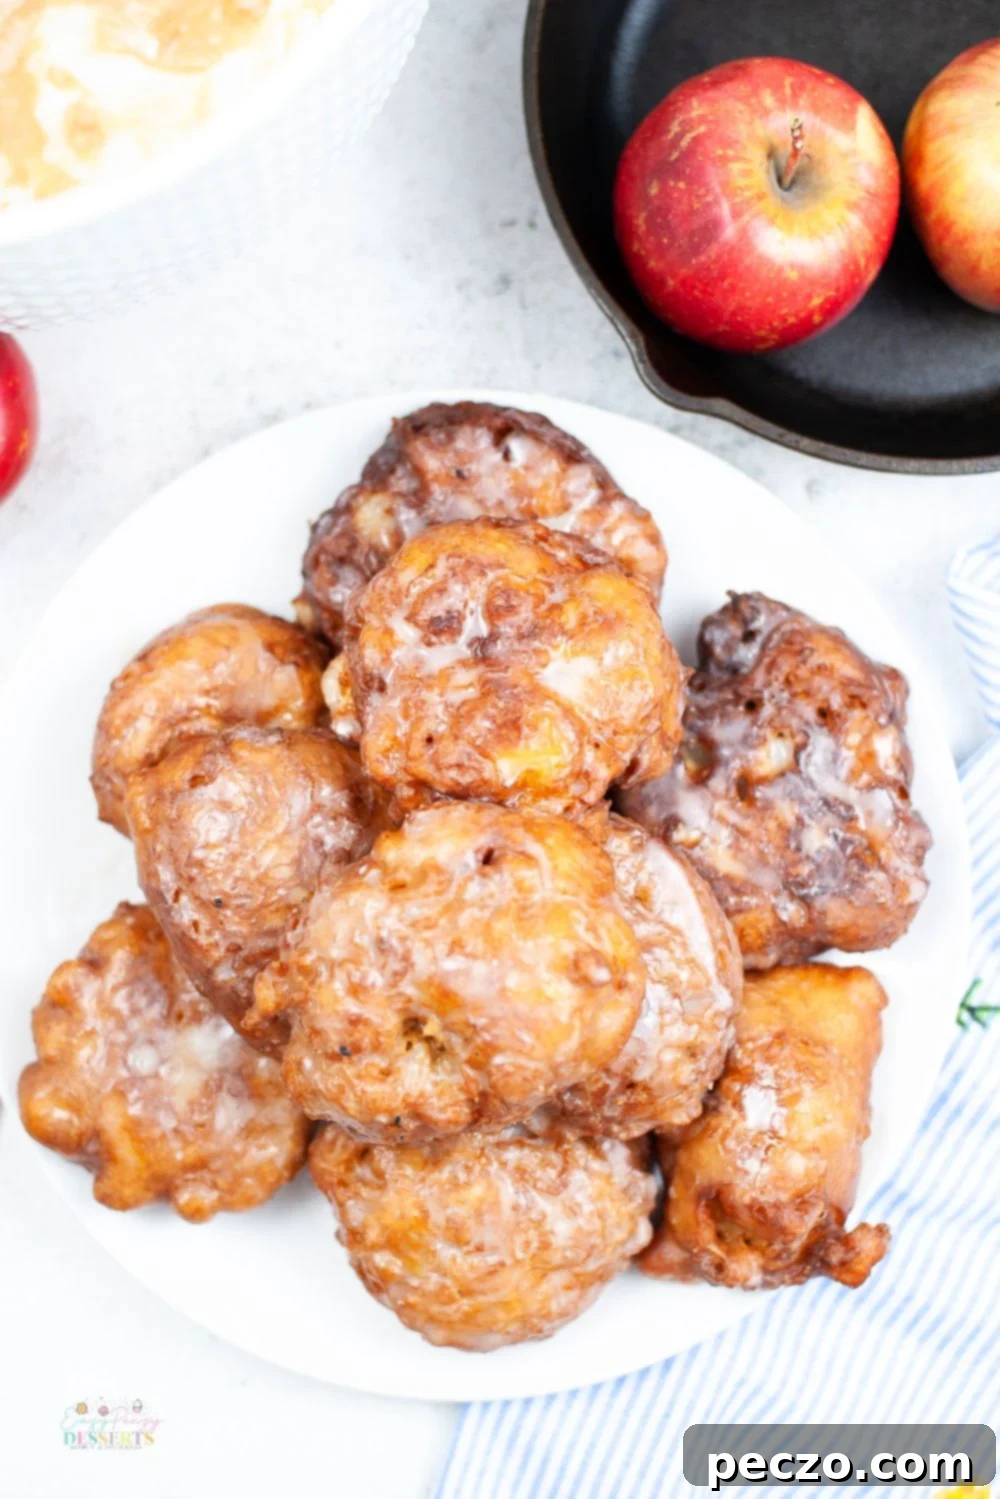
While it’s highly probable that you and your loved ones will swiftly devour these utterly delectable apple fritters shortly after preparing them, should you miraculously find yourself with any leftovers (a rare but delightful occurrence!), proper storage techniques are absolutely crucial for maintaining their freshness, exquisite taste, and appealing texture. Regardless of your chosen storage method, always ensure that your fritters are meticulously placed in an airtight container. This critical step is vital for preventing them from drying out and becoming stale, or, worse yet, developing unwanted mold.
For immediate gratification: If your plan is to finish enjoying your leftover fritters within a day or two, they can be comfortably and safely stored at room temperature. Simply arrange them in a single layer or stack them gently in an airtight container and place it on your kitchen countertop. When stored in this manner, they will remain wonderfully fresh and thoroughly enjoyable for up to two days. Their beautiful glaze might soften ever so slightly, but the incredible flavor will undoubtedly remain fantastic.
For extended freshness: If you anticipate needing a bit more time to savor your fritters, or if you simply prefer them chilled, they can be effectively stored in the refrigerator. Again, carefully place them in an airtight container. When refrigerated, your homemade apple fritters will steadfastly stay fresh and delicious for up to one week. You might notice their texture becomes a little chewier when cold, but a quick and easy reheat will magically bring them back to their initial, fresh-fried glory.
Can You Freeze Homemade Apple Fritters for Future Enjoyment?
Absolutely! The freezer is an indispensable ally when it comes to extending the life and availability of these delightful homemade donuts. With proper freezing techniques, you can confidently preserve and enjoy your homemade apple fritters for several months down the line! This makes them an ideal candidate for batch cooking, convenient meal prep, or simply having a readily available treat for those unexpected cravings. Here’s how to freeze your fritters effectively and ensure they retain their quality:
- Ensure Complete Cooling: This is arguably the most paramount step. It is absolutely essential that your apple fritters are entirely cool to the touch before you even consider freezing them. Placing warm or even slightly warm fritters directly into the freezer can lead to the formation of undesirable ice crystals, which can significantly compromise their delicate texture upon thawing.
- Initial Freeze (Flash Freezing Technique): Once the fritters have cooled completely, arrange them in a single layer on a baking sheet. Make sure there is adequate space between each fritter so they are not touching one another. Place this baking sheet into the freezer and allow the fritters to freeze solid, typically for 1-2 hours. This “flash freezing” step is a clever trick that prevents the individual fritters from sticking together when they are eventually transferred to a storage bag, ensuring they remain separate and easy to retrieve.
- Transfer to Freezer-Safe Storage: Once the fritters are completely solid and individually frozen, carefully transfer them from the baking sheet into a heavy-duty freezer bag or an airtight, freezer-safe container.
- Remove Excess Air: If you are using a freezer bag, make every effort to remove as much air as possible before securely sealing it. Air is a formidable enemy of frozen food, as it is the primary cause of freezer burn, which can dry out and diminish the flavor and quality of your fritters.
- Label and Store: Don’t forget to clearly label the bag or container with the date of freezing. Homemade apple fritters can be safely and effectively stored in the freezer for up to two months, maintaining their excellent quality and delectable flavor.
Now, you have a convenient stash of incredibly delicious apple fritters ready for whenever a sweet, comforting craving strikes!
Reheating Apple Fritters: Bringing Back That Fresh-Fried Warmth
Whether your delectable apple fritters have been patiently chilling in the refrigerator for a few days or waiting frozen in your freezer for weeks, reheating them is highly recommended to fully restore their delightful texture, enticing aroma, and comforting warmth. A warm, freshly reheated fritter is undeniably superior to a cold one, especially when that delicious vanilla glaze slightly melts into the warm dough!
- Oven Method (Recommended for Optimal Texture): For the absolute best results, particularly if you’re aiming to bring back some of that coveted exterior crispness, reheating your fritters in the oven is the preferred method. Begin by preheating your oven to 350°F (175°C). Arrange the fritters in a single layer on a baking sheet lined with parchment paper to prevent sticking and make cleanup easier. Bake for approximately 5-10 minutes, or until they are warmed through to your personal liking. If you are reheating the fritters directly from a frozen state, you will need to add an extra 5-10 minutes to the baking time. Always keep a close eye on them during this process to prevent the delicate glaze from burning or melting excessively.
- Microwave Method (Quick and Convenient): If you find yourself short on time and are prioritizing speed, the microwave offers a remarkably quick and convenient way to warm your fritters. Place a single fritter on a microwave-safe plate. Heat on high for approximately 30 seconds to one minute, with the exact duration depending on your microwave’s power setting and whether the fritter was previously chilled or frozen. It’s important to be aware that while microwaving effectively warms the fritter, it will tend to soften the exterior rather than re-crisp it. However, this method is perfectly acceptable and efficient for a rapid warm-up.
No matter which reheating preference you choose, a warm apple fritter remains a truly comforting and delightful treat that can be savored and enjoyed at any time of day, bringing a smile with every bite.
Pin to save for later
Print the recipe card
Homemade apple fritters
petro
Pin Recipe
Equipment
-
mixing bowl
-
fruit peeler
-
whisk
-
cookie scoop
-
cast iron frying pan
Ingredients
- 3 honey crisp apples
- 2 Eggs
- 1/4 cup Applesauce
- 1 1/2 cup flour
- 2 tsp Baking powder
- 1 tsp Cinnamon
- 1/2 tbsp salt
- 1/4 cup sugar
- 1/2 cup milk
- 2 cups oil
For the glaze
- 2 cups Powdered sugar
- 1/2 tsp Vanilla
- 1/4 cup Milk
Instructions
-
In a mixing bowl, combine the flour, sugar, baking powder, cinnamon and salt.

-
Make a well in the mixture and add 1/3 cup of milk, eggs and applesauce. Mix completely. Peal and dice the apples and fold into the batter.

-
In a pan or skillet, bring oil to 375°. Once oil is hot, drop 1/4 cup of batter in the oil.

-
Let it fry on each side for 3 minutes until golden brown. Remove and let rest on paper towels to help soak up excess oil.

-
Place fritters on a baking rack to cool

-
In a mixing bowl whisk the glaze ingredients together. Set rack of fritters on a baking sheet to catch the excess glaze while pouring glaze over the fritters. Glaze the fritters 2-3 times.

