Indulge in Homemade Perfection: The Ultimate Recipe for Light & Fluffy Yeast Donuts with White Chocolate Glaze
Donut lovers, this one is absolutely for you! If you’ve never experienced the sheer delight of making yeast donuts at home, prepare to embark on a truly rewarding culinary journey. Imagine the aroma filling your kitchen, the soft, pillowy texture, and the glorious taste of a freshly made donut. These aren’t just any donuts; this easy-to-follow recipe will produce irresistibly light, airy, and utterly delicious homemade treats that will impress everyone, from your family at Sunday brunch to colleagues at an office breakfast. Get ready to receive rave reviews and requests for the recipe – these raised donuts are simply a game-changer!
Mastering the Art of Homemade Yeast Donuts
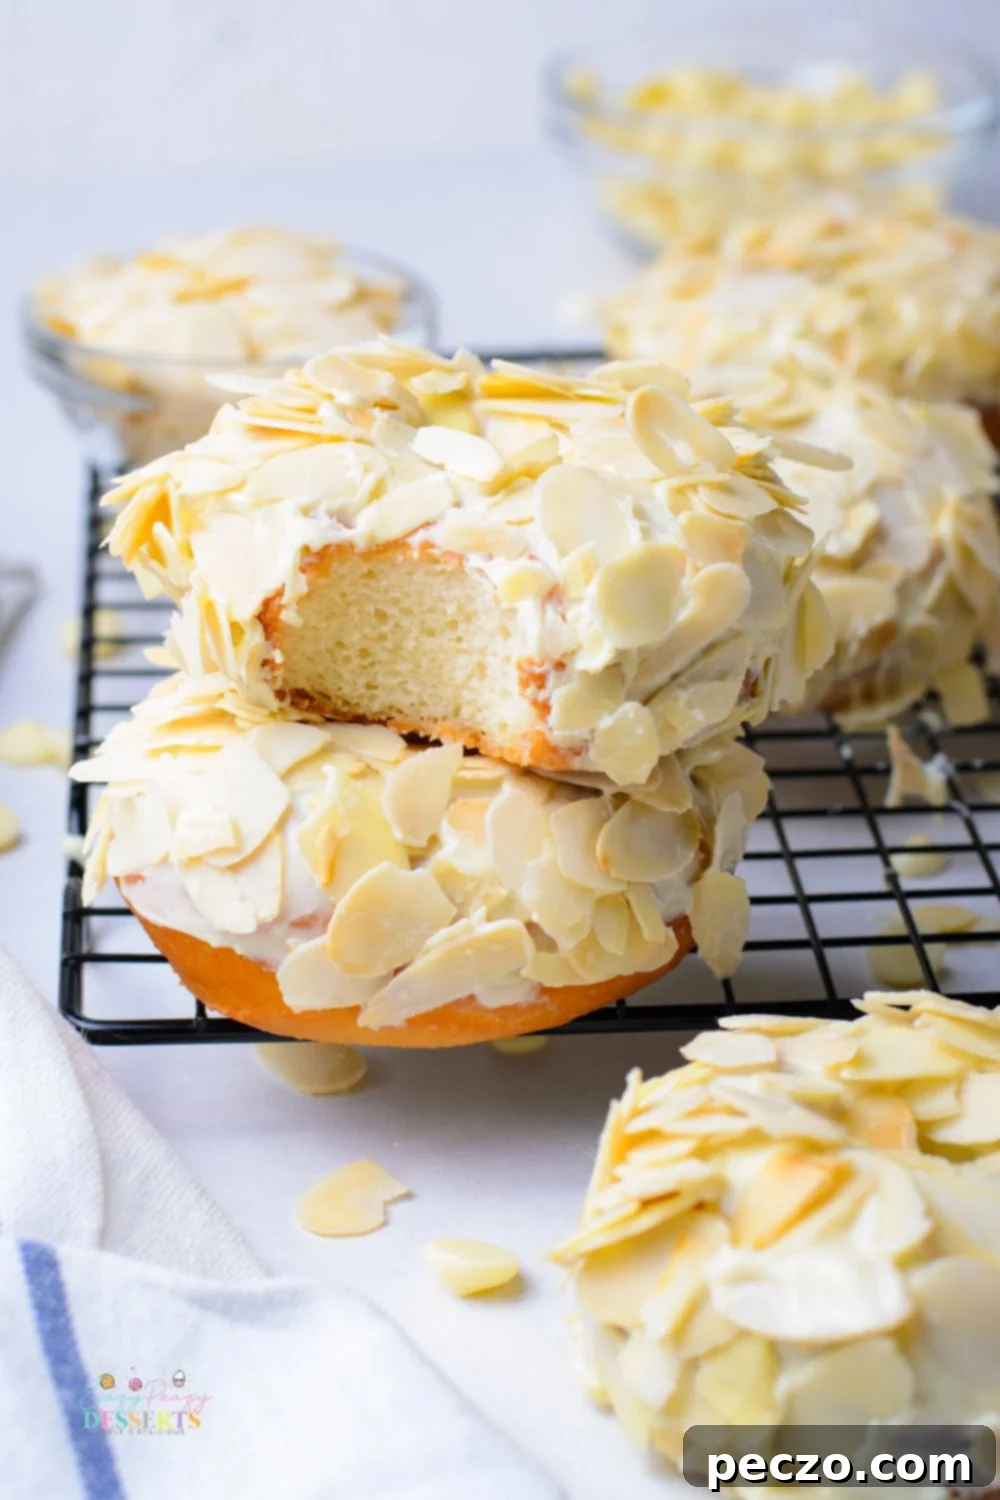
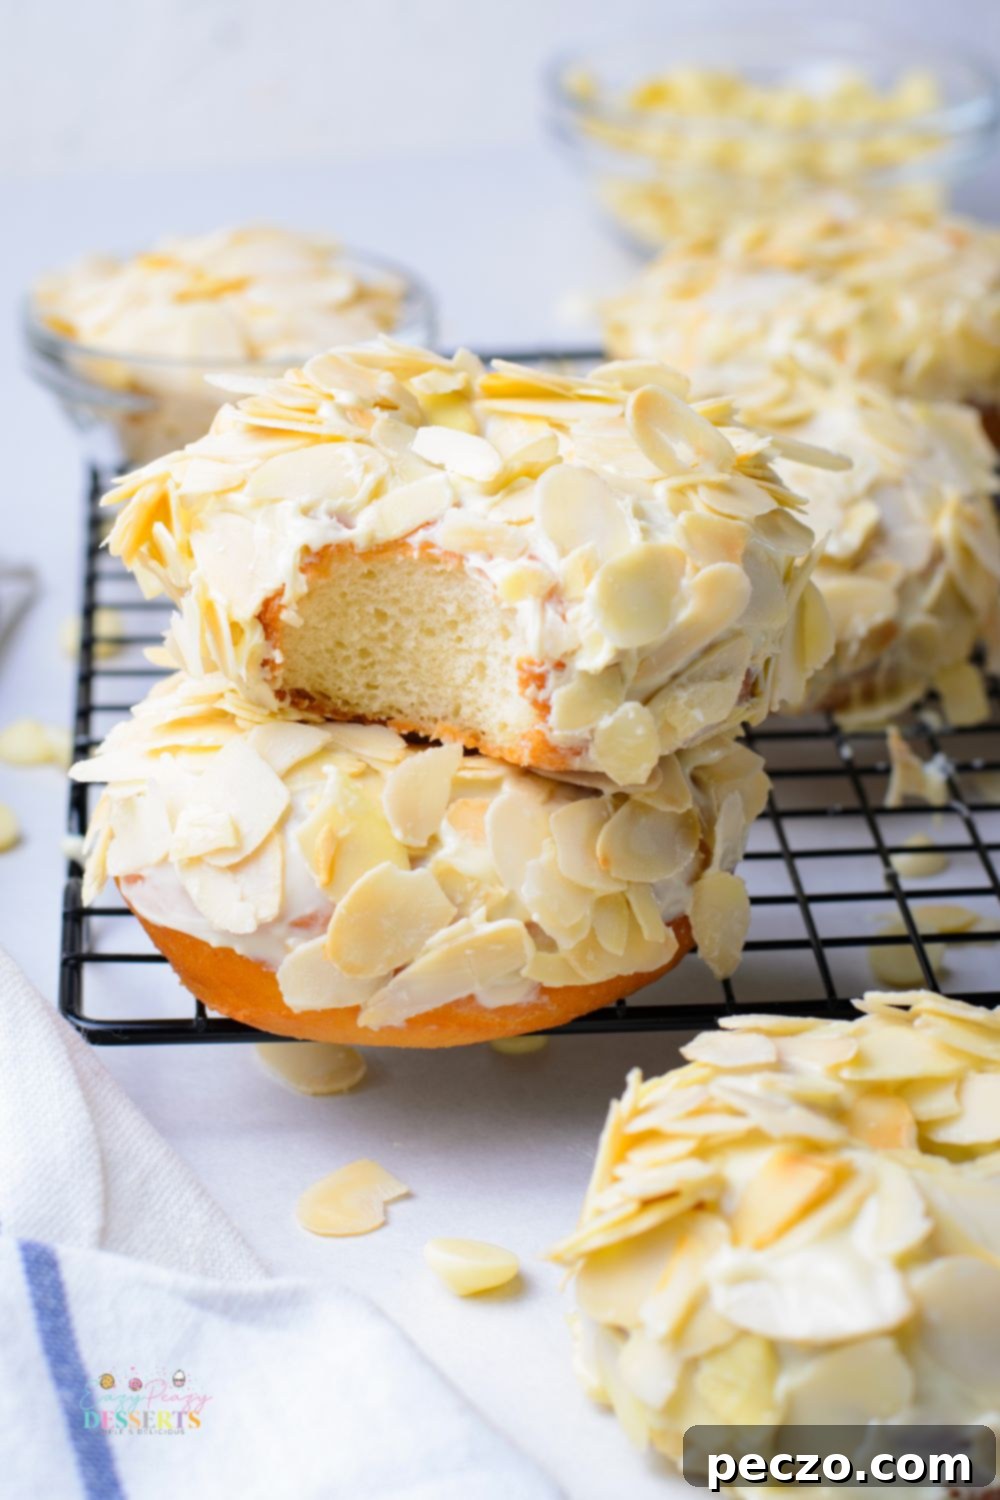
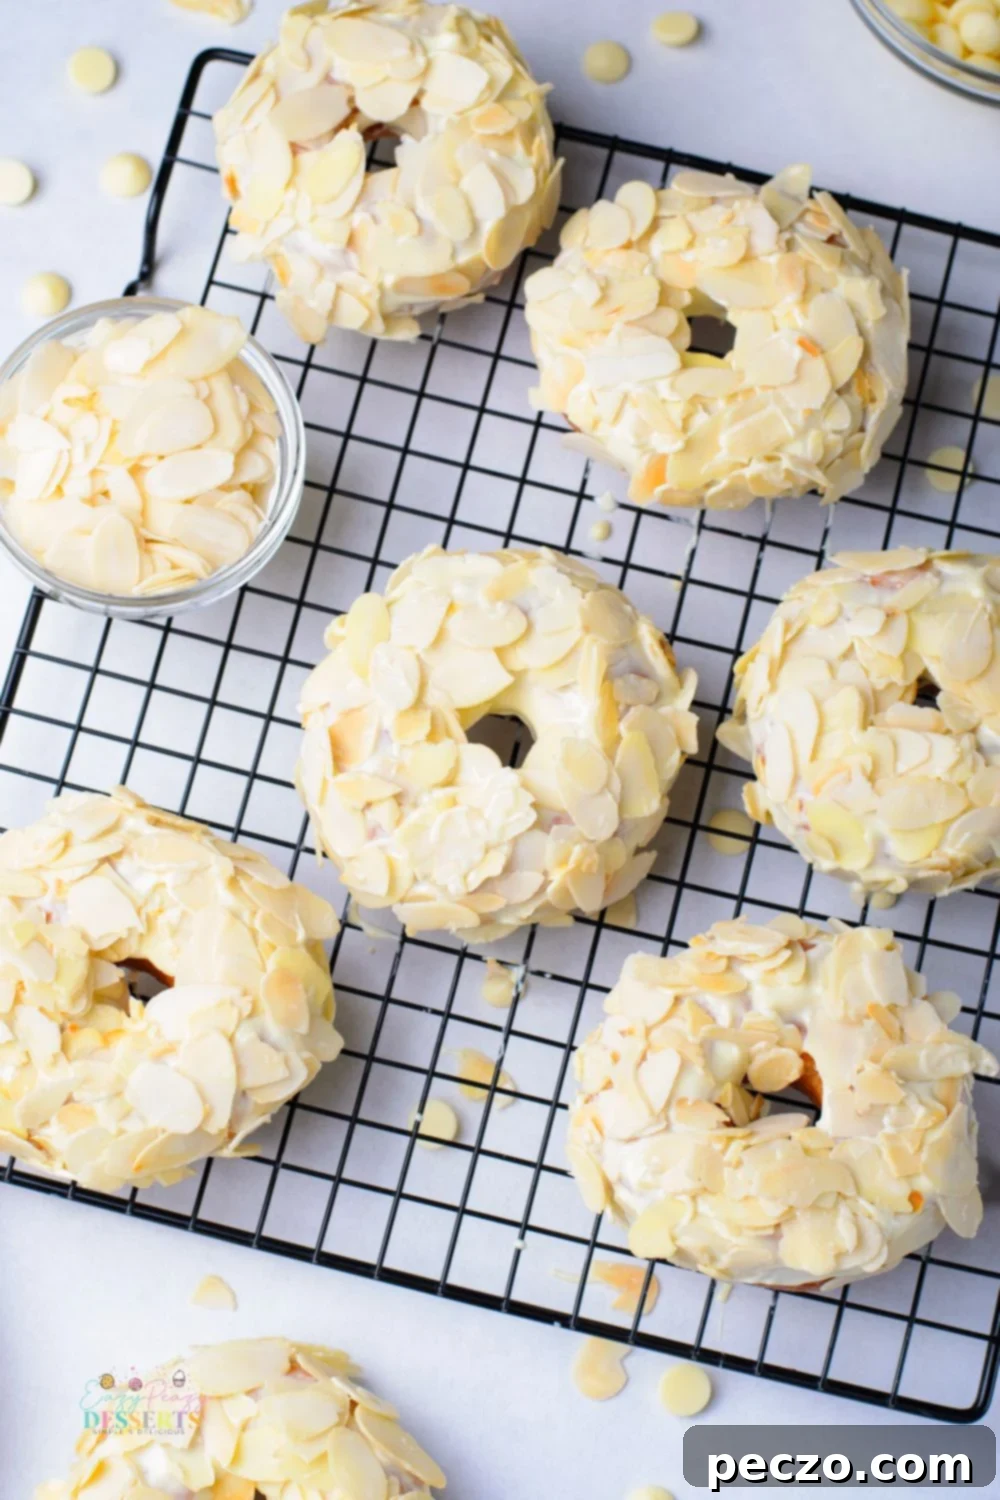
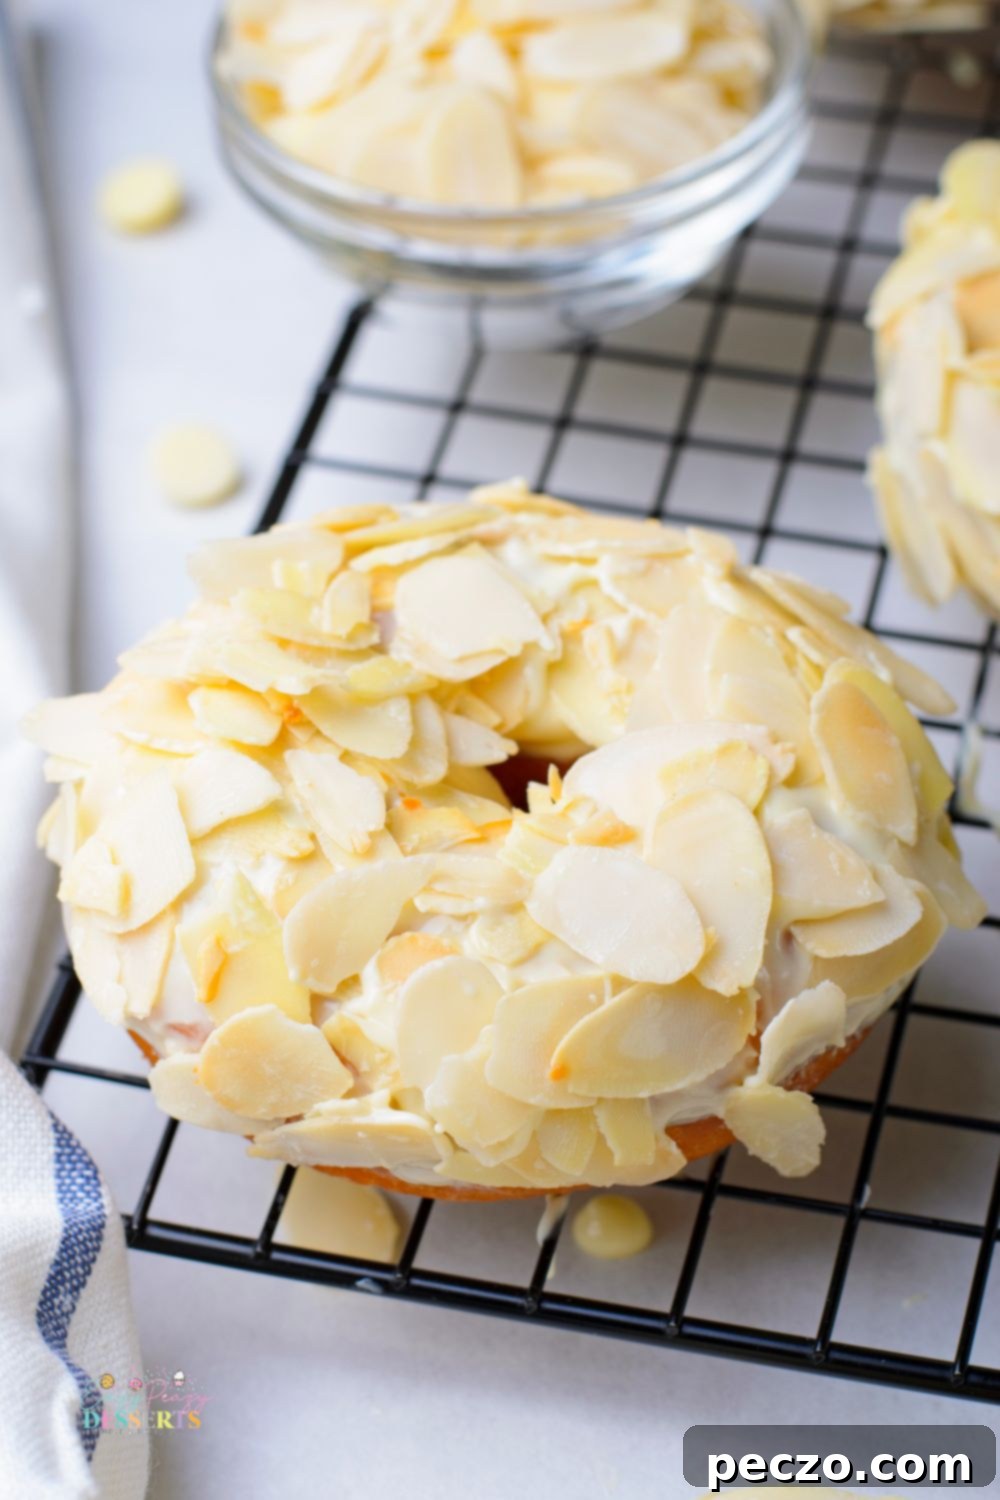
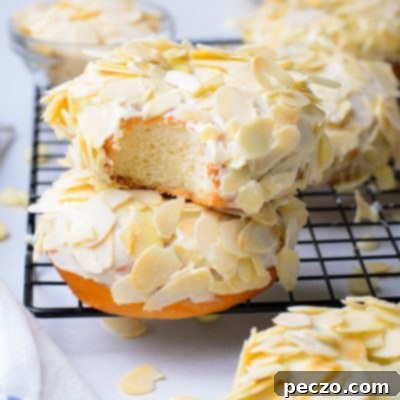
You might believe that crafting perfect donuts is a skill reserved exclusively for professional bakers with years of experience. Well, my friends, it’s time to banish that misconception. Making your own homemade yeast donuts is an incredibly simple, enjoyable, and gratifying process. The end result is a truly light, remarkably airy, and melt-in-your-mouth delight that will undoubtedly leave you yearning for more. With this easy yeast donut recipe, you will create a delicious homemade treat so superior, you’ll likely never consider buying pre-made donuts again. While these donuts are simply heavenly on their own, this particular recipe elevates them further with a luxurious, silky-smooth white chocolate glaze and a delightful crunch from shaved almonds.
Explore More Donut Delights:
- Homemade Fried Apple Fritters
- Air Fryer Pumpkin Donuts
- Sugar Cinnamon Donuts
- Vegan Baked Donuts
- Avocado Donuts
- Baked Chocolate Donuts
- Jam Filled Donuts
These exquisite homemade yeast donuts are perfectly suited for any time of day, whether you envision them as a delightful breakfast treat to kickstart your morning or as a comforting after-dinner dessert. Personally, my favorite way to savor these fluffy creations is first thing in the morning. There’s truly no better way to begin the day than with a fresh, warm donut! Whenever I decide to whip up a batch of this recipe, I find myself naturally waking up before my alarm clock, filled with anticipation for the deliciousness that awaits me. The anticipation alone is enough to get me out of bed with a smile.
The Intriguing History of Donuts
As an ardent fan of donuts, I’ve often pondered who we should credit for inventing such a universally beloved confection. However, the exact history of yeast-raised donuts is quite elusive and shrouded in culinary mystery. Food historians and experts have conducted deep dives into the origins of this fried delight, which has evolved into a “symbol of Americana.” Some trace the donut’s lineage back to ancient Greece, referencing the writings of Athenaeus, who described a honey-glazed, fried dough. Others suggest its origins lie in a fried fritter recipe dating back to 1750. And yet another compelling argument points to an appearance in the 1802 book, “The Frugal Housewife.” Regardless of its precise historical roots, one thing is abundantly clear: the donut has undeniably cemented its place as a delectable treat cherished by people across the globe. Now, it’s your turn to join the never-ending donut fandom and create your own piece of history with my easy homemade donut recipe.
Essential Tips for Frying Perfect Yeast Donuts
Frying donuts might seem intimidating at first, but with these simple tips, you’ll achieve golden-brown perfection every time. The key is to maintain control over your oil and your environment.
- Choose the Right Pot: It’s crucial to use a large, heavy-bottomed pot, such as a Dutch oven or cast-iron pot, when frying your donuts. A spacious pot ensures adequate room for the oil, preventing it from overflowing as the donuts are added. Furthermore, a heavy-bottomed pot distributes heat more evenly and maintains a consistent temperature, which is vital for perfectly cooked donuts and significantly reduces the risk of painful oil splatters.
- Maintain the Correct Oil Level: For optimal frying, fill your pot with approximately two inches of oil. Avoid overfilling, as the donuts will cause the oil level to rise once submerged. This precise measurement helps prevent splatters and ensures that the donuts are fully immersed without being drowned in excessive oil, which can lead to uneven cooking.
- Crucial Oil Temperature Control: Maintaining the correct oil temperature between 330-350°F (165-175°C) is paramount. The best practice is to use a reliable thermometer – either a candy thermometer or a digital probe thermometer – to continuously monitor the temperature. If your oil is too hot, the donuts will burn on the outside before the inside is fully cooked, resulting in a dark, undercooked center. Conversely, if the oil is too cold, the donuts will absorb too much oil, leading to a greasy, heavy, and unappetizing product. Precision here makes all the difference.
- Fry in Small Batches: As outlined in the recipe, it is essential to fry only two to three donuts at a time. Overcrowding the pot will cause the oil temperature to drop rapidly and significantly. A lower oil temperature will, once again, lead to greasy donuts that absorb too much oil. Frying in small batches allows the oil to quickly recover its ideal temperature between additions, ensuring each donut cooks evenly and develops that desired light and airy texture.
Frequently Asked Questions About Homemade Yeast Donuts
How should I store my homemade donuts?
Donuts of any variety are always at their absolute best when enjoyed fresh and warm. In my household, they typically disappear in a flash! However, if you do find yourself with the rare treat of leftovers, place them in an airtight container. Store them at room temperature, and they should maintain their delightful freshness for approximately 2-3 days. For an extra touch of warmth, you can gently microwave them for 10-15 seconds before serving.
Do I need to fry my yeast donut dough immediately after making it?
Absolutely not! This recipe offers wonderful flexibility. If you prefer to prepare your dough ahead of time, you can certainly store it and fry your donuts the following day. When opting for this convenient method, it is essential to place the dough in a tightly sealed container that provides ample room for it to expand during its cold proofing. If you refrigerate the dough overnight, be sure to remove it and let it come back down to room temperature for about 30-60 minutes before rolling it out and frying. This allows the yeast to become active again, ensuring a proper rise.
Can I freeze yeast donuts?
While I generally don’t recommend freezing the final, fried product – as it can alter the delicate texture – you can successfully freeze the raw donut dough if needed. Once you’ve allowed the dough its initial proofing time and shaped the donuts, you can arrange them in a single layer on a parchment-lined baking sheet and freeze until solid. Then, transfer them to an airtight freezer bag or container. When you’re ready to fry, make sure to let the dough completely thaw to room temperature and undergo a second proofing before proceeding with the frying process.
This yeast donut recipe calls for frying. Can I bake them instead?
Baking these specific homemade yeast donuts is not recommended. This type of yeast-based dough is formulated to achieve its signature light, fluffy, and slightly chewy texture through the frying process. Baking them in an oven will result in a product that doesn’t have the same desired consistency or rise. Frying them is a fun and surprisingly easy step, and I highly encourage you to give it a try! You will undoubtedly be satisfied with the authentic, delicious results.
How do I create the warm environment needed to make these raised donuts proof effectively?
Creating the perfect, warm, and draft-free environment for your yeast dough to rise is quite simple. Here’s my preferred method: Begin by preheating your oven to its lowest setting (usually around 200°F or 90°C) for just a few minutes – typically one to two minutes will do the trick. Then, turn the oven off completely. Once your dough is placed in a lightly greased bowl and covered with plastic wrap, simply place it inside the warmed, turned-off oven. This technique provides the ideal cozy, warm, and stable environment that the yeast needs to thrive and the dough requires to double in size. As the recipe states, this initial proofing process should take approximately an hour.
What makes a yeast donut different from other types of donuts?
The two most common types of donuts are yeast-raised and cake donuts. The fundamental difference lies in their leavening agents and, consequently, their texture. Yeast donuts, like those in this recipe, are much lighter, airier, and chewier. Once fried, they will have visible air pockets throughout, giving them a wonderfully fluffy, cloud-like texture. Cake donuts, on the other hand, are denser and more compact. They use baking powder or baking soda as a leavening agent and often contain a higher amount of butter, resulting in a crumbly, cake-like texture. I am unequivocally 100% Team Yeast Donut! There is simply nothing quite like the light, airy, and slightly stretchy texture of a perfectly fried yeast donut. If you haven’t experienced one before, give this easy recipe a try, and you’ll understand exactly what I mean.
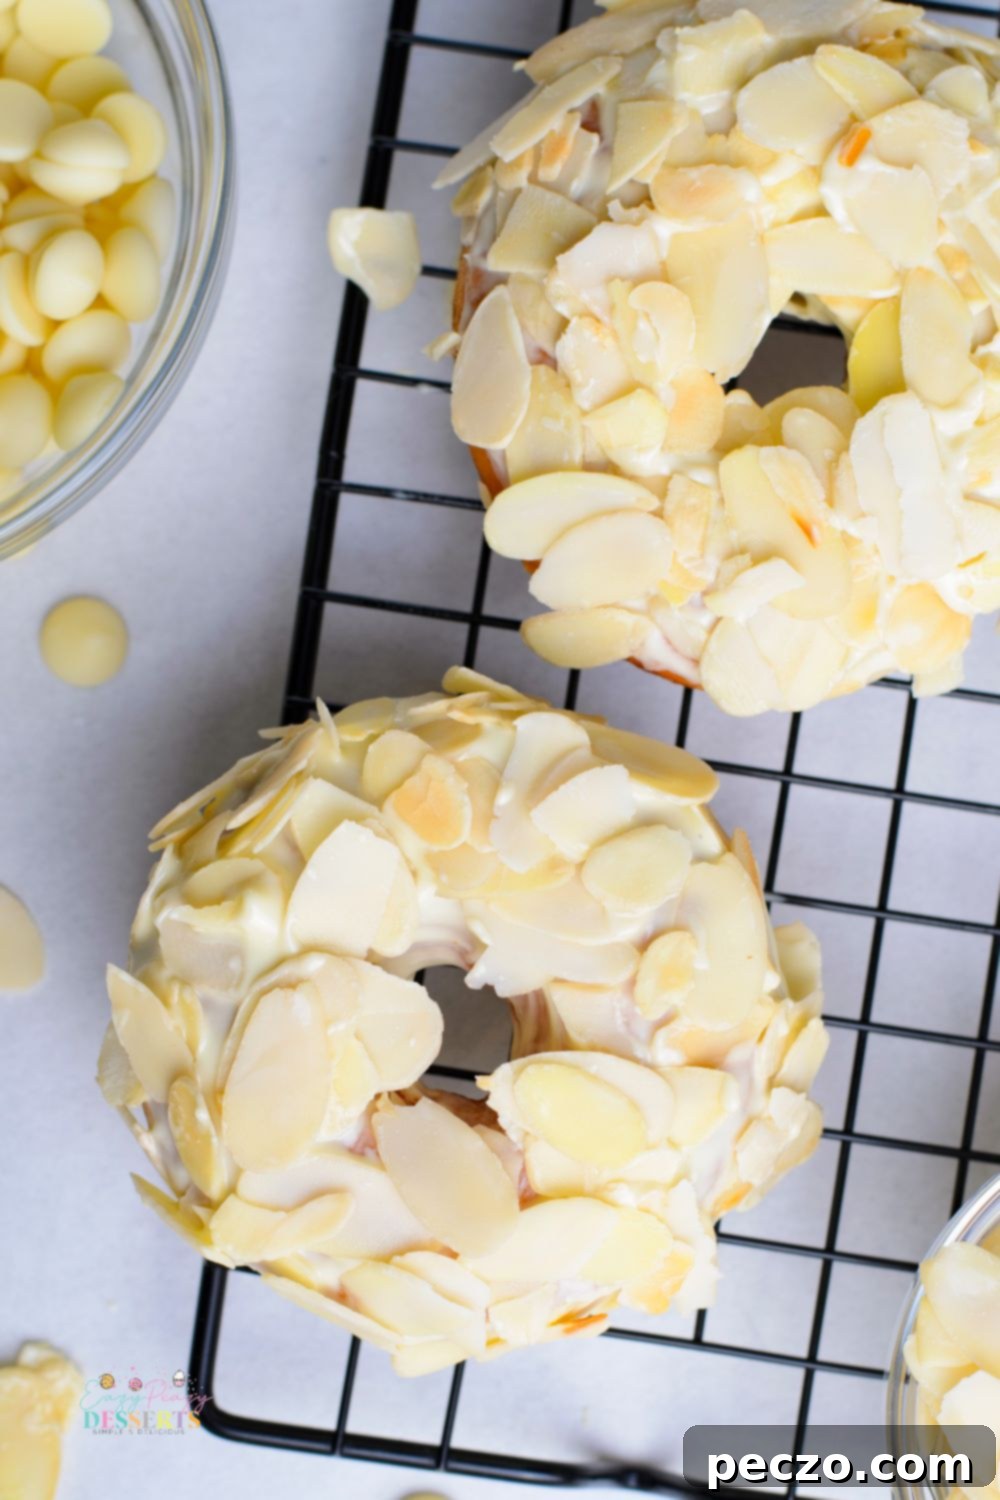
Ready to awaken your taste buds with these truly delicious, homemade donuts, generously coated in a luscious white chocolate glaze and sprinkled with toasted almonds? Gather your ingredients, clear your schedule, and try my easy yeast donut recipe today. I promise you will be absolutely delighted by the results. Have you already given the recipe a try? I’d love to hear about your experience! Please let me know how it went and share your thoughts in the comments section below. And, as always, happy baking!
What You’ll Need for These Incredible Yeast Donuts:
For the Dough:
- All-purpose flour
- Active dry yeast
- Lukewarm water
- Buttermilk
- One large egg
- Unsalted butter
- Granulated sugar
- Baking powder
- Salt
- Vanilla extract
- Vegetable oil for frying
For the White Chocolate Glaze:
- White chocolate chips
- Heavy cream
- Sliced almonds (for topping)
How to Make Yeast Donuts: A Step-by-Step Guide
- In a small bowl, combine the lukewarm water, 1 tablespoon of granulated sugar, and the active dry yeast. Whisk gently until the yeast is fully dissolved. Allow this mixture to sit undisturbed for 5-10 minutes until it becomes foamy, indicating the yeast is active.
- In a large mixing bowl, combine the all-purpose flour, salt, baking powder, and the remaining granulated sugar. Whisk these dry ingredients together thoroughly.
- To the dry ingredients, add the room temperature buttermilk, the large egg, the melted unsalted butter, vanilla extract, and the activated yeast mixture. Stir until all ingredients are just incorporated. If using a stand mixer, attach a dough hook and knead on low-medium speed for about 5 minutes. If kneading by hand, continue for approximately 10 minutes until the dough is smooth, elastic, and no longer sticky.
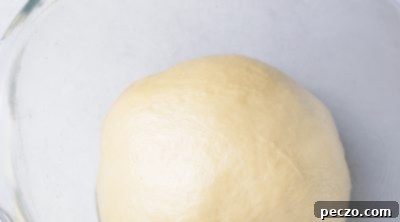
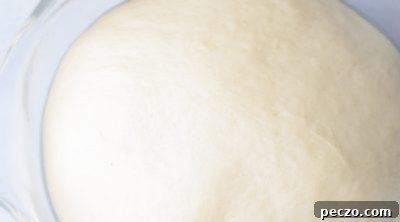
- Transfer the kneaded dough to a lightly greased bowl, ensuring the dough is also lightly coated in oil. Cover the bowl tightly with plastic wrap and allow the dough to proof in a warm, draft-free place (such as a turned-off, slightly warmed oven) for about one hour, or until it has visibly doubled in size.
- While the dough is proofing, prepare your work surface. Cut out 16 individual squares of parchment paper, each approximately 4×4 inches. These will be used to hold the shaped donuts.
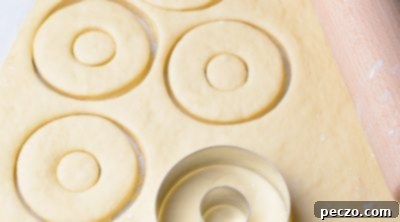
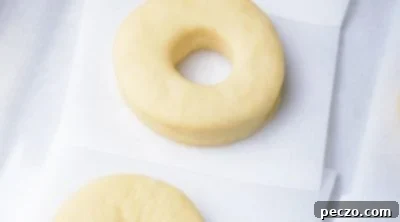
- Once the dough has doubled, gently punch it down to release the air. Turn the dough out onto a lightly floured surface. Using a rolling pin, roll the dough evenly to about 1/2 inch thickness. Use a donut cutter to cut out individual donut shapes. Place each cut donut onto a prepared square of parchment paper. Lightly cover the shaped donuts with plastic wrap or a clean kitchen towel. Allow these donuts to proof at room temperature for another 30-45 minutes, or until they have almost doubled in size again.
- Heat 2 inches of vegetable oil in a heavy-bottomed pot (a cast iron pot is ideal for even heat distribution) to a temperature between 330-350°F (165-175°C). Carefully drop 2-3 donuts at a time into the hot oil (along with their parchment squares, which you can easily remove after a few seconds with tongs). Allow them to become golden brown on one side, which usually takes about 2 minutes. Then, carefully flip them to cook the other side for another 2 minutes, until both sides are golden brown. Remove the fried donuts from the oil using a spider tool or slotted spoon and place them on a tray lined with paper towels to drain excess oil.
- While the donuts cool slightly, toast the sliced almonds in a dry pan over medium heat. Stir them occasionally to prevent burning, until they turn lightly golden and fragrant. Set aside.
- For the white chocolate glaze, heat the heavy cream in a microwave-safe bowl until the sides just begin to bubble, typically 1-2 minutes. Place the white chocolate chips into a medium bowl. Pour the hot cream over the white chocolate chips. Let it sit for about a minute, then stir gently until the chocolate is completely melted and the glaze is silky smooth.
- Dip each cooled donut into the warm white chocolate glaze, allowing any excess to drip off. Immediately top with the toasted almond slices before the glaze sets. Serve warm or at room temperature and enjoy!
Pin to save for later

Print the recipe card
Yeast donuts
petro
Pin Recipe
Equipment
-
mixing bowl
-
Rolling Pin
-
donut cutter
-
frying pan
-
spatula
Ingredients
For the donuts
- 3 1/2 cups all-purpose flour
- 1 1/2 tsp active dry yeast
- 6 tbsp water lukewarm
- 2/3 cup buttermilk room temperature
- 1 egg large, room temperature
- 1/4 cup unsalted butter melted
- 1/4 cup granulated sugar
- 1/3 tsp baking powder
- 1/2 tsp salt
- 1 tsp vanilla extract
- vegetable oil for frying
For the glaze
- 1 cup white chocolate chips
- 4 tbsp heavy cream
- 3/4 cup sliced almonds
Instructions
To make the donuts
-
Combine the lukewarm water, 1 tablespoon of sugar, and yeast in a bowl. Whisk to dissolve the yeast. Leave for 5-10 minutes

-
In a large mixing bowl, combine the flour, salt, baking powder, and the remaining sugar.

-
Add in buttermilk, egg, melted butter, vanilla, and the yeast mixture. Stir until incorporated. Mix using a dough hook on your mixer or by hand. Knead on low-medium speed for about 5 minutes. By hand, knead the dough for about 10 minutes until smooth.

-
Transfer the dough to a lightly greased bowl, cover with plastic wrap, and allow to proof in a warm, draft-free place for about 1 hour or until doubled in size.

-
Cut out 16 squares of parchment paper.
-
Punch the dough and turn it out onto a lightly floured surface.

-
Use a rolling pin to roll to about 1/2″ thickness, and use a donut cutter to cut out donuts. Place each on the prepared squares of parchment paper. Cover lightly with plastic wrap or a towel.

-
Allow the donuts to proof at room temperature for 30-45 minutes or until almost doubled in size. Heat 2 inches of oil in a heavy pot (cast iron is best) to 330-350°F. To fry donuts, drop 2-3 at a time and allow to become golden before turning to the other side, about 2 minutes per side. Remove donuts from the oil and place on a tray lined with paper towels.

To decorate
-
Toast almond slices in a pan. Stir occasionally to avoid burning. For the white chocolate glaze, heat the cream in a microwave-safe bowl until the sides are bubbly, about 1-2 minutes. Place the white chocolate chips into a medium bowl, pour the hot cream over. Stir until smooth. Dip each donut into the glaze and top with almond slices.

Nutrition
