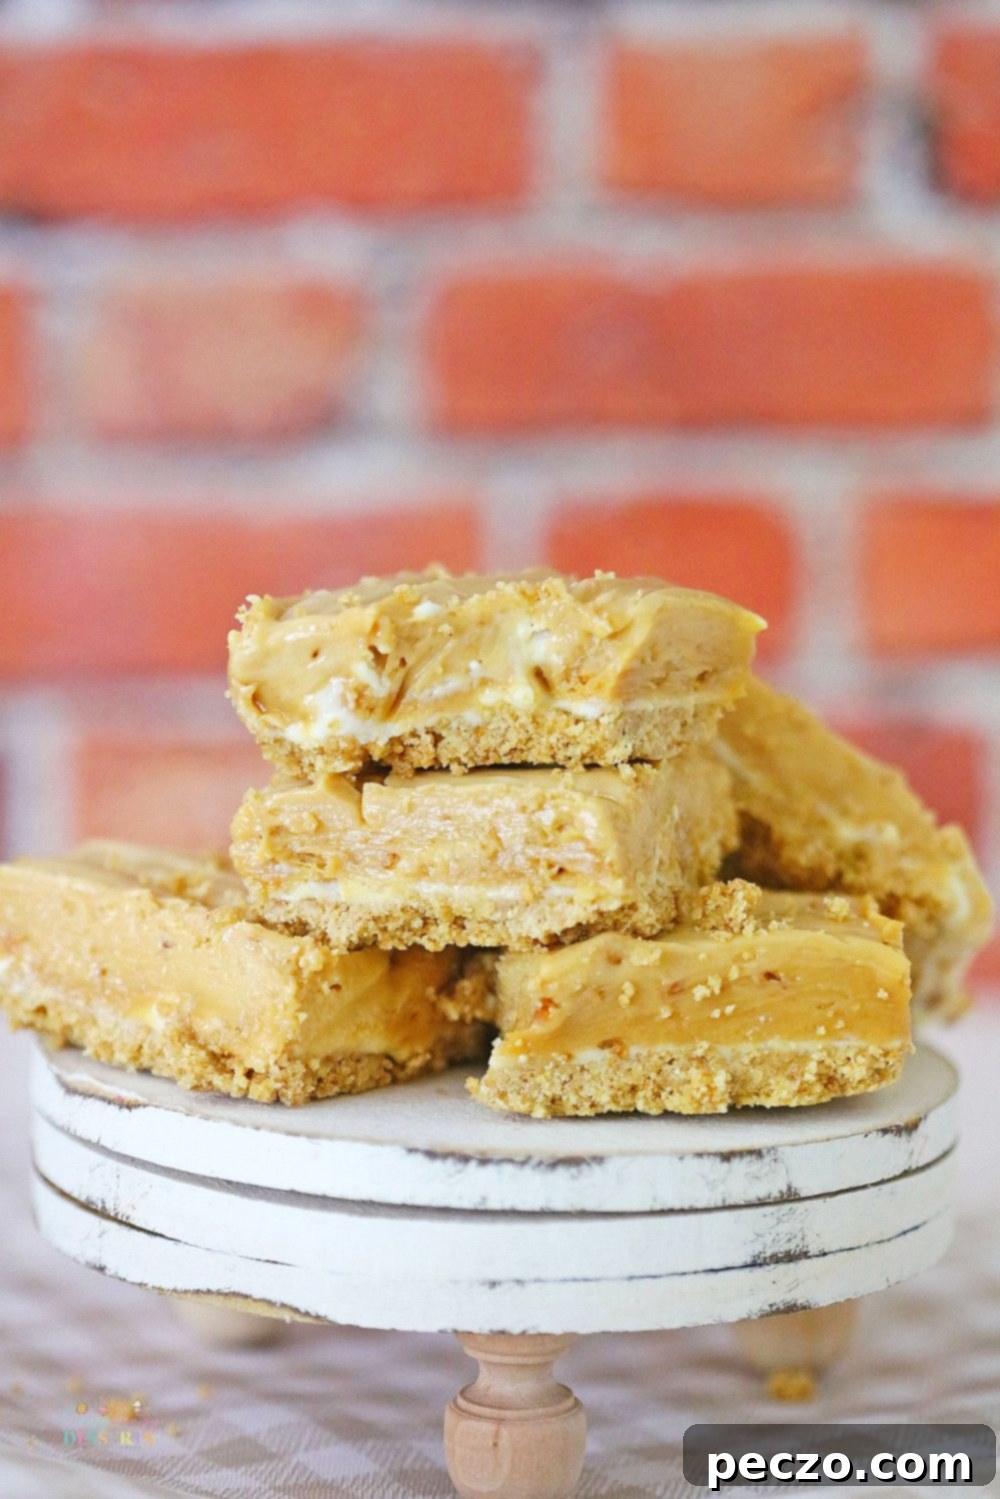
Indulge in Irresistible No-Bake Creamy Peanut Butter Fudge Cheesecake Bars with Graham Cracker Crust
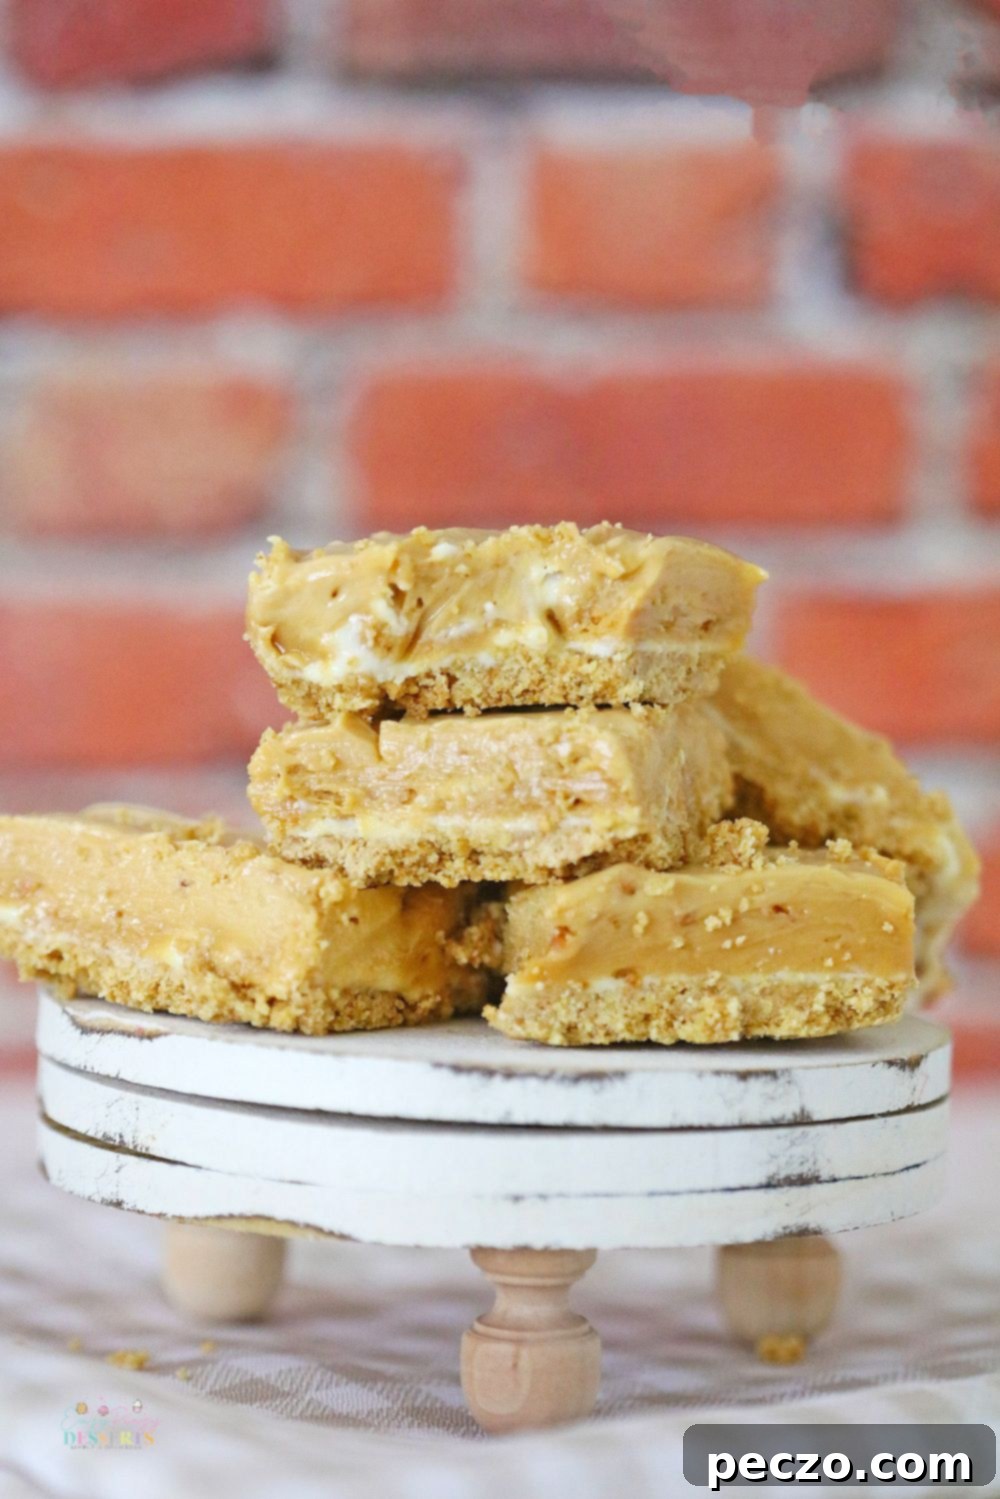
These dreamy creamy peanut butter fudge cheesecake bars are an absolute delight, perfect for any gathering or a special treat at home. Whether you’re assembling a dessert tray for a party, adding a show-stopping item to a buffet, or simply craving something sweet and satisfying, this recipe is guaranteed to impress. It’s one of those magical desserts that evokes the cozy warmth of fall and Christmas but is truly enjoyable all year round. Make sure to bookmark this recipe – it’s destined to become a firm favorite!
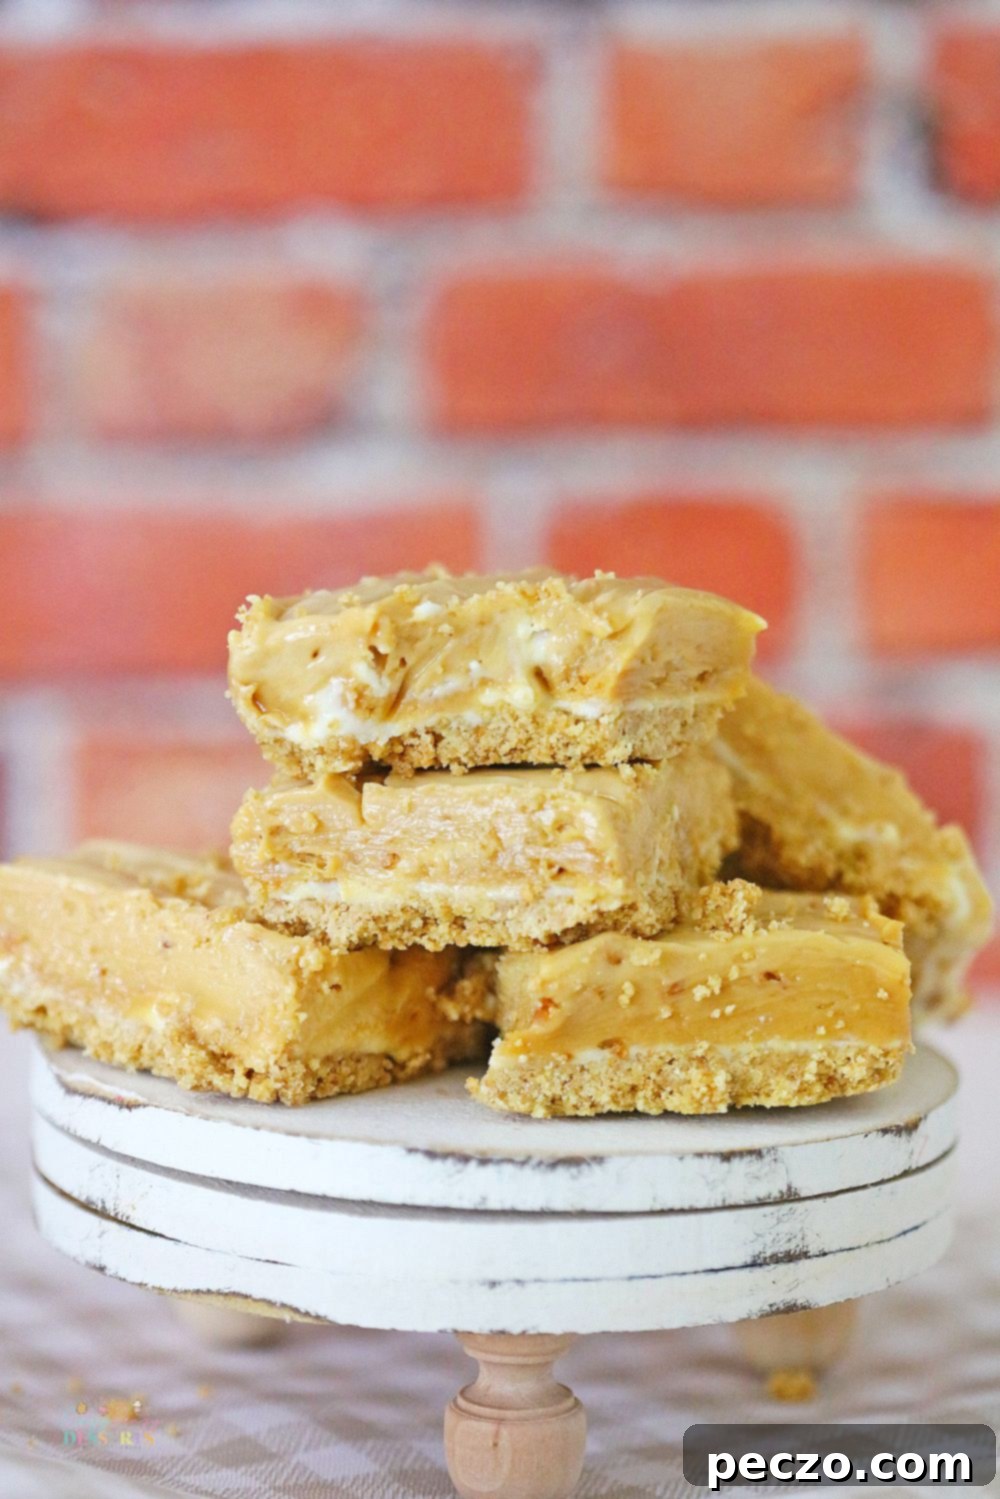
When you think of homemade fudge, do you immediately picture endless stirring over a hot stove and complicated candy thermometers? Rest assured, this creamy peanut butter fudge recipe banishes those worries! These spectacular peanut butter fudge cheesecake bars are not only incredibly delicious but also surprisingly simple to make, thanks to their no-bake nature. You’ll achieve that rich, velvety fudge texture and the comforting tang of cheesecake without turning on your oven.
Featuring a delightful graham cracker crust that perfectly complements the rich peanut butter filling, this treat is designed for convenience and maximum enjoyment. With just a handful of readily available ingredients, you’ll be able to whip up a truly special dessert that will have everyone asking for the recipe. Get ready to experience the pure joy of homemade no-bake peanut butter fudge!
Discover More Irresistible Fudge & No-Bake Desserts:
- Classic Chocolate Fudge with Powdered Milk
- Festive No-Bake Grinch Fudge for Christmas
- Decadent Chocolate Fudge Cupcakes
- Quick Peanut Butter Fudge with Sweetened Condensed Milk
- Vibrant Funfetti Strawberry Fudge
- Super Simple 2-Ingredient Chocolate Fudge
The culinary trend of combining savory and sweet flavors is here to stay, and this recipe perfectly embodies that delicious fusion. The incredible combination of rich peanut butter, sweet white chocolate, and creamy, slightly tangy cheesecake filling creates a symphony of tastes. Add to that the satisfying texture you’d expect from a cheesecake dessert – a firm, buttery graham cracker crust meeting a smooth, decadent fudge layer – and these creamy peanut butter fudge cheesecake bars will have you singing with joy. It’s truly not complicated to recreate this masterpiece. By simply following the clear, step-by-step process I’ve outlined below, you’ll be able to prepare a generous batch to savor in no time. So, let’s gather our ingredients and get started!
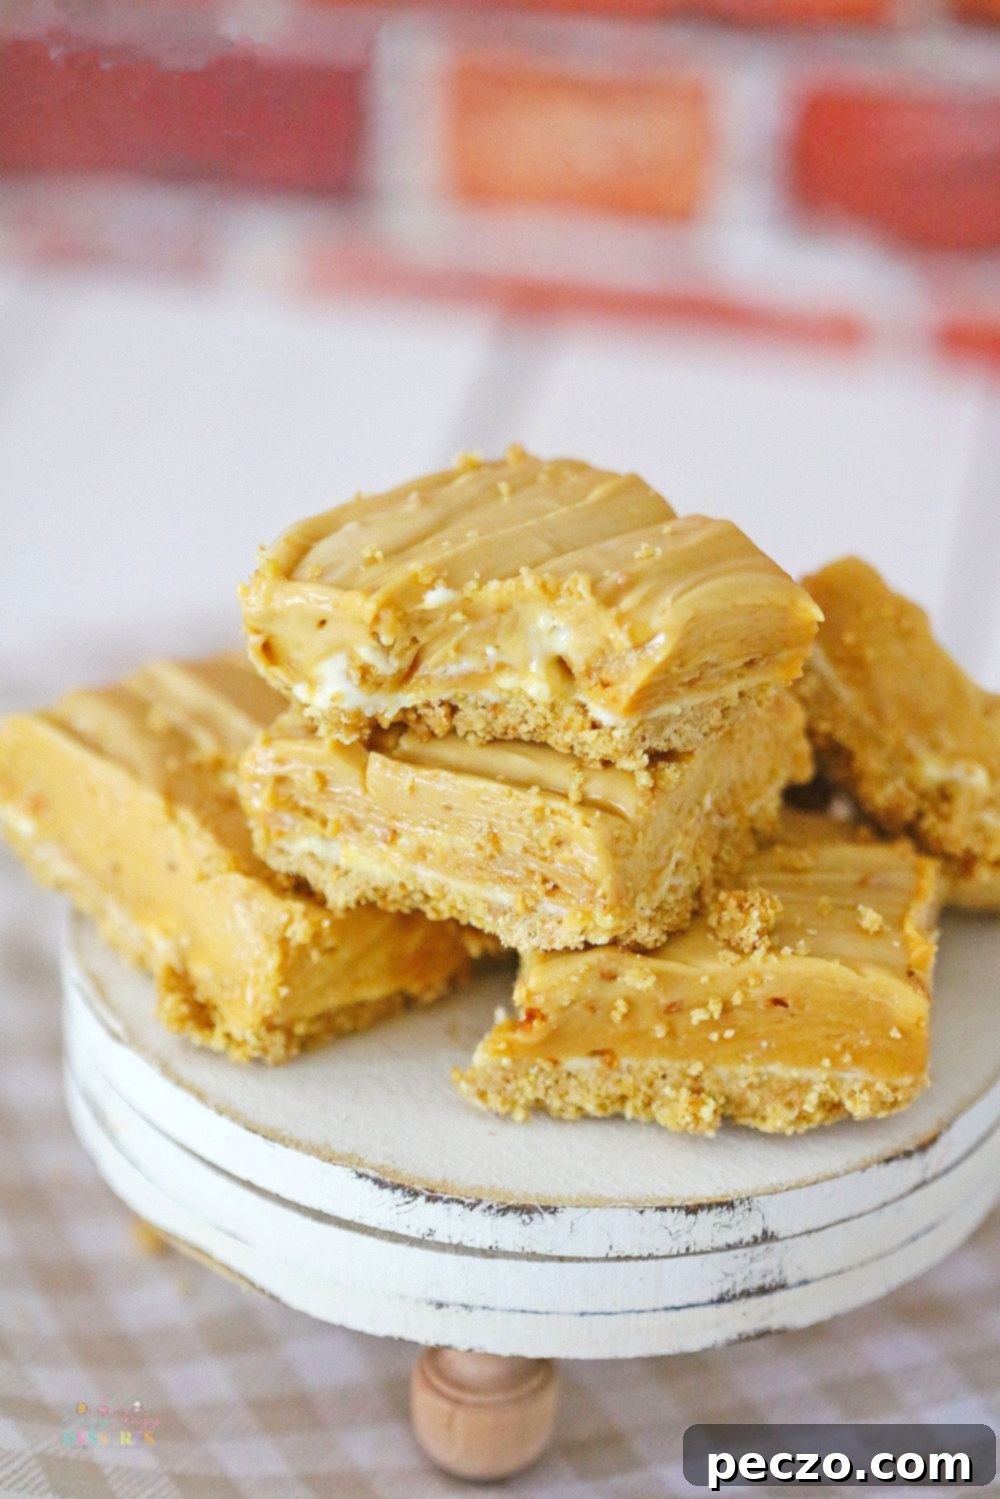
What Essential Ingredients Do You Need for These Creamy Peanut Butter Fudge Cheesecake Bars?
Creating this show-stopping dessert requires a few key components, divided into two main parts: the delightful graham cracker crust and the luscious peanut butter cheesecake fudge filling. Here’s a detailed look at what you’ll need, along with some helpful notes:
For the Crispy Graham Cracker Crust, you’ll need:
- Graham Crackers – A full sleeve, crushed into very fine crumbs. Using a food processor ensures consistency.
- Granulated Sugar – Just a touch to sweeten the crust and help with binding.
- Unsalted Butter – Melted to bind the crumbs together, creating a sturdy and flavorful base.
For the Velvety Peanut Butter Cheesecake Fudge Filling:
- All-Purpose Flour – Don’t be alarmed! As promised, this is a no-bake recipe. The flour is briefly microwaved to ensure it’s safe to consume raw, an essential step for food safety.
- Peanut Butter – Your preference dictates creamy or crunchy. I personally love crunchy peanut butter in this recipe as it adds a wonderful textural element, but smooth works beautifully too for a consistent, silky fudge.
- Granulated Sugar – To sweeten the fudge to perfection, balancing the rich peanut butter and tangy cream cheese.
- Vanilla Extract – A classic flavor enhancer that brings warmth and depth to the dessert.
- White Chocolate – You can use high-quality white chocolate chips, white chocolate bark, or dedicated melting chocolate. This adds sweetness and helps with the fudge’s setting consistency and creamy texture.
- Unsalted Butter – Softened to room temperature is crucial for easy mixing and achieving that smooth, lump-free consistency.
- Cream Cheese – Also softened to room temperature. This is what gives our fudge that delightful cheesecake tang and extra creaminess. A full-fat block cream cheese is recommended for the best results.
- Sweetened Condensed Milk – The magical ingredient that gives our no-bake fudge its characteristic richness, sweetness, and smooth, dense texture. Make sure to use sweetened condensed milk, not evaporated milk.
How to Make These Irresistible Creamy Peanut Butter Fudge Cheesecake Bars?
This recipe is designed for ease and deliciousness. You’ll spend approximately 20-30 minutes on active preparation and assembly, and the recipe yields 9-12 bars, depending on how generously you cut them (you can get more if you prefer smaller squares for snacking). Remember that chilling time is essential for the fudge to set properly.
To Craft the Perfect Graham Cracker Crust:
- Begin by preparing your graham cracker crumbs. Place the graham crackers in a blender or food processor and pulse until they are finely ground into an even crumb texture. Avoid over-processing, which can turn them into a paste.
- Transfer the fine crumbs into a medium-sized mixing bowl. Add the granulated sugar, and stir thoroughly with a spoon or spatula to ensure the sugar is evenly distributed throughout the crumbs.
- In a separate microwave-safe bowl, melt the butter in the microwave. Heat in short bursts (e.g., 20-30 seconds) until fully melted and clear. Pour the melted butter over the graham cracker and sugar mixture. Stir well until all the crumbs are evenly coated and moist, resembling wet sand.
- Line the bottom of an 8×8-inch square baking pan with parchment paper, leaving an overhang on two sides to create “handles.” This will make it much easier to lift the entire fudge block out of the pan once it’s set. Press the buttered crumbs firmly and evenly into the bottom of the prepared pan using the back of a spoon or your clean fingertips. Ensure it’s a compact layer. Place the pan in the freezer for at least 15-20 minutes to allow the crust to set firmly while you prepare the fudge filling.
To Create the Velvety Peanut Butter Cheesecake Fudge:
- While your crust chills in the freezer, prepare the white chocolate. Place the white chocolate (chips, bark, or melting chocolate) in a microwave-safe bowl. Microwave in 15-second intervals, stirring thoroughly after each interval, until the chocolate is completely melted and smooth. Be careful not to overheat, as white chocolate can seize easily. Set aside to cool slightly.
- In a separate microwave-safe bowl, place the all-purpose flour. Microwave the flour for 1 minute on high. This crucial step cooks out any potential bacteria, making the flour safe for this no-bake recipe. Stir the flour after microwaving and set it aside.
- In a large mixing bowl, combine the softened butter, granulated sugar, peanut butter (creamy or crunchy), softened cream cheese, and vanilla extract. Using an electric mixer (handheld or stand mixer) on medium speed, beat these ingredients until they are thoroughly combined, light, and fluffy, scraping down the sides of the bowl as needed.
- To the butter mixture, gradually add the microwaved flour, mixing until just incorporated. Then, pour in the slightly cooled melted white chocolate. Continue to mix until everything is well combined and you have a thick, creamy base.
- Finally, add the entire can of sweetened condensed milk to the mixture. Stir continuously and thoroughly until all the ingredients are fully integrated, and you have a smooth, uniform peanut butter cheesecake fudge mixture. For a beautiful marbled effect, you can leave a few streaks of white chocolate or cream cheese unmixed.
To Assemble and Set the Peanut Butter Cream Cheese Fudge Bars:
- Retrieve the pan with the chilled graham cracker crust from the freezer. Carefully pour the creamy peanut butter fudge mixture evenly over the crust. Use a spatula or the back of a spoon to gently spread and smooth the top surface of the fudge.
- Place the pan, uncovered, into the refrigerator. For optimal results and a perfectly firm set, allow it to chill for at least 4 hours. However, for the very best texture and ease of cutting, I highly recommend letting it set overnight.
- Once the peanut butter fudge is set firm (it should not be sticky or soft to the touch), use the parchment paper overhangs to carefully lift the entire slab of fudge out of the pan and onto a cutting board. You can then cut it into 1-inch squares for delightful bite-sized snacks or treats, or opt for larger 2×3-inch squares for a more substantial dessert portion.
- For an extra touch of indulgence, consider topping your bars with a dollop of homemade whipped cream, a swirl of creamy cream cheese frosting, or a sprinkle of your favorite colorful sprinkles for a festive look.
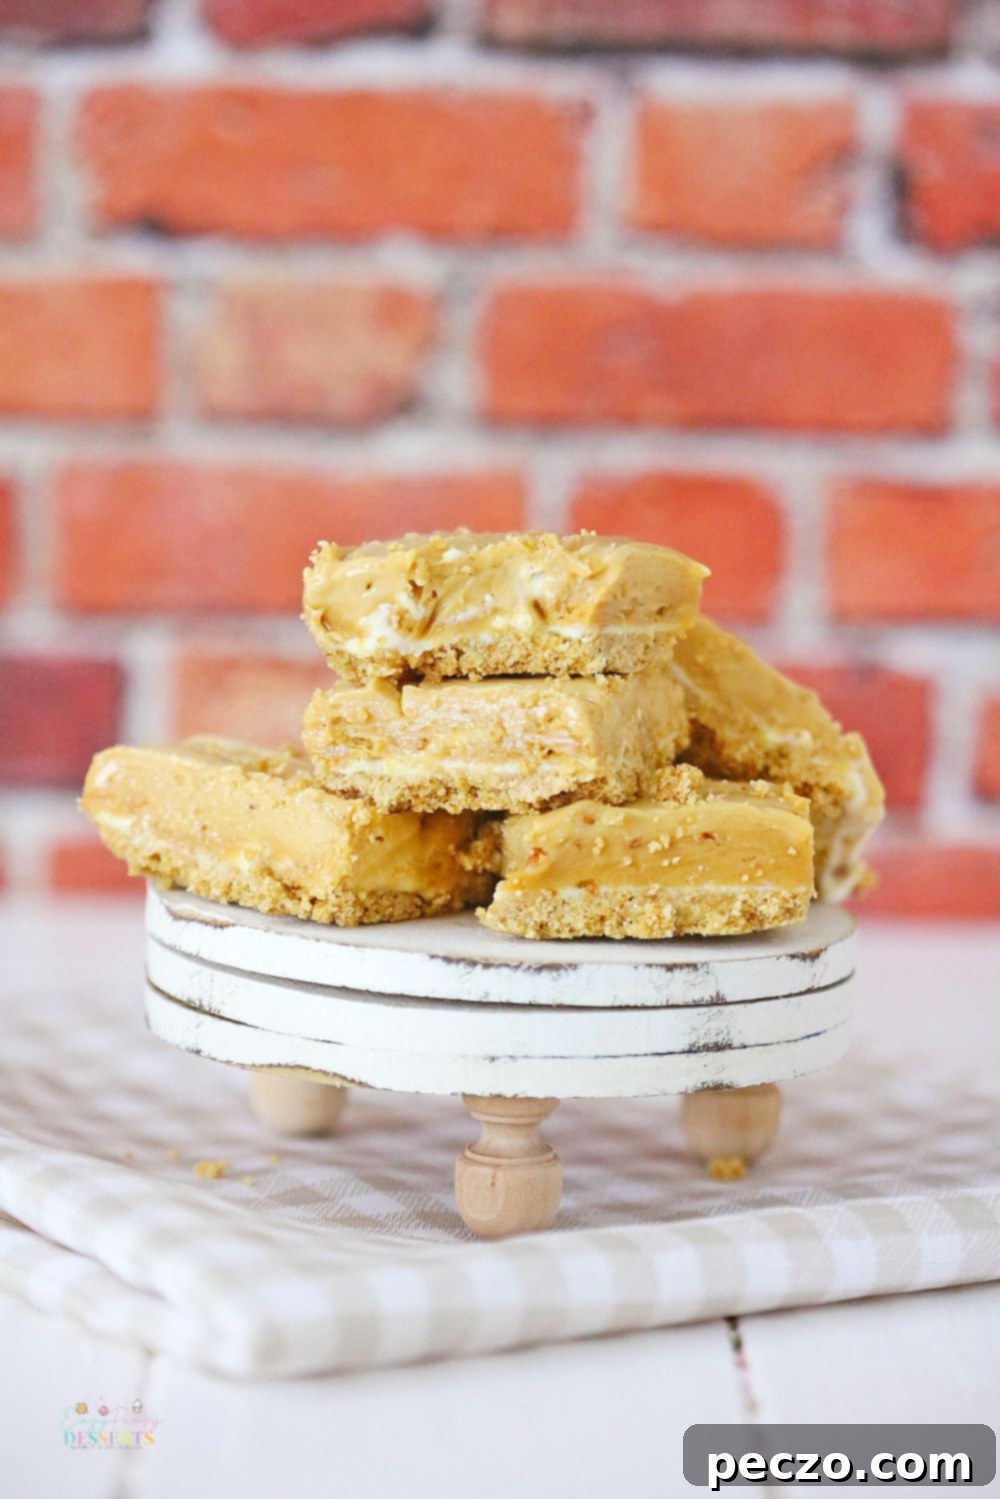
Essential Recipe Notes for Perfect Fudge Every Time:
- Room Temperature Ingredients are Key: For the best, smoothest fudge texture, it is absolutely crucial that your butter and cream cheese are softened to room temperature before you begin mixing. Do not attempt to soften them quickly in the microwave, as this can alter their texture significantly and prevent the fudge from setting up properly and firmly. Plan ahead and take them out of the refrigerator a few hours in advance.
- Microwave the Flour for Safety: Since this is a no-bake recipe, the flour is not exposed to oven heat. Raw flour can sometimes contain bacteria, so it’s vital to microwave it for at least 1 minute. This simple step heats the flour sufficiently to kill any potential bacteria, making it perfectly safe for consumption in a raw dessert.
- Peanut Butter Preference: The choice between creamy and crunchy peanut butter is entirely up to your personal preference! I personally enjoy using crunchy peanut butter because it adds a wonderful, subtle nutty texture and chew to the fudge, enhancing the overall experience. However, if you prefer a perfectly smooth and uniform fudge, creamy peanut butter will work just as well.
- Achieving a Marbled Effect (or not!): When stirring the fudge mixture, you have a creative choice! If you desire a beautiful, swirly, or ribbon-like effect with hints of cream cheese and white chocolate showing through the peanut butter, leave it a little streaky and don’t mix it completely. If you prefer a uniform color, continue stirring until all ingredients are fully combined, resulting in a consistent peanut butter-colored fudge, perhaps a shade lighter due to the white chocolate and cream cheese. Both methods yield delicious results!
Expert Tips and Tricks for the Best No-Bake Peanut Butter Fudge Cheesecake Bars
While my creamy peanut butter fudge cheesecake bars might sound like a complex culinary creation, especially combining the rich density of fudge with the beloved tang of cheesecake, I assure you it’s incredibly achievable. Following my detailed step-by-step guide will certainly help you create this super tasty treat. However, a few additional tips can truly elevate your results and make the process even smoother:
- Preparation is Paramount: Before you even start mixing, ensure you have all your necessary bowls, measuring cups, and utensils laid out and ready. Double-check that all your ingredients are measured and prepared (e.g., graham crackers crushed, butter and cream cheese softened). This “mise en place” approach will streamline the entire process and prevent last-minute scrambling.
- Mind Your Temperatures: As reiterated in the notes, the temperature of your butter and cream cheese is critical. Ensure they are genuinely at room temperature – soft enough to easily indent with a finger, but not melted. This allows them to cream together beautifully with the other ingredients, creating that smooth, luxurious fudge texture.
- Allocate Sufficient Time (Especially for Chilling): While the active preparation time for this peanut butter cheesecake fudge is relatively quick, the chilling time is non-negotiable for success. Do not rush the refrigeration process. Giving the bars ample time (at least 4 hours, or ideally overnight) to set ensures they firm up perfectly, making them easy to slice cleanly and preventing a gooey mess. Patience here is truly a virtue!
- Avoid Overmixing: Once you’ve added the dry ingredients and then the white chocolate and condensed milk, mix until just combined. Overmixing can sometimes incorporate too much air, which might affect the final dense, fudgy texture.
Exciting Variations You Could Try to Customize Your Fudge
One of the beauties of many dessert recipes is their adaptability, allowing you to personalize flavors and ingredients to suit your taste. If you love the concept of these creamy peanut butter fudge bars but are keen to experiment, here are a couple of delicious variations you could try:
- Explore Different Flavors: While peanut butter is a classic and universally loved flavor, it’s certainly not the only option! You could introduce other delightful elements to the fudge mixture. Consider adding a pinch of warm cinnamon or a dash of pumpkin pie spice for an autumnal twist. A swirl of honey or maple syrup could add a different kind of sweetness, or fold in some shredded coconut flakes for a tropical hint. You could even swap out the peanut butter for almond butter or cashew butter for a unique nut butter fudge experience.
- Elevate Your Serving Suggestions: The versatility of these bars is fantastic – they stand alone as a delightful snack or transform into a sophisticated dessert. Beyond the suggested whipped cream and sprinkles, think about other accompaniments. A scoop of your favorite vanilla ice cream or a drizzle of chocolate sauce would create an even more indulgent treat. For a touch of fruitiness, a few fresh raspberries or sliced bananas could provide a lovely contrast.
Frequently Asked Questions About These No-Bake Peanut Butter Fudge Bars
Can You Prepare These Peanut Butter Fudge Bars Ahead of Time?
Absolutely, yes! In fact, making these creamy peanut butter fudge cheesecake bars ahead of time is highly recommended for the best results. You can even tackle it in stages. For instance, you could prepare the graham cracker crust and allow it to set in the freezer, then come back later to prepare and add the fudge filling. Even better, making the entire recipe the day before serving allows the peanut butter cheesecake fudge ample time to set and firm up in the refrigerator, ensuring perfect slices and maximum flavor development. This makes it an ideal dessert for entertaining!
How Do I Store Any Leftovers of the Fudge Bars?
While there might not be many leftovers (these bars are usually devoured quickly!), any remaining peanut butter fudge should be stored in an airtight container. Keep them in the refrigerator, where they will stay fresh and firm for up to 5-7 days. Storing them properly will maintain their delicious texture and flavor.
Can I Freeze Creamy Peanut Butter Fudge Cheesecake Bars?
Yes, these fantastic no-bake bars are very freezer-friendly! Once they are completely set and firm in the refrigerator, you can transfer them to an airtight freezer-safe container. They will hold beautifully in the freezer for up to a month. To enjoy them after freezing, simply thaw the bars overnight in the refrigerator before serving. This makes them a perfect make-ahead treat to have on hand for unexpected guests or future cravings.
I hope I’ve managed to cover all your potential questions about these delightful peanut butter fudge cheesecake bars. However, if there’s anything else you’re wondering, please don’t hesitate to leave a comment below or get in touch. Your questions help make my recipes even better!
Let’s hope this comprehensive guide has truly inspired you to create this scrumptious, easy-to-make dessert at home. If you enjoyed this recipe and found it helpful, I encourage you to explore more amazing recipes on my site. Don’t forget to sign up for my newsletter to receive notifications when new, mouth-watering recipes are published straight to your inbox!
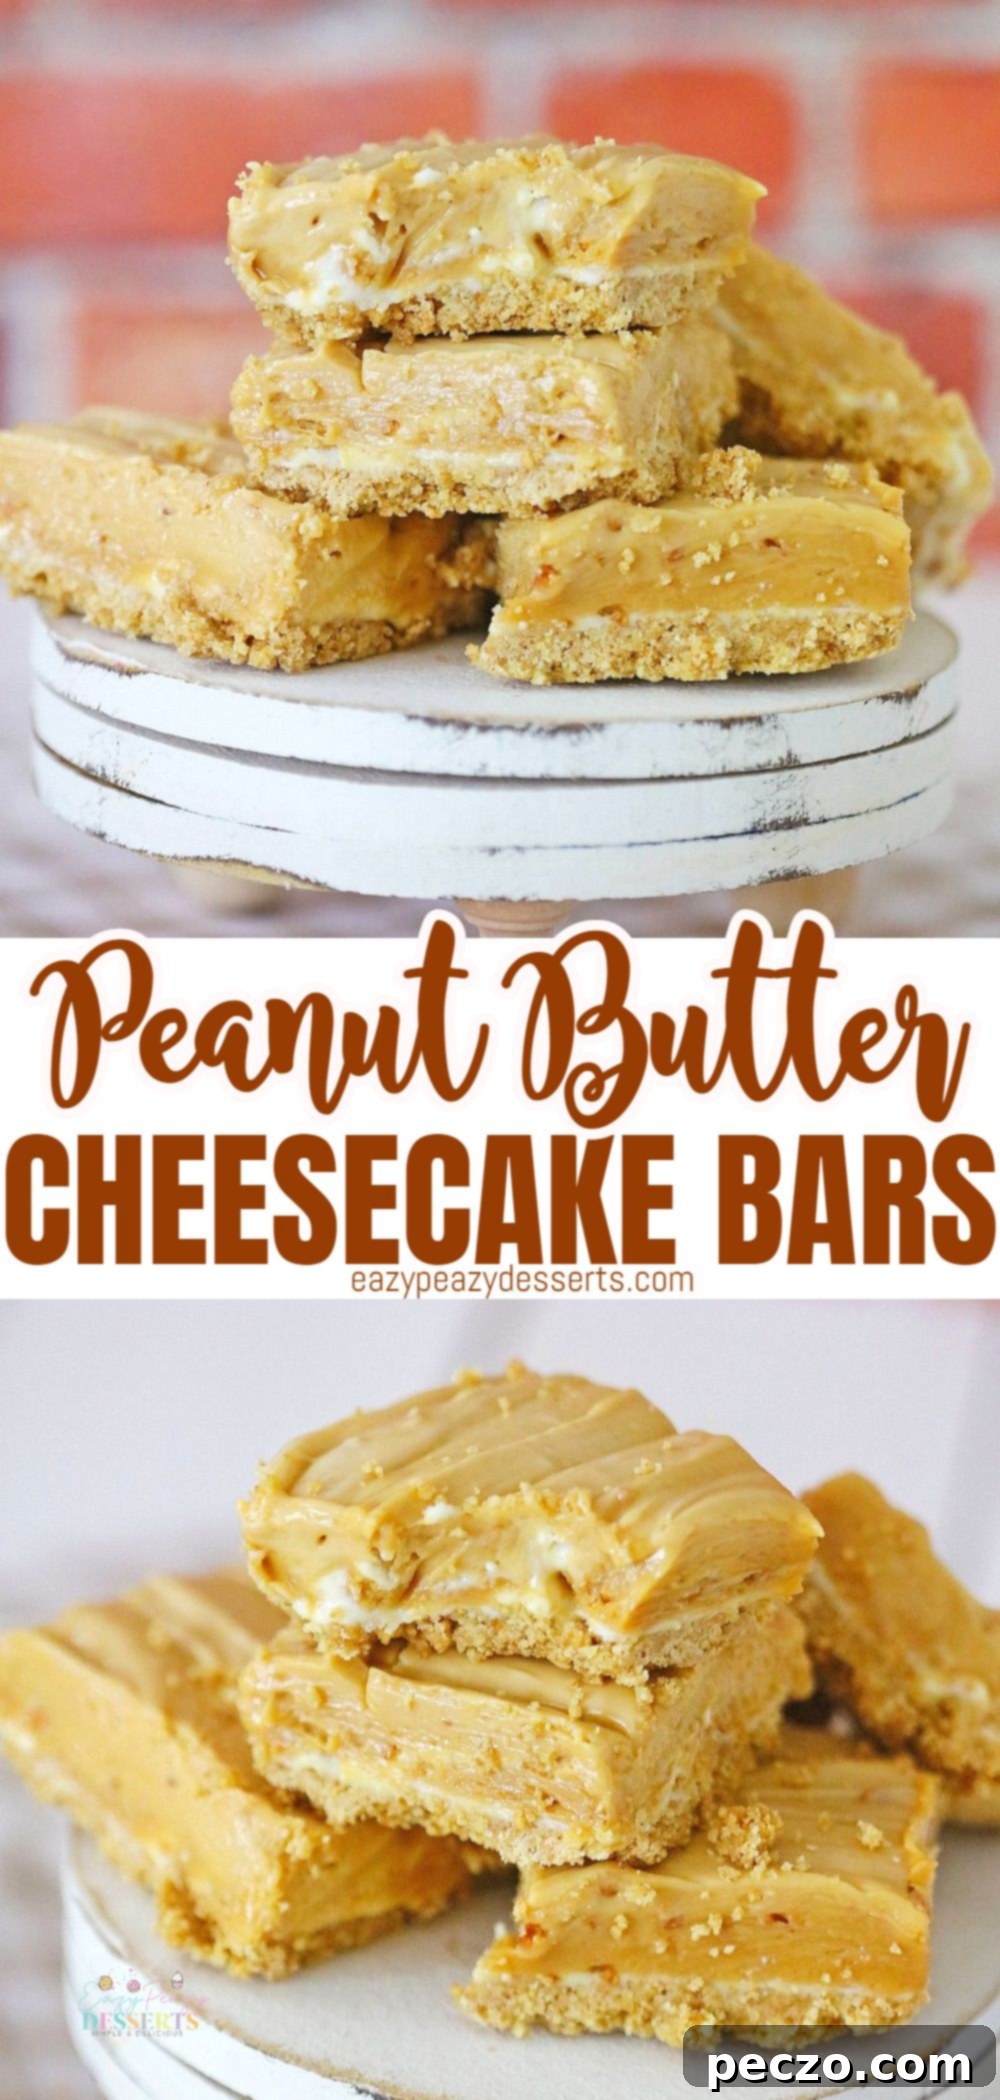
Pin this Recipe to Save for Later!
Print the Recipe Card for Convenience!
Creamy Peanut Butter Fudge Cheesecake Bars
petro
Pin Recipe
Equipment
-
Mixing Bowl (various sizes for ingredients)
-
Microwave Oven
-
8×8 inch Baking Pan (square)
-
Parchment Paper
-
Food Processor or Blender
-
Electric Mixer (Handheld or Stand Mixer)
Ingredients
For the graham cracker crust:
- 1 sleeve Graham Crackers (about 10-12 full sheets), crushed into fine crumbs
- 1 tbsp Granulated Sugar (heaping)
- 4 tbsp Unsalted Butter (melted)
For the creamy peanut butter cheesecake fudge:
- 1 cup All-Purpose Flour (microwaved for 1 minute for safety)
- 1 1/4 cup Peanut Butter (Creamy or Chunky, your preference)
- 3/4 cups Granulated Sugar
- 1 tsp Vanilla Extract
- 1 1/2 cups White Chocolate (chips, bark, or melting chocolate, melted and slightly cooled)
- 1/2 cup Unsalted Butter (softened to room temperature)
- 1 8 oz pkg Cream Cheese (full-fat block, softened to room temperature)
- 1 can Sweetened Condensed Milk (14 oz can, such as Eagle Brand Milk)
Instructions
-
To make the crust: Place the Graham Crackers in a blender or food processor, and pulse until you have fine crumbs. Pour crumbs into a bowl, and add the granulated Sugar, stirring well to blend. Meanwhile, melt the Unsalted Butter in the Microwave, then pour the melted butter over the Graham Cracker crumbs. Stir well until all crumbs are thoroughly coated. Line the bottom of an 8 X 8 inch pan with Parchment paper, ensuring some overhang to use as handles. Press the buttered crumbs firmly and evenly into the bottom of the pan to form a compact crust. Place the pan in the freezer to set while you prepare the fudge filling.
-
To make the fudge: In a microwave-safe bowl, place the White Chocolate and microwave at 15-second intervals, stirring after each, until completely melted and smooth. In a separate microwave-safe bowl, place the All-Purpose Flour and microwave for 1 minute to cook it for safety. Stir and set aside. In a large separate bowl, combine the softened Butter, Granulated Sugar, Peanut Butter, softened Cream Cheese, and Vanilla Extract. Beat with an electric mixer until well combined and creamy. Add the microwaved Flour to the butter mixture, then add the melted White Chocolate, mixing well until incorporated. Finally, add the Sweetened Condensed Milk and continue to stir until all ingredients are thoroughly mixed and smooth.
-
To assemble: Remove the pan with the chilled crust from the freezer. Pour the peanut butter fudge mixture evenly over the graham cracker crust, and gently smooth the top surface with a spatula.
-
Place the pan in the refrigerator for at least 4 hours, or ideally overnight, for the best and firmest results. Once the fudge is completely set, use the parchment paper handles to lift the fudge block out of the pan. Cut into 1-inch squares for delightful snacks or treats, or into 2 X 3 inch squares for a more substantial dessert. Optionally, top with fresh whipped cream, a drizzle of chocolate, or colorful sprinkles before serving.
Nutrition Information
