The Best Ever Easy & Moist Banana Walnut Bread Recipe (No Mixer Needed!)
There’s something incredibly comforting about a slice of warm, freshly baked banana bread. The aroma alone can transport you to a cozy kitchen, filled with the promise of a delightful treat. If you’re searching for a recipe that delivers on both flavor and simplicity, look no further. This super-easy banana and walnut bread is not only incredibly delicious and wonderfully moist but also perfectly achievable for even the most novice bakers. Best of all? You won’t even need a stand mixer or a hand mixer – just a bowl and a spoon will do the trick!
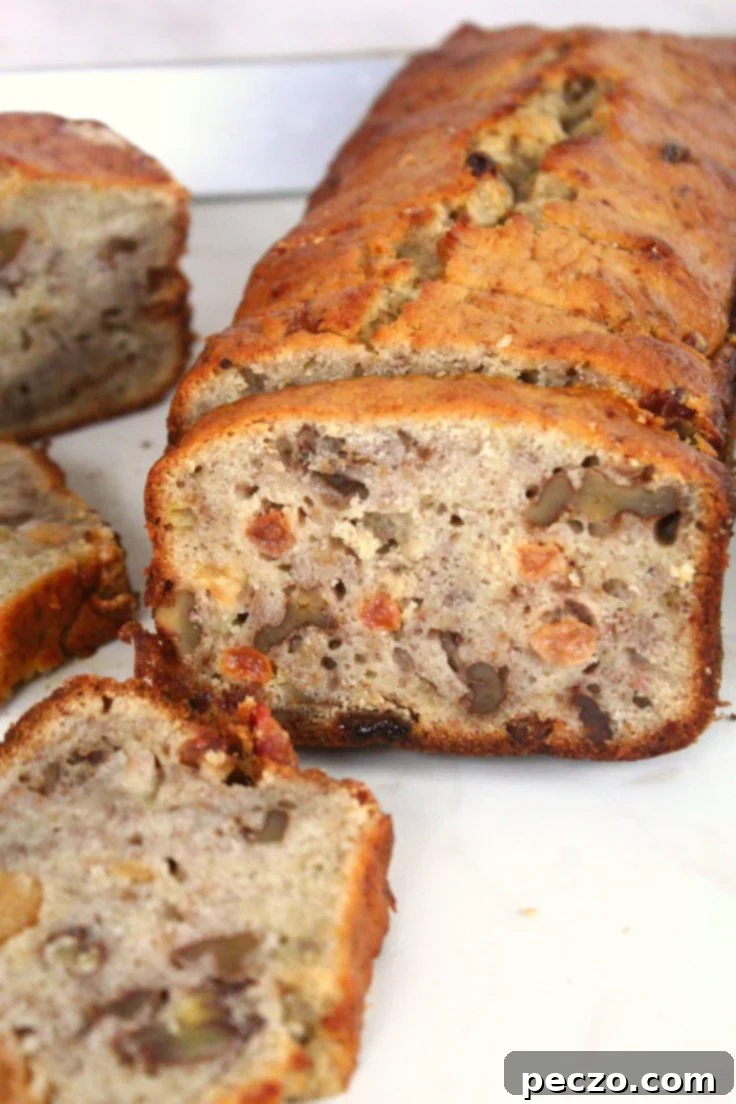
This recipe transforms overripe bananas into a golden-brown masterpiece, studded with crunchy walnuts, making it an ideal companion for your morning coffee or a satisfying dessert after any meal. Its rich, velvety texture and sweet, comforting taste make it an irresistible choice for any occasion. Prepare to impress your family and friends with this fuss-free, utterly delectable banana walnut bread that truly lives up to its “best ever” title.
Your Go-To Recipe for Homemade Banana Walnut Bread
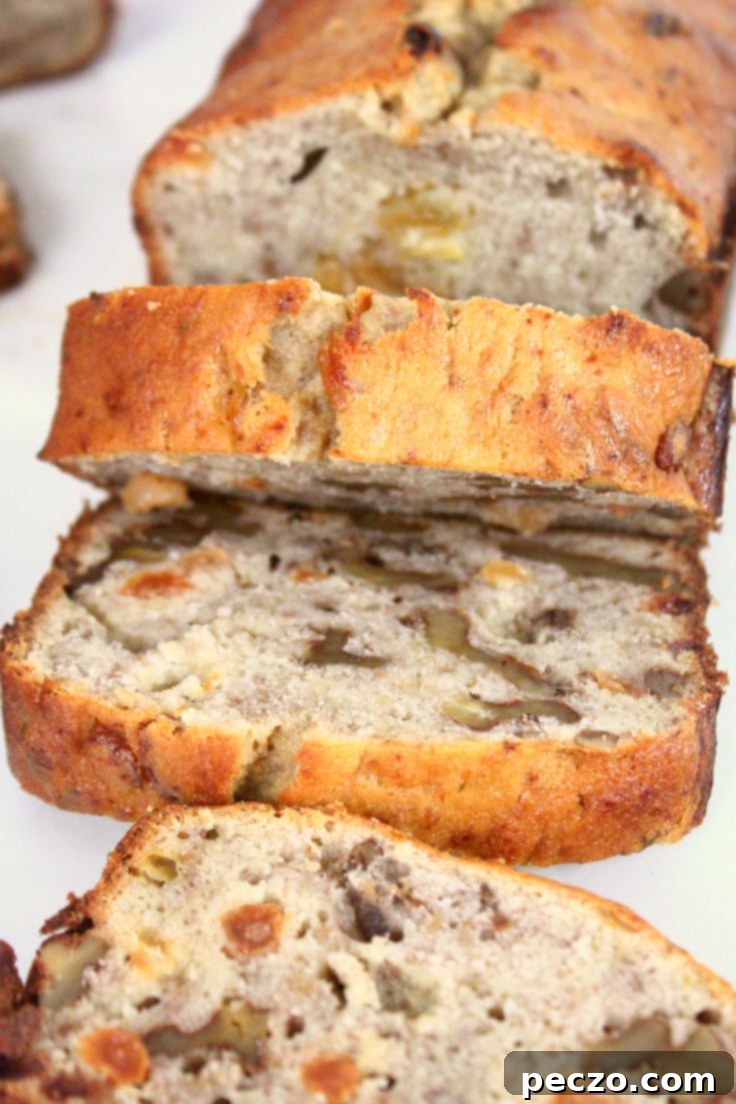
Forget complicated baking techniques and lengthy ingredient lists. This banana and walnut bread is designed for ease without compromising on taste or texture. It’s hands down the best and simplest recipe I’ve discovered, making it a fantastic starting point for beginners or a quick weeknight bake for experienced cooks. The dense yet tender crumb and the perfect balance of sweetness from the bananas with the earthy crunch of walnuts create a truly satisfying experience. Enjoy it warm with a pat of butter, alongside your favorite hot beverage, or as a delightful grab-and-go breakfast.
Beyond its deliciousness, this recipe is perfect for involving the whole family. Kids will love helping to mash the bananas and mix the dough, making it a fun and rewarding kitchen activity. It’s truly a versatile treat that transitions seamlessly from a hearty breakfast option to a sweet, comforting dessert. You’ll find yourself coming back to this simple recipe again and again, especially when you have those perfectly ripe bananas sitting on your counter.
More Fruit-Filled Desserts You’ll Adore:
- Apple Cinnamon Bread
- Apple Tiramisu Cake
- Strawberry Pinwheels
- Apple Pull Apart Bread
- Blueberry Streusel Muffins
- Peanut Butter Banana Bread
Achieving Perfect Moistness and Flavor Without a Mixer
One of the many charms of this easy banana walnut bread is its incredible fuss-free nature. You literally don’t need any fancy equipment to bring it to life! Ditch the electric mixer; all you require is a large mixing bowl and a sturdy wooden spoon or a spatula. The process involves simply combining the wet and dry ingredients in stages, ensuring everything is just mixed until incorporated. Overmixing can lead to a tough bread, so a gentle hand is key here, preserving that coveted moist and tender crumb.
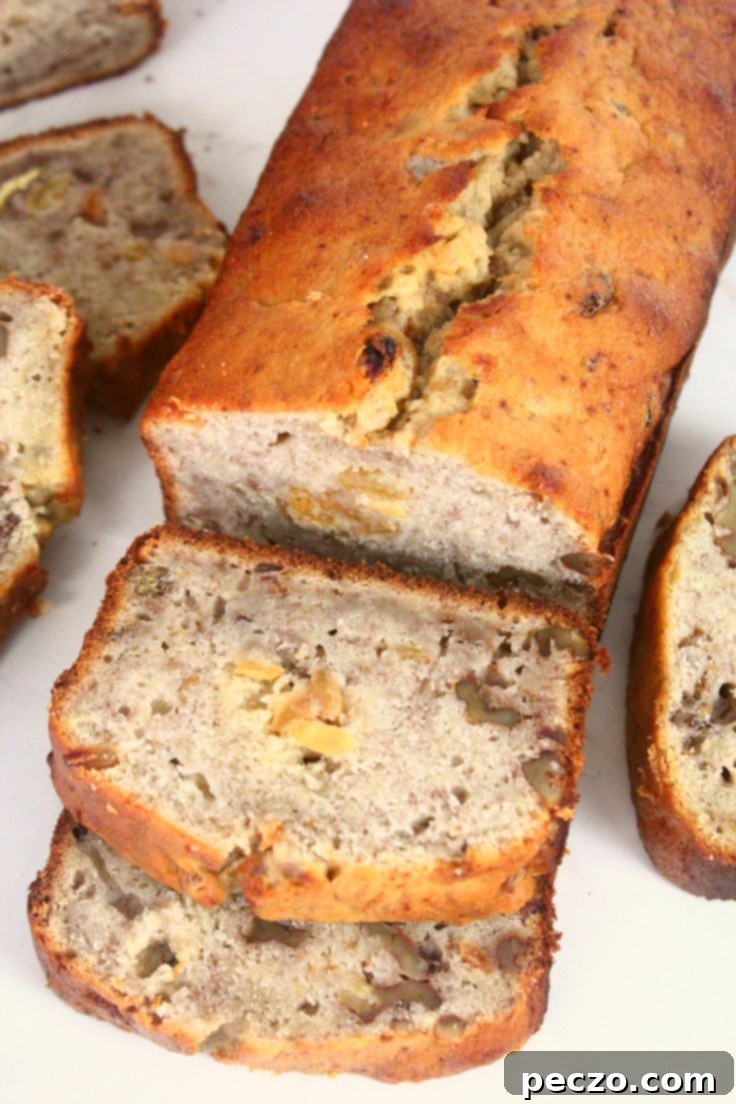
The magic happens as the simple batter is poured into a loaf pan and baked to golden perfection. What emerges from your oven is a velvety, moist, and tender bread that has a delightful cake-like crumb. It’s utterly irresistible whether enjoyed plain, with a smear of cream cheese, a drizzle of chocolate ganache, or even a dollop of whipped cream. Its versatility also extends to shaping; feel free to bake the same delicious batter into individual banana bread muffins for portion-controlled treats or even a unique banana sheet cake for a crowd. No matter the form, the result is always a comforting, satisfying bake.
Tips for the Best Banana Walnut Bread
To ensure your banana walnut bread turns out perfectly every time, keep these essential tips in mind:
- Use Very Ripe Bananas: This is the golden rule for banana bread. The riper your bananas are (think brown spots, or even almost entirely black peels), the sweeter and more flavorful your bread will be. Ripe bananas are also softer and easier to mash, contributing significantly to the bread’s moist texture. Don’t be afraid to use bananas that look “too far gone” for eating fresh – they’re perfect for baking!
- Don’t Overmix: Once you add the dry ingredients to the wet, mix just until the flour streaks disappear. Overmixing develops the gluten in the flour, which can lead to a dense, tough, and chewy bread instead of the desired light, tender, and moist crumb. A few small lumps in the batter are actually a good sign!
- Room Temperature Ingredients: Ensure your butter and eggs are at room temperature. This allows them to emulsify better with the sugar and other ingredients, creating a smoother, more uniform batter and a more tender final product. Cold ingredients won’t combine as easily, potentially leading to a denser bread.
- Toasted Walnuts (Optional but Recommended): For an extra layer of flavor and crunch, lightly toast your walnuts before adding them to the batter. This simple step brings out their natural oils and deepens their nutty taste, adding another dimension to your bread.
- Customize Your Add-ins: While walnuts are classic, don’t be afraid to experiment! Chocolate chips (dark, milk, or white), pecans, dried cranberries, blueberries, or a sprinkle of cinnamon can all elevate this recipe and make it uniquely yours. Just be sure not to overload the batter.
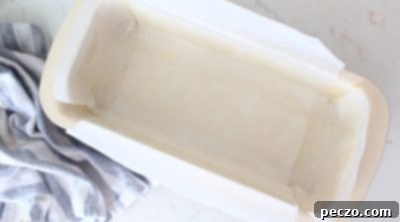
- Proper Loaf Pan Preparation: Greasing and lining your loaf pan with parchment paper is crucial for easy removal. Leave an overhang on the longer sides to create “handles” to lift the bread out effortlessly once baked.
Making Your Banana Walnut Bread Healthier: Simple Swaps
For those looking to enjoy this delightful treat with a healthier twist, several easy modifications can be made without sacrificing flavor or texture. Baking at home gives you complete control over the ingredients, allowing you to tailor this recipe to your dietary preferences and health goals, making it a guilt-free indulgence.
- Natural Sweeteners: Instead of granulated white sugar, opt for natural alternatives that offer additional nutrients. Pure maple syrup, honey, or even date sugar can be used to sweeten the bread. These options provide a rich flavor profile along with some trace vitamins and minerals that refined sugars lack. If using liquid sweeteners, you might need to slightly adjust the amount of dry ingredients to maintain the correct batter consistency.
- Whole Grains: While traditional banana bread often calls for refined all-purpose flour, you can significantly boost the fiber and nutrient content by using whole grain flours. 100% whole wheat flour, whole wheat pastry flour, or even oat flour are excellent choices. Whole wheat flour can sometimes make baked goods denser, so a mix of half all-purpose and half whole wheat is a great starting point if you’re new to baking with whole grains. Spelt flour is another ancient grain option that offers a slightly different, mild flavor.
- Mindful Fats: Reduce saturated fat by replacing butter with a smaller amount of unrefined oils. Extra-virgin olive oil, virgin coconut oil, or other mild-flavored vegetable oils (like avocado oil) can provide the necessary moisture. While butter does impart a unique richness, these oil alternatives can still create a wonderfully moist bread with a lighter texture. For a truly low-fat option, unsweetened applesauce can be used as a direct replacement for butter, often in a 1:1 ratio, though it might subtly alter the texture.
- Boost Nutrients: Consider adding a tablespoon or two of ground flaxseed or chia seeds to the batter for extra fiber, protein, and omega-3 fatty acids. A handful of oats or chopped dried fruit can also be mixed into the batter for added texture and nutritional value, without significantly altering the core recipe.
Dietary Adjustments: Adapting the Recipe to Your Needs
This banana walnut bread recipe is incredibly adaptable, making it simple to cater to various dietary requirements. Whether you’re avoiding certain ingredients for health reasons or following a specific lifestyle, you can easily tweak this recipe to suit your needs and still enjoy a fantastic homemade treat.
- Egg-Free: To make this bread suitable for an egg-free diet, replace each egg with either one ‘flax egg’ (prepared by mixing 1 tablespoon of ground flaxseed meal with 3 tablespoons of water, then allowing it to sit for 5-10 minutes until it forms a gel-like consistency) or an additional ripe mashed banana. Flax eggs work as a binder, while extra banana adds moisture and natural sweetness, ensuring the bread holds together and stays moist.
- Dairy-Free: Achieving a dairy-free version is straightforward. Simply swap the unsalted butter for a high-quality plant-based butter alternative, or a neutral-flavored vegetable oil such as virgin coconut oil or avocado oil. If any milk were specified in the recipe (though this particular recipe doesn’t explicitly call for it), you would substitute it with non-dairy milk like almond milk, soy milk, oat milk, or coconut milk.
- Vegan Variety: For a completely vegan banana bread, you’ll combine the dairy-free and egg-free modifications. Replace any honey (if used for sweetness) with pure maple syrup or agave nectar. Use flax eggs instead of chicken eggs, and opt for plant-based butter or oil instead of dairy butter. This ensures no animal products are used, making it a delightful and compassionate treat for everyone.
- Gluten-Free: While the base recipe uses all-purpose flour, you can easily convert it to gluten-free. Use a reputable 1:1 gluten-free baking flour blend that is specifically designed for baking and contains xanthan gum. It’s also wise to ensure your other ingredients like baking soda and vanilla extract are certified gluten-free if cross-contamination is a concern. The natural moisture from the ripe bananas is a significant advantage in gluten-free baking, helping to prevent a dry, crumbly result.
Storing Your Banana and Walnut Bread for Lasting Freshness
Thanks to its delightful moistness and rich ingredients, this walnut banana bread stays fresh and delicious for several days. Proper storage is key to maximizing its shelf life and ensuring every slice tastes as good as the first. Here’s how to keep your bread in prime condition, whether for immediate enjoyment or for later indulgence:
- Room Temperature: For immediate enjoyment within a few days, store the bread in an airtight container at room temperature. A bread box or a tightly sealed plastic container works perfectly to keep it from drying out. Avoid placing it in direct sunlight or warm areas of your kitchen, as this can accelerate spoilage. It will typically stay fresh for 2-3 days.
- Refrigerator: To extend its freshness even further, transfer the banana bread to an airtight container and keep it in the refrigerator. The cooler temperature will help preserve its moisture and flavor for up to a week. Many people enjoy chilled slices, which can also be quickly warmed up in the microwave or toaster if preferred.
- Freezer: For longer-term storage, the freezer is your best friend. Wrap the entire cooled loaf tightly in plastic wrap, then an additional layer of aluminum foil, or place it in a freezer-safe zip-top bag or an airtight container. Frozen banana bread can maintain its excellent quality for up to 3 months. Freezing individual slices is particularly convenient, as you can defrost just one serving at a time, minimizing waste and ensuring a fresh taste whenever a craving strikes.
- Thawing and Reheating: When ready to enjoy from the freezer, simply transfer the desired amount of slices (or the whole loaf) to the refrigerator overnight to thaw. Alternatively, you can let them sit at room temperature for a few hours. For a warm, freshly baked experience, toast individual slices slightly in a toaster oven, or microwave them briefly (15-30 seconds per slice) until warm and soft. The flavors truly come alive when gently heated.
I absolutely love hearing how you enjoy your homemade treats! Please share your favorite way of savoring this delicious banana walnut bread in the comments below. Do you prefer it plain, with a generous smear of cream cheese, perhaps toasted with a dollop of butter and a sprinkle of cinnamon, or even served warm with a scoop of vanilla ice cream? Your ideas inspire us all!
Detailed Recipe: Making Your Perfect Banana Walnut Bread
Key Ingredients for an Unforgettable Banana Walnut Bread
The secret to a truly outstanding banana walnut bread lies in the quality and preparation of its core ingredients. Each component plays a vital role in achieving that perfect balance of sweetness, moisture, and texture:
- Bananas: The star of the show! Always use very ripe bananas – the riper, the better. Look for peels that are heavily speckled with brown spots, or even entirely black. At this stage, bananas are incredibly sweet, soft, and easy to mash, imparting the deepest banana flavor and contributing significantly to the bread’s moist, tender crumb. Under-ripe bananas will result in a less flavorful and drier bread.
- Unsalted Butter: Using unsalted butter allows you to control the overall salt content of your bread. Ensure it’s at room temperature for easy creaming with the sugar, which creates a light and airy base for the batter.
- Granulated Sugar: Provides essential sweetness and helps create a tender texture in the final baked good. While the ripe bananas offer natural sweetness, the granulated sugar enhances it and helps achieve a desirable caramelization on the crust.
- Eggs: We highly recommend medium-sized, free-range eggs, not just for their vibrant color but also for their superior flavor and excellent binding properties. Eggs add structure, moisture, and richness to the bread, helping it rise beautifully and hold its shape.
- Walnuts: These are an optional but highly recommended addition, bringing a wonderful earthy flavor and a satisfying crunch that contrasts beautifully with the soft, moist bread. You can easily substitute walnuts with other nuts like pecans or even omit them if you prefer a nut-free version. For an enhanced nutty flavor, lightly toast them before folding them into the batter.
- Other Delicious Add-ins: Don’t hesitate to get creative! Beyond walnuts, consider adding a handful of chocolate chips (dark, milk, or white) for a touch of indulgence, dried cranberries or raisins for bursts of chewy sweetness, or a delicate sprinkle of cinnamon or nutmeg for a hint of warmth. Fresh banana slices can also be beautifully arranged on top of the batter before baking for an appealing presentation.
- Flour: This recipe is incredibly versatile when it comes to flour choices, allowing you to tailor it to your preferences:
- All-purpose flour: The standard choice for a classic, light, and tender crumb.
- Oat flour: Adds a subtle nutty flavor and significantly increases the fiber content, contributing to a hearty texture.
- Spelt flour: A good alternative for a slightly denser, yet still tender bread with a mild, sweet flavor, offering ancient grain benefits.
- Gluten-free flour blend: If you’re making it gluten-free, choose a reputable 1:1 baking blend that specifically contains xanthan gum to ensure proper structure.
- Whole wheat pastry flour or white whole wheat flour: These options offer the nutritional benefits of whole grains without the heaviness sometimes associated with regular whole wheat flour, resulting in a lighter whole grain bread.
Choose the flour that best suits your dietary needs and desired texture.
- Baking Soda, Vanilla Extract, and Salt: Baking soda acts as the crucial leavening agent, ensuring a good rise and helping to create the bread’s airy structure. Vanilla extract adds a depth of warm, aromatic flavor that complements the banana beautifully, while a pinch of salt balances the sweetness and enhances all the other flavors in the bread, making them pop.
Step-by-Step Guide: Crafting Your Moist Banana Walnut Bread
Follow these simple, easy-to-understand instructions to bake a perfectly moist and flavorful banana walnut bread:
- Prepare Your Pan and Oven: Begin by preheating your oven to 350°F (175°C). This ensures the oven is at the correct temperature when your batter is ready, promoting an even and consistent bake. Lightly grease a standard loaf pan (approximately 9×5 inches or 12×5 inches, as listed in the equipment section) and then line it with baking paper (parchment paper), leaving a generous overhang on the longer sides. This clever trick creates “handles” that make it incredibly easy to lift the baked bread out of the pan once it’s cooled.
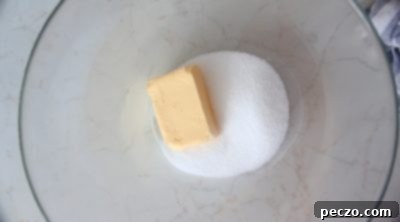
- Cream Butter and Sugar: In a large mixing bowl, combine the softened, room temperature unsalted butter with the granulated sugar. Using a sturdy wooden spoon or a spatula, cream them together vigorously until the mixture is light, fluffy, and pale in color. This essential step incorporates air into the mixture, which is fundamental for achieving the bread’s tender and airy texture.
- Mash Bananas: In a separate bowl, take your very ripe bananas and mash them thoroughly with a potato masher or a fork. Aim for a consistency similar to chunky applesauce, leaving a few small lumps if you enjoy a bit of banana texture in your bread. Remember, the riper your bananas, the easier they will be to mash and the more intense the banana flavor will be in your final product.
- Combine Wet Ingredients: Add the prepared mashed banana puree to the creamed butter and sugar mixture. Crack in the eggs one at a time, mixing well after each addition until thoroughly blended and smooth. Finally, stir in the vanilla extract, ensuring all wet ingredients are smoothly and evenly combined before moving to the next step.
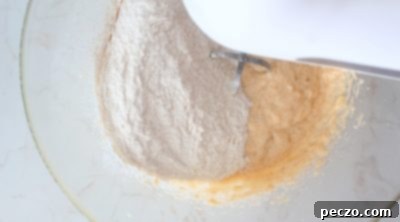
- Mix Dry Ingredients: In yet another separate medium bowl, whisk together your chosen flour, baking soda, and salt. Whisking these dry ingredients thoroughly ensures they are evenly distributed, which is crucial for a consistent rise and an even texture throughout your banana bread.
- Combine Wet and Dry: Gradually add the whisked dry ingredient mixture to the wet ingredients in batches. Mix gently with your wooden spoon or spatula, stirring only until no dry streaks of flour remain. It is absolutely crucial not to overmix the batter at this stage, as overmixing can develop the gluten in the flour, leading to a tough, dry, and less desirable bread. A few small lumps in the batter are perfectly fine and often preferred.
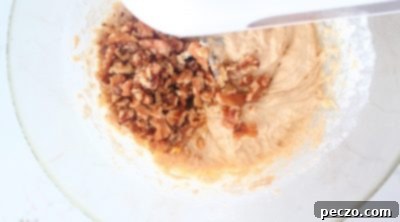
- Fold in Walnuts (and Optional Add-ins): Gently fold in the chopped walnuts and any other optional additions you’ve chosen, such as raisins or chocolate chips. Ensure they are evenly distributed throughout the batter. This ensures every slice has a delightful crunch and burst of flavor.
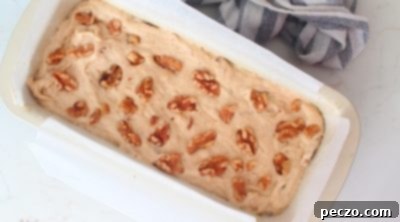
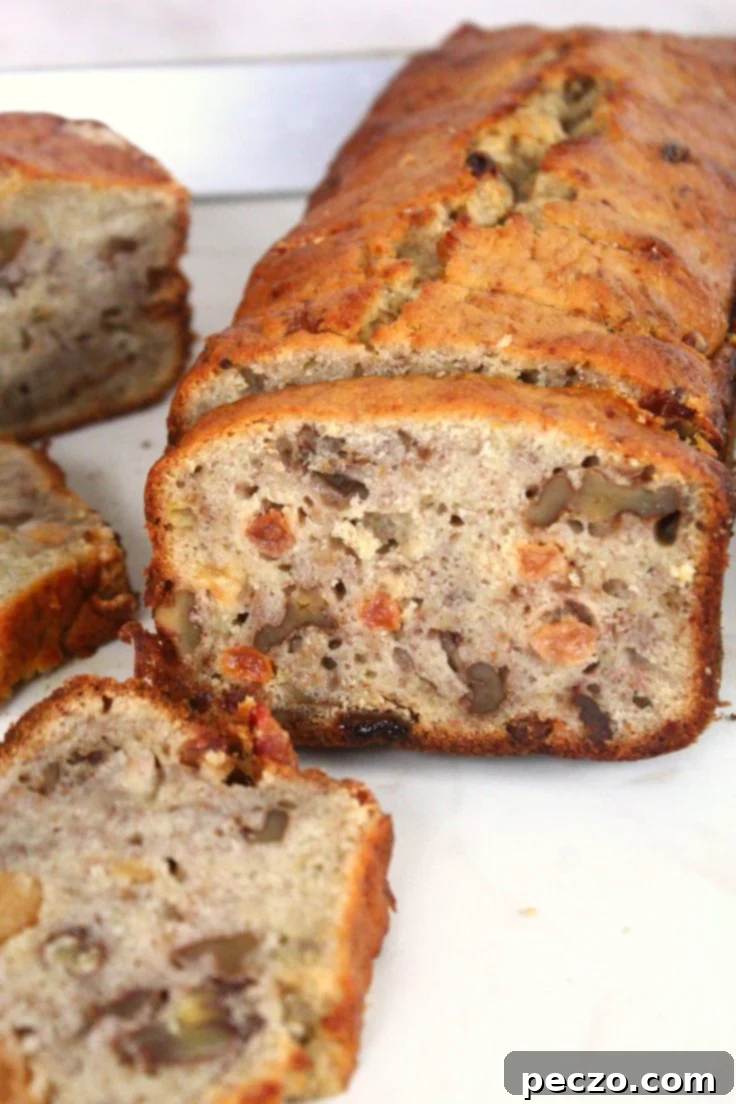
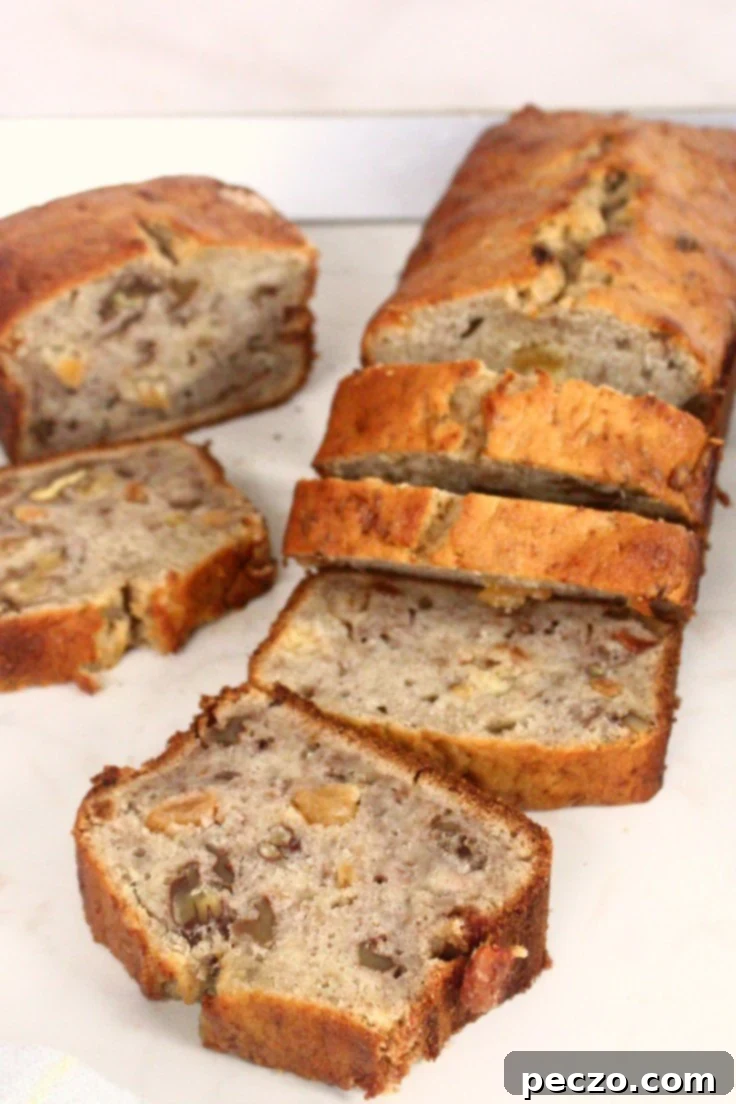
- Bake to Perfection: Pour the prepared batter evenly into your greased and lined loaf pan. Bake in the preheated oven for approximately 50-55 minutes. Please note that baking time can vary slightly depending on your specific oven. To accurately check for doneness, insert a wooden toothpick into the very center of the loaf around the 50-minute mark. If it comes out clean or with just a few moist crumbs attached, your bread is ready. If it comes out with wet batter, return it to the oven for an additional 5 minutes and test again. The finished bread will have a beautiful, deep golden-brown color, which is characteristic of ripe bananas caramelizing during baking.
- Cool Before Slicing: Once baked, remove the loaf pan from the oven and let the banana bread cool in the pan for about 10-15 minutes on a wire rack. This initial cooling helps the bread set. Then, using the parchment paper overhang as handles, carefully lift the bread out of the pan and transfer it directly to a wire rack to cool completely. Slicing warm banana bread can be incredibly tempting, but allowing it to cool fully significantly improves its texture, making for cleaner, more defined slices and enhancing its overall moistness.
Pin this Recipe to Save for Later!
Print the recipe card for easy baking!
Banana and walnut bread
petro
Pin Recipe
Equipment
-
mixing bowl
-
hand mixer
-
potato masher
-
12 x 5 loaf pan
-
baking paper
Ingredients
- 3 ripe bananas medium
- ½ cup unsalted butter room temperature
- 3/4 cup granulated sugar
- 3 eggs medium
- 1 ½ cups flour
- 1 tsp baking soda
- ½ tsp salt
- ½ tsp vanilla extract
- 1 cup walnuts
- ½ cup raisins – optional
Instructions
-
Preheat the oven to 350°F (175°C). Grease your chosen loaf pan and line it with baking paper, leaving a slight overhang for easy removal later.

-
In a large mixing bowl, cream together the room temperature unsalted butter and granulated sugar until the mixture is light, fluffy, and well combined.

-
Add the eggs one at a time to the butter and sugar mixture, mixing well after each addition until fully incorporated.

-
Mash the ripe bananas with a potato masher or a fork until they reach a chunky applesauce-like consistency. Add this banana puree to the butter, sugar, and egg mixture, stirring until everything is thoroughly blended. Finish by stirring in the vanilla extract.

-
In a separate medium bowl, whisk together the flour, baking soda, and salt until well combined. Gradually add these dry ingredients to the wet ingredients, mixing just until no dry streaks of flour remain. Be careful not to overmix the batter.

-
Gently fold in the chopped walnuts and any other optional add-ins, such as raisins or chocolate chips, ensuring they are evenly distributed throughout the batter.

-
Pour the batter into your prepared loaf pan and spread it evenly. Bake for 50-55 minutes at 350˚F (175°C). Check for doneness around the 50-minute mark by inserting a toothpick into the center of the bread. If it comes out clean, your banana bread is done. If not, bake for an additional 5 minutes and test again. Once baked, let it cool in the pan for 10-15 minutes before transferring to a wire rack to cool completely.

Nutrition
