Decadent & Easy Homemade Chocolate Mousse: A Velvety Dessert Recipe for Any Occasion
Indulge in the luxurious simplicity of this homemade chocolate mousse recipe. A truly exquisite dessert, it boasts a light, airy texture and a deep, rich chocolate flavor that belies its remarkably quick and easy preparation. Forget intimidating French patisserie; here, we’ll guide you through creating this sophisticated treat in no time, making you feel like a culinary maestro with minimal effort.
The Allure of Chocolate Mousse: A Classic Dessert Reinvented for Ease
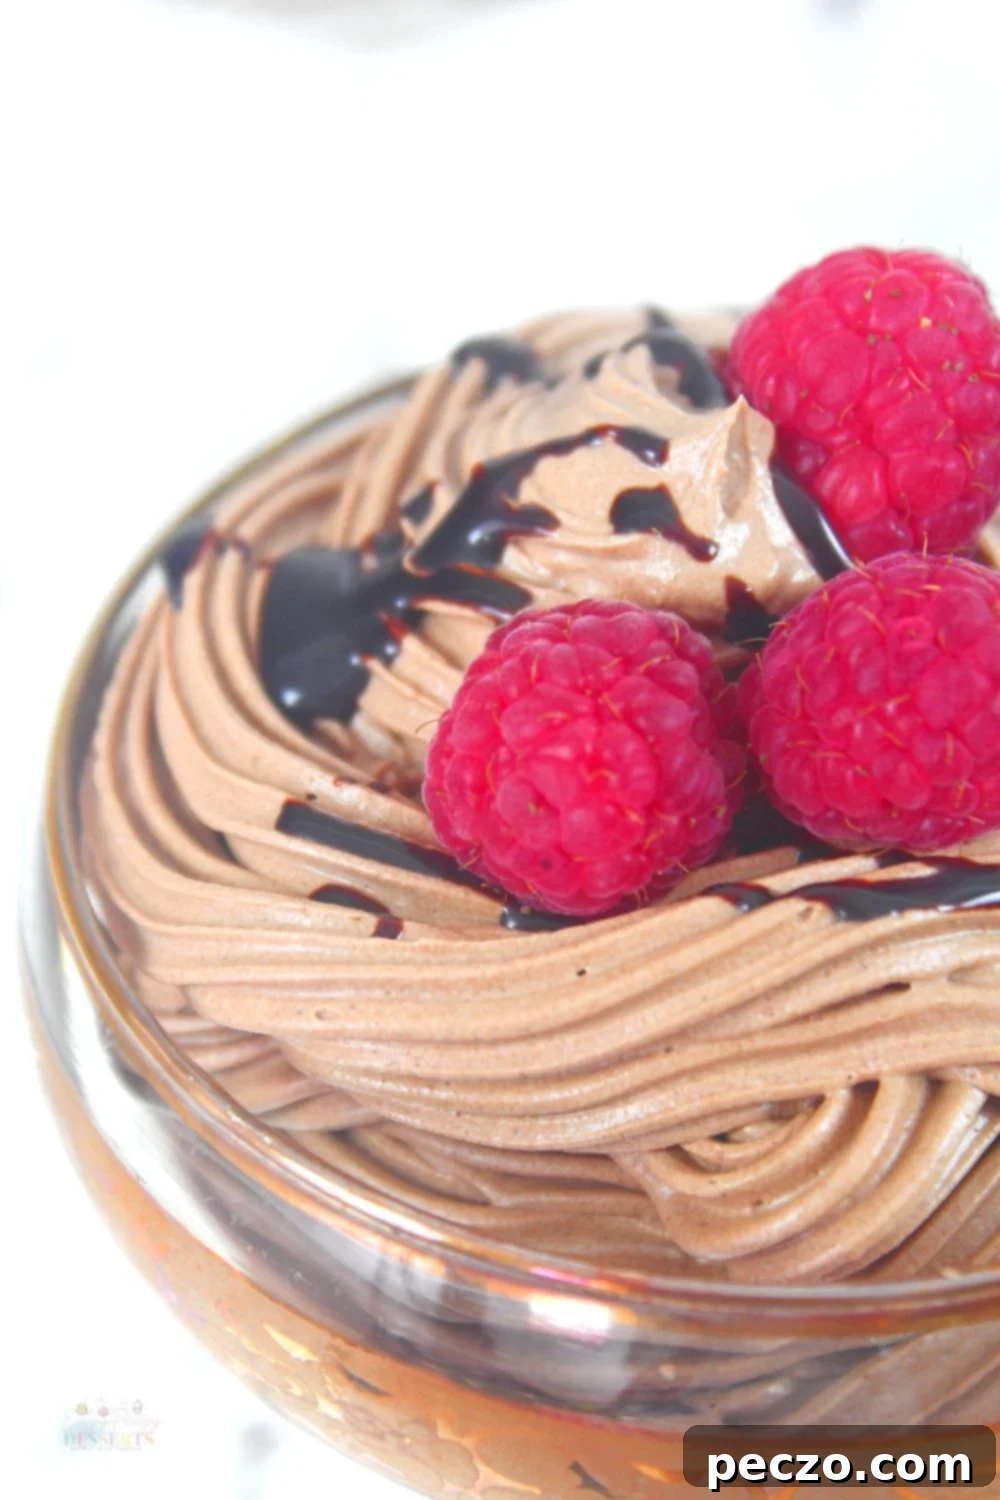
There’s something inherently romantic and elegant about a chocolate mousse. Originating from classic French cuisine, mousses – whether chocolate or fruit-based – are perennially cherished desserts, often gracing the tables of celebratory dinners and intimate date nights. While its appearance might suggest hours of intricate work, this particular recipe is designed for accessibility, ensuring that even novice bakers can achieve a show-stopping result. The secret lies in a few careful steps: creating a luscious egg yolk base and gently folding in stiffly-beaten cream. With just a little attention to detail, you’ll unlock a dessert that’s both impressive and incredibly satisfying to make.
This chocolate mousse recipe promises an unforgettable sensory experience. Each spoonful delivers a deep, intense chocolate flavor complemented by a texture so soft and airy, it practically melts on your tongue. The beauty of this dessert is not only in its taste but also in its efficiency. With active preparation time typically ranging from just 20 to 25 minutes, it’s a worthwhile investment for a truly exceptional treat. Moreover, you don’t need advanced culinary skills or a pantry full of exotic ingredients; a few basic cooking essentials are all it takes to bring this delightful creation to life.
More chocolate desserts you will love:
- Italian chocolate salami
- Wacky cake recipe
- Chocolate fudge cupcakes
- Homemade fudge with powdered milk
- Chocolate cookie balls
- Chocolate peanut clusters
Expert Tips and Tricks for the Best Chocolate Mousse Recipe
Achieving the perfect chocolate mousse isn’t difficult, but a few professional tips can elevate your dessert from good to extraordinary. These techniques ensure a smooth, airy texture and rich flavor every time.
- Temper the eggs for a silky smooth texture: This step is crucial for preventing your egg yolks from scrambling when introduced to hot liquid. To temper, slowly whisk about half of the hot cream into your egg yolk and sugar mixture. This gradual addition gently raises the temperature of the yolks without cooking them. Once tempered, return the entire egg mixture to the saucepan with the remaining cream to finish cooking. This process allows the egg yolks to thicken the mixture into a custardy base, contributing to the mousse’s luxurious mouthfeel.
- Always whip cold cream with cold tools for optimal stiffness: For the best results and a firm, stable mousse, it’s paramount to use very cold heavy cream, along with chilled beaters and a cold mixing bowl. Pop your bowl, beaters, and heavy cream (at least 35% fat content for superior results) into the fridge for at least 15-20 minutes before you begin. The colder temperature helps the fat molecules in the cream emulsify more efficiently, trapping air and allowing the cream to hold its stiff peaks, which are essential for the mousse’s signature airy structure.
- Master the gentle folding technique for a light mousse: When incorporating the whipped cream into the chilled chocolate base, avoid vigorous stirring. A rubber spatula is your best tool for this, thanks to its flexibility. Add a large dollop of the whipped cream into the center of your cooled chocolate mixture. Then, using a “cutting” motion, draw the spatula down through the center of the cream, across the bottom of the bowl, and up the side, effectively “folding” the chocolate over the cream. Rotate the bowl and repeat until the cream is just evenly mixed in. This gentle motion preserves the air bubbles in the whipped cream, ensuring your mousse remains light and airy, rather than dense.
- Customize your chocolate choice for desired flavor intensity: The type of chocolate you use significantly impacts the final flavor. Dark chocolate (70% cocoa or higher) will yield a more intense, less sweet cocoa flavor, and often makes the dessert feel more “healthy” due to lower sugar content and higher antioxidants. However, if you prefer a sweeter, milder taste, milk chocolate can be used. For a unique twist, try white chocolate, keeping in mind it will be sweeter and have a different flavor profile. Feel free to experiment with your favorite kind!
- Enhance the flavor with extracts or liqueurs: For an extra layer of complexity, consider adding a hint of extract or a splash of liquor. Just before your whipped cream reaches stiff peaks, fold in a teaspoon of rum extract, orange-flavored extract (like Grand Marnier), or even a touch of vanilla bean paste for an aromatic boost. For an adult-only indulgence, gently fold in a tablespoon or two of your favorite liquor, such as a coffee liqueur, dark rum, or a fruit brandy, to the cooled chocolate mixture before adding the whipped cream.
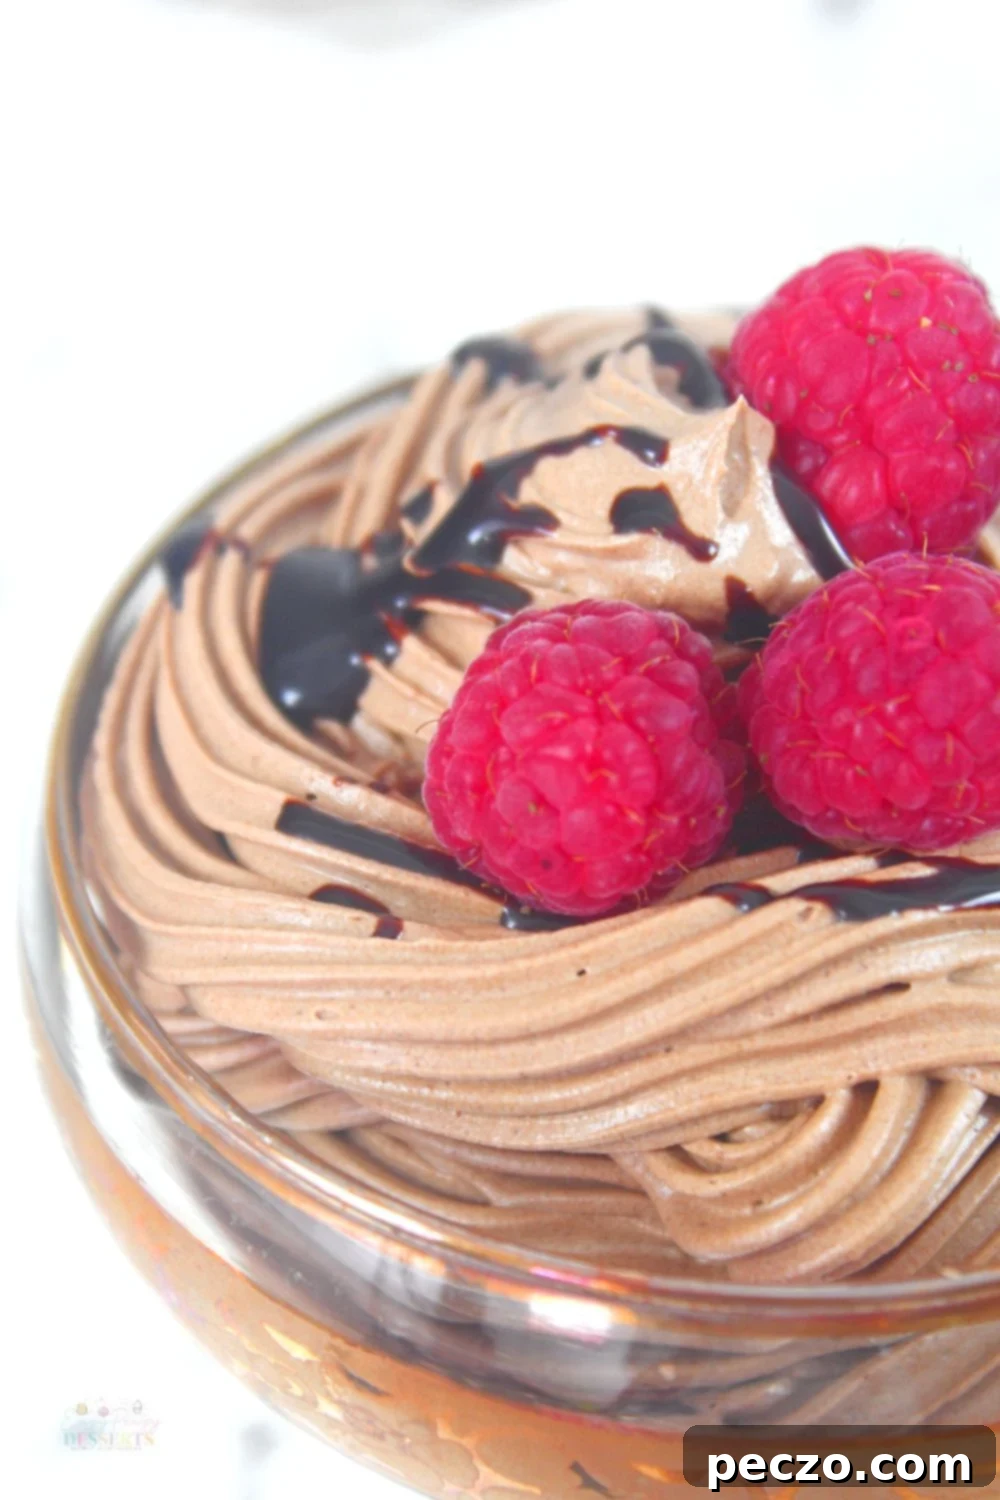
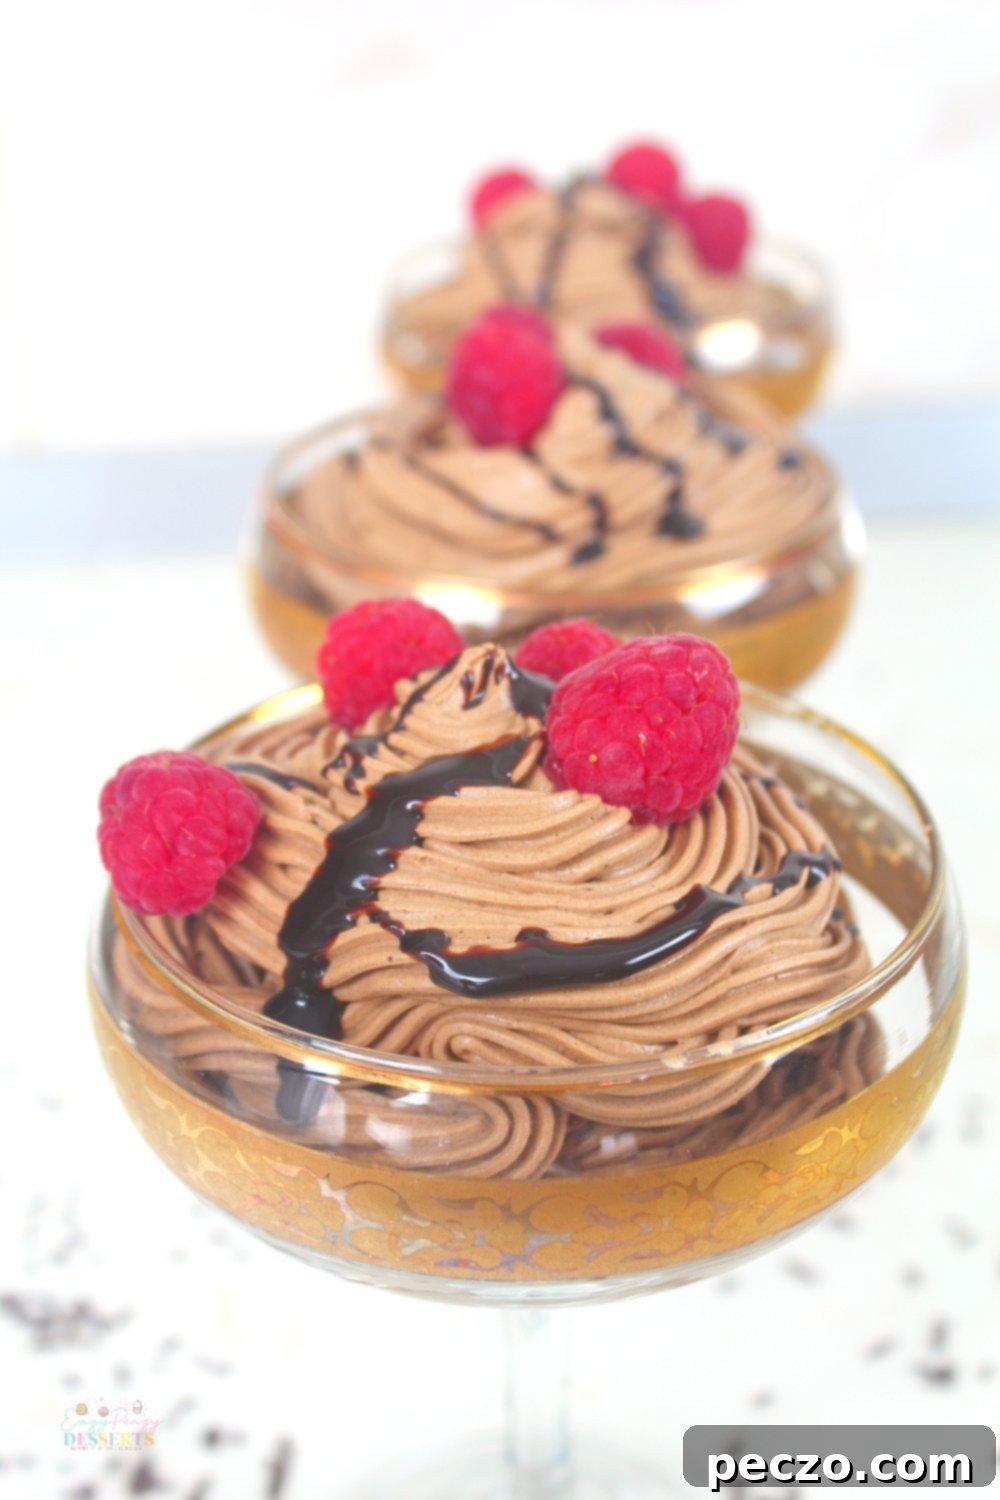
- Garnish creatively for a beautiful presentation: A well-garnished mousse not only looks more festive but can also add delightful textural and flavor contrasts. Top your individual servings with fresh berries (strawberries, raspberries, blueberries) for a burst of freshness and color, delicate mint leaves, chocolate shavings, finely chopped nuts, or a simple dusting of cocoa powder. Fruit garnishes, in particular, can make the rich dessert feel lighter and more refreshing.
If you’re concerned about scorching chocolate on the stovetop, melting it in the microwave is a great alternative. Place your chopped chocolate in a microwave-safe bowl and heat in short intervals – typically 15-30 seconds at a time – stirring thoroughly after each interval. This gradual method ensures the chocolate melts smoothly and evenly without burning, resulting in a perfect base for your mousse.
How to Style and Serve Your Elegant Chocolate Mousse Dessert
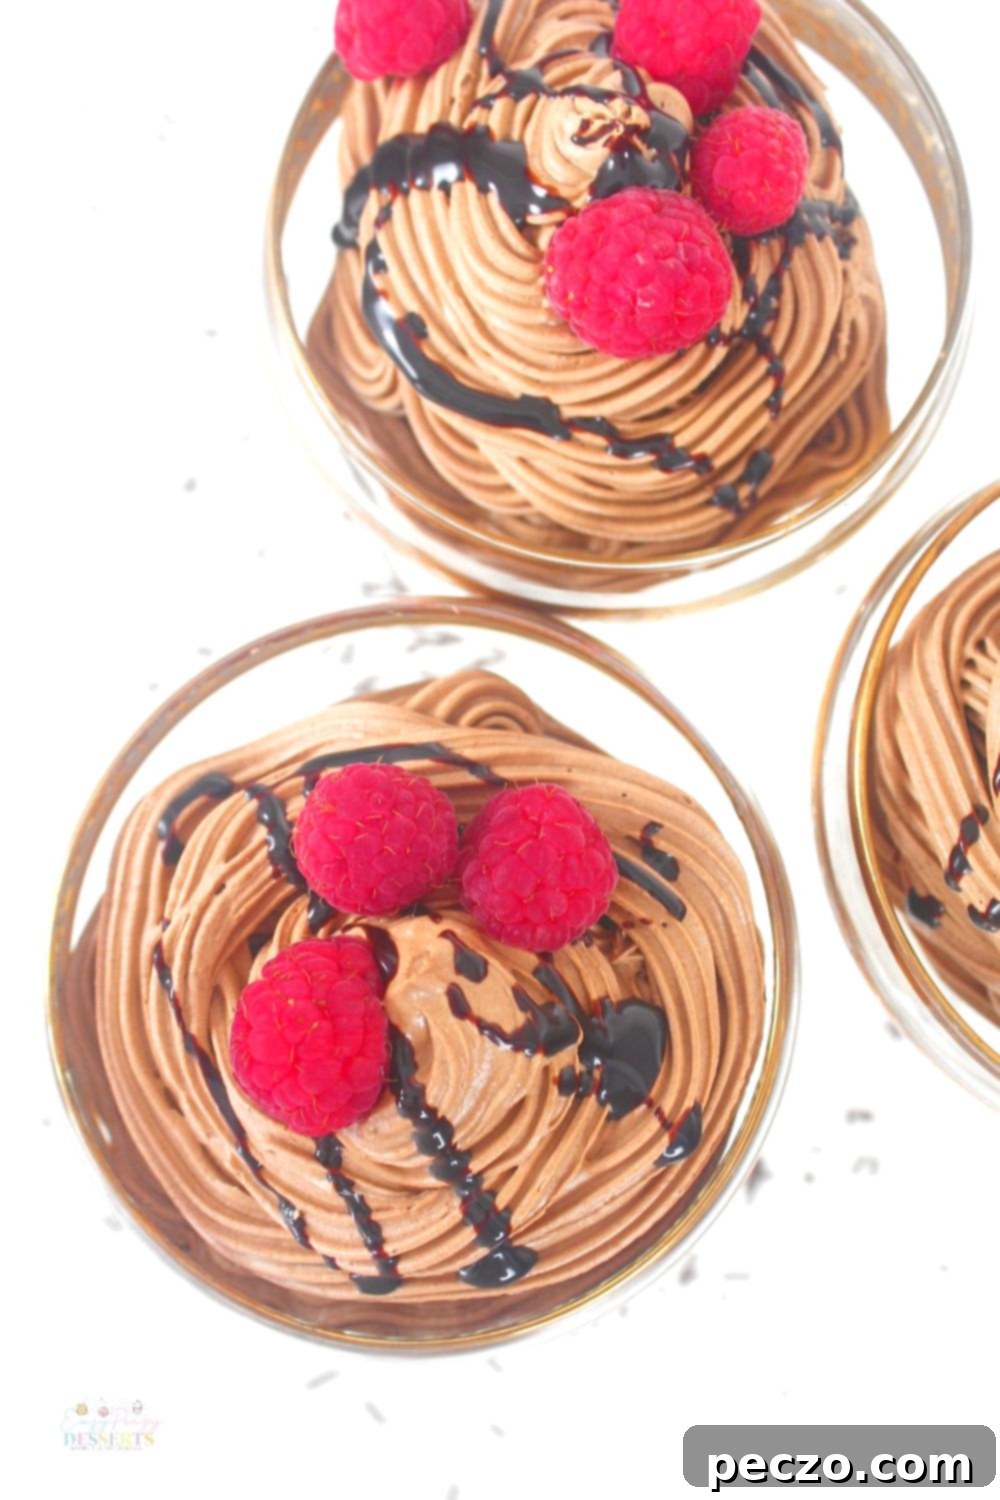
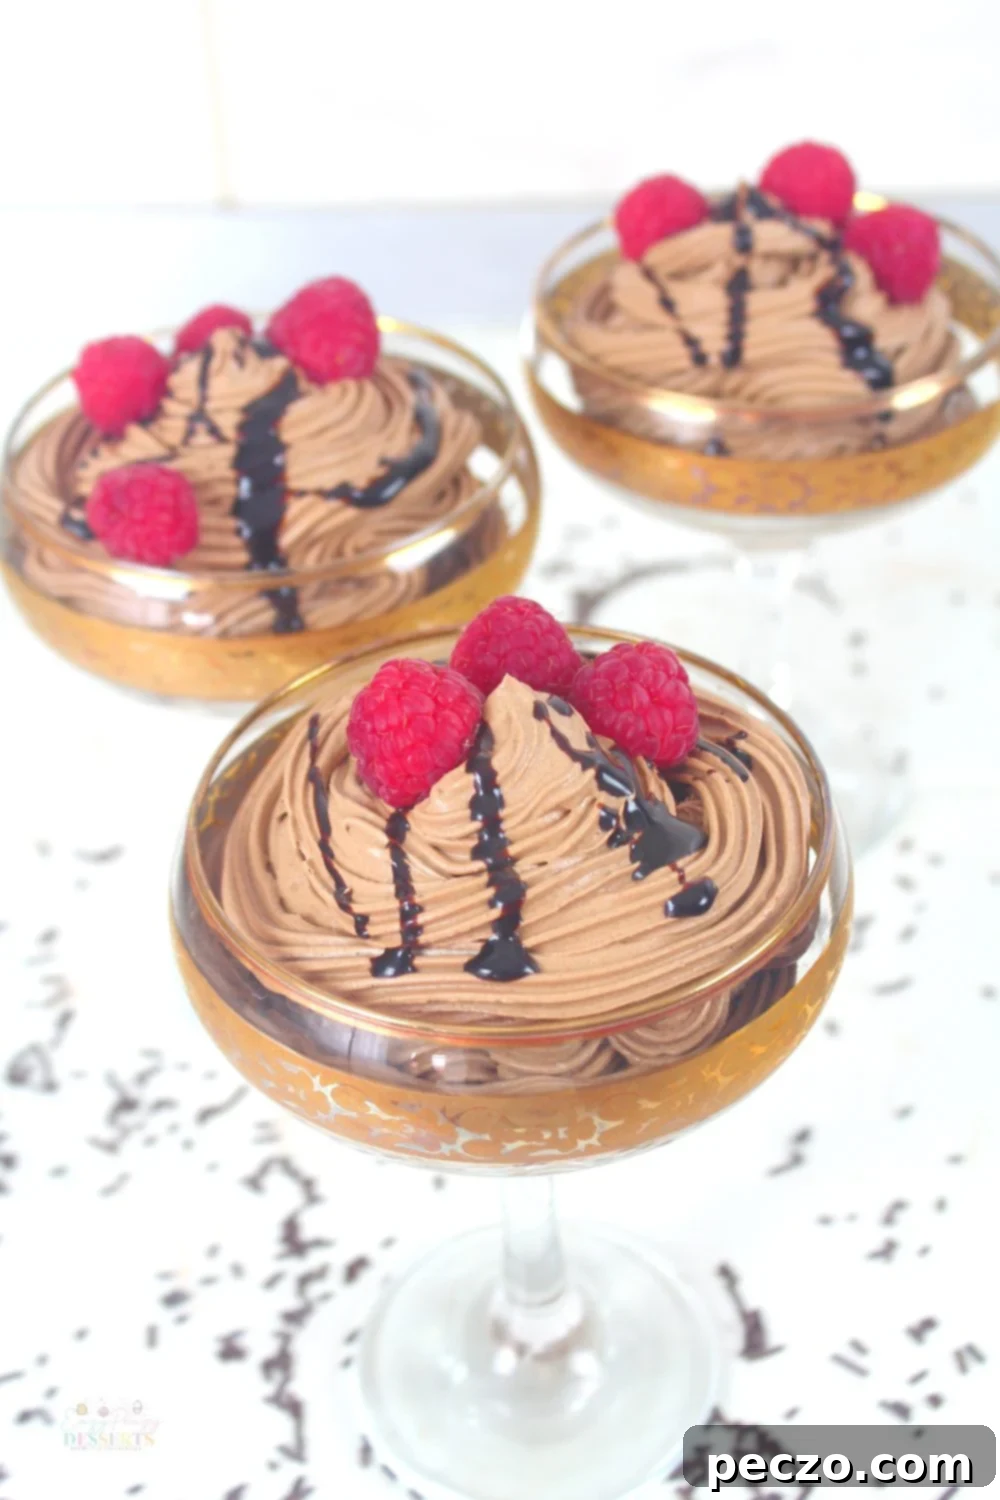
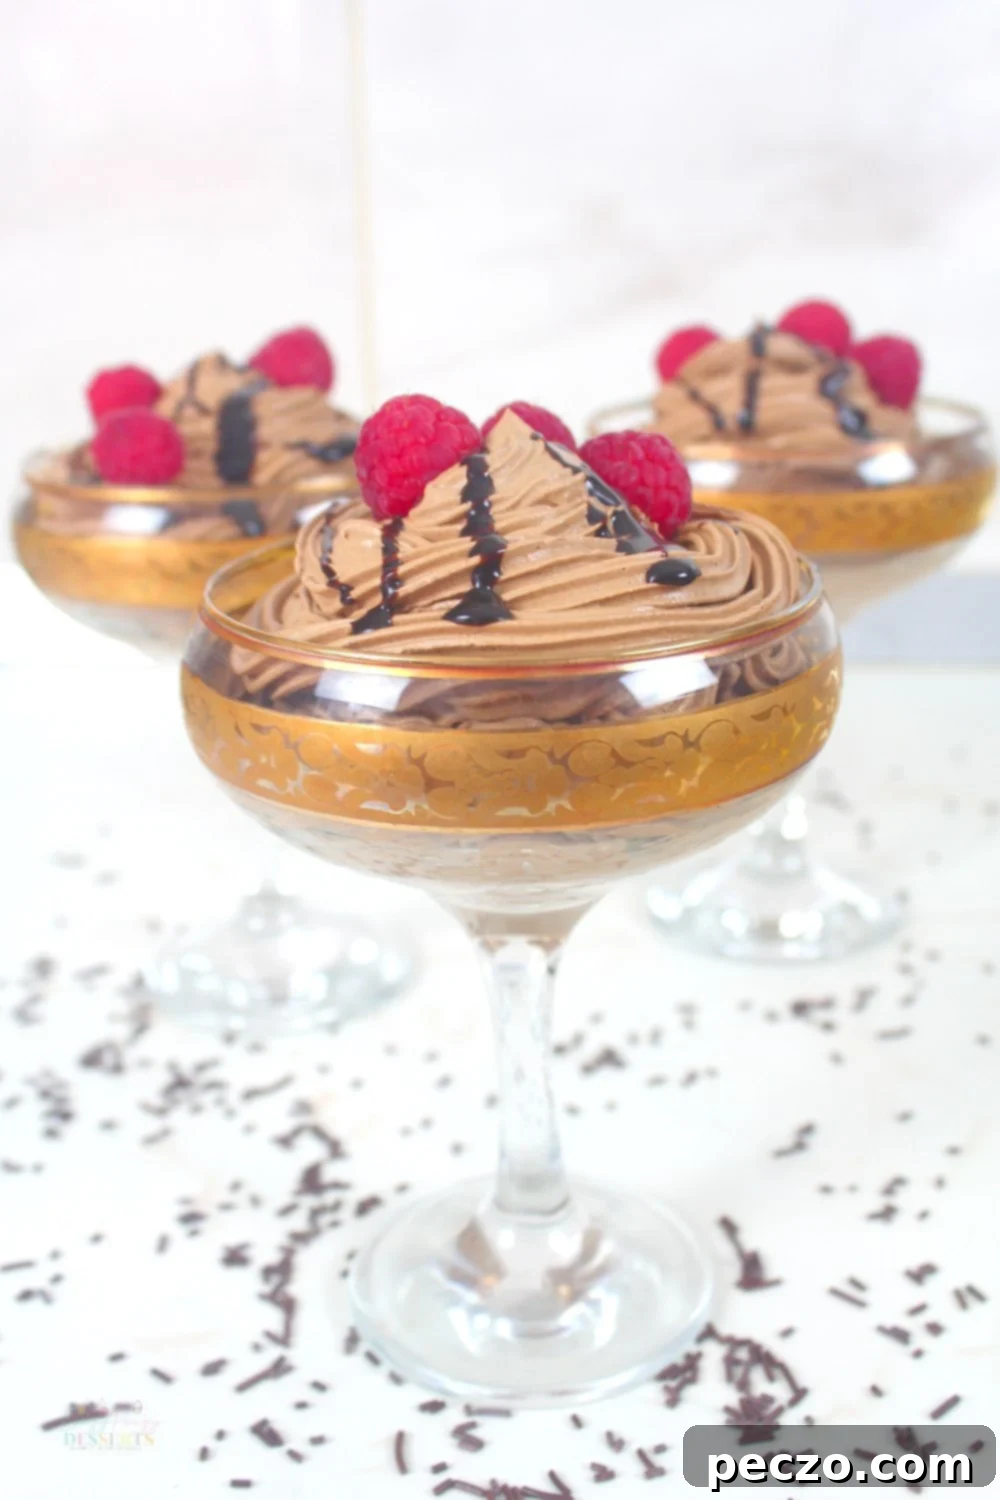
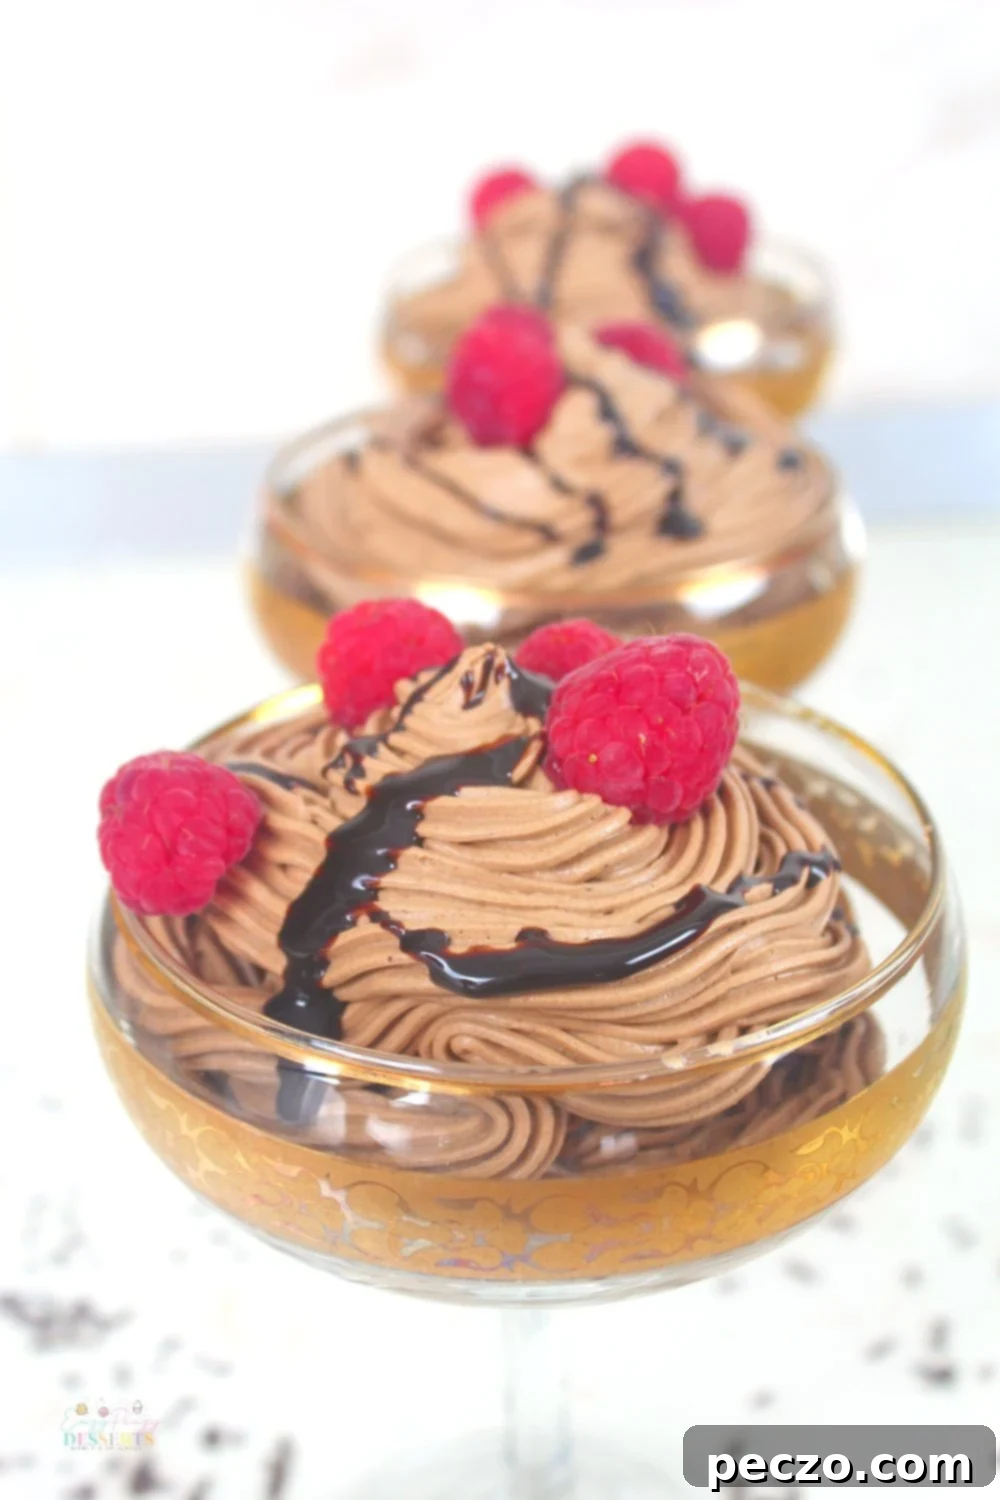
The versatility of chocolate mousse extends far beyond its delightful taste; its presentation can be just as creative and captivating. For an upscale look, serve individual portions in elegant martini or juice glasses, classic ice cream cups, small dessert bowls, sophisticated champagne flutes, or even dainty espresso cups. Thinking outside the box is especially rewarding when hosting a party, as unique serving vessels can elevate the entire dessert experience and add a special design touch to your table.
Beyond individual servings, this rich and airy mousse makes an exceptional frosting for various baked goods. Its smooth texture spreads beautifully, imparting a profound chocolate flavor to cakes, cupcakes, and cookies. I’ve personally used this very recipe to create an amazing chocolate mousse cake, layered with delicate ladyfingers, and the results were simply sublime. It adds an incomparable richness and lightness that store-bought frostings can rarely achieve.
Remember, patience is key for the perfect mousse. Ensure you refrigerate the mousse for at least 2 hours before serving. This crucial chilling period allows the mousse to set properly, firming up to its ideal consistency and intensifying its flavors. This characteristic also makes chocolate mousse an excellent make-ahead dessert, freeing up your time on the day of your event.
Is Chocolate Mousse Healthy? Balancing Indulgence with Lighter Options
The “healthiness” of chocolate mousse can be quite subjective and depends largely on the ingredients used and portion sizes. While it is undeniably a rich dessert, portion control is key. Because each serving is intensely flavorful and satisfying, you’ll naturally find yourself indulging in smaller amounts, which helps manage calorie intake.
For those seeking a more health-conscious option without sacrificing flavor, here are a few simple adjustments you can make to tailor this recipe to your dietary preferences:
- Opt for dark chocolate with a high cocoa percentage: Choosing dark chocolate with 70% cocoa or higher not only boosts the antioxidant content but also reduces the sugar load, contributing to a “healthier” profile. The intense cocoa flavor means a little goes a long way.
- Consider low-fat heavy cream: While full-fat heavy cream offers the richest texture, using a lower-fat alternative can significantly reduce the calorie count. Be aware that the mousse’s texture might be slightly less firm, but it will still be delicious.
- Experiment with an egg-free version: For those avoiding eggs, you can simplify the process even further. Simply melt the chocolate, allow it to cool to room temperature, and then gently fold it into well-chilled, stiffly whipped heavy cream. This method still yields a wonderfully light and creamy mousse.
- Go fully vegan: To create a plant-based chocolate mousse, remove the eggs entirely and substitute traditional heavy cream with a high-fat vegan cream alternative. Coconut cream (from full-fat canned coconut milk, chilled overnight and only the thick cream used) or specialized vegan whipping creams work exceptionally well to achieve that desired airy texture.
- Make it low-carb and keto-friendly: Transform this dessert into a low-carb and keto-friendly treat by using sugar-free dark chocolate chips or unsweetened cocoa powder combined with a keto-approved sweetener (like erythritol or stevia) instead of granulated sugar. This adjustment maintains the decadent flavor while significantly cutting down on carbohydrates.
Storage and Longevity: How Long Does This Easy Chocolate Mousse Keep?
Once prepared, your delicious chocolate mousse is best served chilled. While it can withstand room temperature for about an hour, its texture and flavor are optimal when cold. For longer storage, transfer the mousse into an airtight container and keep it refrigerated. This will preserve its freshness and quality for up to one week, making it an ideal dessert to prepare in advance for entertaining or to enjoy throughout the week.
If you’re looking to store it for an extended period, chocolate mousse also freezes beautifully. You can keep it in an airtight, freezer-safe container for up to 3 months. When you’re ready to enjoy it again, simply thaw the frozen mousse in the refrigerator overnight or for several hours until it returns to a delightfully spreadable or spoonable consistency. This flexibility ensures you can always have a decadent treat on hand.
Mastering chocolate mousse is a rewarding culinary journey that becomes surprisingly simple once you understand the basic techniques. Give this recipe a try and experience the joy of creating a sophisticated dessert with ease. I’m confident you’ll fall in love with its rich flavor and airy texture just as much as I have. Don’t forget to share your experience and comments below!
Simple Chocolate Mousse Recipe: Ingredients and Step-by-Step Instructions
What are the Key Ingredients for Homemade Chocolate Mousse?
Creating this rich and airy chocolate mousse requires just a few high-quality ingredients. Each plays a vital role in achieving that perfect balance of flavor and texture:
- Chocolate: The star of the show! I typically use a 35% dark chocolate for a balanced, rich flavor that isn’t overly bitter. However, the beauty of this recipe is its adaptability. Feel free to choose your favorite type of chocolate, whether it’s a sweeter milk chocolate, an intensely dark variety (70% cocoa or higher for a more sophisticated palate), or even creamy white chocolate for a different flavor profile. The quality of your chocolate will directly impact the depth of flavor in your mousse, so choose a brand you love.
- Sugar: Granulated sugar is my preferred choice for beating with heavy cream, as its fine crystals dissolve easily, creating a smooth, stable whipped cream. If you have a preference for icing sugar or superfine sugar, feel free to use it; just ensure it fully incorporates for a lump-free result.
- Eggs: I am a strong advocate for free-range eggs due to their richer yolk color and the deeper, more nuanced flavor they contribute to any recipe. They truly make a difference in the overall taste of the chocolate pudding base. However, for convenience, any high-quality large eggs available to you will work perfectly well.
- Heavy Cream: This ingredient is essential for achieving the mousse’s characteristic lightness and airiness. Always ensure your heavy cream is very cold before using. I recommend chilling the bowl and beaters alongside the cream in the refrigerator for at least 15-20 minutes before whipping. Using a heavy cream with a high fat content (typically 35% or more) will yield the best results, as it whips up firmer and holds its structure better, trapping more air for a truly ethereal mousse.
How Do You Make Homemade Chocolate Mousse from Scratch? A Detailed Step-by-Step Guide
Follow these simple yet precise steps to create a truly irresistible chocolate mousse:
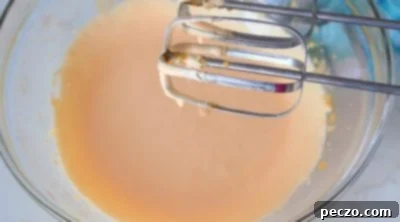
- Prepare the Egg Yolk Mixture: In a clean mixing bowl, combine the egg yolks and granulated sugar. Using a hand mixer or a whisk, beat these ingredients together vigorously for 2-3 minutes until the mixture becomes pale yellow, thick, and creamy. The sugar should be mostly dissolved, creating a smooth, ribbon-like consistency when you lift the whisk. This forms the rich base of your chocolate pudding.
- Temper the Egg Yolks with Hot Cream: Gently heat the heavy cream in a medium saucepan over medium heat until it just begins to simmer around the edges – do not bring it to a rolling boil. Remove the saucepan from the stove. To prevent the egg yolks from scrambling, you need to temper them. Slowly pour about 3-4 tablespoons of the hot heavy cream into the beaten egg yolk mixture, whisking continuously. Gradually add a few more tablespoons, then about half a cup of the hot cream, all while whisking constantly. This gradual introduction of heat gently raises the temperature of the egg yolks.
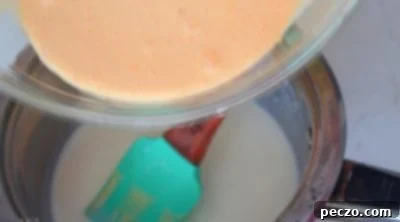
- Cook the Pudding Base: Once the egg yolk mixture is tempered, transfer the entire mixture back into the saucepan with the remaining hot cream. Return the saucepan to low-medium heat. Cook, stirring continuously with a whisk or rubber spatula, until the mixture thickens slightly and just begins to bubble or steam. It should coat the back of a spoon. This process cooks the eggs and ensures a stable base for your mousse.
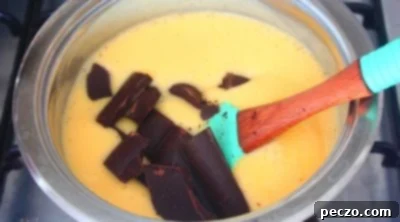
- Melt in the Chocolate: Remove the saucepan from the heat immediately. Add the chopped dark chocolate (or your chosen chocolate type) to the hot cream and egg mixture. Stir continuously with a spatula or whisk until the chocolate is completely melted and smoothly incorporated into the pudding base. Ensure there are no lumps of chocolate remaining. The mixture should be glossy and homogenous.
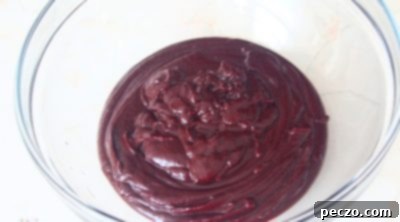
- Cool and Chill the Chocolate Pudding: Transfer the chocolate pudding mixture to a clean bowl. To prevent a skin from forming and to ensure even cooling, stir the pudding occasionally as it cools down to room temperature. Once cooled, cover the bowl with plastic wrap, pressing it directly onto the surface of the pudding to prevent a skin. Chill the pudding in the refrigerator for at least 1 hour, or until it is thoroughly cold. For the best whipped cream, also place your mixer beaters and a clean mixing bowl in the fridge to chill during this time.
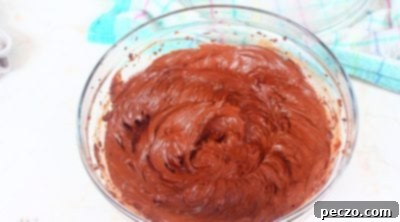
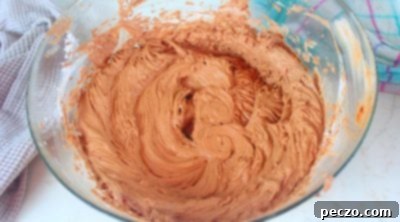
- Whip the Cooled Chocolate Pudding: Once the chocolate pudding is completely chilled, remove it from the refrigerator. Using a hand mixer with the chilled beaters, beat the pudding on high speed for 1-2 minutes until it becomes lighter in color, slightly increased in volume, and achieves a softer, aerated texture. It won’t form stiff peaks like cream, but it should be visibly fluffier.
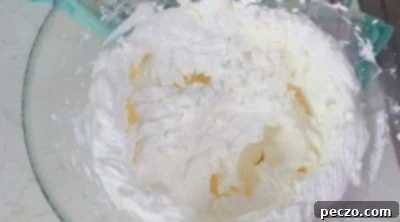
- Prepare the Whipped Cream: In your second chilled mixing bowl, combine the remaining ½ cup of heavy cream and ¼ cup of granulated sugar. Using the chilled beaters, whip the heavy cream and sugar on high speed until you achieve firm, stiff peaks. The cream should hold its shape when you lift the beaters, and the sugar should be fully incorporated, making the cream smooth and shiny. Be careful not to over-whip, which can turn it grainy.
- Gently Fold the Mousse Together: This is where the magic happens for that signature airy texture! Carefully transfer the beaten chocolate pudding into the bowl with the stiffly whipped cream. Using a rubber spatula, gently fold the chocolate pudding into the whipped cream. Employ the “cutting down and pulling around” motion described in the tips section. Continue folding just until the two mixtures are evenly combined, ensuring no streaks remain, but be careful not to deflate the air from the cream. Overmixing will result in a dense mousse.
- Final Chill Before Serving: Once the mousse is folded, spoon it into individual serving cups, martini glasses, or your preferred dessert dishes. For an extra elegant touch, you can pipe the mousse using a pastry bag fitted with a star tip. Cover the individual servings and chill them in the refrigerator for a minimum of 2 hours (or preferably 4 hours) before serving. This allows the mousse to fully set and its flavors to meld, creating the perfect melt-in-your-mouth consistency.
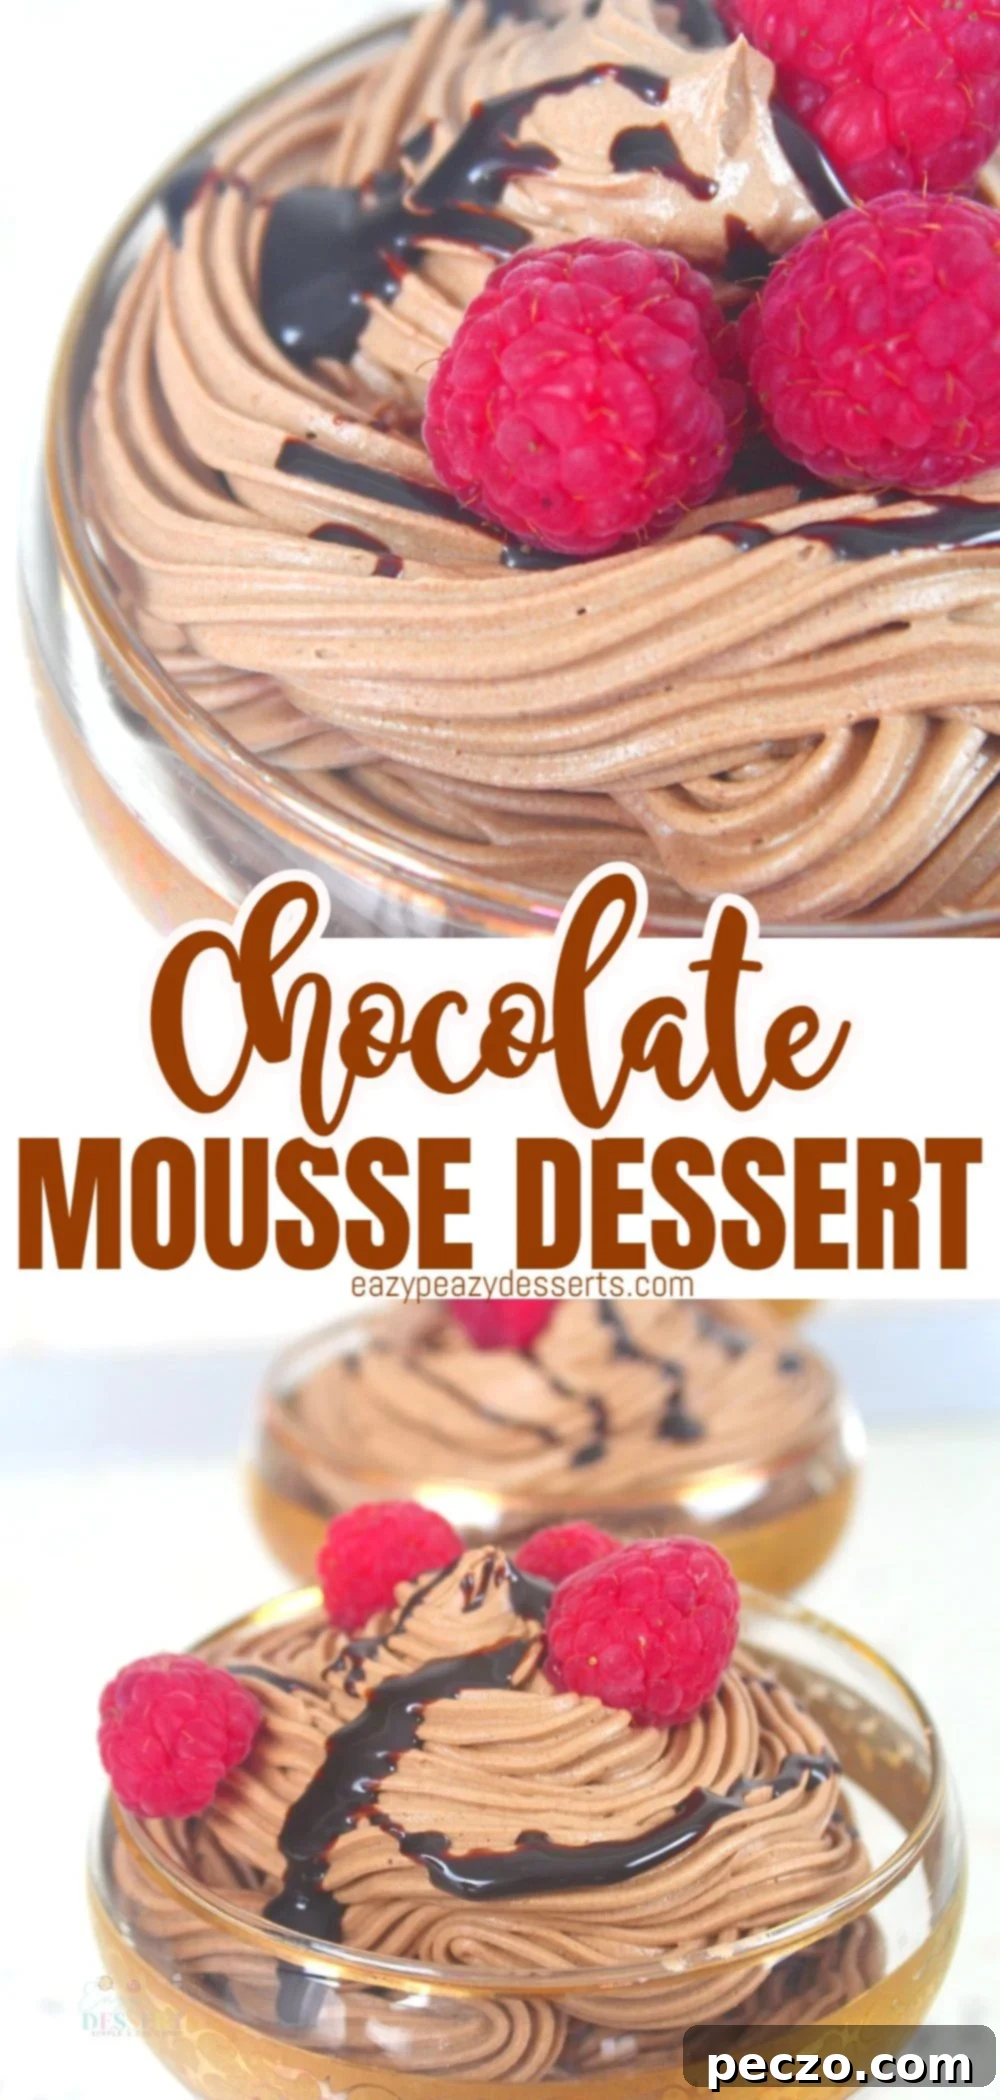
Pin to save for later
Print the recipe card
Chocolate mousse recipe
petro
Pin Recipe
Equipment
-
mixing bowl
-
hand mixer
-
medium saucepan
-
spatula
Ingredients
For the chocolate pudding
- 4 large egg yolks
- ¾ cup heavy cream
- ½ cup granulated sugar
- 1 cup dark chocolate (35% or more cocoa), cut into small chunks
For the whipped cream
- ½ cup heavy cream (very cold, chilled with bowl and beaters)
- ¼ cup granulated sugar
Instructions
To make the chocolate pudding
-
In a mixing bowl, beat the egg yolks and sugar with a hand mixer until the mixture is pale yellow, thick, and the sugar is well dissolved.

-
Heat the heavy cream in a medium saucepan over medium heat until it just simmers. Remove from the stove. Slowly add about 3-4 tablespoons of the hot heavy cream to the beaten egg yolk mixture, whisking constantly. Gradually add a few more tablespoons, then about ½ cup of the hot cream, continuing to whisk well to temper the yolks.

-
Transfer the tempered egg mixture to the saucepan with the remaining cream. Return to low-medium heat and cook, stirring continuously, until the mixture thickens slightly and just begins to bubble around the edges.

-
Remove the saucepan from the heat. Add the chopped dark chocolate and mix until it is completely melted and smoothly incorporated into the hot pudding, stirring continuously until glossy.

-
Transfer the pudding to a clean bowl and let it cool completely to room temperature, stirring occasionally. Once cooled, cover with plastic wrap pressed directly onto the surface and chill in the fridge for an additional hour. Remember to place your beaters and a clean mixing bowl in the fridge to chill as well.

-
Once thoroughly chilled, remove the chocolate pudding from the fridge and beat it with a hand mixer on high speed for a couple of minutes until it becomes lighter in color and fluffier.

To make the whipped cream
-
Using your pre-chilled beaters, bowl, and heavy cream, combine the sugar and heavy cream. Beat on high speed until you achieve stiff peaks and the sugar is completely incorporated, resulting in a smooth, stable whipped cream.

To make the mousse
-
Gently transfer the beaten chocolate pudding to the bowl with the whipped cream. Using a rubber spatula, carefully fold the chocolate mixture into the whipped cream until just combined, being careful not to deflate the air. Spoon or pipe the mousse into individual cups. Chill in the fridge for a minimum of 2-4 hours before serving to allow it to set perfectly.

Nutrition
