Easy No-Churn Cookies and Cream Ice Cream: Your Ultimate Homemade Recipe
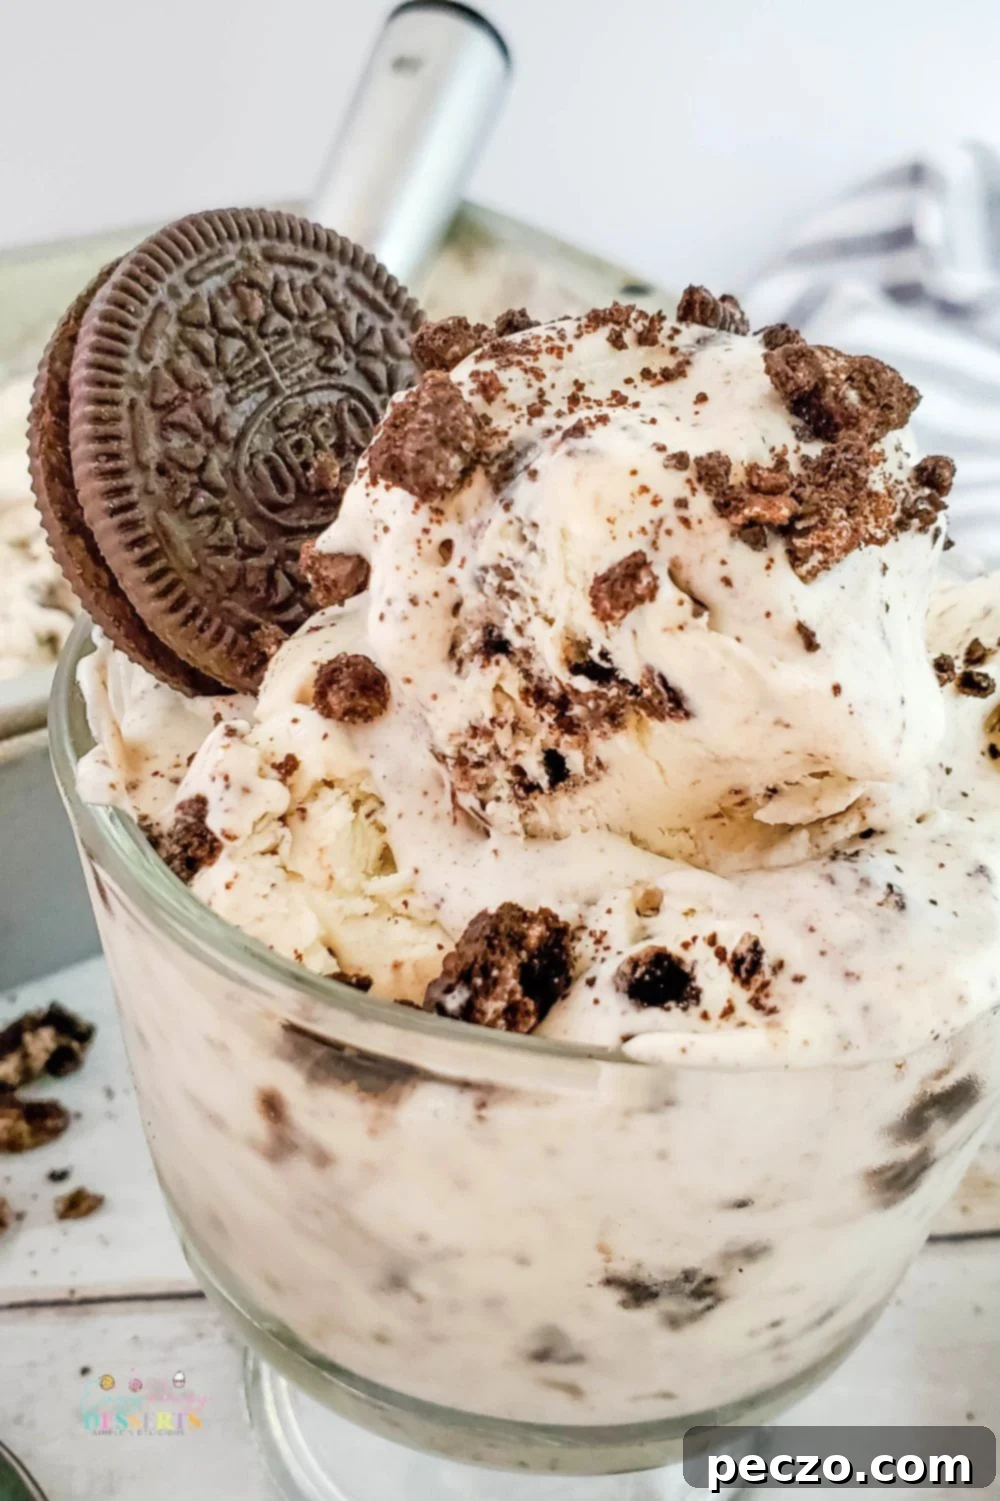
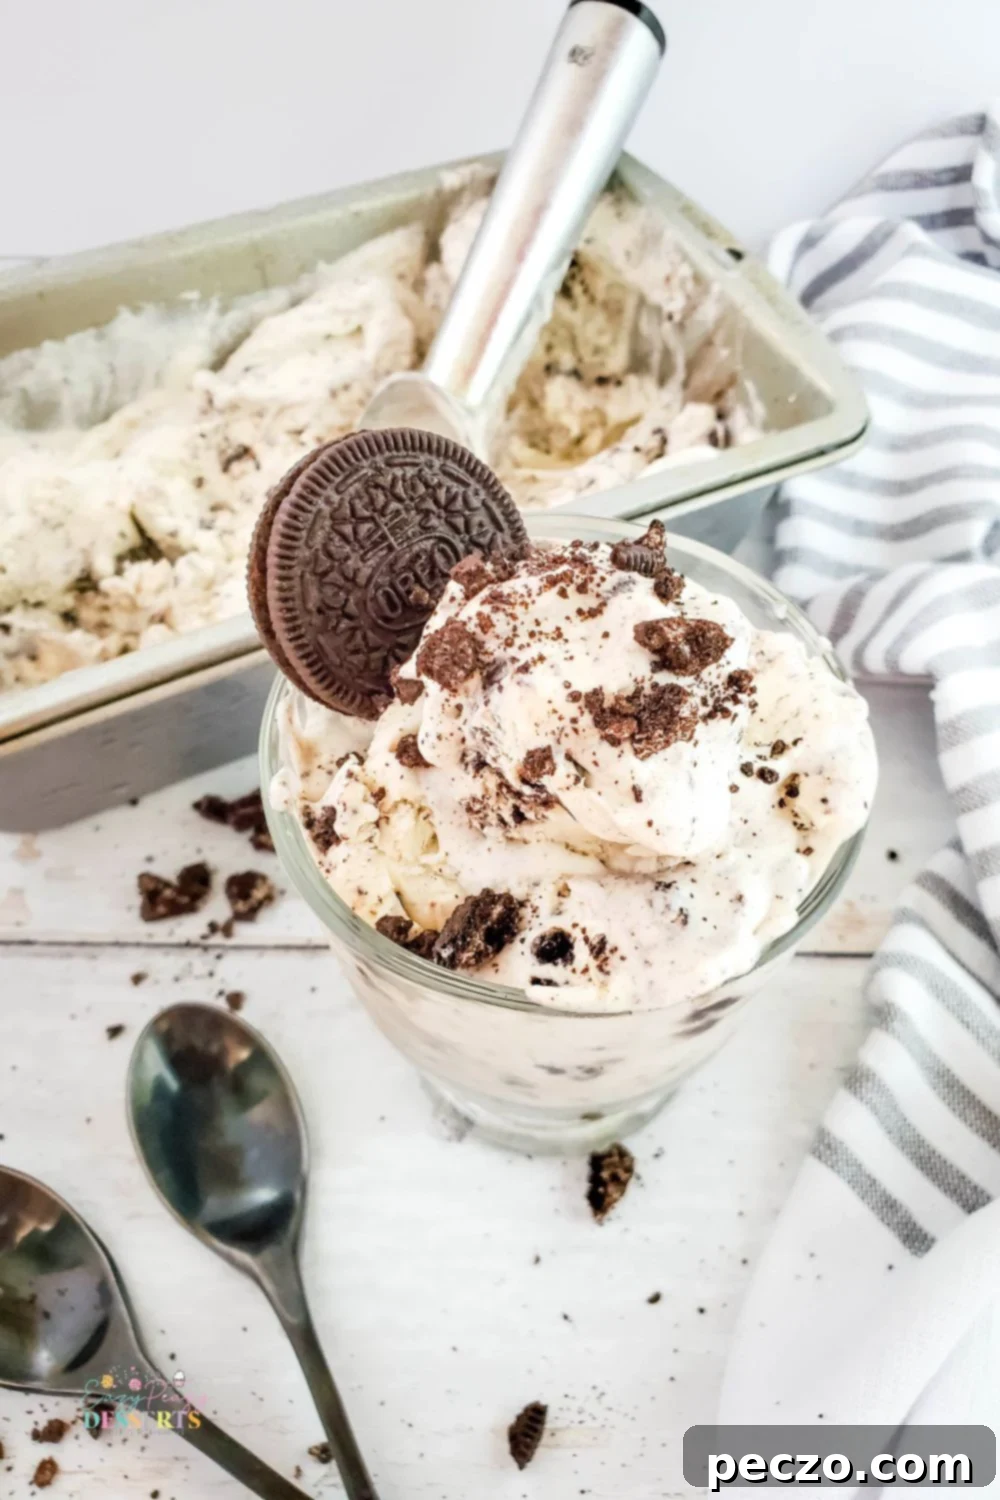
Craving a rich, creamy scoop of cookies and cream ice cream but don’t own an ice cream maker? You’re in luck! This incredibly simple recipe for no-churn cookies and cream ice cream allows you to effortlessly whip up your own frozen sweet treat right in your kitchen, without any bulky equipment. Get ready to indulge in a classic dessert that’s surprisingly easy to make and bursting with delicious flavor.
Why Choose No-Churn Cookies and Cream Ice Cream?
Many people believe that making homemade ice cream requires a specialized machine, a common misconception that often deters home cooks from attempting this delightful dessert. However, the truth is, you absolutely do not need an ice cream maker to create luscious, flavorful ice cream. Our no-churn method simplifies the process dramatically, making it accessible to anyone with a few basic kitchen tools and a freezer.
This recipe isn’t just about convenience; it’s about crafting a dessert that rivals store-bought versions in taste and texture. By eliminating the need for churning, we sidestep the often time-consuming and cumbersome steps associated with traditional ice cream making. Instead, we focus on a straightforward mixing and freezing process that yields consistently smooth and creamy results. It’s perfect for busy weeknights, spontaneous dessert cravings, or impressing guests with minimal effort.
The Magic Behind No-Churn Ice Cream
The secret to perfect no-churn ice cream lies in two key ingredients: heavy cream and sweetened condensed milk. When heavy cream is whipped to stiff peaks, it incorporates air, creating a light and airy base. Sweetened condensed milk, which is milk that has been heated to remove water and then sweetened, adds a rich, creamy texture and the necessary sweetness without the need for additional sugar or cooking. This combination creates a stable emulsion that, when frozen, mimics the consistency of traditionally churned ice cream, eliminating the formation of large ice crystals that can make homemade ice cream grainy.
Essential Ingredients for Your Homemade Cookies and Cream Delight
One of the many advantages of this recipe is its minimal ingredient list. You’ll only need four simple items, most of which you probably already have in your pantry or can easily find at any grocery store. These core ingredients form the foundation of our creamy, dreamy cookies and cream treat.
What You’ll Need:
- Heavy cream
- Sweetened condensed milk
- Vanilla extract
- Oreo cookies (or your favorite chocolate sandwich cookies)
Ingredient Spotlight:
- Heavy Cream: This is the backbone of our ice cream. It must be cold to whip properly and incorporate enough air to achieve that light, fluffy texture. Aim for a heavy cream with at least 36% milk fat for the best results.
- Sweetened Condensed Milk: Beyond just adding sweetness, this ingredient is crucial for the no-churn method. Its thick, syrupy consistency and sugar content prevent large ice crystals from forming, ensuring your ice cream stays smooth and scoopable.
- Vanilla Extract: A splash of vanilla enhances all the flavors, adding a classic warmth and depth that complements the chocolate and cream perfectly. Use good quality pure vanilla extract for the best taste.
- Oreo Cookies: The star of the show! Crushed Oreo cookies provide that signature cookies and cream flavor and delightful textural contrast. While Oreos are classic, feel free to experiment with other chocolate sandwich cookie brands for a unique twist.
Once you have mastered this basic no-churn vanilla ice cream base, the possibilities for customization are endless! From fruit swirls to nut mixes, you can create a myriad of delicious frozen desserts. But for now, we’re focusing on the irresistible combination of creamy ice cream and crunchy cookie bits.
More Ice Cream Recipes You’ll Love:
- No churn peach ice cream
- Pumpkin ice cream
- Cookie dough ice cream
- Sweet & salty ice cream sandwich
- Butter pecan ice cream
- Oatmeal cream pie ice cream
Like Oreo Desserts? You’ll Love These Recipes!
- No bake mint cheesecake
- Oreo macarons
- Chocolate Oreo lasagna
Step-by-Step Guide: How to Make No-Churn Cookies and Cream Ice Cream
Forget the old-fashioned, bulky ice cream makers that require rock salt and endless churning. This no-churn method is not only faster but also incredibly straightforward, requiring only a stand mixer (or a hand mixer) and a few minutes of active preparation time. Follow these simple steps to create a dessert that tastes like it came from your favorite scoop shop.
Simple Steps for Frozen Perfection:
-
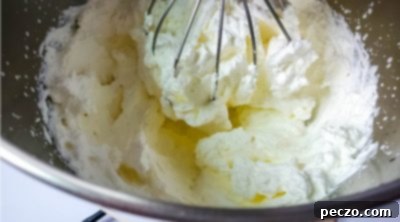
Whip the Heavy Cream: Pour your cold heavy cream into a large mixing bowl. If using a stand mixer, attach the wire whisk. Begin whipping the cream on high speed. Watch it closely; it will start to thicken, form soft peaks, and then, after about 2-3 minutes, stiff peaks will form. Stiff peaks mean that when you lift the whisk, the cream holds its shape firmly. Be careful not to over-whip, as it can quickly turn into butter!
-
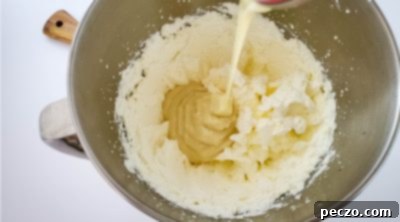
Fold in Sweetened Condensed Milk and Vanilla: Once you have achieved stiff peaks, gently pour in the sweetened condensed milk and vanilla extract. Reduce the mixer speed to low or switch to a spatula and carefully fold these ingredients into the whipped cream. Mix just until everything is smoothly combined and no streaks of condensed milk remain. The mixture should remain light and airy. Overmixing here can deflate the air you worked so hard to incorporate.
-
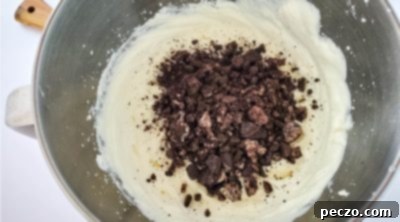
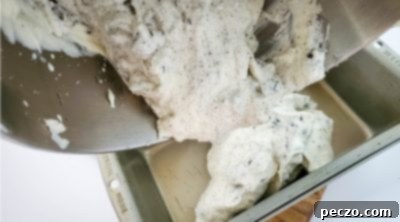
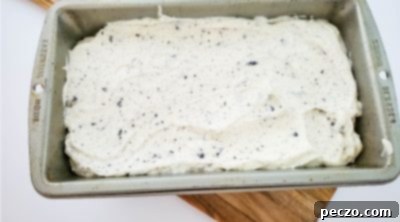
Add Crushed Cookies and Freeze: Now for the star ingredient! Gently fold in your finely crushed Oreo cookies (or preferred chocolate sandwich cookies). Ensure the cookie pieces are evenly distributed throughout the mixture. Once mixed, transfer the entire creamy base into a freezer-safe container, such as a loaf pan or a sturdy plastic container with a lid. Smooth the top with a spatula, then cover it tightly with plastic wrap or a lid to prevent ice crystals from forming on the surface. Freeze the ice cream overnight, or for at least 8 hours, until it’s firm and scoopable.
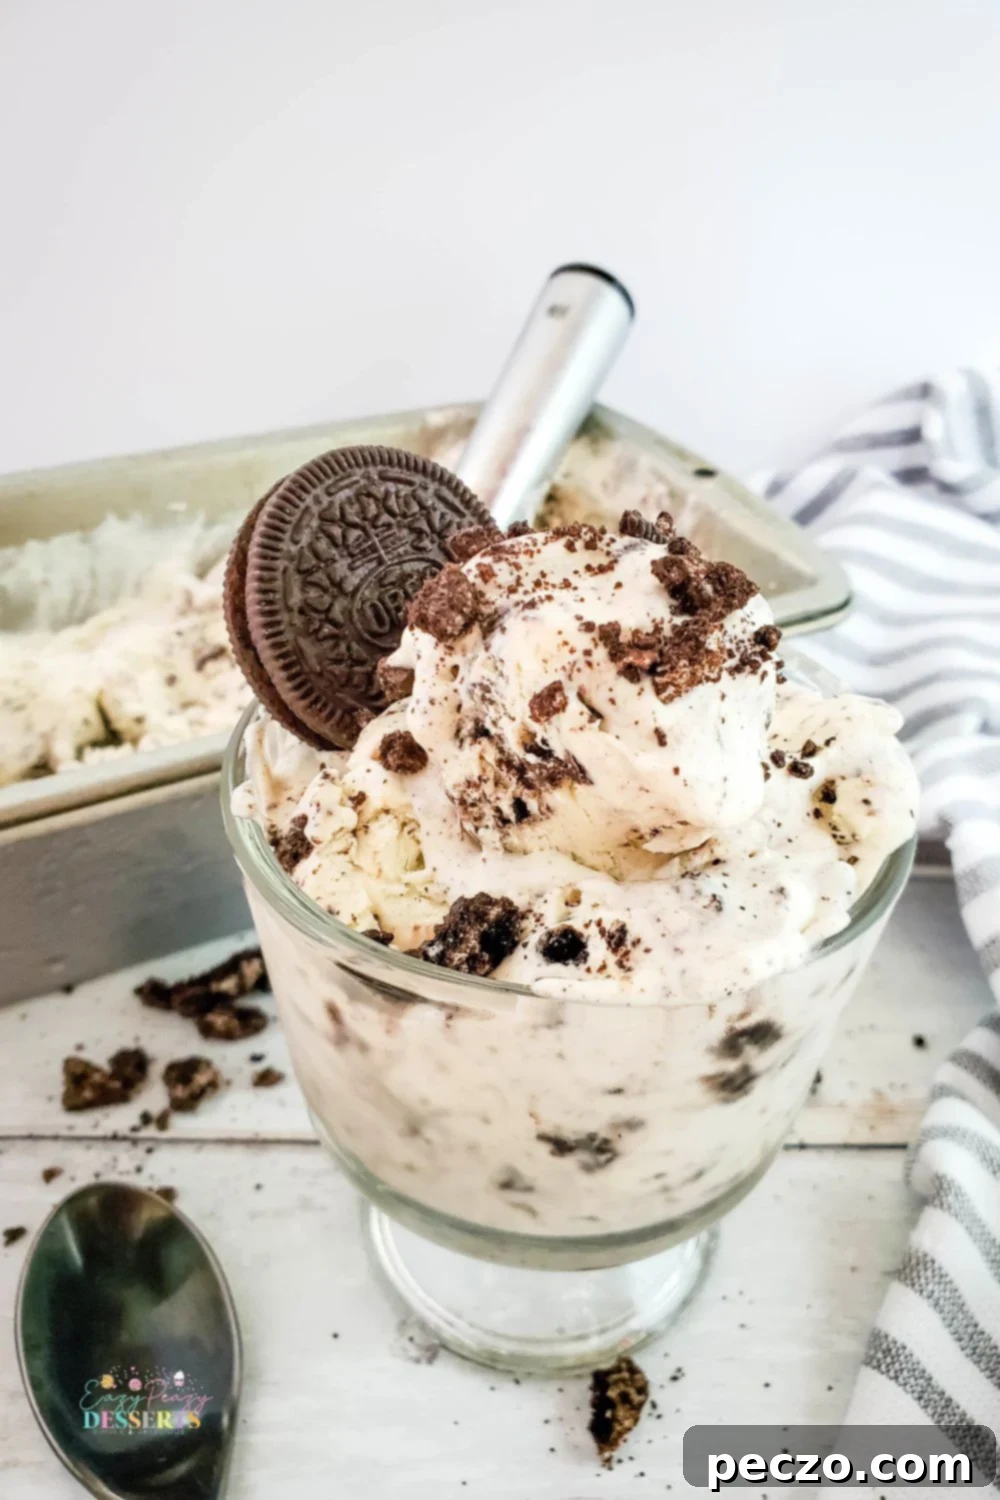
It’s truly that simple! In under 10 minutes of active preparation, you can have a gourmet-quality dessert chilling in your freezer, ready to be enjoyed. This method is a game-changer for anyone who loves homemade treats but wants to avoid the fuss.
Cookies and Cream vs. Oreo Ice Cream: What’s the Difference?
A common question arises when discussing this delectable flavor: is there a difference between “cookies and cream” and “Oreo ice cream”? The short answer is, not really. The term “cookies and cream” is widely used to describe ice cream featuring vanilla ice cream with crushed chocolate sandwich cookies, a flavor profile overwhelmingly popularized by Oreo cookies.
Is This Homemade Cookies and Cream Ice Cream the Same as Oreo Cookies Ice Cream?
Yes, for all intents and purposes, cookies and cream ice cream is the same as Oreo ice cream. Oreo is such an iconic brand that its name has become almost synonymous with the cookies and cream flavor. However, calling it “cookies and cream” gives you the creative freedom to use any chocolate sandwich cookie you prefer, not just the branded Oreo. This flexibility allows for subtle variations in flavor and texture, depending on the cookie you choose.
Exploring Chocolate Sandwich Cookie Alternatives
While Oreo holds the crown, the market offers a fantastic array of chocolate sandwich cookies that can elevate your no-churn ice cream. Experimenting with different brands can introduce unique nuances to your dessert, from varying levels of chocolate intensity to different cream filling flavors. Here are a few popular alternatives:
- Trader Joe’s Joe-Joe’s: Known for their rich flavor and often seasonal variations.
- Newman O’s: An organic option, often praised for its balanced chocolate-to-cream ratio.
- Famous Amos Crème Filled Sandwich Cookies: Offers a distinct texture and flavor profile.
- Grandma’s Sandwich Crème cookies: A classic choice for many, providing a comforting, familiar taste.
- Goodie Girls Chocolate Crème Cookies: Often gluten-free, providing an option for those with dietary restrictions.
- Annie’s Organic Grabbits: Another excellent organic alternative, appealing to those who prefer natural ingredients.
Each of these options will lend a slightly different character to your homemade cookies and cream ice cream, making it fun to try different versions and discover your favorite.
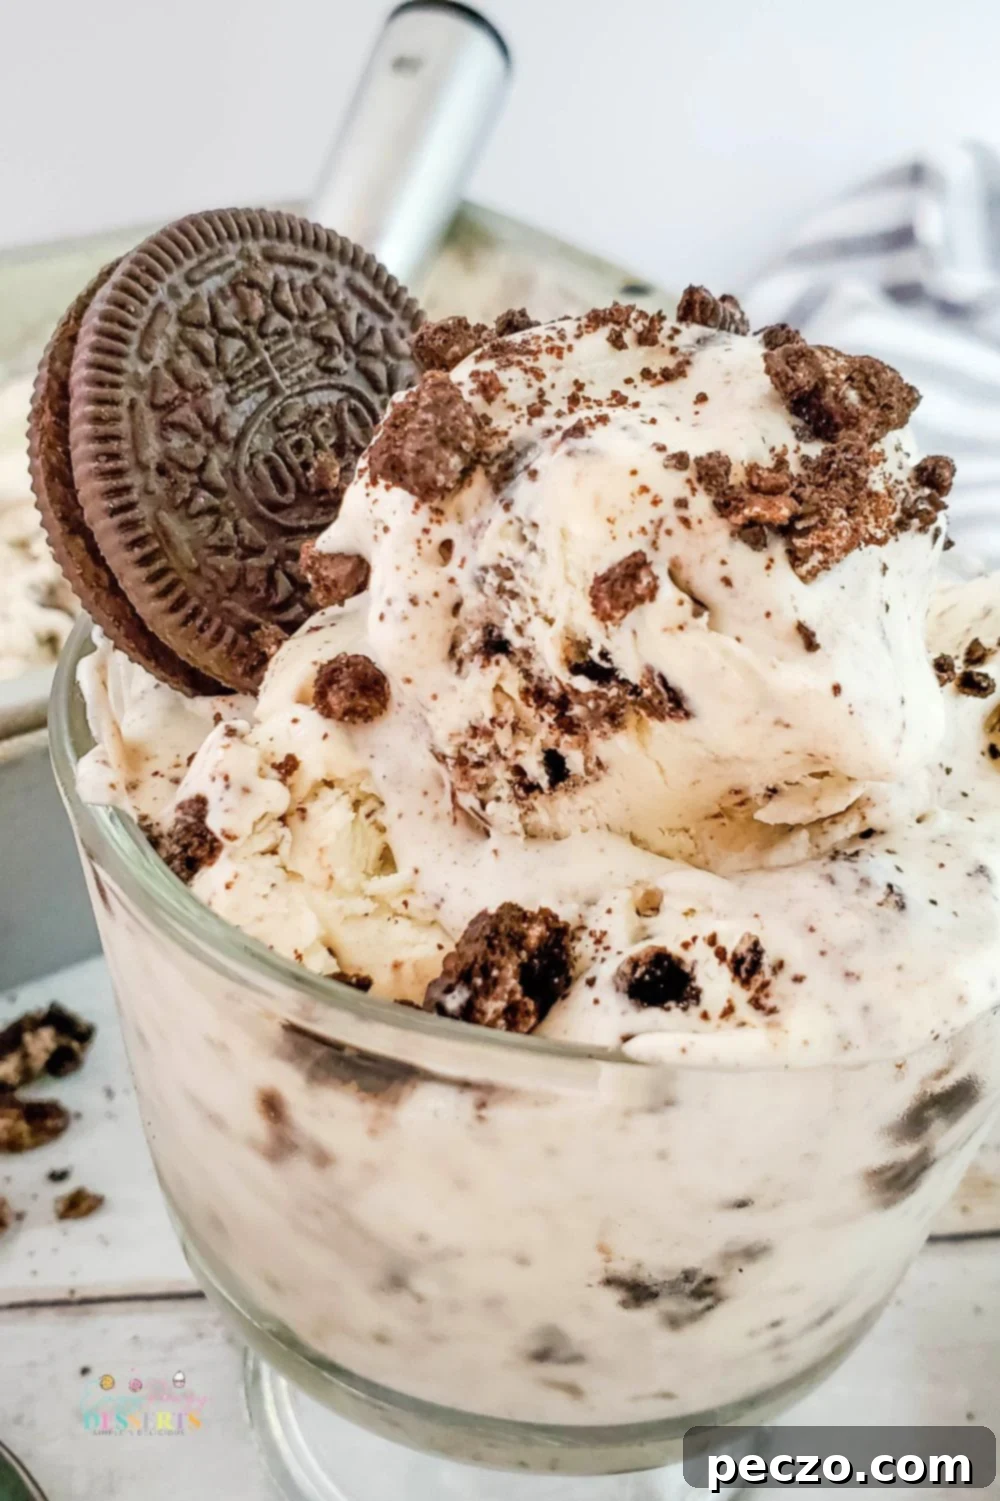
Pro Tips for the Best No-Churn Cookies and Cream Ice Cream
While this recipe is incredibly forgiving, a few expert tips can help ensure your homemade cookies and cream ice cream turns out perfectly creamy and delicious every single time. These small details can make a big difference in the final product.
- Finely Crush Your Cookies: For the best texture, aim for finely crushed cookies. You want a mix of fine crumbs and small chunks. Place your cookies in a zip-top bag and roll a rolling pin over them until they reach your desired consistency. Alternatively, a food processor can achieve a fine crumb with just a few pulses, making the process even quicker. Avoid large pieces, as they can become too hard when frozen and detract from the creamy texture of the ice cream.
- Don’t Over-Whip Your Heavy Cream: Whipping the heavy cream to stiff peaks is crucial, but it’s important not to overdo it. Over-whipped cream can become grainy or even separate into butter and buttermilk, rendering it unusable for ice cream. Keep a close eye on the texture; once the cream holds its shape firmly when the whisk is removed, it’s ready. This usually takes 2-3 minutes with a stand mixer on high speed, but it can vary.
- Use Cold Ingredients: Ensure your heavy cream is very cold. This helps it whip up faster and achieve the desired volume and stiffness. You can even chill your mixing bowl and whisk attachment in the freezer for 10-15 minutes before whipping for an extra boost.
- Fold Gently: When adding the sweetened condensed milk, vanilla, and crushed cookies, use a gentle folding motion with a spatula. This prevents deflating the air from the whipped cream, which is essential for the light and airy texture of no-churn ice cream.
- Airtight Storage is Key: After transferring the mixture to your freezer-safe container, cover it tightly with plastic wrap, pressing the wrap directly onto the surface of the ice cream to minimize air exposure. Then, seal the container with its lid. This prevents freezer burn and keeps your ice cream fresh and delicious for longer.
- Patience is a Virtue: While the prep time is minimal, allow adequate freezing time (8 hours or overnight) for the ice cream to properly set. Rushing this step will result in a soft, runny dessert rather than a firm, scoopable ice cream.
- Experiment with Toppings: Once your ice cream is ready, consider serving it with extra crushed cookies, chocolate syrup, whipped cream, or sprinkles for an even more decadent experience.
Storage and Enjoyment
Once your homemade no-churn cookies and cream ice cream is perfectly frozen, proper storage is essential to maintain its creamy texture and prevent freezer burn. With the right technique, you can enjoy this delicious treat for weeks to come.
How to Store Your Homemade Ice Cream:
After your ice cream has fully set in the freezer, ensure it is covered tightly. You can keep it in the same freezer-safe container it was frozen in, or transfer it to another airtight container designed for freezer storage. The key is to minimize air exposure as much as possible. If you are using a loaf pan or a container without a perfectly snug lid, press a layer of plastic wrap directly onto the surface of the ice cream before putting on the lid. This creates a barrier against air and helps prevent those unwelcome ice crystals and freezer burn.
When returning the ice cream to the freezer after scooping, always re-cover it tightly. Stored correctly, your homemade no-churn cookies and cream ice cream can last in the freezer for up to two weeks, though it’s so delicious, it rarely lasts that long!
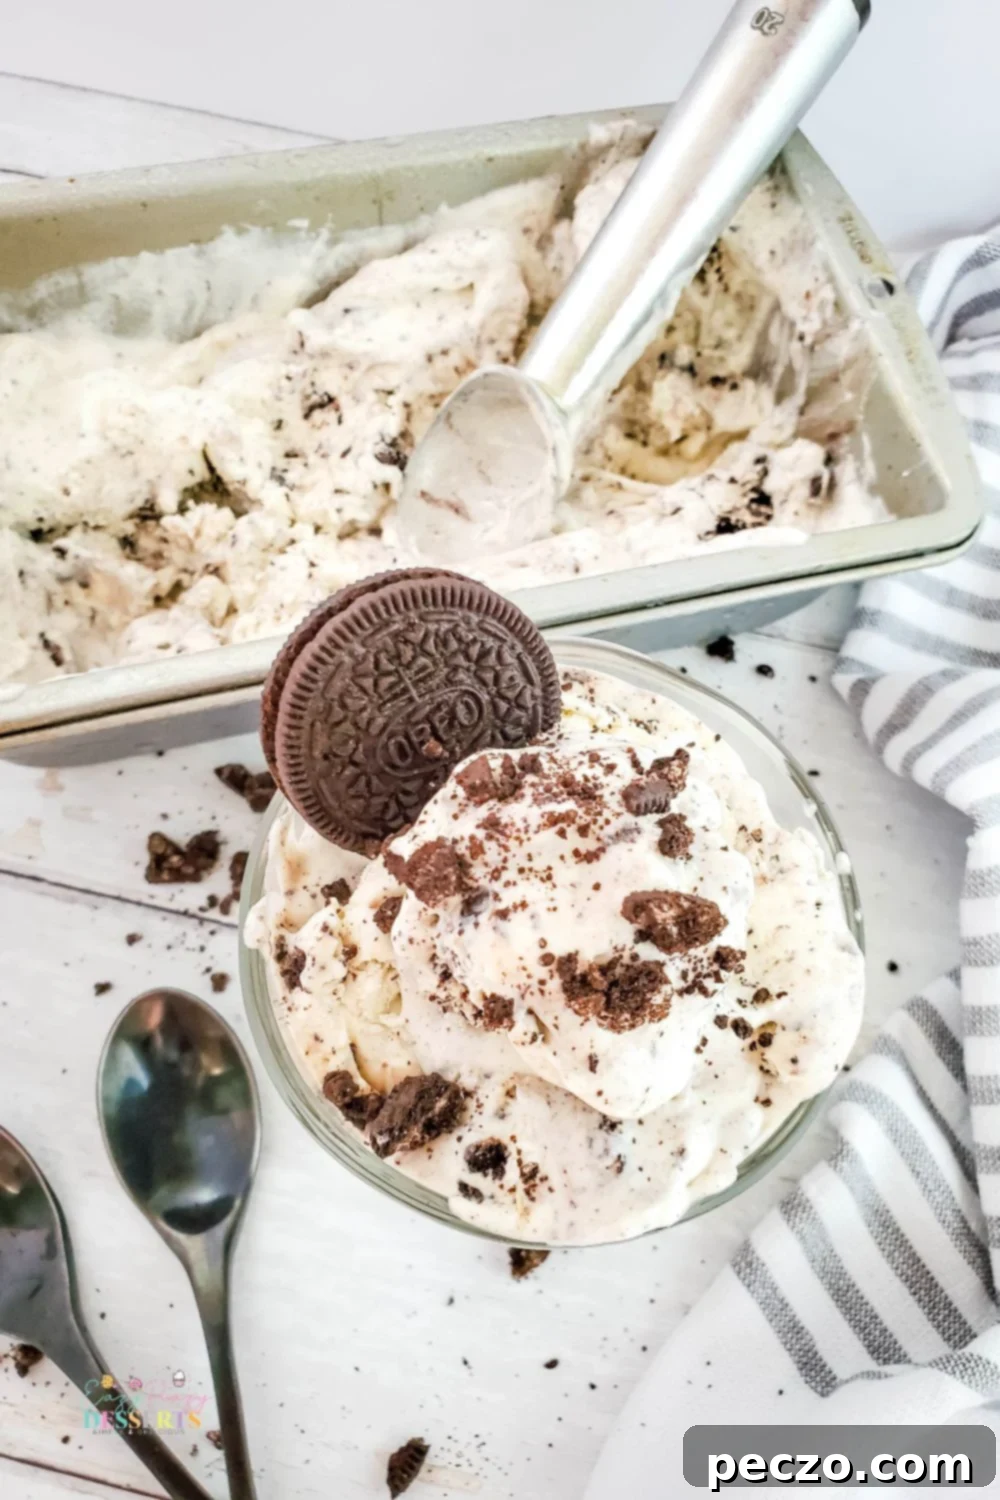
Print to save for later
Print the recipe card
Cookies and cream ice cream
petro
Pin Recipe
Equipment
-
mixing bowl
-
hand mixer
-
air tight container
Ingredients
- 16 oz heavy cream
- 15 oz can sweetened condensed milk
- 1 tsp vanilla
- 1 cup oreo cookies crushed
Instructions
-
Pour heavy cream into a large bowl, or bowl of a stand mixer (using wire whip attachment), and whip on high for about 3 minutes, until stiff peaks form.

-
Add sweetened condensed milk and vanilla. Whip on high for an additional minute.

-
Add crushed cookies and whip on low for 10-20 seconds.

-
Add mixture to a loaf pan, or freezer safe bowl.

-
Cover, and chill for 8 hours, or overnight.

Nutrition
