The Ultimate Guide to Baking a Zesty & Moist Blood Orange Bundt Cake
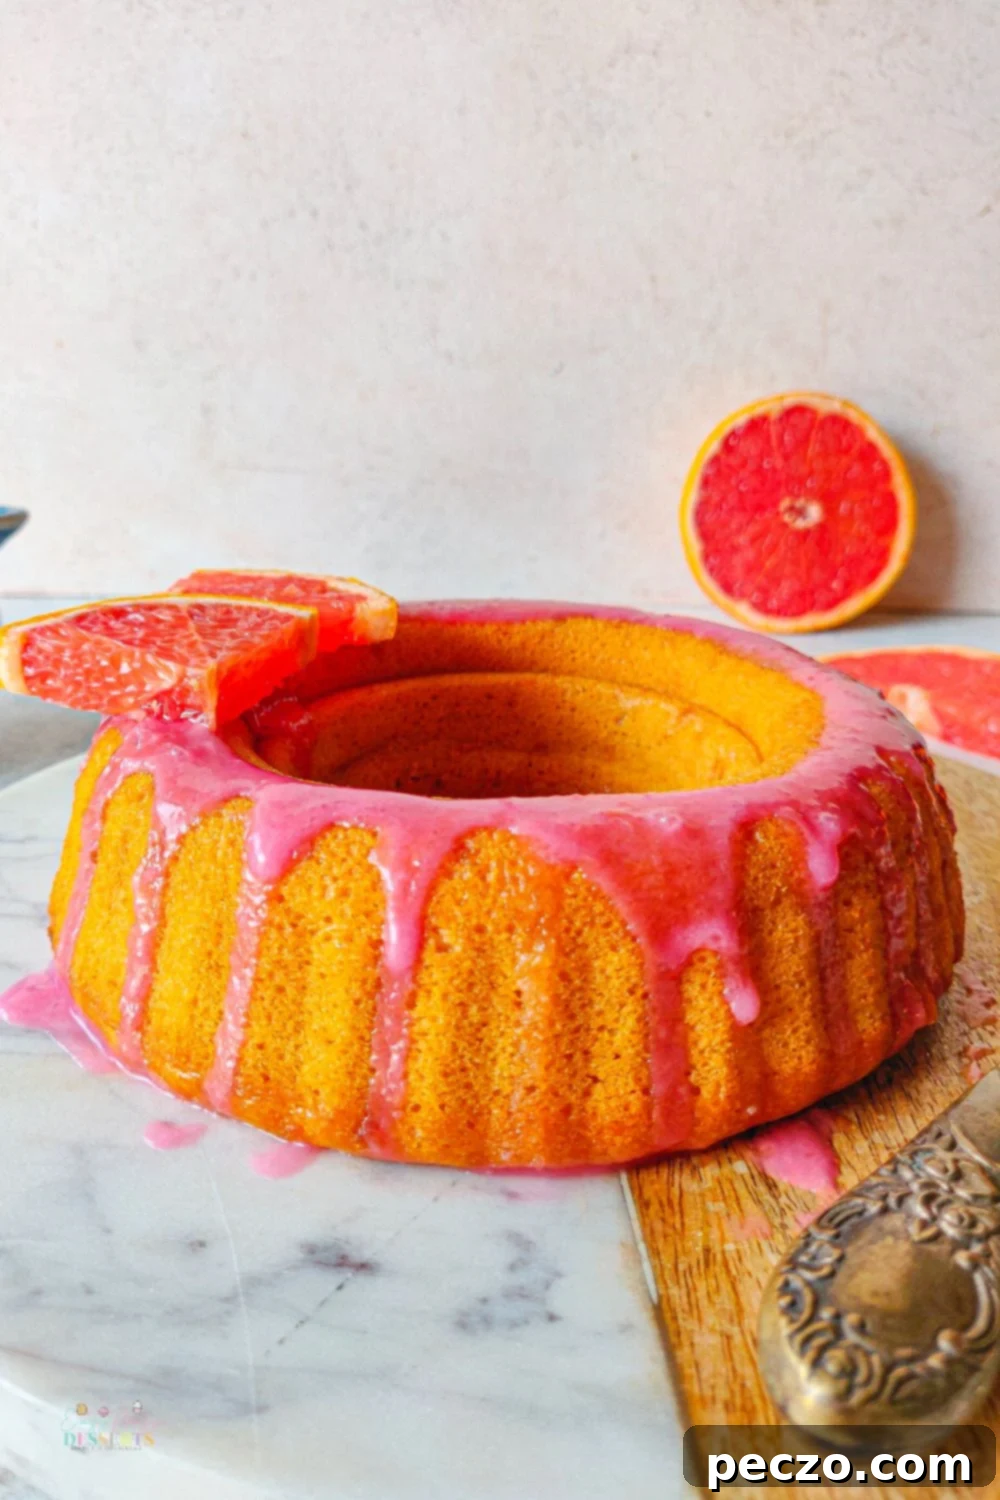
This easy-to-make blood orange cake recipe isn’t just a dessert; it’s a vibrant celebration of citrus flavor. Each bite delivers an explosion of unique blood orange notes, blending the sophisticated mix of sweet, tart, and subtle berry undertones into a truly unforgettable experience. Prepare to delight your senses with this stunning and flavorful bundt cake!
Discovering the Magic of Blood Orange Cake
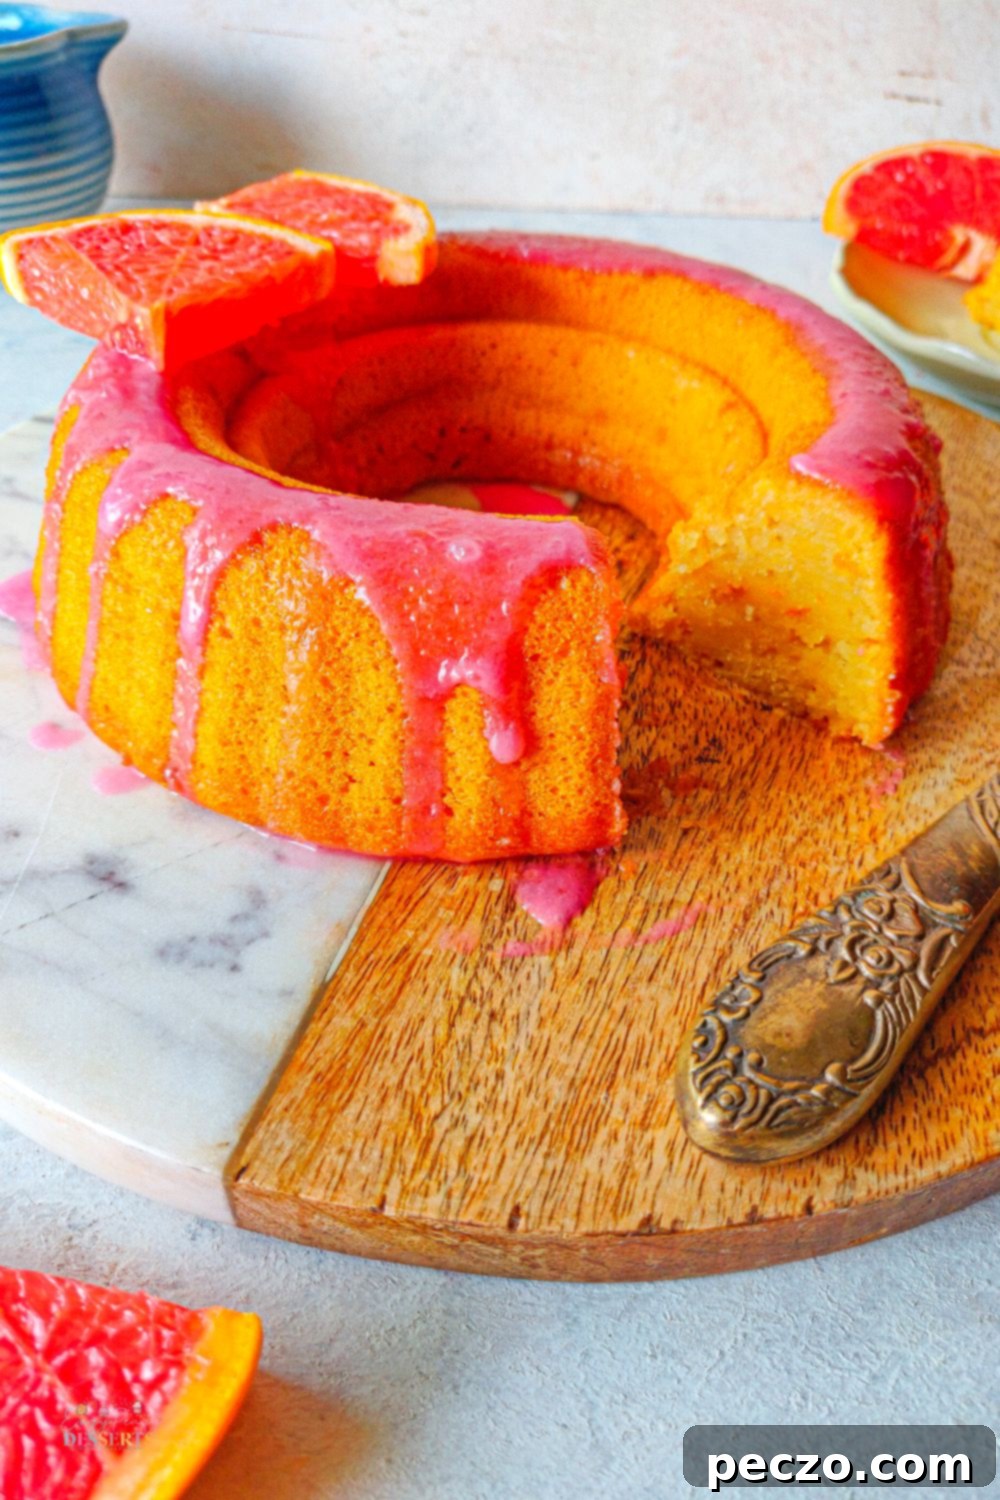
Hailing from the sun-drenched groves of the Mediterranean, blood oranges are far more than just a pretty face. Their captivating ruby-red flesh, which gives them their dramatic name, comes from anthocyanin pigments – the very same antioxidants found in superfoods like blueberries and red grapes. Beyond their striking appearance and impressive vitamin C content, blood oranges boast a flavor profile that sets them apart from regular oranges. Depending on factors like soil pH and specific variety, these pigments can manifest in shades ranging from deep crimson to vibrant magenta. The moment I first encountered these extraordinary fruits, I knew their complex and rich flavor was destined to be the star of a truly special blood orange cake. This recipe is designed to highlight their unique character, transforming a simple bundt cake into a show-stopping dessert.
Other Citrus Recipes You Will Love:
- No-Bake Lemon Pie
- Cream Cheese Lemon Mousse
- Honey Cake with Orange Glaze
- Lemon Almond Cookies
- Orange Fluff Salad
What Do Blood Oranges Really Taste Like?
The flavor of a blood orange is often a subject of lively debate among citrus enthusiasts. Some describe it as distinctly tart with a slightly bitter edge, while others detect sweet notes reminiscent of raspberries or even cranberries. The truth is, the taste of blood oranges is wonderfully multifaceted, varying significantly based on the specific type (such as Moro, Tarocco, or Sanguinello) and its ripeness. Tarocco oranges, for instance, are often sweeter and less acidic, with a delicate raspberry nuance. Moro oranges tend to be more intensely colored and have a bolder, slightly more bitter flavor. Regardless of these subtle differences, this blood orange cake recipe is crafted to taste exceptional. We primarily rely on the zest for flavor, which captures the purest, most concentrated essence of the blood orange, ensuring a consistently delicious outcome whether your fruit leans sweet or tart. The beauty of baking with these unique oranges lies in their ability to add depth and a captivating aroma that simply can’t be replicated.
Picking the Perfect Blood Oranges
To ensure the best blood orange cake, selecting the right fruit is key. Blood oranges typically flourish in the cooler months, with their peak season generally running from December to April. When you’re at the market, look for oranges that feel heavy for their size – this is a reliable indicator of juiciness. Their skin should be firm, smooth, and free from soft spots or blemishes. While a slightly rough or bumpy texture is fine, avoid anything that feels too light or squishy. Sometimes, blood oranges harvested later in the season can be sweeter as they’ve had more time to ripen on the tree. However, don’t overthink this too much; variations in sweetness or tartness can actually contribute to the complexity of your cake. A slightly tarter blood orange will beautifully balance the sugar in the recipe, while a sweeter one will complement the acidic notes. The goal is to capture that vibrant citrus essence, and with this recipe, your orange bundt cake will be delicious no matter what! For the most aromatic zest, consider choosing organic blood oranges if available, as their rinds are less likely to have been treated with waxes or pesticides.
How to Prepare Your Bundt Pan for Perfection
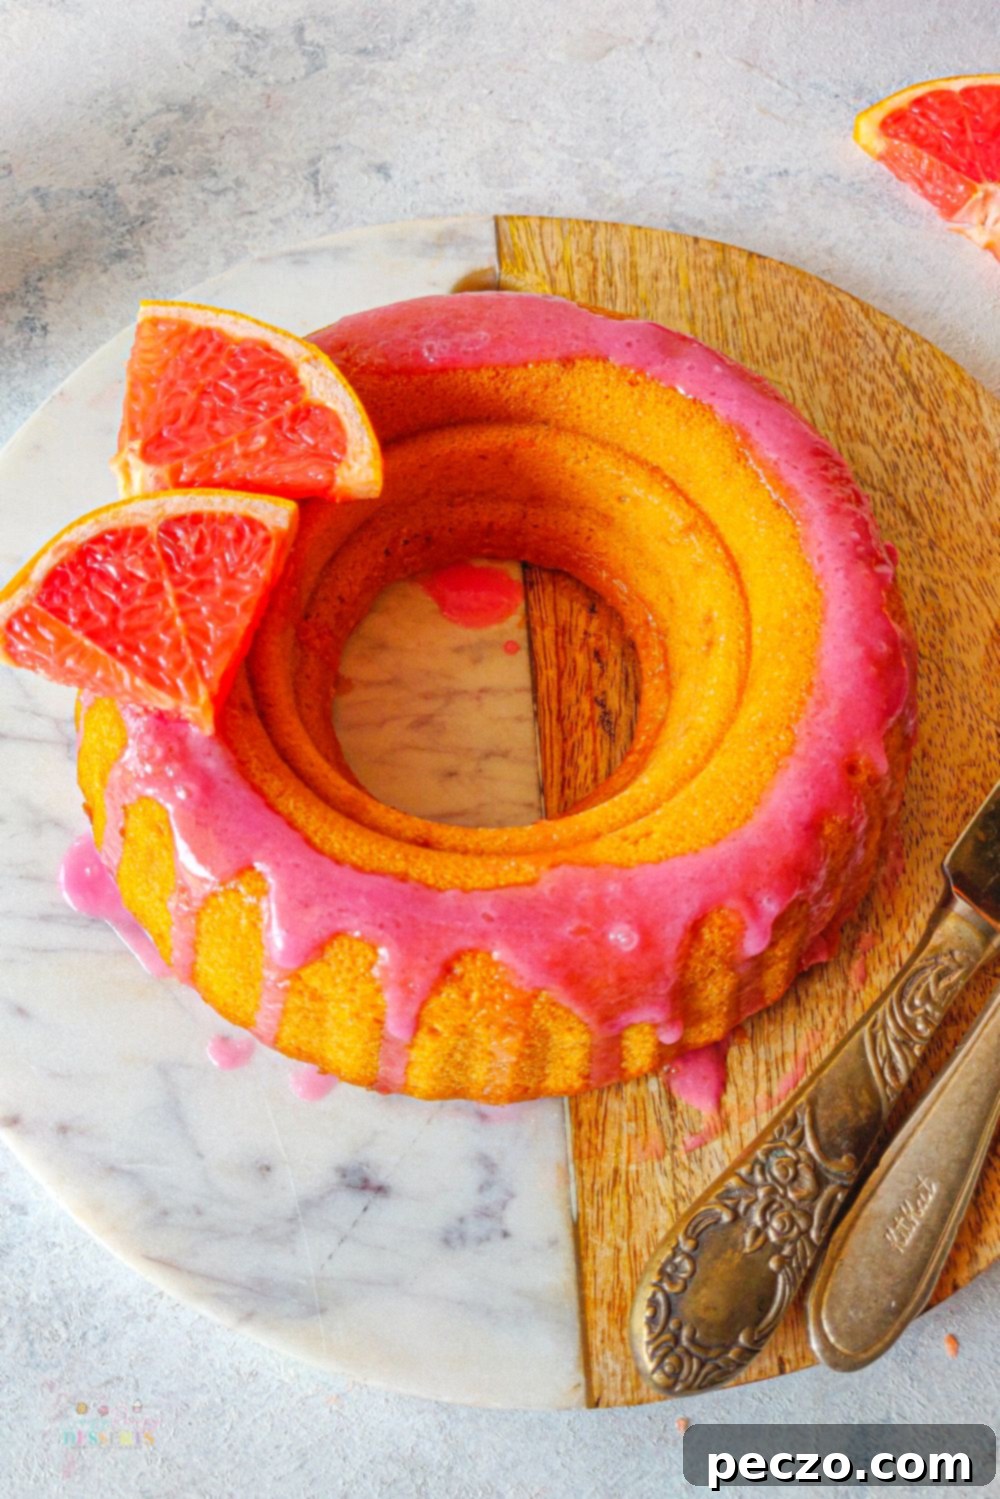
Achieving a perfectly formed bundt cake that effortlessly releases from the pan is one of the most satisfying parts of baking, and it all starts with proper pan preparation. For this recipe, I utilized a standard 10-inch bundt pan, but the principles apply to any intricately shaped mold. Simply coating with cooking spray isn’t always enough, especially with the detailed nooks and crannies of many bundt designs. To avoid the heartbreaking sight of a beautiful blood orange bundt cake stuck to its pan, you must be generous and meticulous. My preferred method, and one I highly recommend, is to coat the bundt pan thoroughly with softened butter, ensuring every surface, every crevice, is covered. Then, lightly dust the buttered pan with all-purpose flour, rotating and tapping the pan to distribute the flour evenly, and discarding any excess. This butter-and-flour technique creates a protective barrier, guaranteeing a clean release and a visually stunning cake. Without this crucial step, you risk an unevenly browned or even broken cake, compromising both its appearance and texture. Consider it an investment in your baking success!
Don’t Skip the Baking Powder: The Secret to a Perfect Blood Orange Cake
In the realm of baking, every ingredient plays a crucial role, and baking powder in this blood orange cake is exceptionally important. It serves a dual purpose that profoundly impacts both the texture and the vibrant appearance of your finished bundt cake. Primarily, baking powder acts as a chemical leavening agent. When combined with moisture and heat, it releases carbon dioxide gas, which creates tiny air bubbles throughout the batter. This process is what gives the cake its desirable light, airy, and spongy texture, preventing it from becoming dense or flat. But there’s another, often overlooked, benefit: baking powder helps to preserve the beautiful reddish tint of the blood oranges within the cake. The anthocyanin pigments in blood oranges are sensitive to pH changes. Baking powder, being alkaline, helps to maintain a slightly higher pH environment in the batter, which can prevent the pigments from degrading or turning an unappetizing brownish color during baking. Without it, you risk not only a heavy cake but also a disappointing, discolored orange bundt cake. Always ensure your baking powder is fresh for optimal leavening and color retention.
Bring Your Ingredients to Room Temperature for Optimal Results
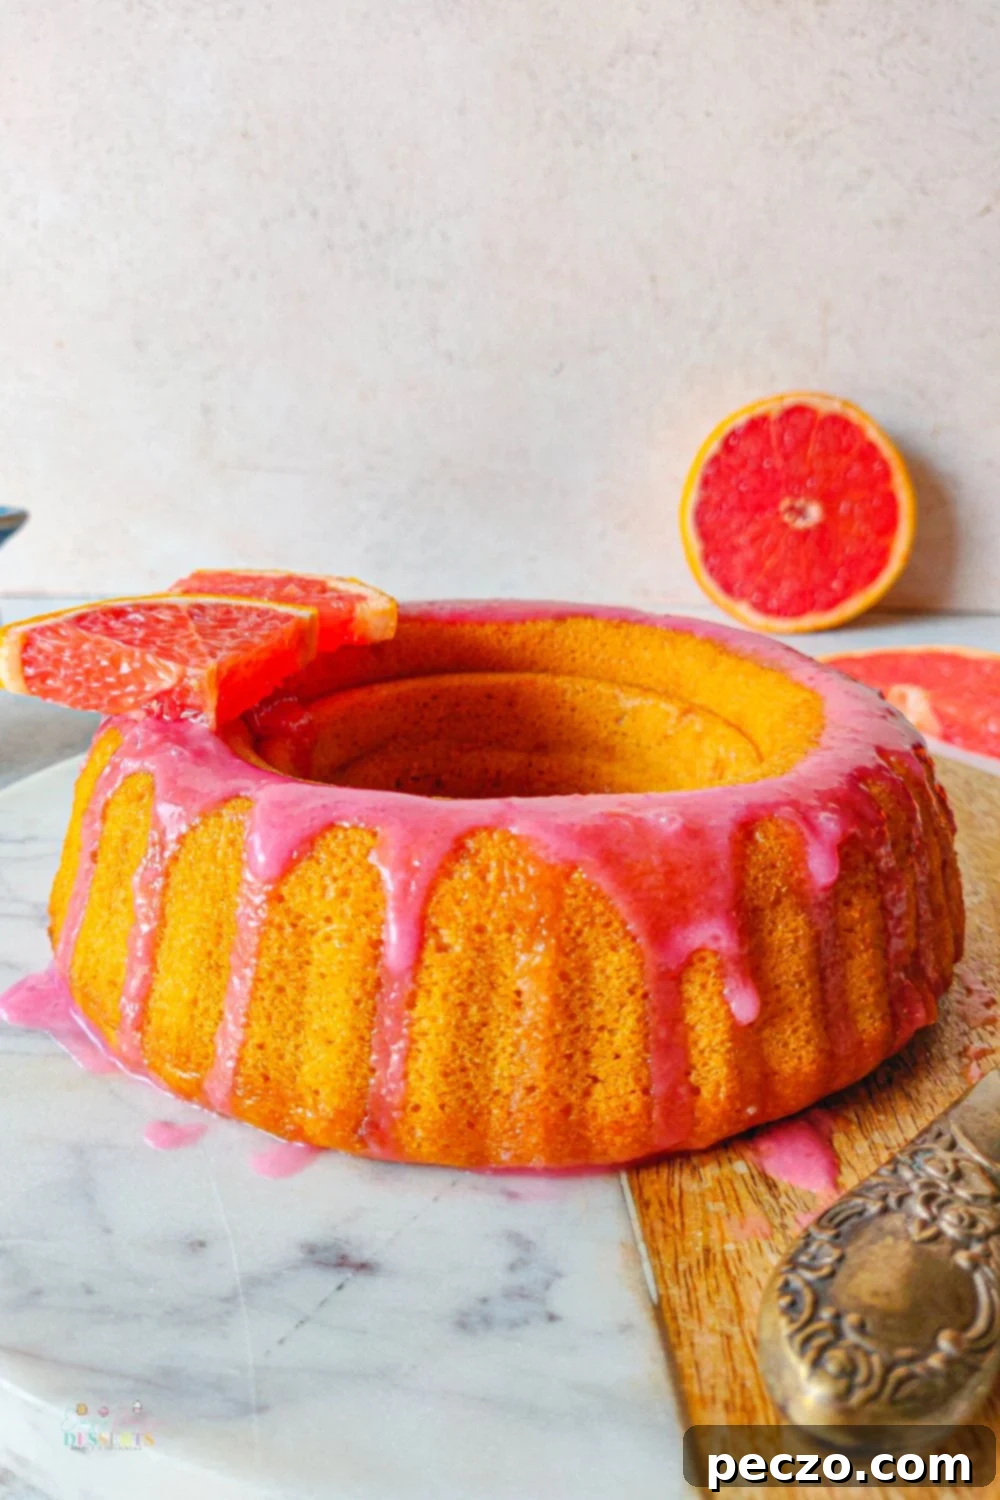
One of the simplest yet most impactful practices in baking, often highlighted by professional pastry chefs, is bringing your ingredients to room temperature. This isn’t merely a suggestion; it’s a best practice that significantly influences the consistency and overall quality of your cake. When butter, eggs, and buttermilk (or yogurt, as in this recipe) are at room temperature, they emulsify much more effectively. Cold butter doesn’t cream as well with sugar, leading to a less aerated batter and a denser cake. Cold eggs, when added to creamed butter, can cause the mixture to curdle, resulting in a lumpy batter and an uneven texture in the final product. Room temperature dairy, like buttermilk or yogurt, blends smoothly into the batter without seizing or creating lumps, ensuring a homogenous mix. This harmonious blend allows for better incorporation of air, which translates to a finer crumb and a more tender, uniformly baked blood orange cake. Plan ahead by taking these ingredients out of the refrigerator an hour or two before you begin baking, or use quick tricks like placing eggs in warm water for a few minutes to speed up the process.
Mastering the Art of Zesting Blood Oranges
The true essence of blood orange flavor in this cake comes primarily from its zest. If you’re new to the world of citrus zest, allow me to demystify this powerful ingredient. The most potent and aromatic compounds of blood oranges are concentrated in the natural oils found within the colorful outer layer of the rind, known as the zest. When we grate this rind, we rupture tiny oil glands, releasing these incredibly flavorful molecules. This concentrated burst of citrus is what gives our blood orange cake its intense, bright, and authentic taste. For best results, use a microplane zester or a very fine-toothed grater. Gently grate only the outermost, colored layer of the orange, rotating the fruit as you go. It is crucial to stop zesting as soon as you see the orangey-red hue of the rind give way to the white pith underneath. The white pith is notoriously bitter and can impart an undesirable flavor to your cake, so avoid it at all costs. For an even more profound flavor infusion, try a technique known as “zest-rubbing”: mix the freshly grated zest with the sugar for the recipe and rub them together with your fingertips. This action helps to extract and disperse the essential oils into the sugar crystals, maximizing the blood orange essence that will permeate every part of your finished cake.
Storing Blood Orange Zest for Future Culinary Adventures
While fresh zest provides the most vibrant flavor, it’s not always practical to use an entire batch of blood oranges at once, and you might find yourself with leftover zest. It’s important to understand that the delicate flavor oils in blood orange zest are volatile and begin to degrade relatively quickly once exposed to air. For this reason, simply storing leftover zest in the fridge or on the counter won’t preserve its intense aroma and taste for long. The good news is that blood orange zest freezes beautifully, allowing you to capture its peak flavor for future use. To freeze any surplus zest after preparing your blood orange cake, spread it out in a single, thin layer on a parchment-lined baking sheet or a flat plate. This prevents the zest from clumping together and allows it to freeze quickly and individually. Once completely frozen (this usually takes about 30-60 minutes), carefully transfer the frozen zest into an airtight container or a freezer-safe bag. Label it with the date, and return it to the freezer. Stored this way, blood orange zest can maintain its vibrant flavor for up to three to six months, ready to be added to smoothies, dressings, other baked goods, or even savory dishes whenever you need a burst of citrus brightness.
Cooling and Storing Your Blood Orange Cake for Freshness
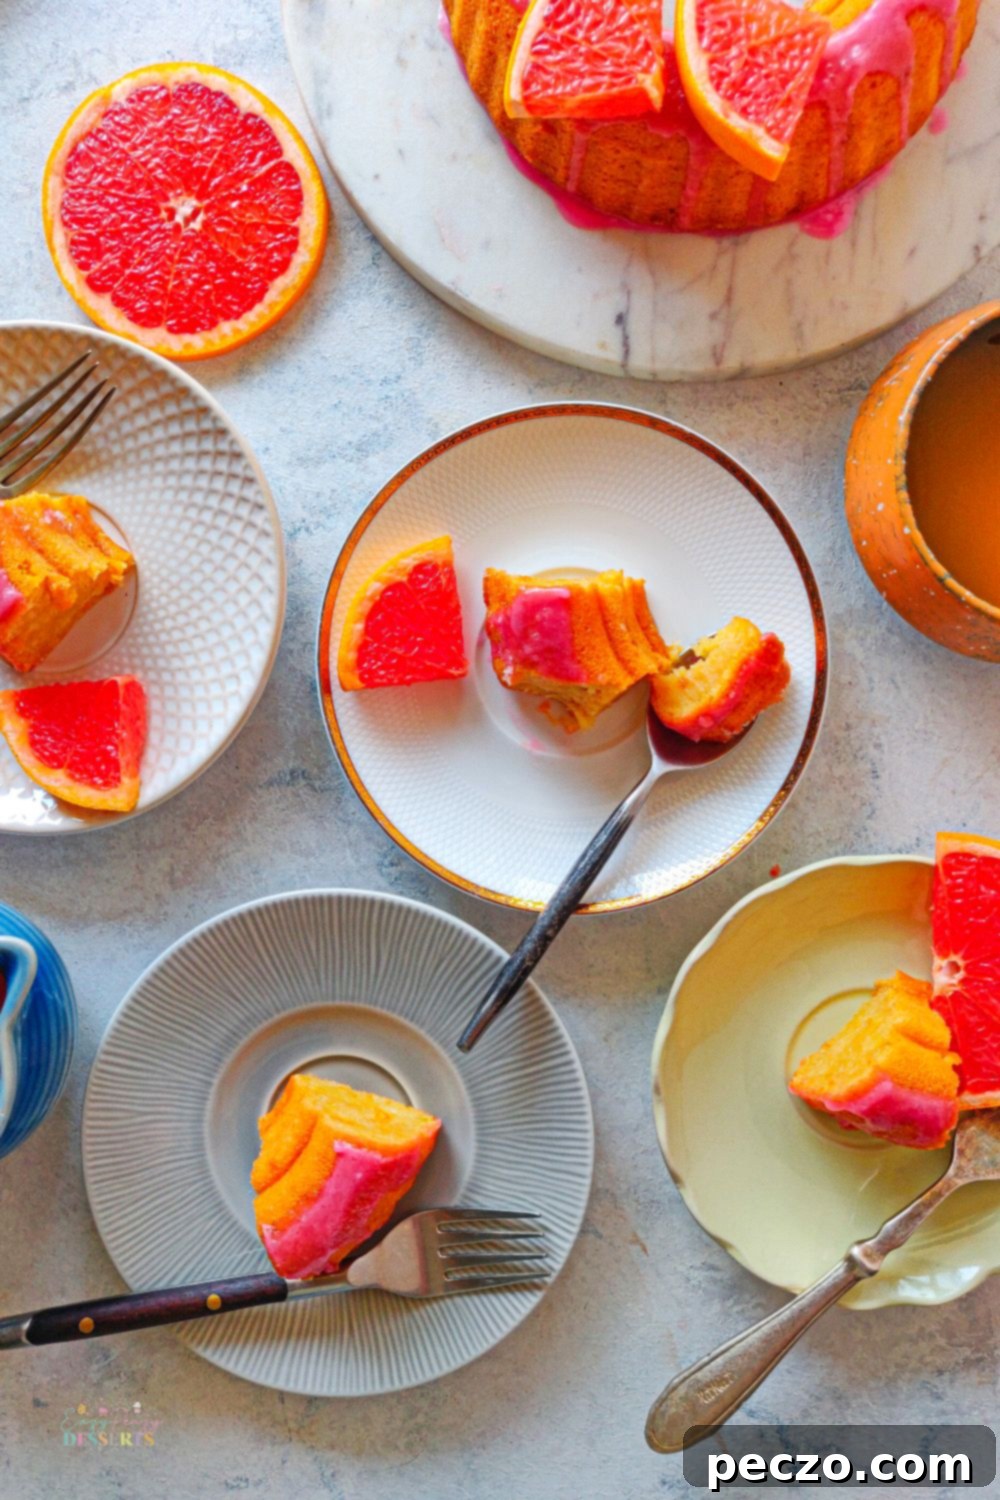
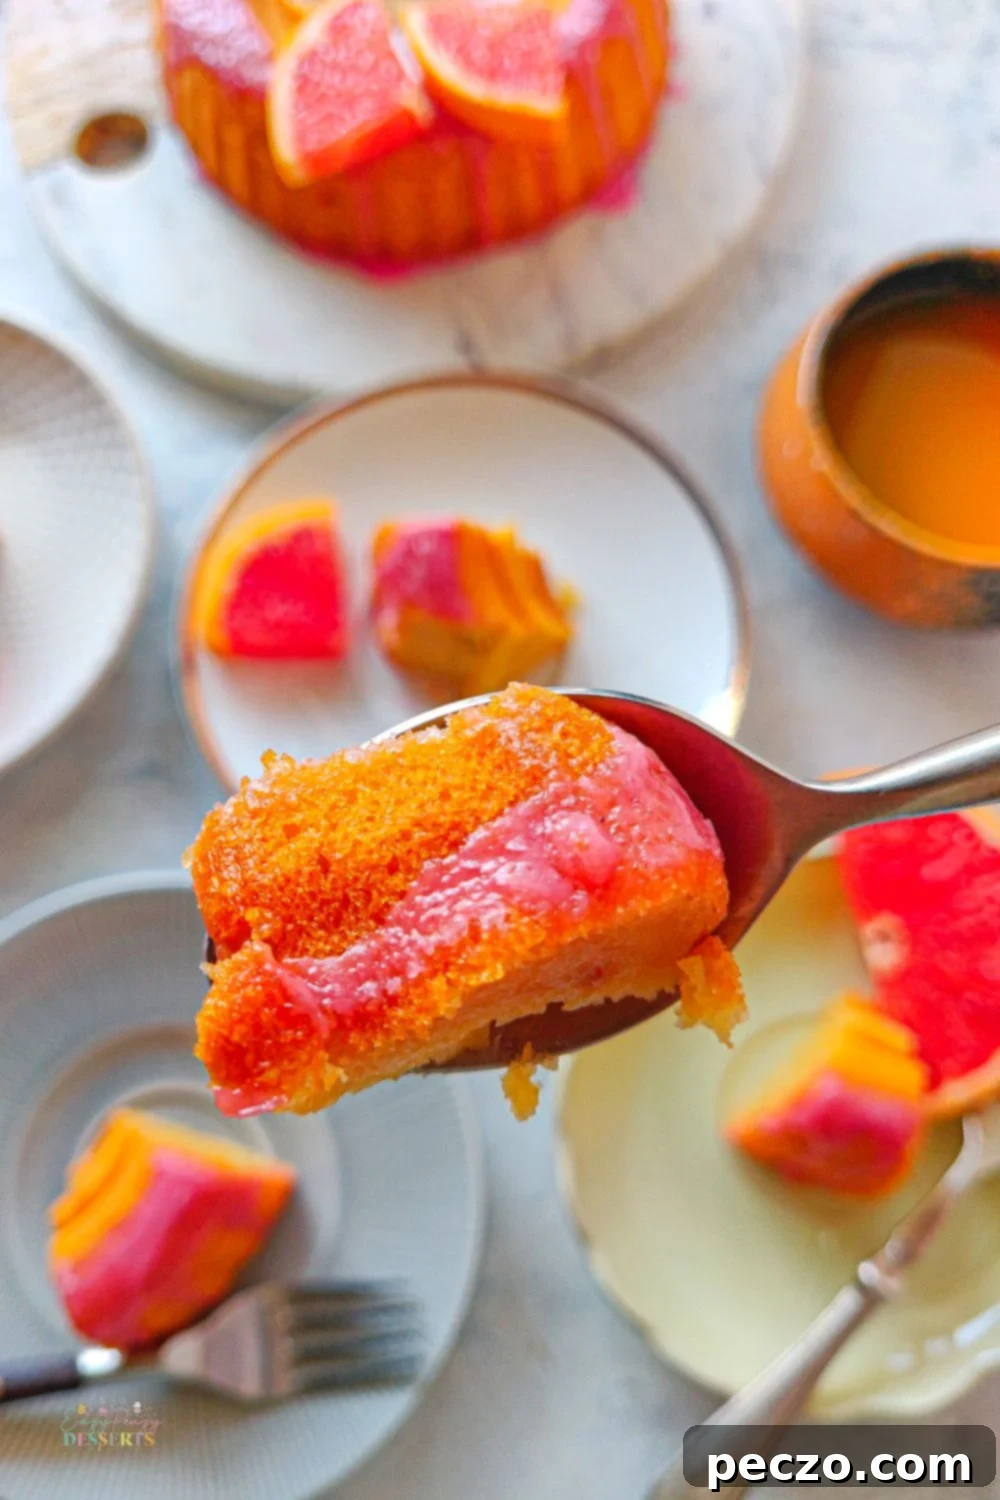
Once your exquisite blood orange bundt cake emerges from the oven, the cooling process is just as crucial as the baking itself for ensuring a perfect result. Allow the cake to cool in its pan for precisely 10-15 minutes. This initial cooling period allows the cake’s delicate structure to firm up, making it less prone to breaking when inverted. After this crucial time, carefully invert the cake onto a wire rack and allow it to cool completely. This wire rack ensures air circulates around all sides, preventing condensation and sogginess. Once the cake is warm to the touch, or even fully cooled, I’ve found that covering it loosely with plastic wrap is an excellent trick to lock in moisture and prevent it from drying out. If you’re baking this blood orange bundt cake the night before a special event, this plastic wrap method is highly recommended to keep it wonderfully fresh. While this cake is best enjoyed within 1-2 days at room temperature in an airtight container, it will start to dry out thereafter. For longer storage, freezing is your best bet. Wrap individual slices or the entire cooled cake tightly in plastic wrap, then an additional layer of aluminum foil, and freeze for up to 2-3 months. Always remember to glaze the cake only when it’s completely cooled and you’re ready to serve, as glazing a warm cake will cause the icing to melt and run, creating a less appealing finish.
Making the Blood Orange Cake Recipe: Your Step-by-Step Guide
Now that we’ve covered all the essential tips and tricks for mastering this incredible dessert, from selecting the perfect fruit to preparing your pan and understanding key baking science, it’s time to get down to the delicious details. This blood orange cake recipe is designed to be straightforward, yielding a moist, flavorful cake every single time. Follow these steps meticulously for a truly delightful baking experience that will impress anyone lucky enough to try a slice of this vibrant bundt cake.
What ingredients do you need
- All-purpose flour
- Baking powder
- Baking soda
- Yogurt (plain)
- Dairy milk or almond milk (for a vegan version)
- Granulated sugar or coconut sugar
- Fresh blood orange juice
- Vegetable oil or light olive oil
- Freshly grated blood orange zest
- Vanilla extract
For the glaze:
- Powdered sugar
- Fresh blood orange juice
How to make blood orange cake
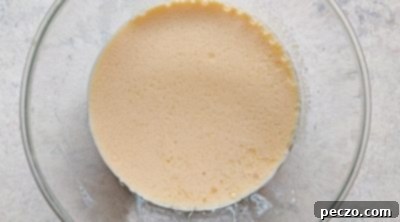
- In a bowl, combine all the wet ingredients. Mix everything well.
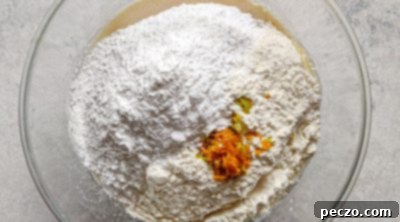
- Mix all the dry ingredients in another bowl.
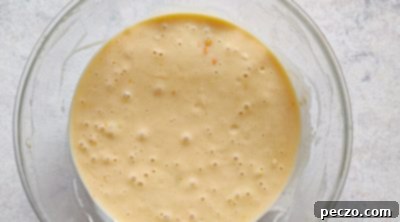
- Gently fold in all the dry ingredients to the wet mixture. Batter should be just combined but not over mixed.
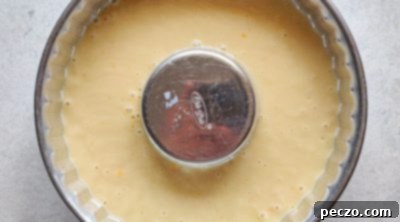
- Grease bundt pan with butter or oil, transfer the batter to the pan and tap 1-2 times to avoid any air pockets.
- Bake until a toothpick inserted in center comes out clean, with few tender crumbs attached. Let cake cool at least 15-30 minutes before removing.
- For orange glaze, combine powdered sugar and orange juice and mix to a thick consistency.
- Once the cakes cools down, add orange glaze on top.
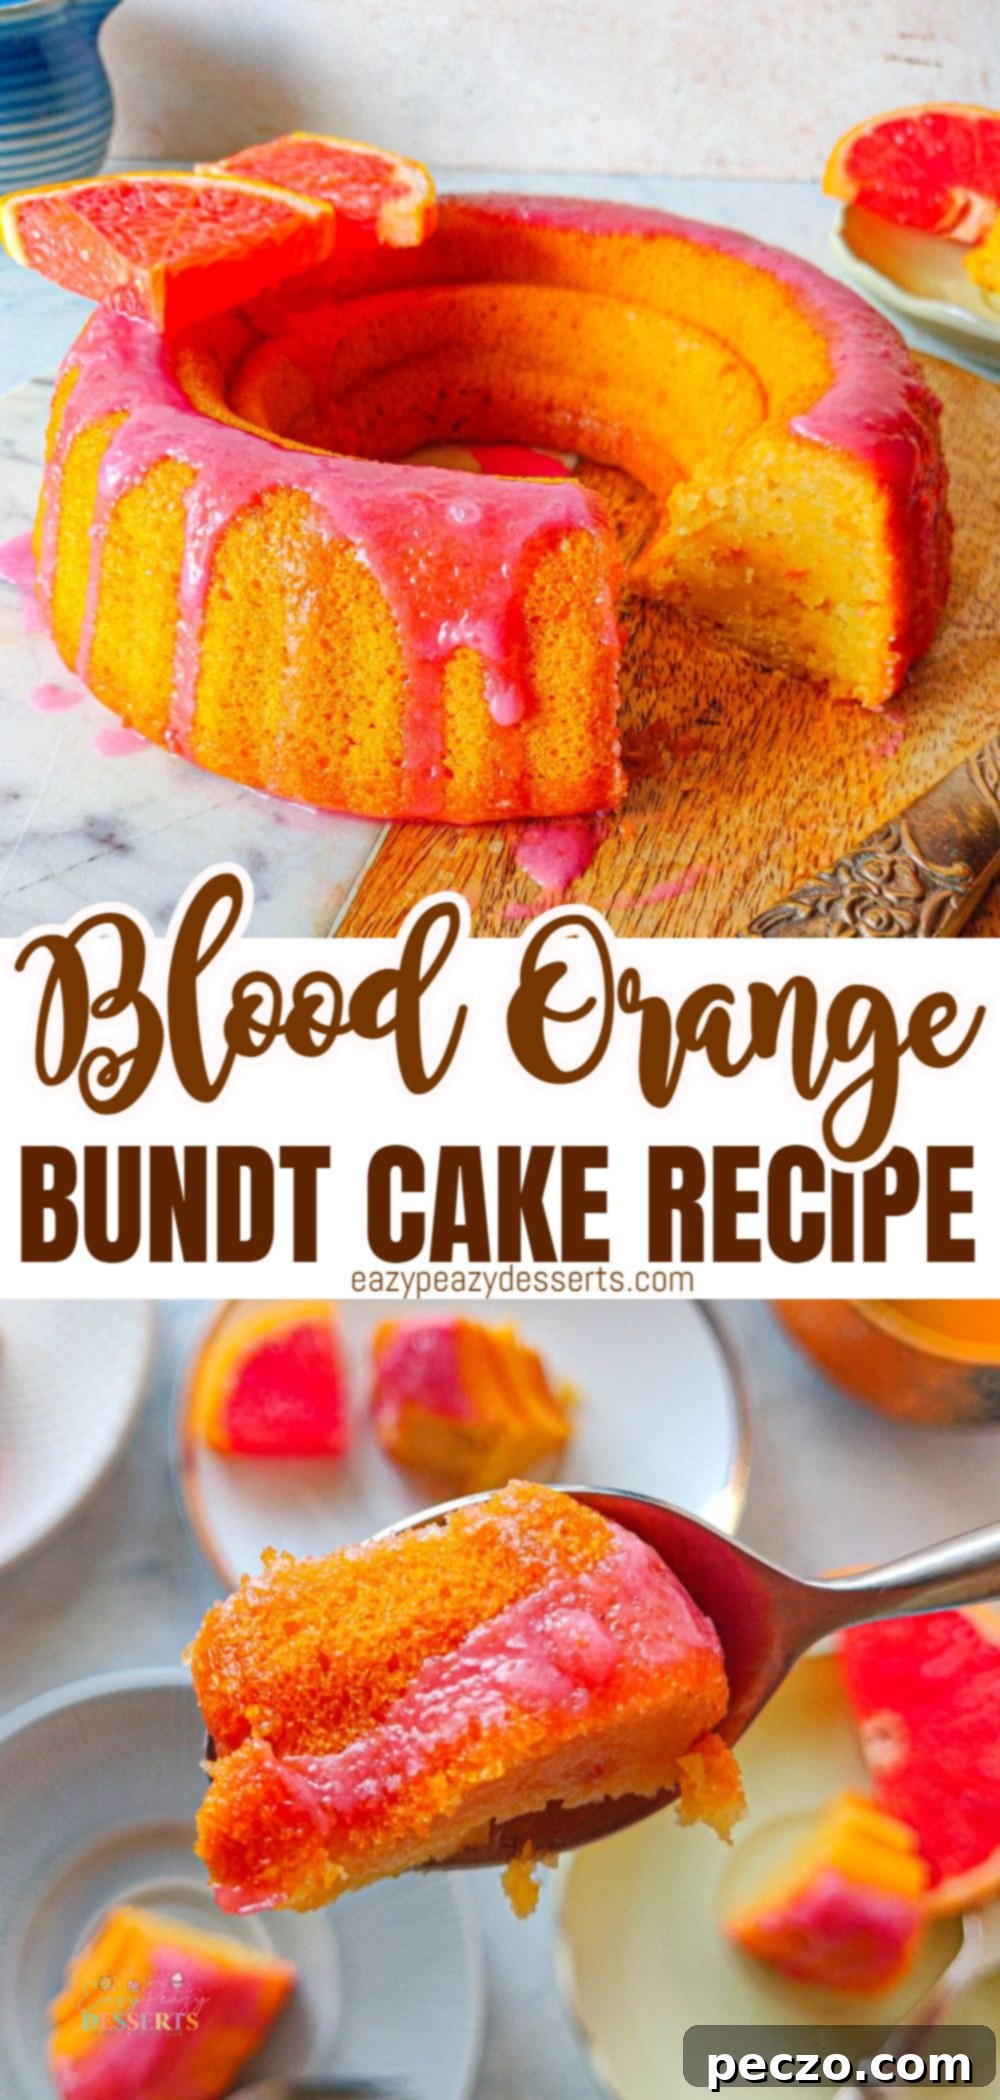
Pin to save for later
Print the recipe card
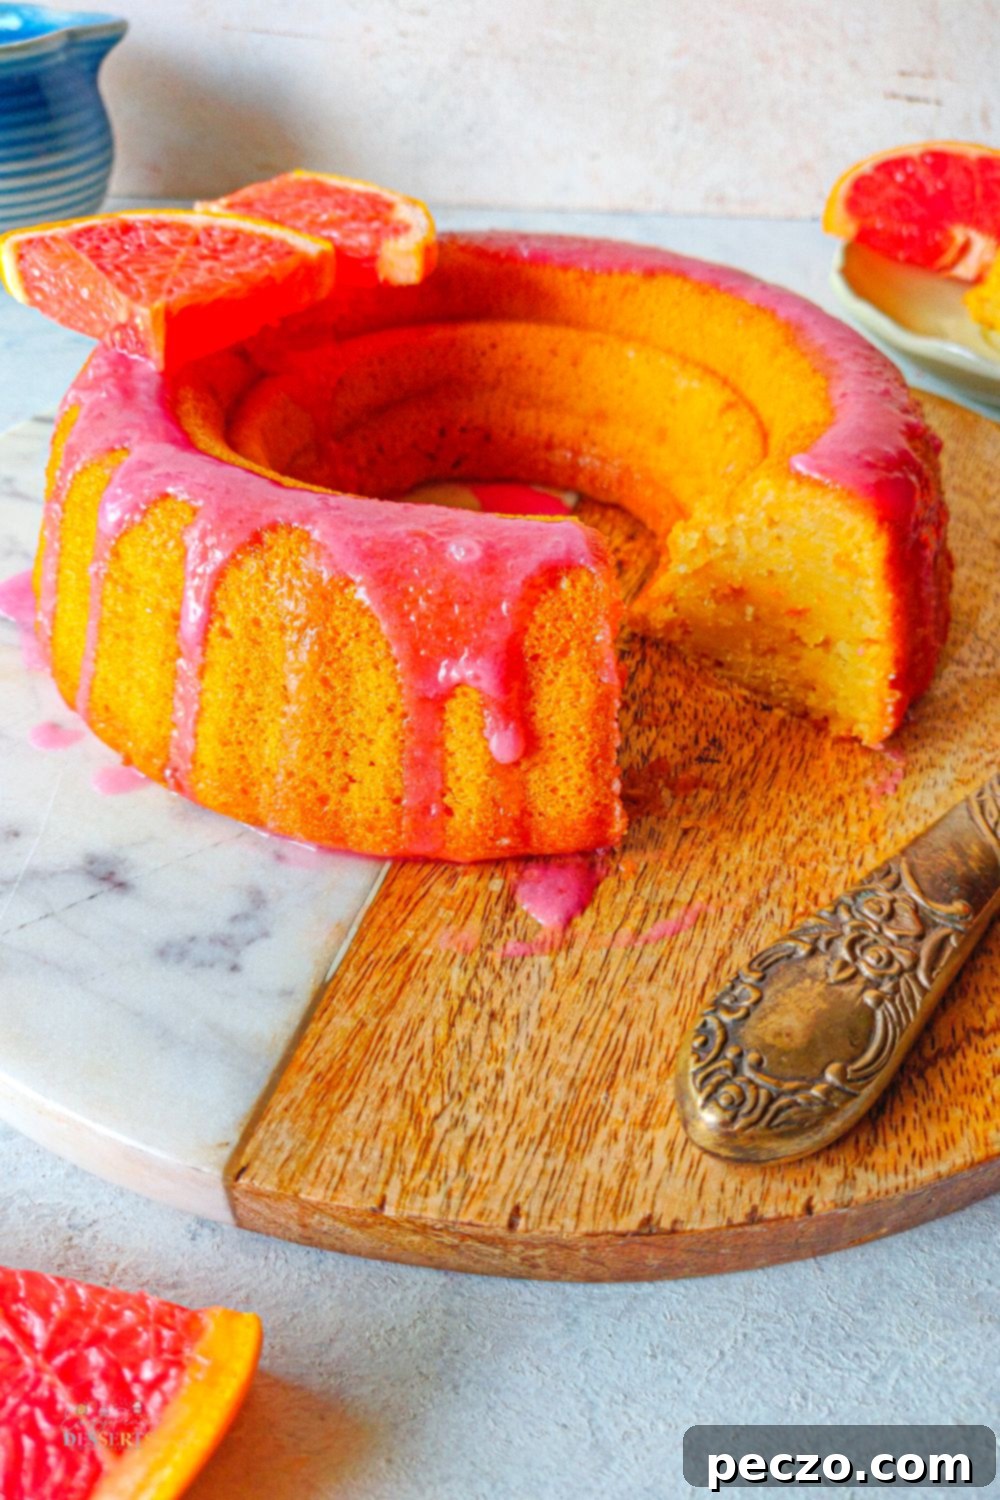
Blood orange cake
petro
Pin Recipe
Equipment
-
mixing bowl
-
silicone spatula
-
10 inch bundt pan
Ingredients
For the cake
- 2 cups All purpose flour
- 1 tbsp Baking powder
- 1 tsp Baking soda
- 3/4 cup Yogurt plain
- 1/2 cup Milk or almond milk
- 1 cup Sugar or coconut sugar
- 1/2 cup Blood orange juice
- 1/2 cup Vegetable oil or olive oil
- 1 tbsp Blood orange zest
- 1 tsp Vanilla extract
For the glaze
- 2 cup Powdered sugar
- 2 or 3 tbsp Blood orange juice
Instructions
-
Pre heat the oven at 350 F
To make the cake
-
In a bowl, combine all the wet ingredients. Mix everything well.

-
Mix all the dry ingredients in another bowl.

-
Gently fold in all the dry ingredients to the wet mixture. Batter should be just combined but not over mixed.

-
Grease bundt pan with butter or oil, transfer the batter to the pan and tap 1-2 times to avoid any air pockets.

-
Bake for 40-43 minutes until a toothpick inserted in the center comes out clean, with few tender crumbs attached. Let cake cool at least 15-30 minutes before removing.
To make the glaze
-
For orange glaze, combine powdered sugar and orange juice and mix to a thick consistency.
-
Once the cake cools down, add orange glaze on top.
Nutrition
