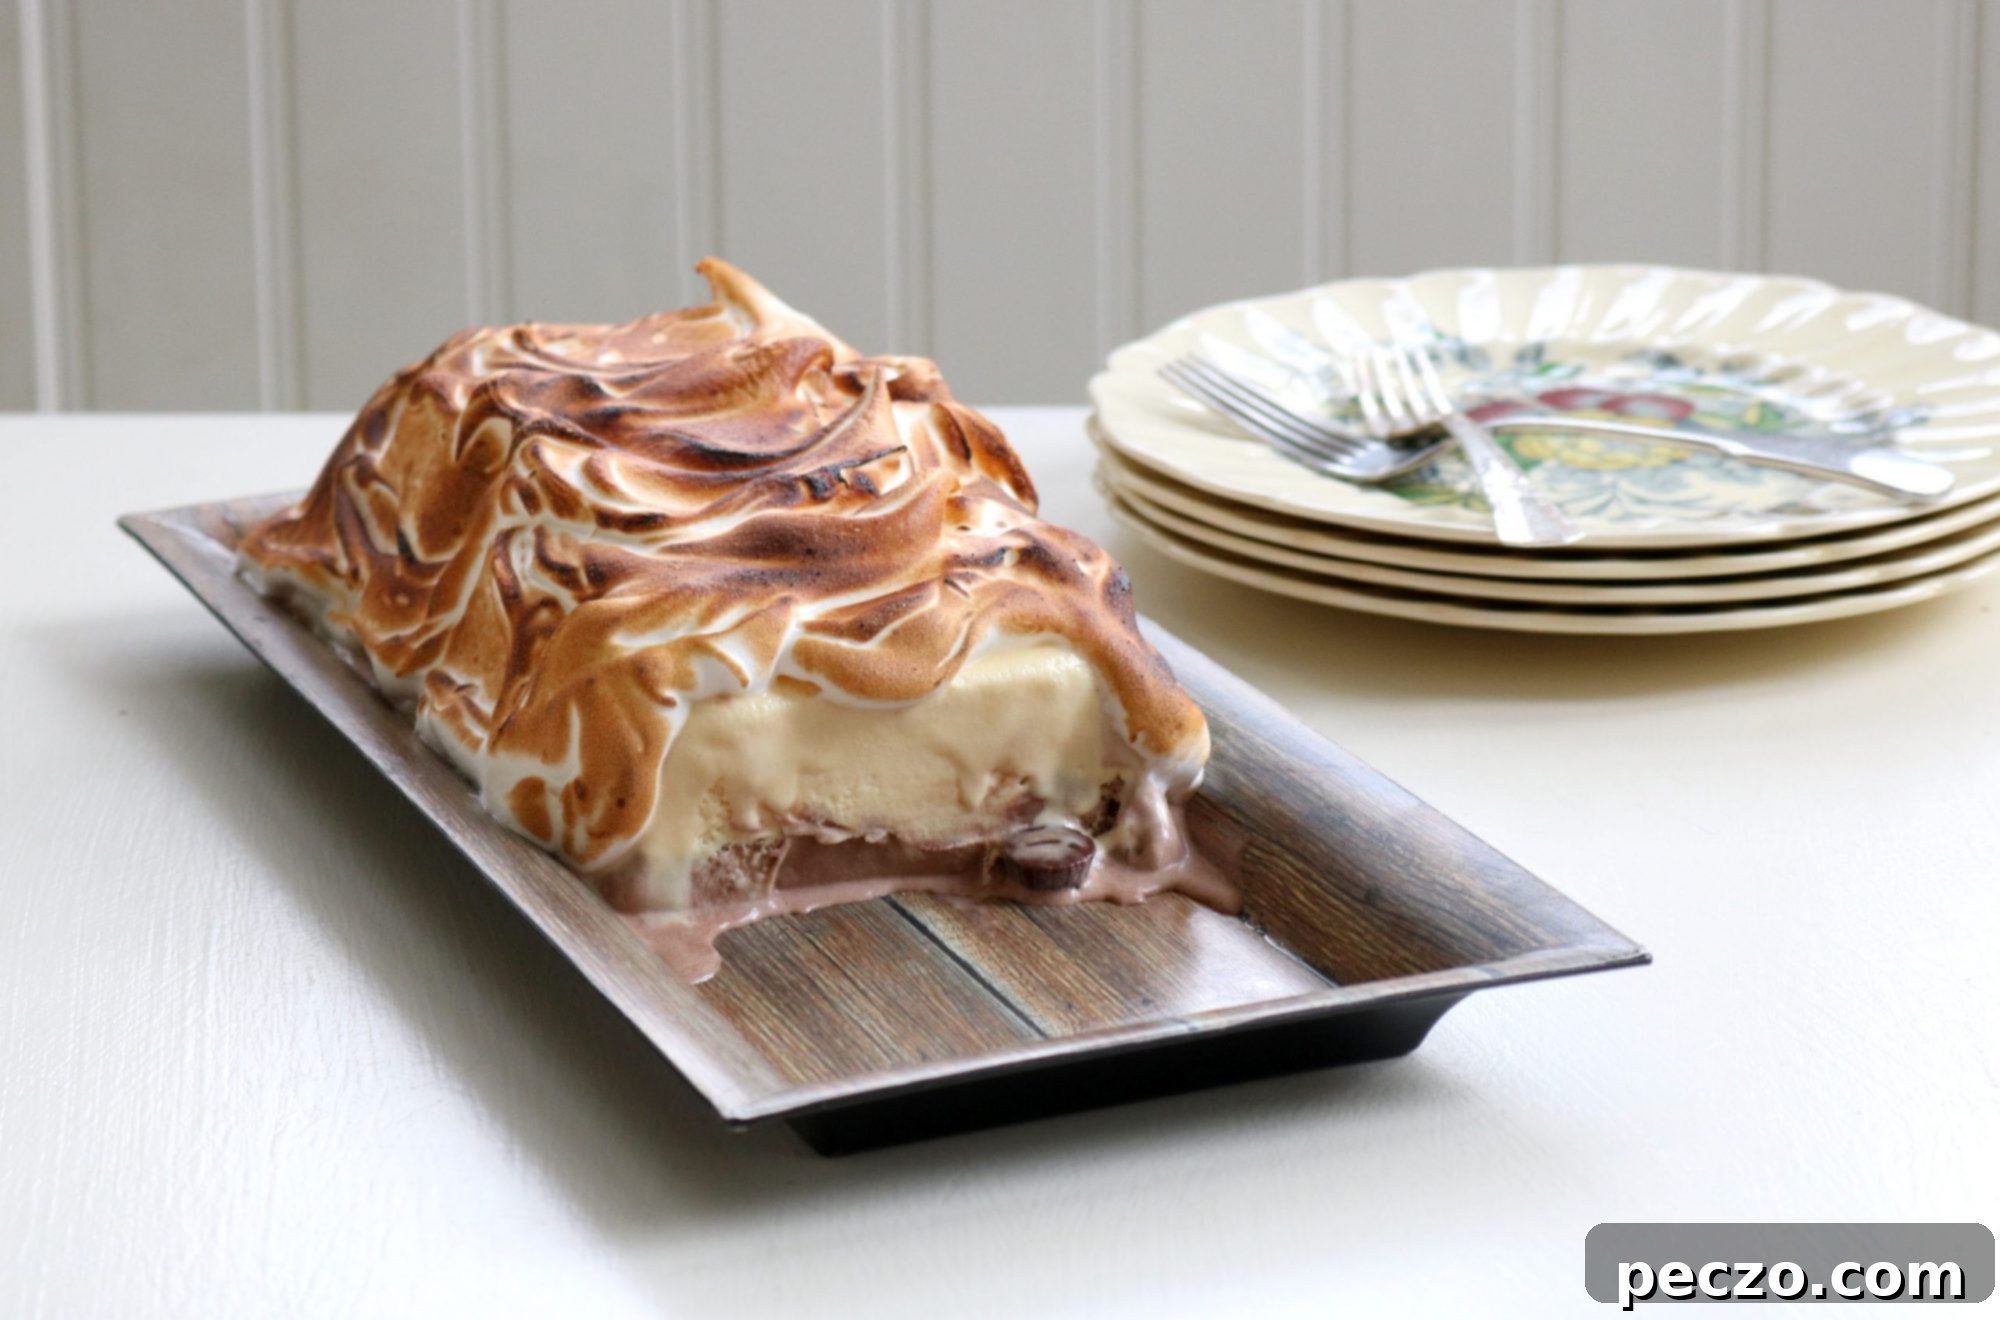
Easy Torched Meringue Ice Cream Cake: A No-Bake Baked Alaska Inspired Dessert
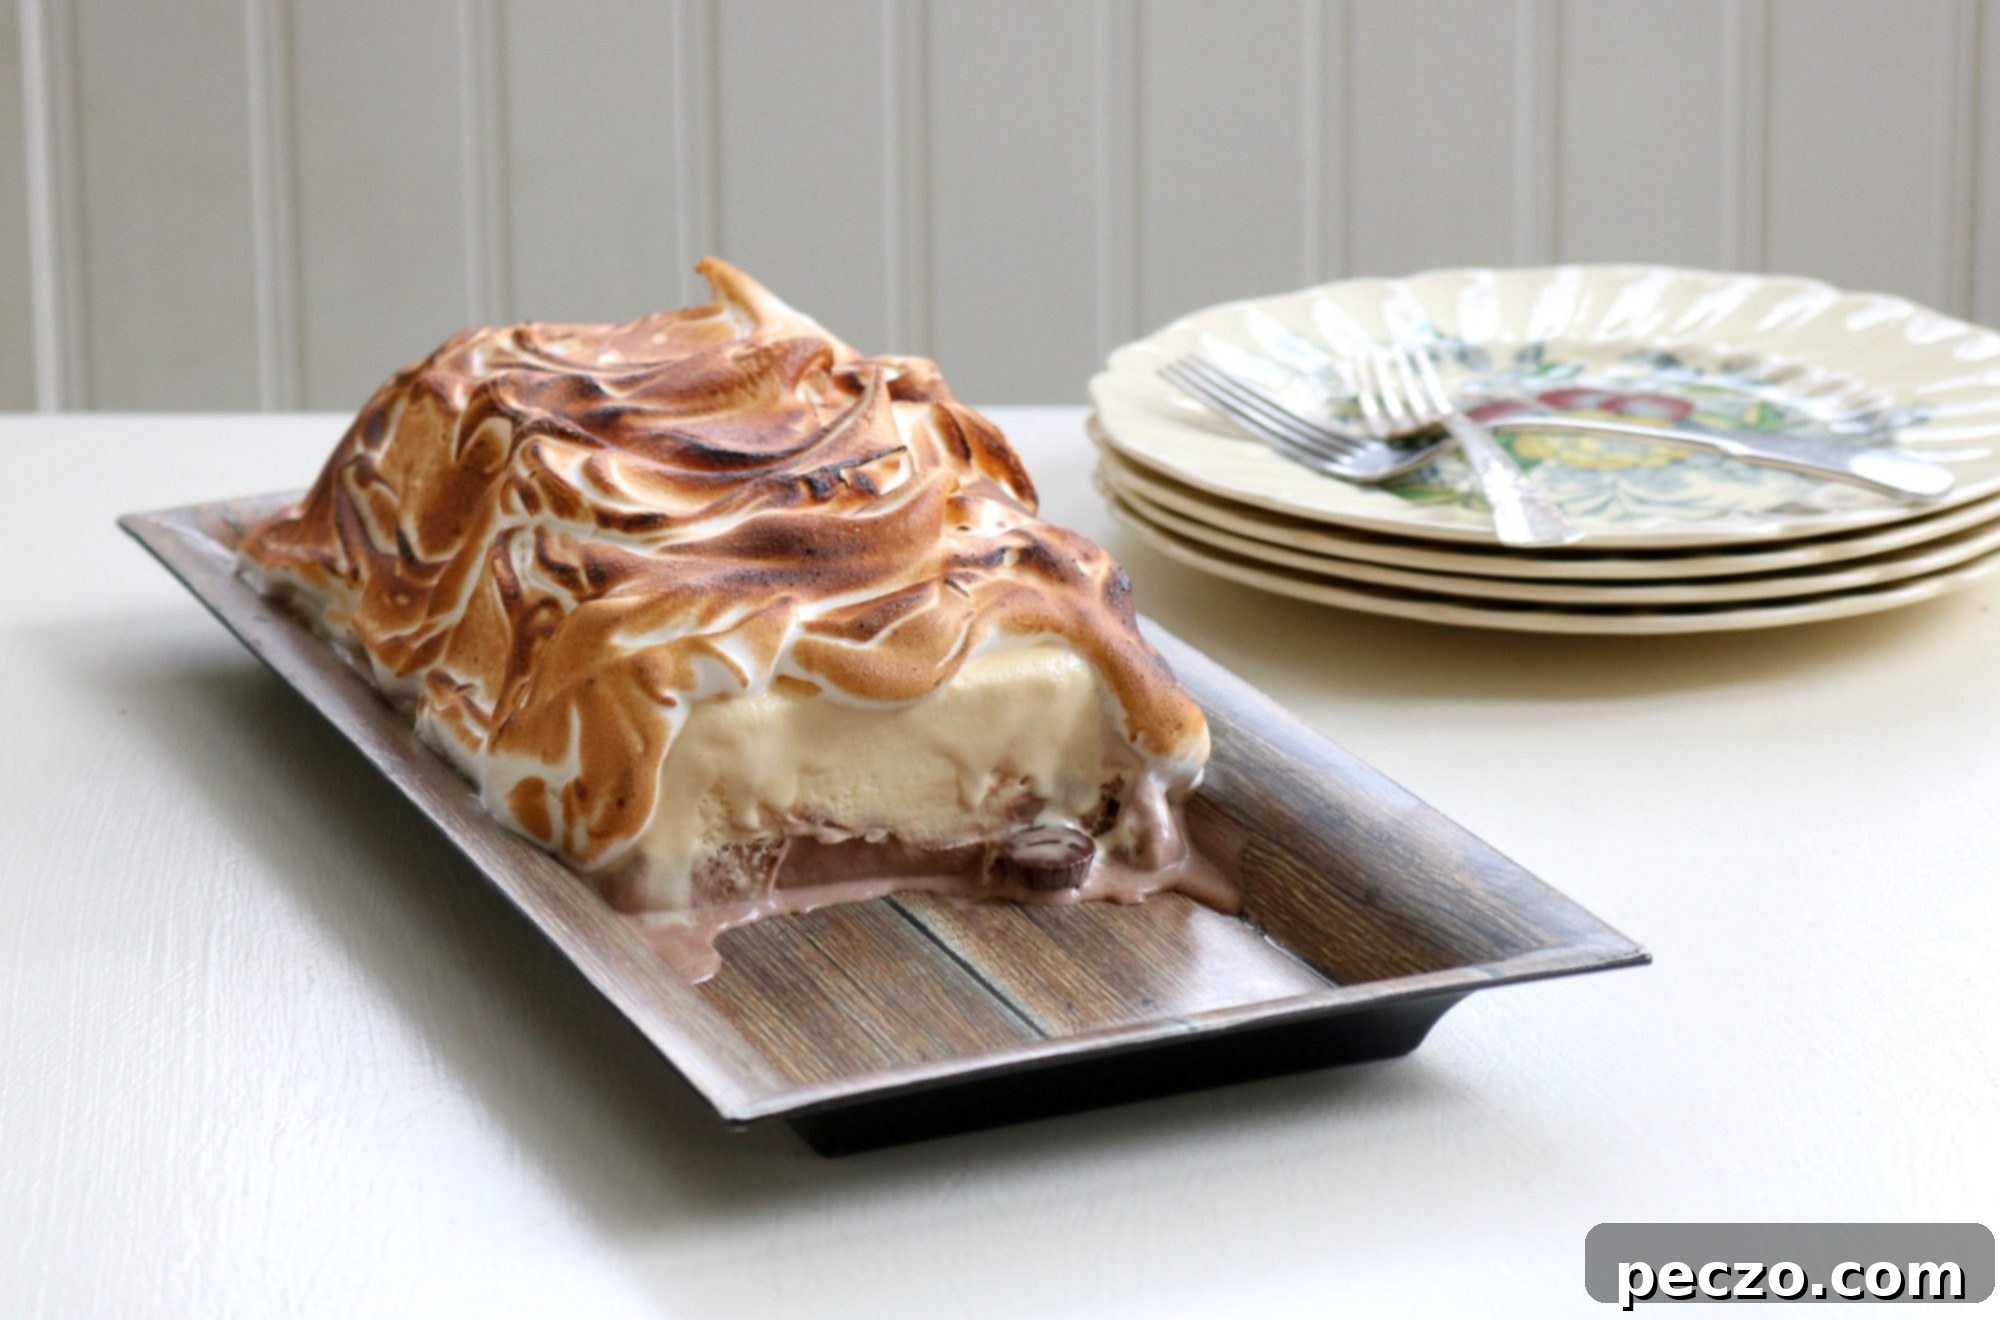
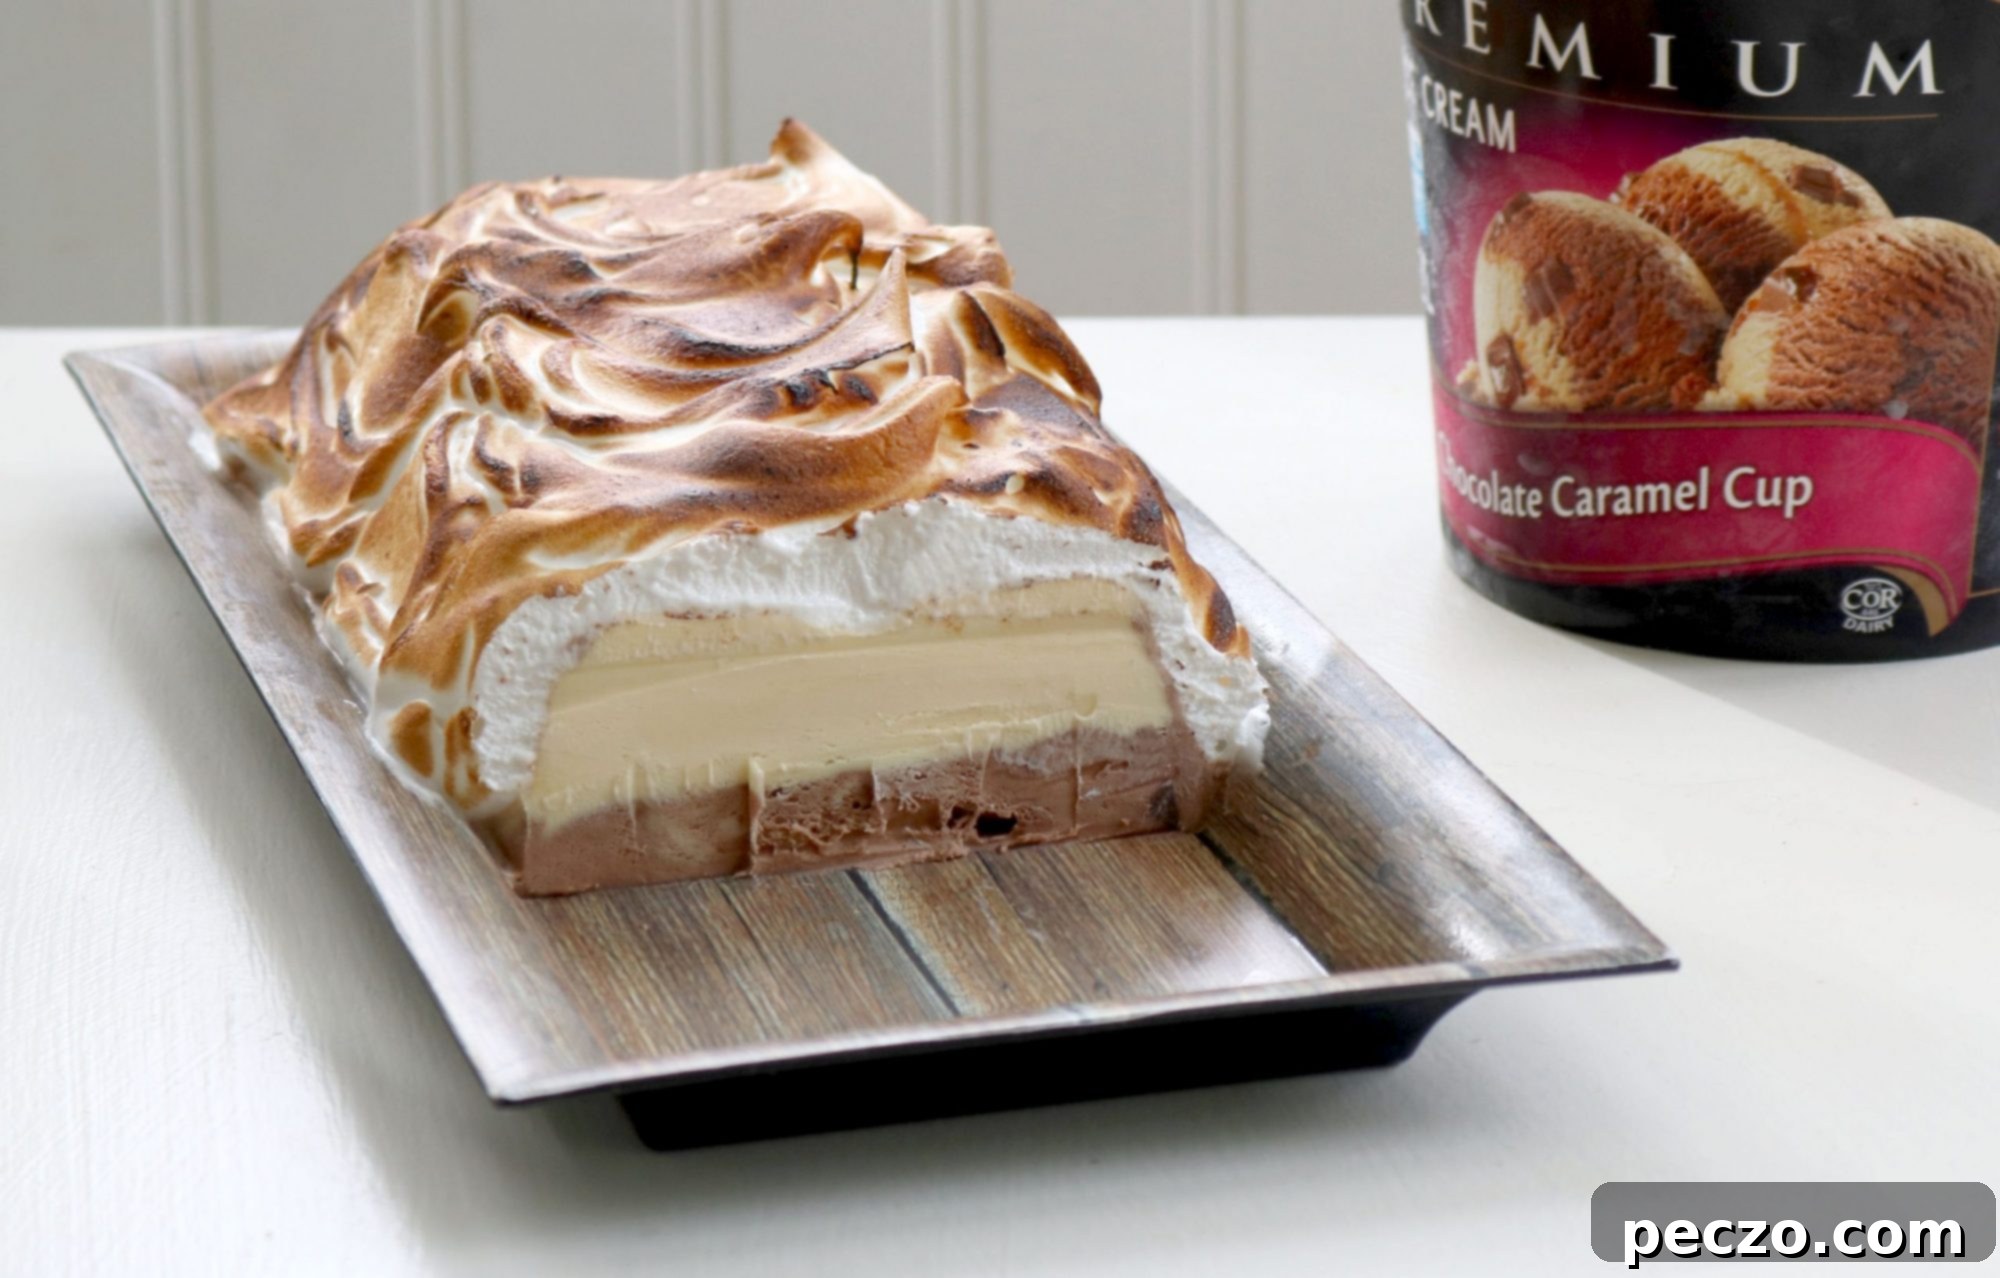
There’s something inherently captivating about a dessert crowned with a cloud of perfectly torched meringue. The delicate golden peaks, the satisfyingly crisp exterior giving way to a soft, marshmallowy interior – it’s an indulgence that instantly elevates any sweet treat. While many meringue-topped delights exist, my absolute favorite remains an ice cream creation, reminiscent of a classic Baked Alaska. While a traditional Baked Alaska is often frozen in a bowl to achieve its iconic dome shape, our version offers a delightfully accessible twist, delivering all the drama and flavor without the fuss.
This dessert truly embodies the spirit of a Baked Alaska, minus the need for complex preparations or specialized equipment. It’s a celebration of simplicity and flavor, allowing the creamy texture of the ice cream and the airy sweetness of the meringue to shine. If you’re looking for a show-stopping dessert that promises ease and elegance, you’ve found your perfect match.
Why an Ice Cream Cake is the Ultimate Easy Dessert
Growing up, an ice cream “cake” was always my top choice for birthday celebrations. Why? Because let’s be honest, the scoop of ice cream served alongside a conventional cake was consistently the highlight! This homemade, layered ice cream dessert takes that sentiment to the next level, offering pure frozen bliss with minimal effort. It negates the need to even turn on your oven, making it an ideal project for those who might feel intimidated by traditional baking.
One of the greatest advantages of crafting your own ice cream cake is its incredible flexibility. Forget about needing a specific cake pan size or even a cake pan at all! You can assemble this decadent treat in almost any freezer-safe dish – a loaf pan, a springform pan, or even a simple bowl can work wonderfully. This adaptability makes it a truly versatile addition to your dessert repertoire. Furthermore, its make-ahead nature is a game-changer for entertaining. An ice cream “cake” can be prepared days, weeks, or even months in advance and patiently await its grand finale in your freezer. When you’re ready to serve, simply pull it out and finish it with a light, fluffy cooked meringue, which is surprisingly easy to work with and perfect for creating beautiful swirls and artistic flourishes.
The absence of baking means less mess, less stress, and more time to enjoy the process and the delicious outcome. It’s a dessert that caters to modern lifestyles, allowing you to prepare ahead and impress guests without last-minute scrambling. Whether it’s a spontaneous gathering or a meticulously planned celebration, a homemade ice cream cake with torched meringue offers convenience without compromising on presentation or taste.
Crafting Your Perfect Torched Meringue Ice Cream Cake
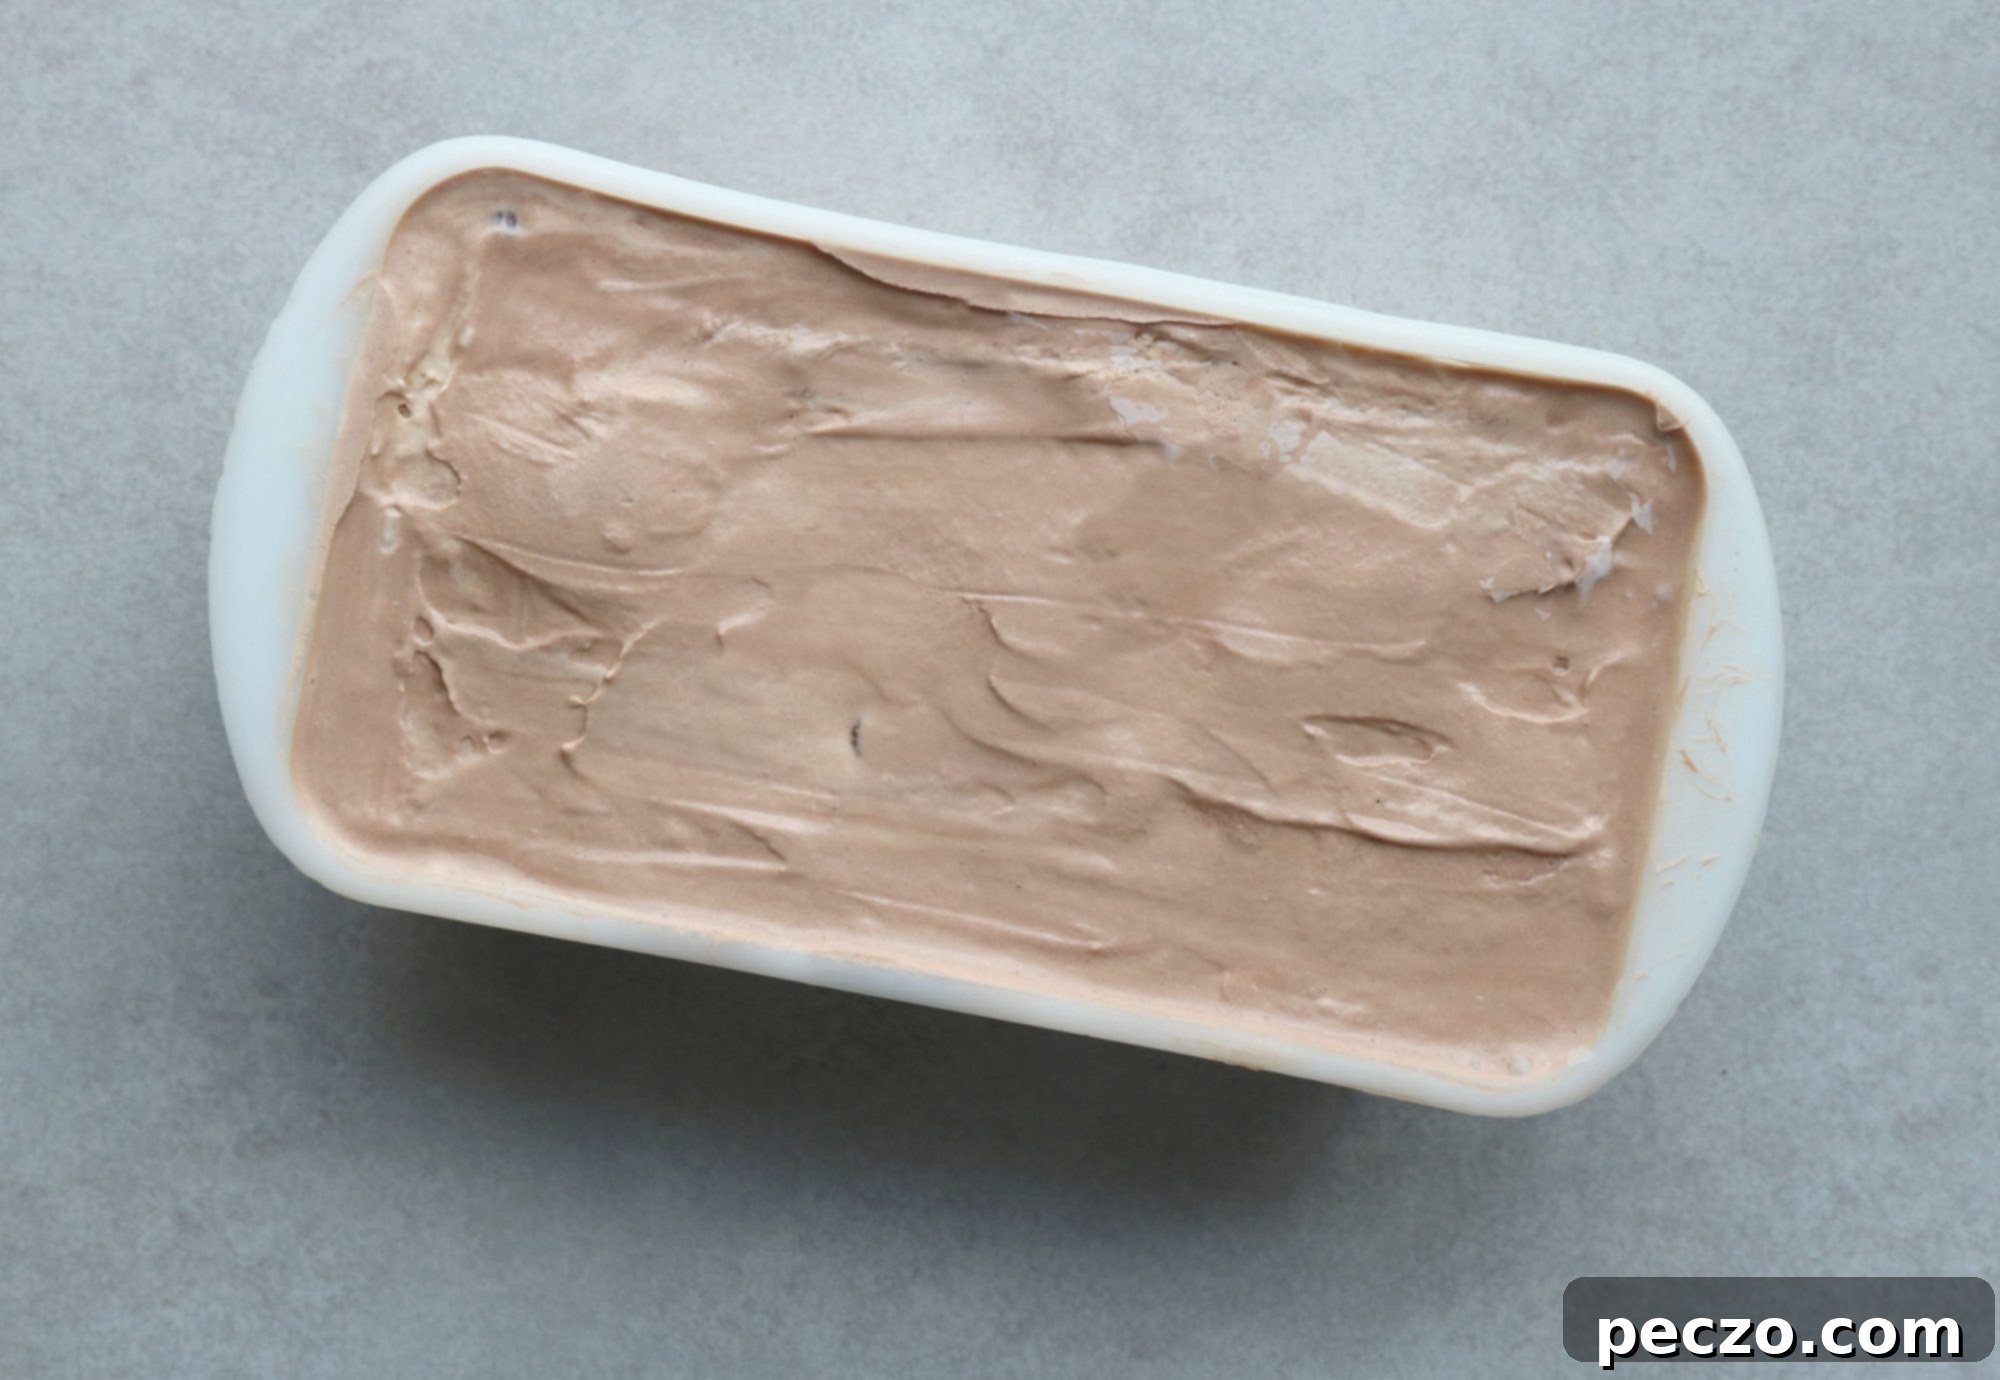
To bring this delightful creation to life, the basic requirements are wonderfully simple: at least one tub of your favorite ice cream or sorbet. For a truly dynamic flavor experience, I highly recommend using two different kinds of ice cream. Imagine layers of contrasting flavors – perhaps a rich chocolate paired with a vibrant raspberry, or a classic vanilla alongside a nutty pistachio. The possibilities are endless and allow for incredible customization. Pack your chosen ice creams into your preferred bowl or pan, ensuring they are tightly packed to avoid air pockets.
For an added layer of texture and taste, consider incorporating delicious mix-ins between your ice cream layers. Chopped-up chocolate bars, crushed Oreos, crumbled cookies, or even a swirl of fudge or caramel sauce can transform your ice cream cake into an even more indulgent experience. Once your layers are assembled and your chosen mix-ins are in place, freeze the entire assembly solid. This crucial step ensures a firm foundation for the next stage: the marshmallowy Italian meringue.
The Magic of Italian Meringue and the Fiery Finish
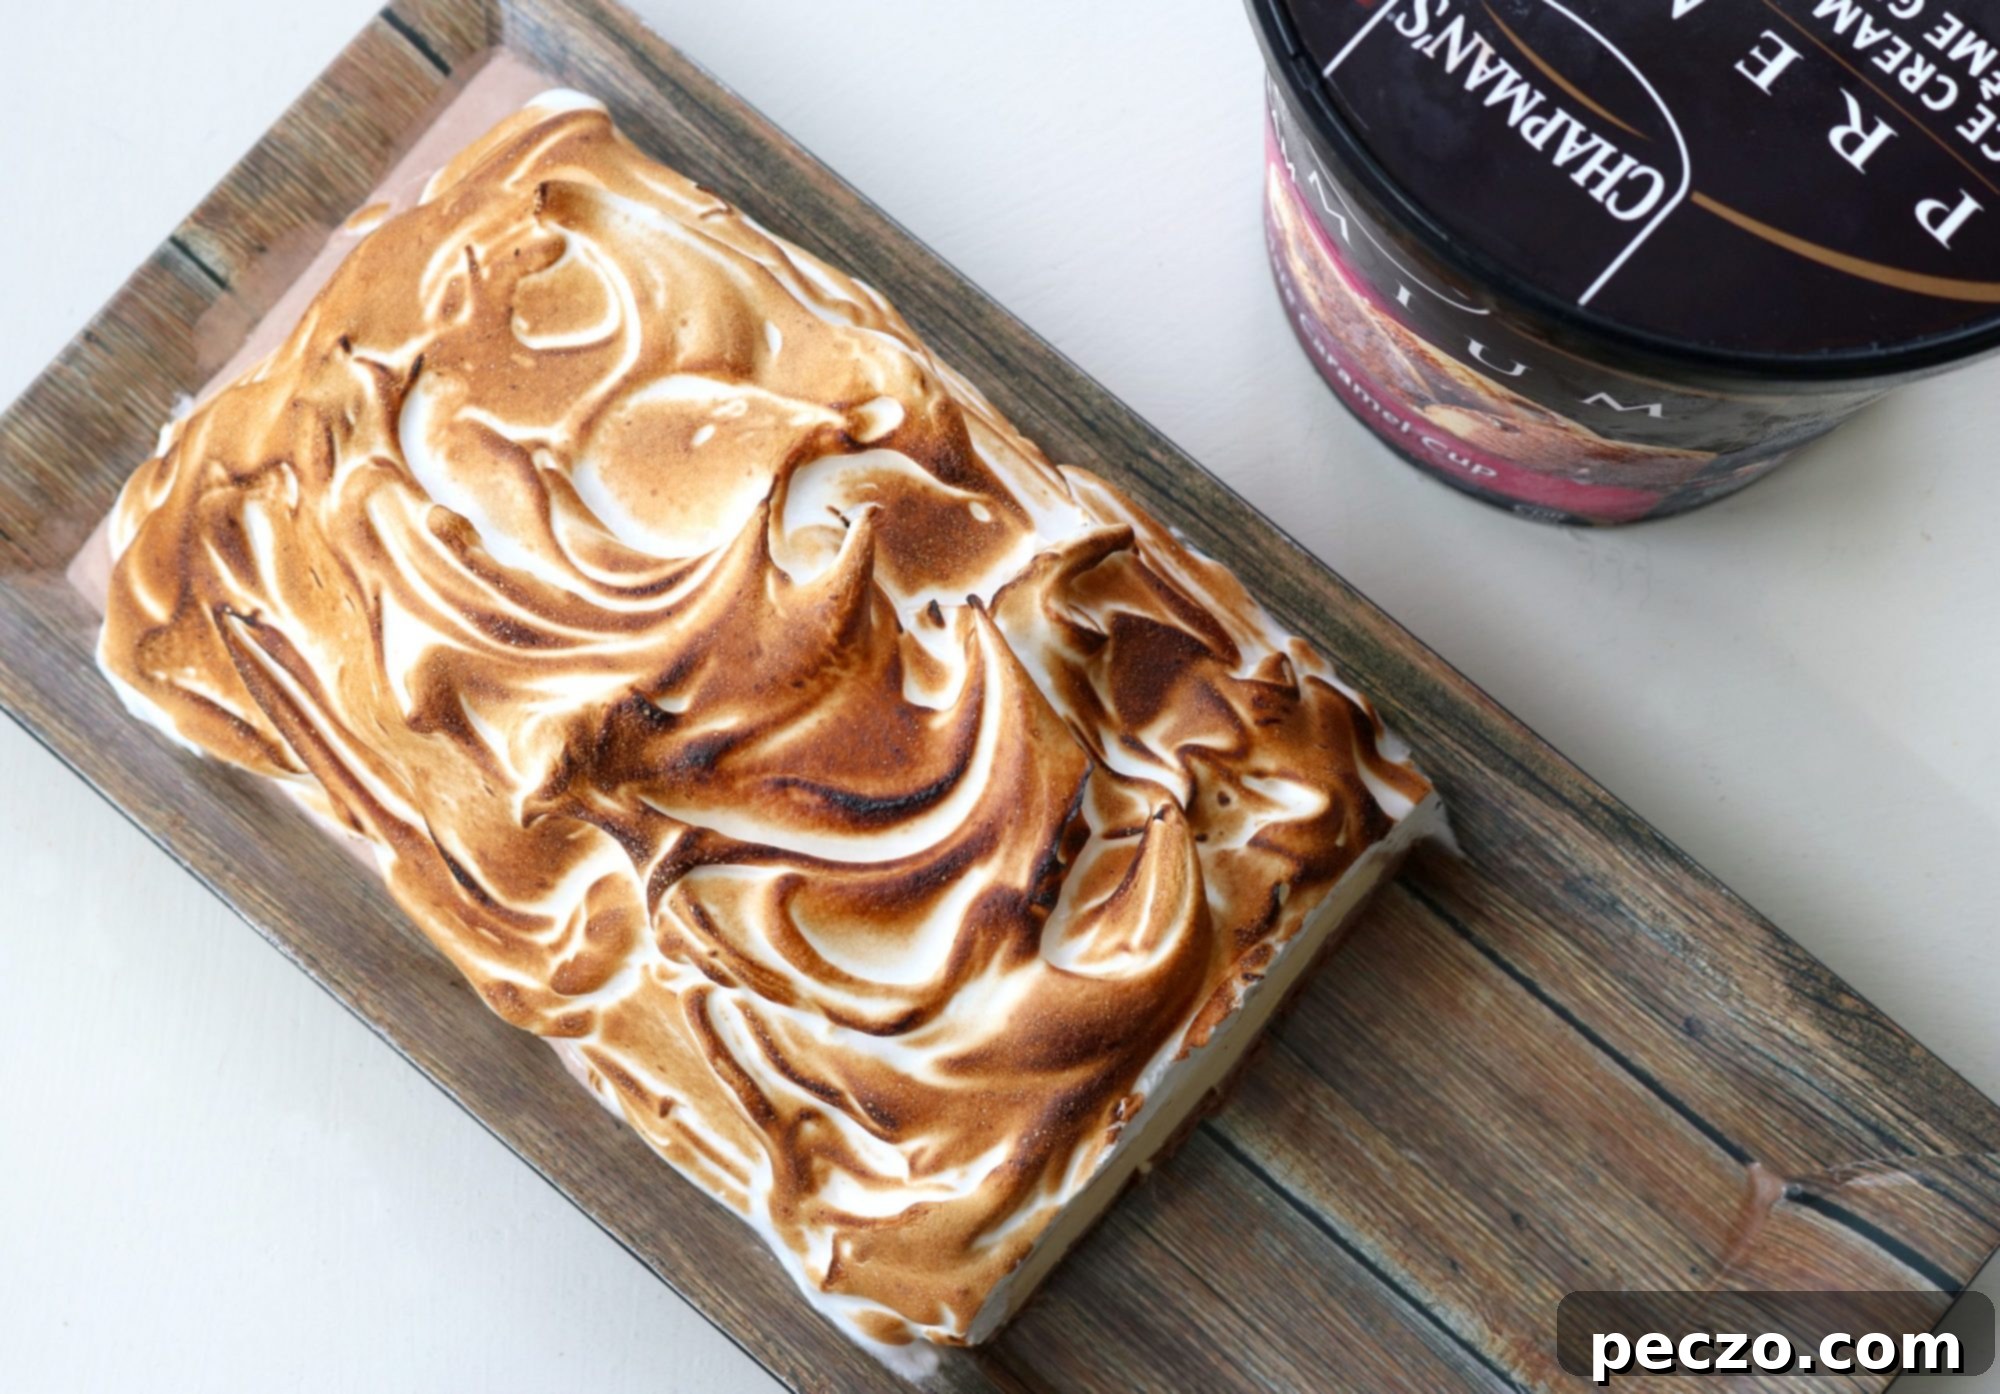
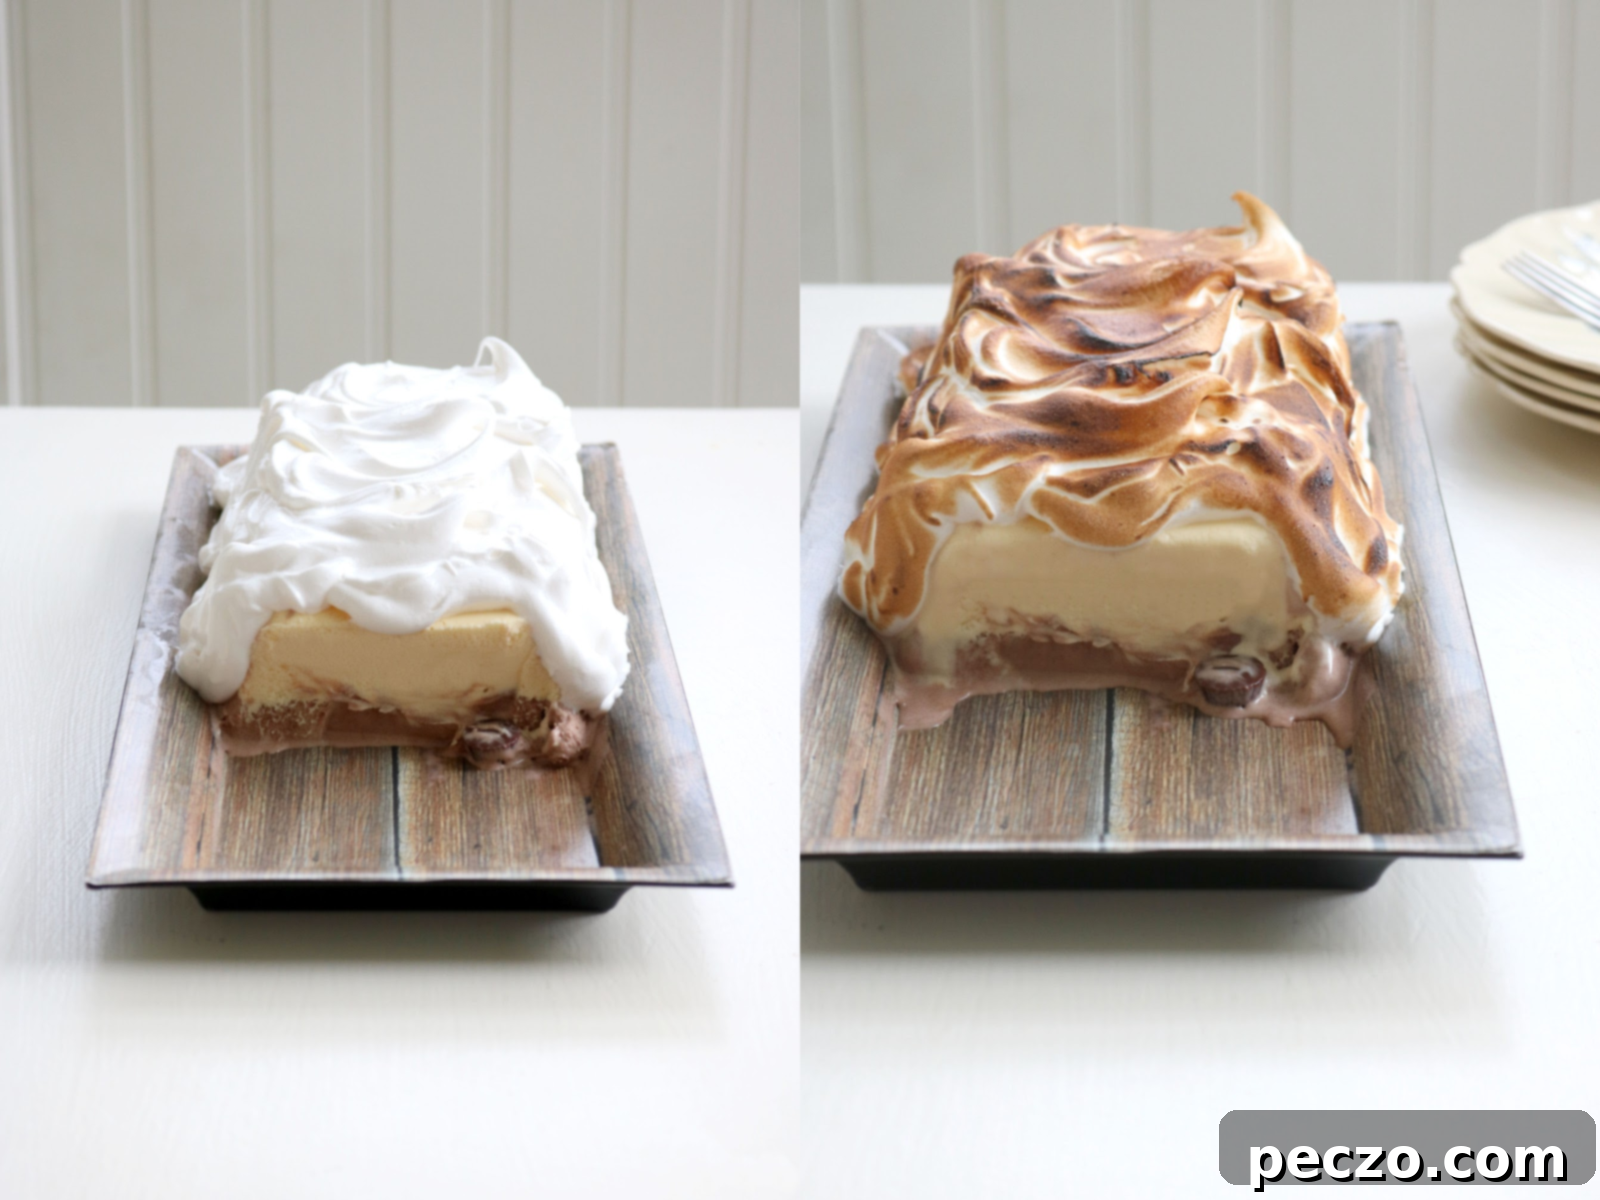
Once your ice cream base is rock-solid, it’s time for the pièce de résistance: a generous layer of velvety Italian meringue. Unlike raw meringue, Italian meringue is cooked with hot sugar syrup, making it incredibly stable, wonderfully smooth, and safe to eat. Its marshmallow-like consistency is perfect for creating dramatic swirls and peaks that hold their shape beautifully. The final touch, and arguably the most exciting, is using a kitchen torch to toast the meringue to a beautiful golden-brown. This process creates that irresistible campfire-esque toastiness, adding a subtle smoky flavor and a stunning visual appeal that is guaranteed to impress. The gentle flame caramelizes the sugar on the surface, forming a delicate crust that contrasts beautifully with the cold, creamy ice cream beneath.
This elegant dessert manages to be fancy without being finicky. It’s a perfect solution for gatherings where dietary needs are a consideration, particularly for guests who require gluten-free options. With the right choice of ice cream and mix-ins, this entire dessert can be made completely gluten-free, ensuring everyone at your table can enjoy a decadent treat.
A Dessert for Everyone: Gluten-Free Goodness
In today’s diverse culinary landscape, offering inclusive dessert options is more important than ever. This torched meringue ice cream cake naturally lends itself to being a fantastic gluten-free choice, depending on your ingredient selections. Many high-quality ice creams are inherently gluten-free, providing a superb base for your creation. For instance, Chapman’s, a brand renowned for its commitment to quality and inclusivity, made a significant move in 2000 by transitioning their Original Ice Cream to gluten-free. This dedication has continued, leading them to create a wide array of gluten-free treats, with a remarkable 75% of their new production space now dedicated to gluten-free products. This commitment makes it incredibly easy to choose suitable ice cream options for your gluten-free guests, ensuring everyone feels welcome and catered for.
When selecting mix-ins, simply opt for gluten-free versions of cookies, chocolate bars, or other treats. The Italian meringue itself is naturally gluten-free, being made primarily from egg whites, sugar, and water. This thoughtful consideration allows you to present a spectacular dessert that not only tastes incredible but also gracefully accommodates common dietary requirements, making it a stress-free choice for any host.
A Sweet Partnership: Celebrating Chapman’s
I extend a huge thank you to Chapman’s for their generous support in sponsoring this post and helping to bring this delicious content to life. They are truly an exemplary company, recognized as the largest independent ice cream manufacturer in Canada. For over five decades, since 1973, Chapman’s has been dedicated to producing exceptional ice cream and frozen treats that Canadians love. Their enduring commitment to quality and family values is evident in everything they do; they remain a proud family-owned and run business.
Working with Chapman’s is always a fantastic experience. They offer me the creative freedom to explore and develop recipes that I genuinely believe my readers will enjoy and appreciate. This level of trust and collaboration is invaluable, allowing authentic content to flourish. It’s a joy to partner with a brand that not only produces incredible products but also truly understands the value of creative expression and connection with their audience.
Beyond the Classic: Creative Variations & S’mores Dreams
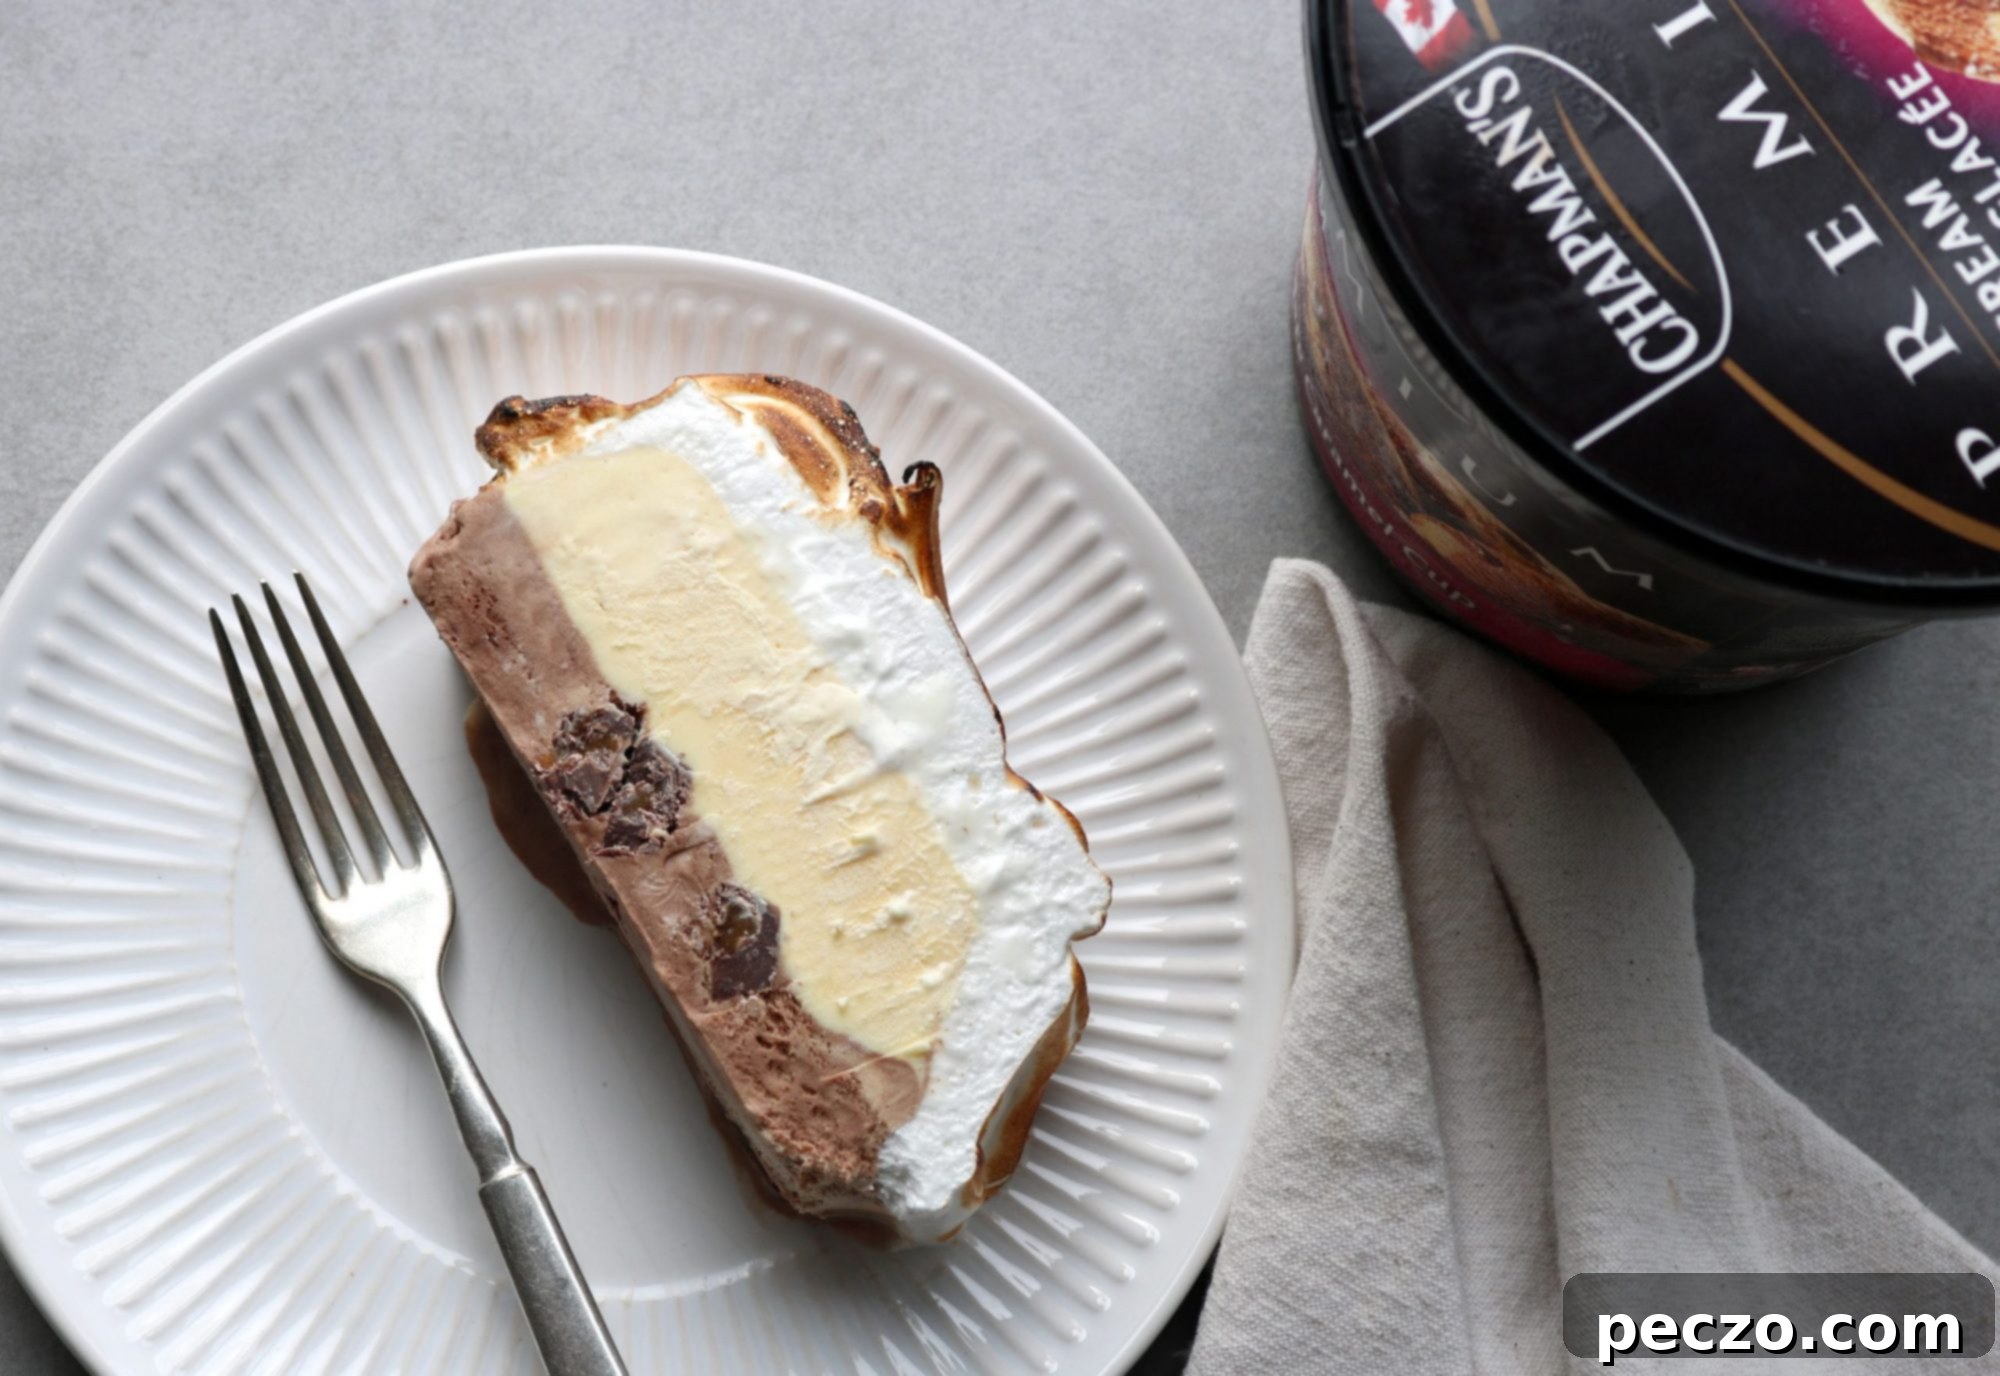
As I was dreaming up this recipe, I momentarily considered crumbling chunks of graham crackers or Digestive biscuits between the layers and labeling it a “s’more pie.” While the idea is tempting, I ultimately felt that a true s’more should maintain its classic form – gooey toasted marshmallow, melted chocolate, and crisp graham crackers. However, this line of thought certainly sparked some exciting alternative ideas!
Thinking about it now, the possibilities for s’mores-inspired variations are endless, especially with ice cream. You could, in fact, scoop your favorite ice cream onto individual graham crackers or Digestive biscuits and top them with a dollop of toasted marshmallow (easily achieved with a kitchen torch). This offers something akin to an elevated s’more experience without the need for a campfire, perfect for a cozy evening or a sophisticated dessert table. Imagine a scoop of chocolate ice cream, a layer of crushed graham crackers, and then that glorious torched meringue – a deconstructed s’more sensation! This summer, with its abundance of opportunities to enjoy ice cream, I’m excited to explore these creative twists. Perhaps a base of brownie crumbles, a layer of coffee ice cream, and the torched meringue for a “tiramisu” inspired cake? Or a tropical blend with mango sorbet and coconut flakes? The versatility of this dessert invites endless experimentation, promising new favorites with every iteration.
Tips for Success with Your Meringue Ice Cream Cake
- Chill Your Bowl: For the best results when layering ice cream, use a pan or bowl that has been pre-chilled in the freezer. This helps the ice cream stay firm as you work.
- Soften, Don’t Melt: Allow your ice cream to soften slightly at room temperature before layering. It should be pliable enough to spread but not completely melted.
- Freeze Thoroughly: Each layer of ice cream should be frozen solid before adding the next, especially if using mix-ins. This prevents colors and flavors from bleeding together and ensures a clean cut.
- Perfect Meringue: Ensure your egg whites are at room temperature for optimal volume when making Italian meringue. Carefully follow instructions for heating the sugar syrup to the correct temperature.
- Torch with Care: When torching, keep the flame moving constantly to achieve an even golden-brown without burning. A quick, sweeping motion works best.
- Storage: Store the finished ice cream cake in an airtight container in the freezer. It will keep beautifully for several days, or even weeks if well-wrapped, maintaining its delightful texture.
- Serving: For easier slicing, remove the cake from the freezer about 10-15 minutes before serving. This allows the ice cream to soften just enough to cut cleanly while still holding its shape.
Whether you’re celebrating a special occasion or simply craving a unique and impressive dessert, this easy torched meringue ice cream cake is a fantastic choice. Its combination of creamy, cold ice cream and fluffy, toasted meringue creates a symphony of textures and flavors that is truly unforgettable. Enjoy the process of creating this beautiful treat, and savor every delightful bite!
