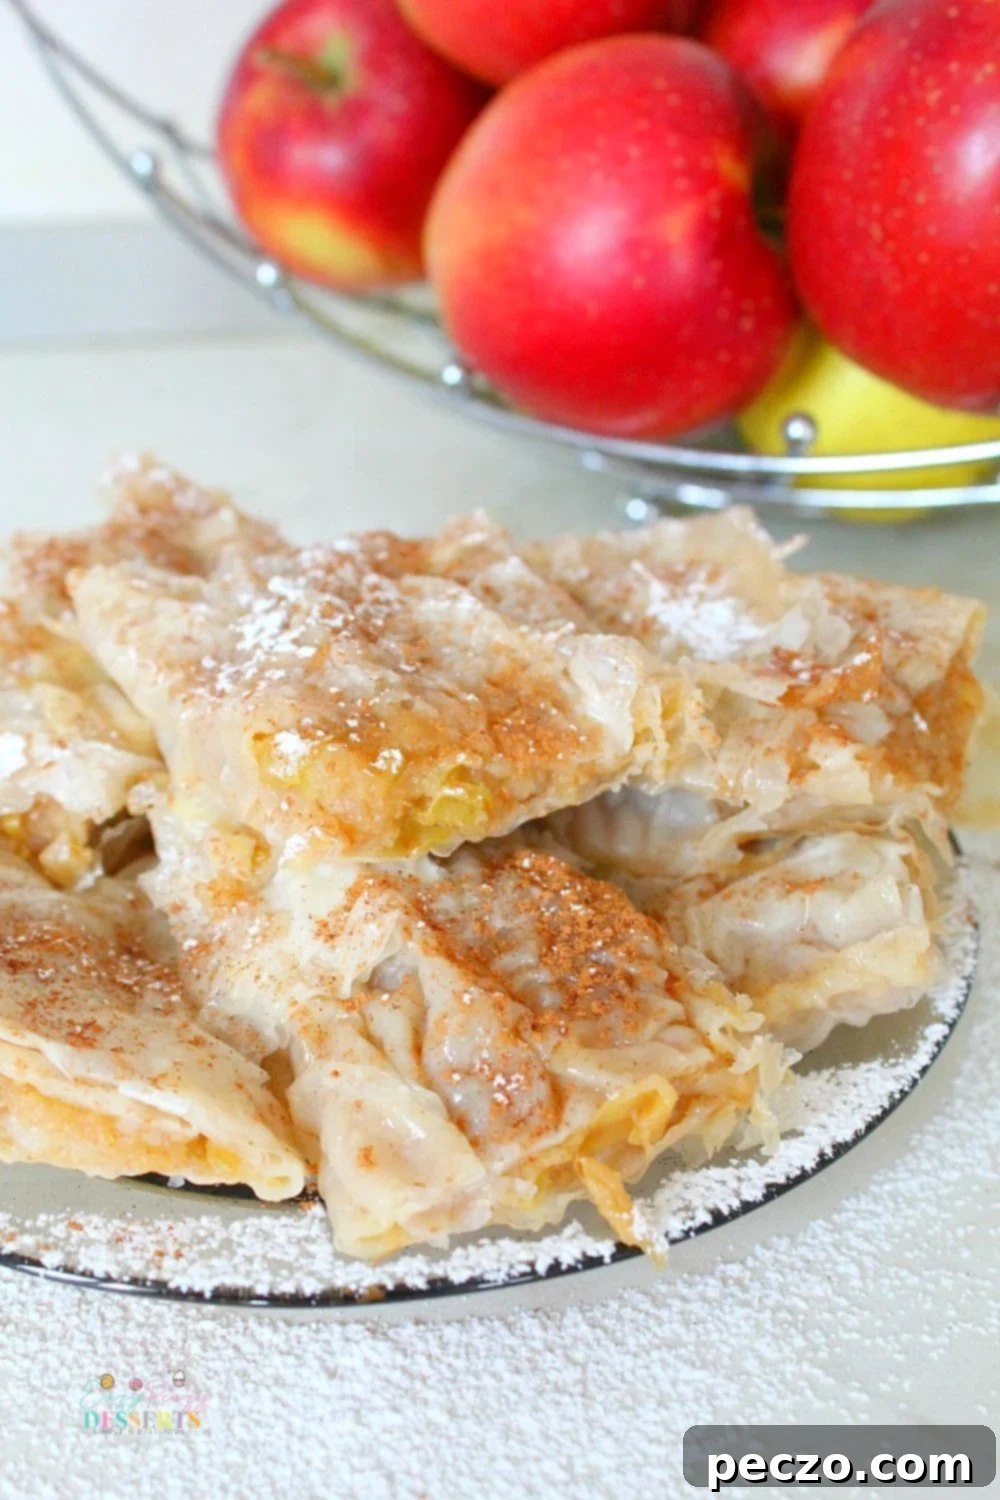
Effortless Filo Pastry Apple Pie: A Simple, Low-Fat Dessert Recipe for Any Occasion
Looking for the perfect weekend dessert that’s both simple to make and irresistibly delicious? This effortless filo pastry apple pie is your answer! It’s a no-fuss, family-friendly apple pie recipe that stands out as a fantastic low-fat alternative to traditional apple pie. Quick to assemble and bake, this homemade filo apple pie is a guaranteed crowd-pleaser, perfect for those times you’re short on time or need a last-minute dessert that truly impresses. Get ready to discover your new favorite way to enjoy a classic apple pie!
Discover the Magic of Filo Pastry Apple Pie
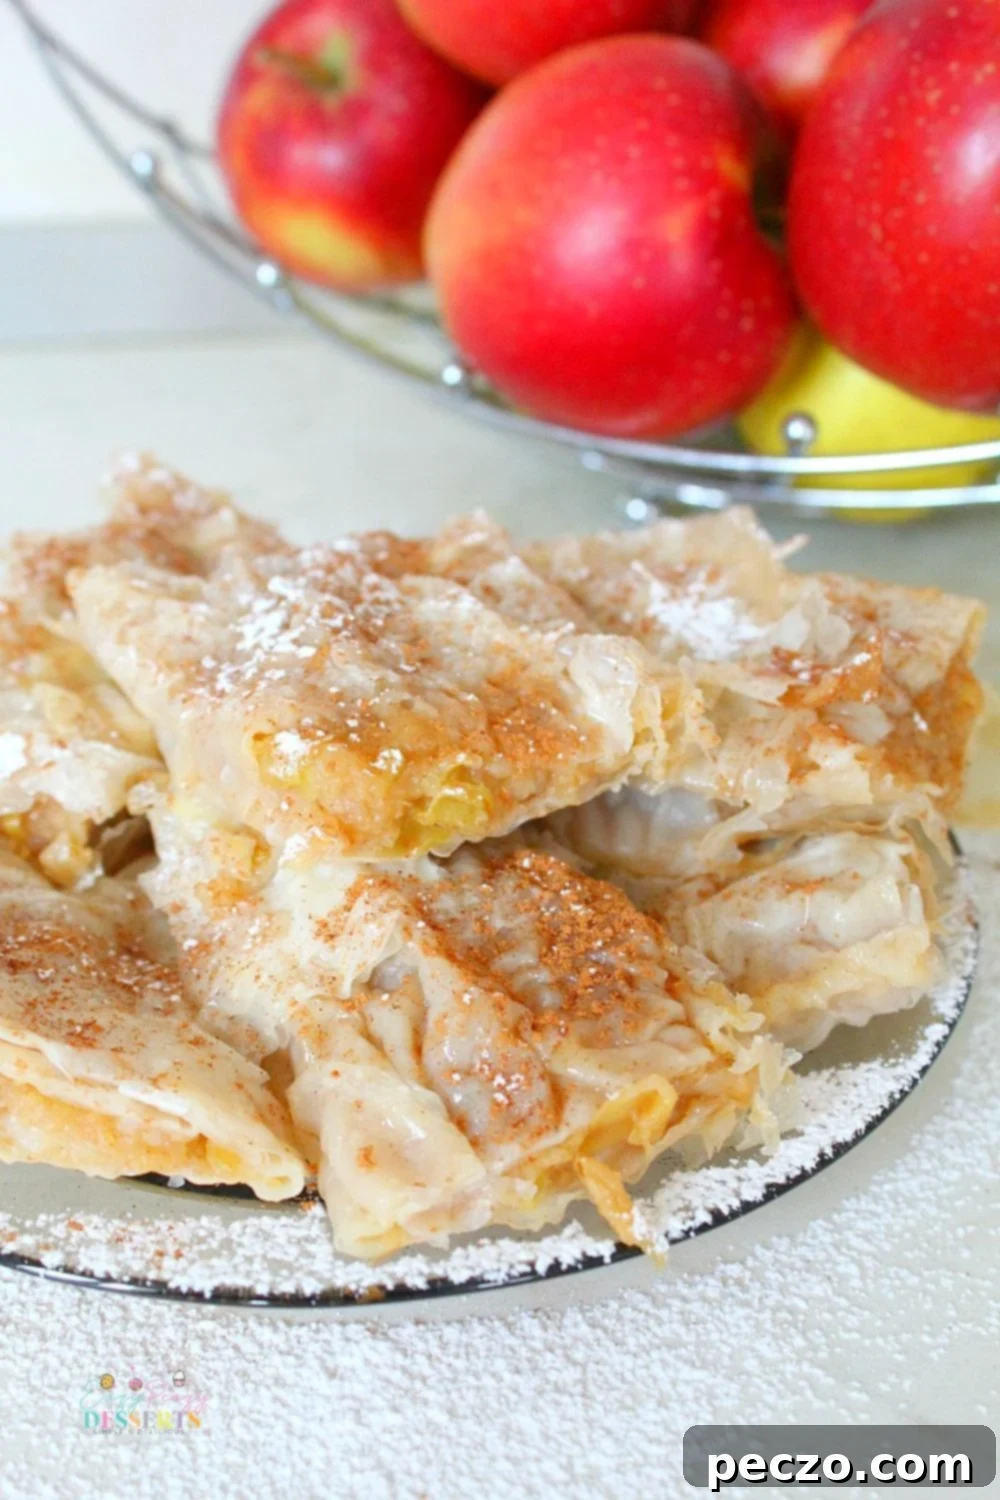
Traditional apple pie recipes often come with a reputation for being time-consuming and challenging, especially when it comes to perfecting that homemade crust. The endless measuring, mixing, and the subsequent kitchen mess can be daunting for even experienced bakers. But what if there was a way to enjoy a warm, homemade apple pie without all the fuss? Enter the glorious filo pastry apple pie!
This recipe offers a refreshingly simple, quick, and easy approach to creating a beloved dessert. By utilizing store-bought filo pastry dough, you bypass the laborious process of making a traditional pie crust from scratch, saving you valuable time and effort. Beyond its ease, our filo apple pie also focuses on a lighter indulgence. We’ve thoughtfully reduced the sugar and butter content compared to many classic recipes, allowing you to savor every flaky, fruit-filled bite without any guilt. This modern twist on a timeless dessert ensures you can enjoy a wholesome, delicious treat with minimal ingredients and kitchen cleanup, bringing delightful apple pie to your table in no time!
Craving More Apple Delights? Explore These Recipes!
- Caramel Upside Down Apple Cake
- Homemade Applesauce
- Apple Cinnamon Bundt Cake
- Apple Pie Bites
If you’re new to working with filo pastry, you might have a few questions about this versatile ingredient. Let’s address some common queries to help you confidently create your delicious filo apple pie!
What is the Difference Between Puff Pastry and Filo Pastry?
Understanding the distinction between puff pastry and filo pastry is key to appreciating their unique qualities in baking. Puff pastry is renowned for its rich, buttery layers, created by repeatedly folding butter into the dough. This intricate process results in a pastry that expands significantly when baked, yielding a wonderfully flaky, tender, and melt-in-your-mouth texture.
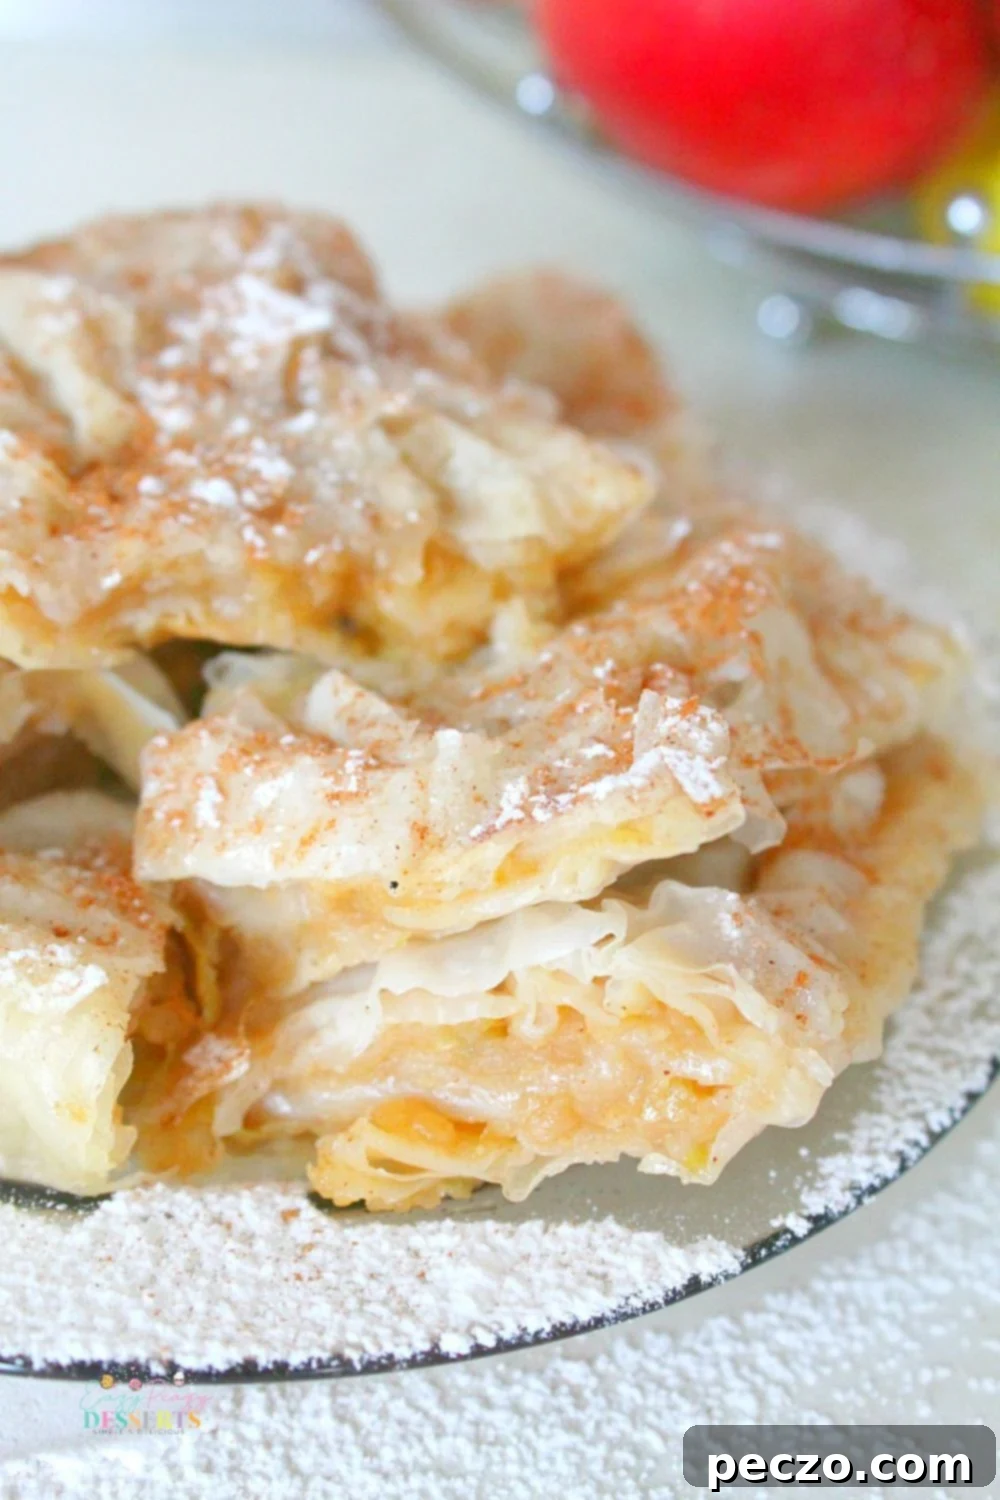
Filo pastry, on the other hand, is made with very thin, delicate sheets of dough, containing much less fat than puff pastry. These individual sheets are almost paper-thin and are typically brushed with butter or oil and layered. When baked, filo pastry becomes incredibly crispy and shatteringly delicate, offering a lighter mouthfeel without the dense richness of puff pastry. This makes filo an excellent choice for a low-fat apple pie, allowing you to indulge with less guilt.
Can You Substitute Filo for Puff Pastry?
Yes, you can substitute filo pastry for puff pastry in many recipes, including apple pie, but it’s important to be aware of the resulting textural differences. Phyllo dough is significantly thinner and crisps up beautifully when baked, creating a delicate, crackly crust. It will not, however, offer the same flaky, buttery richness or significant rise that puff pastry provides. The overall texture and taste profile of your baked good will be distinctly different, leaning towards a lighter, crispier finish rather than a rich, soft flakiness. For our apple pie, filo’s crispness perfectly complements the sweet apple filling.
Is There Another Good Substitute for Filo Pastry?
Absolutely! If filo pastry isn’t available or if you prefer a different texture, you have a couple of great alternatives for making apple pie. Puff pastry, with its buttery layers, will give you a richer, flakier crust. Another excellent option is shortcrust pastry, which creates a more traditional, crumbly, and sturdy pie crust. Each substitute offers a unique characteristic, allowing you to customize your apple pie to your liking.
Is Filo Pastry Less Fattening Than Puff Pastry?
Definitely! Filo pastry is considerably less fattening than puff pastry, making it a preferred choice for a lighter dessert. The significant difference lies in the fat content. Puff pastry requires a generous amount of butter incorporated into its many layers to achieve its signature rich flakiness. Filo pastry, on the other hand, uses much less butter or oil, typically just a light brush between its paper-thin sheets. Consequently, filo pastry has notably fewer calories and is lower in cholesterol, offering a healthier indulgence without compromising on delicious crispiness.
Is Filo Pastry Difficult to Work With?
Filo pastry can seem a bit tricky at first, primarily because of its delicate nature, but it’s far from difficult once you understand a few key handling tips. Issues usually arise if the pastry has been thawed and re-frozen multiple times, or if it’s left exposed at room temperature for too long, causing it to dry out and become brittle. With the right technique, such as keeping the unused sheets covered with a damp cloth, and following the instructions below, you’ll find it manageable and rewarding to work with, creating beautifully crisp layers every time.
Does Filo Pastry Need to Be Cooked Immediately After Opening?
No, filo pastry doesn’t need to be cooked immediately. You can keep it in the refrigerator for a few hours after thawing if you’re not ready to use it right away. The most crucial factor is ensuring the pastry is fully thawed and uniform in temperature, without any lingering frozen patches, before you begin working with it. This flexibility allows for better meal prep planning.
Can You Use Filo Pastry Straight from the Fridge?
It’s generally best to use filo pastry shortly after taking it out of the refrigerator, ideally within about 20-30 minutes, to prevent it from becoming too warm and sticky, which can make it harder to handle. However, don’t leave it in the fridge for too many days after thawing either, as it can start to dry out. For best results and ease of handling, plan to use your thawed filo pastry within a few hours of removing it from the freezer to the refrigerator, or within a short window after opening a refrigerated package.
Can You Use Filo Pastry for Savory Pies?
Absolutely! Filo pastry is incredibly versatile and is not limited to sweet dishes. It’s a fantastic choice for creating a variety of savory pies, adding a delightful crispness without the heaviness of other crusts. Think classic Greek spanakopita (spinach pie), savory lamb pies, or even lighter chicken pot pies. Its delicate texture beautifully complements rich, savory fillings, making it a staple in many cuisines for both sweet and savory applications.
How Do You Thaw Frozen Filo Pastry?
The best method for thawing frozen filo pastry to maintain its delicate texture is to transfer the package to the refrigerator overnight. This slow thawing process helps prevent the sheets from sticking together or becoming brittle. If you’re pressed for time, you can thaw it at room temperature, but it’s essential to keep a close eye on the pastry and ensure it doesn’t get too warm or dry out. Once thawed, keep the package sealed until you’re ready to use it, and then keep unused sheets covered with a damp cloth while you work.
How Long Does Filo Pastry Last?
If stored properly in the freezer, filo pastry typically lasts for up to 6 months. Always check the “best by” date on the package for specific guidance. Once thawed, it should be used within a few days if kept refrigerated. For optimal freshness and ease of use, it’s best to use thawed filo pastry within 2-3 days of defrosting.
Do You Pre-Bake Filo Pies?
Generally, filo pie recipes, including this apple pie, do not require pre-baking the pastry. The beauty of filo lies in its ability to crisp up quickly in the oven. You simply brush each thin sheet of filo pastry with melted butter or oil, layer them as directed in the recipe, add your filling, and then bake. This direct baking method ensures a perfectly golden brown, crunchy crust without any extra steps.
How Long Should I Cook Filo Pastry Desserts?
The cooking time for filo pastry desserts varies depending on the specific recipe and the number of layers. For a filo apple pie like this one, where you have multiple layers of pastry enclosing a moist apple filling, it will typically bake for about 15-20 minutes, or until the top crust achieves a beautiful golden brown hue. This allows sufficient time for the layers to cook through and become delightfully crispy. For desserts with fewer layers or smaller individual portions, such as apple cups, the baking time can be shorter, often around 10 minutes or even less, ensuring they don’t over-crisp or burn.
Can I Use Filo Pastry for Apple Pie?
Yes, absolutely! Filo pastry is an excellent and highly recommended substitute for a traditional apple pie crust. It allows you to create a delightful apple pie with a unique, crispy texture in a fraction of the time. The key difference is that you’ll be layering several butter-brushed sheets of filo pastry to form the top and bottom crusts, with the delicious apple filling nestled between them. This method results in a lighter, shatteringly crisp pie that’s simply irresistible.
How Many Sheets of Filo Pastry Are Used in This Pie?
For this specific filo apple pie recipe, we use a total of 8 sheets of filo pastry. This number provides just the right thickness and crispiness, creating a satisfying texture that holds the apple filling beautifully while delivering that signature filo crunch. You can certainly adjust the number of layers to your preference, adding more for an extra-crispy crust or fewer for a more delicate pie, but remember that altering the layers might slightly adjust your baking time.
How Do You Layer Filo Pie?
Layering a filo pie is a straightforward process that creates its signature texture. Begin by lightly brushing your baking dish with melted butter to prevent sticking and add flavor. Then, carefully lay down two sheets of filo pastry, one at a time, brushing each individual sheet thoroughly with melted butter before adding the next. This ensures every layer becomes golden and crispy. Once your base layers are down, spread approximately one-third of your prepared apple mixture evenly over the top. Repeat this process: add another two butter-brushed filo pastry sheets, followed by the next third of the apple filling. Continue layering filo, butter, and apples until all your ingredients are used up, finishing with a final layer of butter-brushed filo pastry for a beautiful golden top.
Do I Have to Use a Round Cake Pan for This Filo Apple Pie Recipe?
Not at all! While a round cake pan works perfectly well, you have complete flexibility with the shape of your baking dish. This filo apple pie recipe can be equally delicious and visually appealing when made in a square baking dish, a rectangular dish, or even individual ramekins for single servings. Choose the pan that best fits your preference or what you have available in your kitchen.
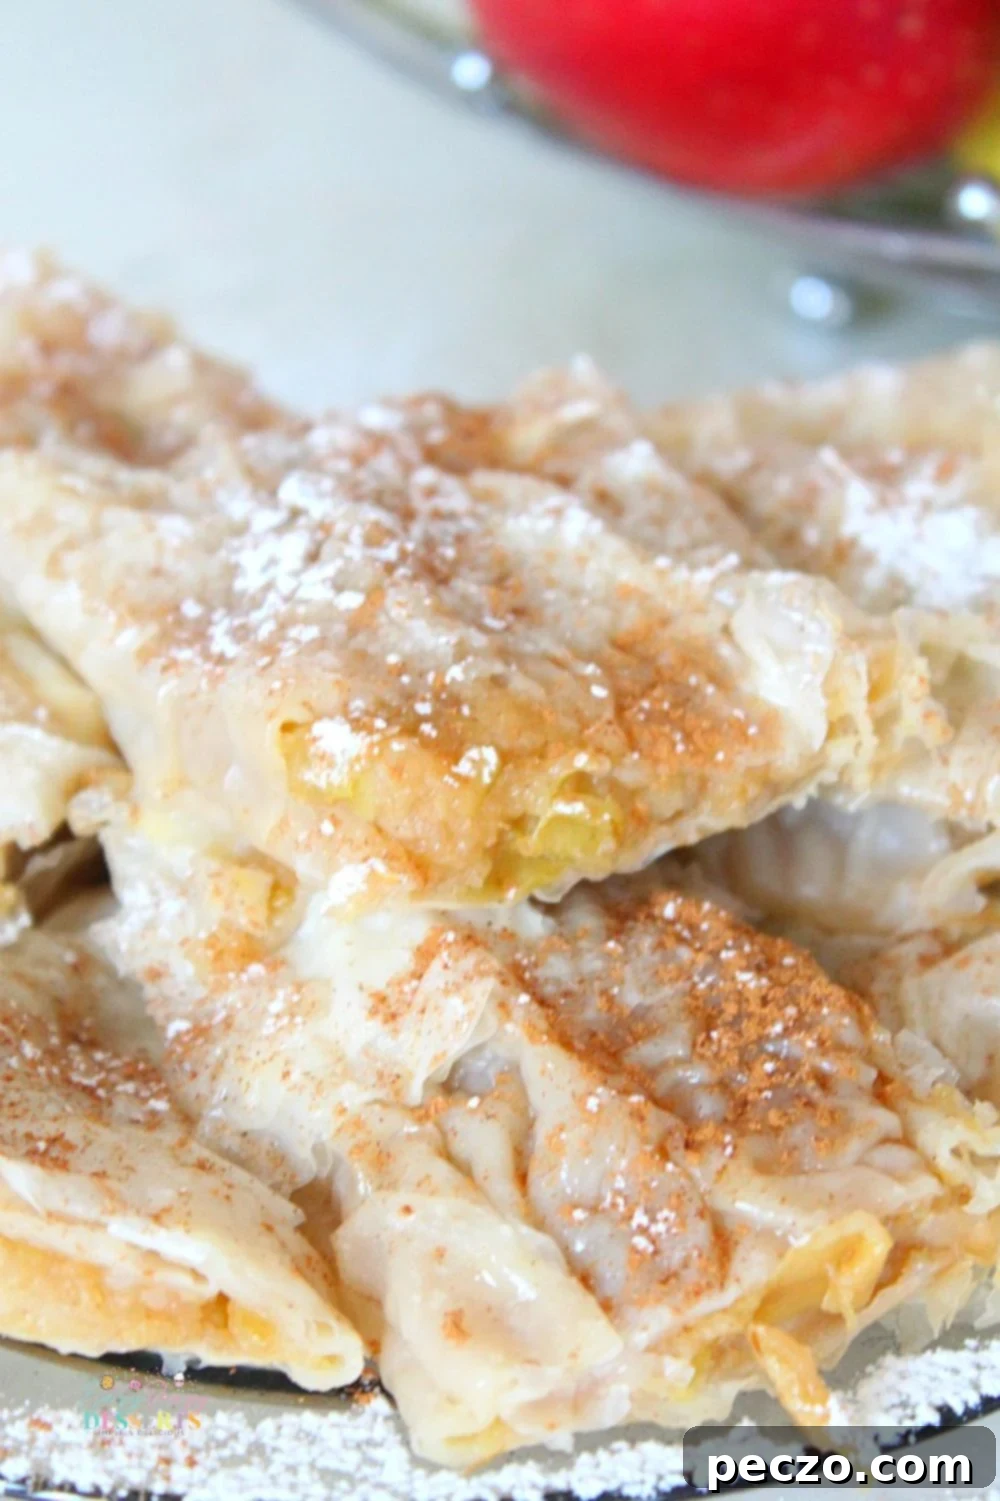
Essential Ingredients for Your Filo Apple Pie
Now that you’re well-versed in the wonderful world of filo pastry, let’s gather the simple, fresh ingredients you’ll need to create this amazing filo pastry apple pie:
- Apples of Choice: Opt for juicy, sweet red apples for a classic flavor. However, if you prefer a sharper, more tart profile, Granny Smith apples are an excellent alternative. Remember, it’s your dessert, so choose your favorite apple variety!
- Filo Pastry: The star of our pie, providing that irresistibly crispy crust.
- Granulated Sugar: Sweetens the apple filling. For a deeper, richer color and a hint of caramel flavor in your filling, consider using brown sugar.
- Unsalted Butter: Essential for both the apple filling and generously brushing between the delicate filo pastry sheets to ensure a golden, crisp texture.
- Crushed Walnuts (Optional): These add a delightful crunch and nutty flavor. Feel free to substitute with pecans or omit them entirely if nuts aren’t desired.
- Cinnamon Powder: The quintessential spice for apple pie, providing warmth and aromatic depth to the filling.
- Icing Sugar (Confectioner’s Sugar): Perfect for dusting the baked pie, adding a beautiful finish and an extra touch of sweetness.
- Lemon Juice (Optional): A splash of fresh lemon juice can brighten the apple filling and add a touch of tartness, especially if your chosen apples are on the sweeter side.
As for the tools you’ll be needing, simplicity is key:
- A non-stick large skillet or saucepan
- Spatula
- Baking dish (ideally similar in size to your filo pastry sheets for easier layering)
- Pastry brush (essential for buttering filo sheets)
- Parchment paper (for lining your baking sheet)
How to Make Your Delicious Filo Pastry Apple Pie: Step-by-Step
- Preheat & Prepare: Preheat your oven to 390°F (200°C). Line a baking sheet or dish with parchment paper to prevent sticking and make cleanup a breeze.
- Apple Prep: Thoroughly clean and peel your chosen apples. Grate them into a large bowl. If your apples are large, slicing them into quarters first can make the grating process easier. Don’t discard the natural juices; they’re valuable for cooking the apple pie filling.
- Caramelize the Filling: In a non-stick pan or large skillet, combine the grated apples with butter and sugar. Cook over medium heat for approximately 10 minutes, stirring occasionally, until the apples have softened and caramelized beautifully. If your apples are not particularly juicy, add a tablespoon or two of water to aid in softening. Stir in the cinnamon until it’s completely incorporated, then gently fold in the crushed walnuts.
- First Filo Layer & Filling: Carefully stack 2 sheets of filo pastry at the bottom of your prepared baking dish. Make sure to generously brush each individual sheet with melted butter before adding the next one. Spread one-third of your warm, caramelized apple filling evenly over this first buttered filo layer.
- Continue Layering: Top the apple filling with another 2 sheets of filo pastry, brushing each sheet with melted butter as before. Continue this layering process with the remaining filo sheets and apple filling, ensuring each pair of filo sheets is buttered and the apple filling is evenly distributed between the layers.
- Final Layer & Dusting: Finish the pie with a top layer of 2 butter-brushed filo pastry sheets. Lightly dust the top with some icing sugar before baking.
- Bake to Golden Perfection: Place the baking dish in the preheated oven and bake for about 15-20 minutes, or until the top filo crust turns a light golden brown and looks wonderfully crispy. If you desire an extra-crispy texture, you can extend the baking time by a few more minutes, keeping a close eye on it to prevent burning.
- Cool & Garnish: Once baked, remove the pie from the oven and allow it to cool slightly on a wire rack. Before serving, sprinkle generously with a little more cinnamon and confectioner’s sugar for a beautiful finish and added flavor.
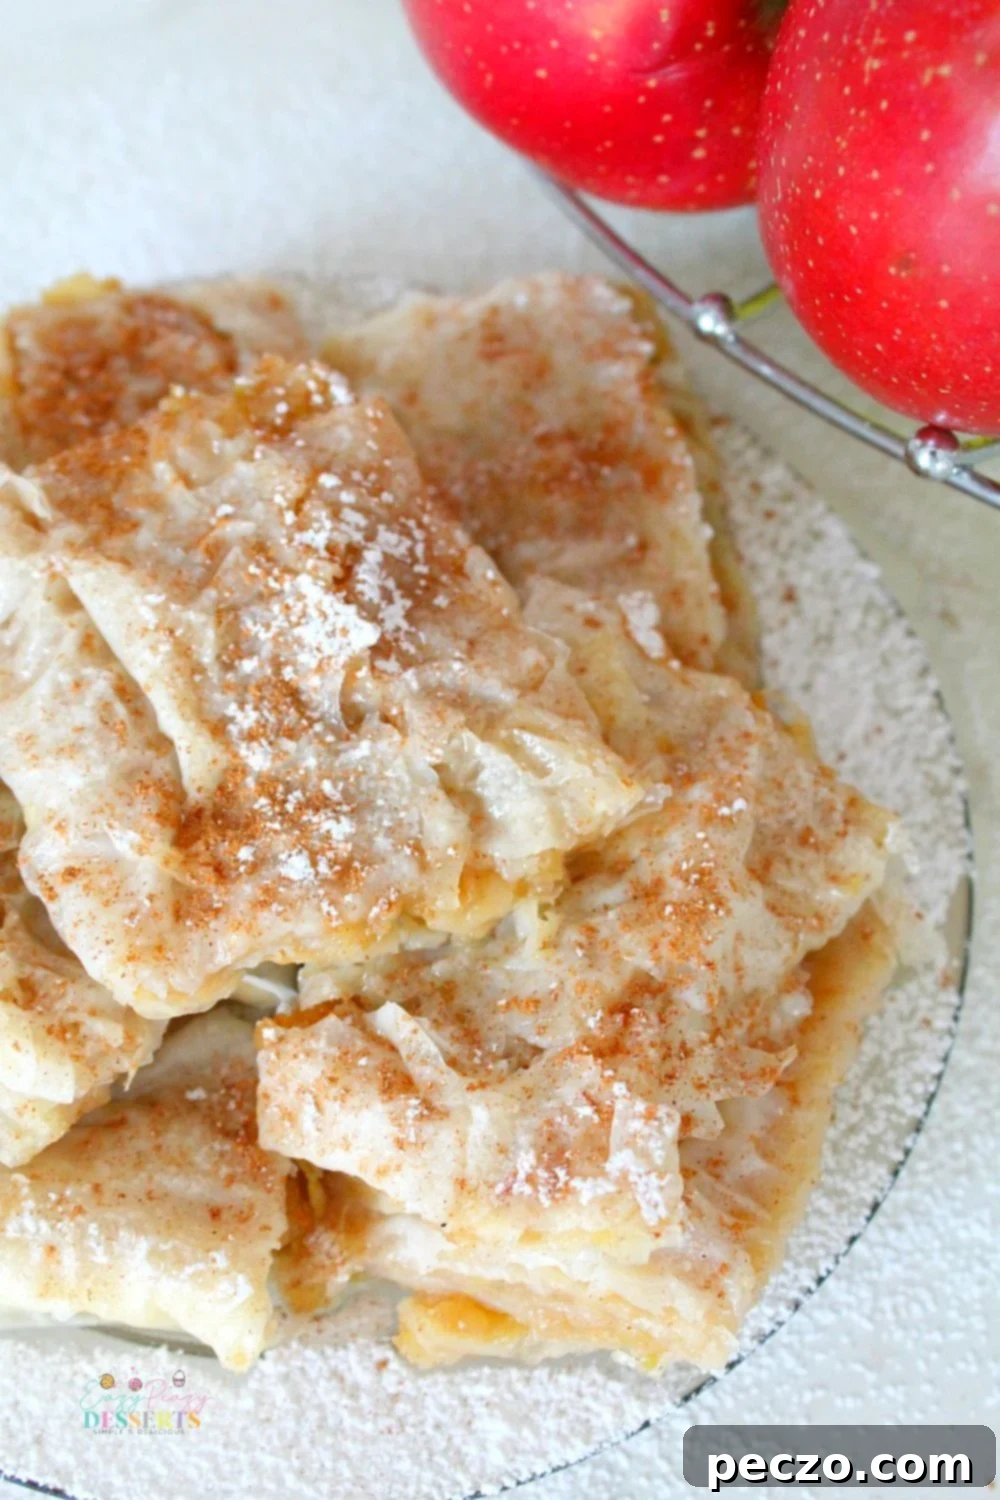
- Serve: Cut your delicious filo apple pie into squares, much like you would an apple strudel, and serve warm or at room temperature.
How to Store Filo Pastry Apple Pie
While this filo apple pie is truly at its best when enjoyed fresh, any leftovers can be stored in the refrigerator for approximately 2-3 days. To prevent the pastry from drying out and to maintain its freshness, wrap the pie tightly in aluminum foil or cover it with plastic wrap, pressing it gently against the surface of the pie. Please note that due to the moisture in the apple filling layers, the signature crispiness of the top filo layer may diminish somewhat after a few hours post-baking, especially once refrigerated.
Can You Freeze Filo Pie?
Yes, apple pie made with filo pastry freezes remarkably well! To freeze, ensure the pie is completely cooled, then wrap it securely in aluminum foil. It can be stored in the freezer for up to a month. When you’re ready to enjoy it, simply thaw the pie overnight in the refrigerator. If you prefer to serve it warm, reheat it gently in the oven for a few minutes until heated through and the pastry re-crisps slightly.
What Can You Serve With This Delicious Pie?
This versatile filo apple pie recipe is a delight on its own, but it also pairs wonderfully with several accompaniments to elevate the dessert experience. For a classic pairing, I highly recommend serving a scoop of creamy vanilla ice cream on the side, allowing its coolness to contrast beautifully with the warm apple filling. Alternatively, a drizzle of smooth vanilla sauce, a generous dollop of freshly whipped cream, or even a spoonful of tangy cream cheese can create a delightful balance of flavors and textures.
This filo pastry apple pie masterfully brings together the delicate, crispy layers of filo pastry with a sweet, perfectly caramelized apple filling in a surprisingly light, yet satisfying dessert. Packed with natural fruit goodness, this elegant dessert is the perfect indulgence for any occasion, from casual family dinners to festive gatherings. The resulting exquisite taste and texture when baked will undoubtedly have you completely hooked!
Have you had the pleasure of making a filo apple pie before? Or do you frequently enjoy baking pies at home? Please feel free to share your valuable thoughts, experiences, and any tips you might have in the comments section below. Your contributions are always much appreciated!
If you adore this filo apple pie recipe, don’t forget to spread the joy by sharing it on social media with your friends and family!
Pin to save for later
Print the recipe card
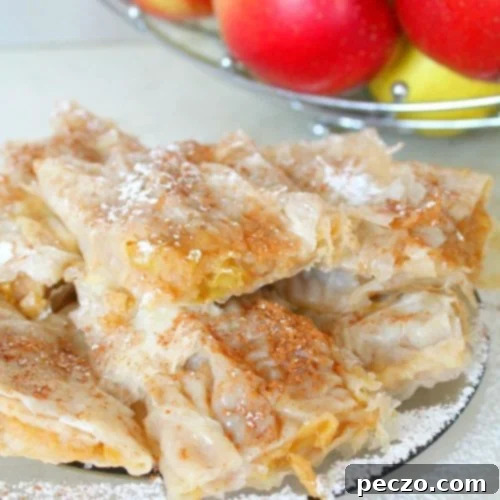
Filo pastry apple pie
petro
Pin Recipe
Equipment
-
A non stick large skillet or saucepan
-
spatula
-
baking dish (preferably the size of the pastry or similar)
-
pastry brush
-
parchment paper
Ingredients
- 5 juicy sweet red apples
- 8 sheets filo pastry
- 2 tbsp sugar
- 2 tbsp unsalted butter plus more for buttering filo sheets
- handful crushed walnuts
- 2 teaspoons cinnamon plus a little more for dressing
- icing sugar to decorate
Instructions
-
Preheat the oven to 390 F. Prepare a baking sheet by lining it with parchment paper.
-
Clean and peel the apples then grate them.
-
Brown the grated apple in a non stick pan with the butter and sugar for 10 minutes, or until caramelized. If your apples are not very juicy, add some water when cooking to help the apples soften.
-
Add the cinnamon and mix until completely incorporated. Add the crushed walnuts and mix.
-
Stack 2 sheets of filo pastry, buttering each, then spread the caramelized apples.
-
Top with 2 other filo pastry sheets and continue in this manner until you finish the apples. Finish with a layer of 2 filo pastry sheets.
-
Sprinkle with icing sugar. Bake in the oven for about 15-20 minutes, or until the top filo pastry sheets get slightly golden (keep a little more if you want them crispy).
-
Sprinkle cinnamon and icing sugar once cooled.
Nutrition
