Irresistible No-Bake Twinkie Cheesecake: The Ultimate Easy Dessert Recipe
Everybody loves an easy no-bake cheesecake, and when you combine the classic creamy indulgence with the nostalgic delight of Twinkies and a crispy vanilla wafer crust, you’ve got yourself an absolute showstopper! This recipe is not just a dessert; it’s a guaranteed crowd-pleaser that guests will rave about and ask for again and again. Prepare to elevate your dessert game with minimal effort and maximum flavor, creating a treat that perfectly balances simplicity and irresistible taste.
Why This No-Bake Twinkie Cheesecake Will Be Your New Favorite
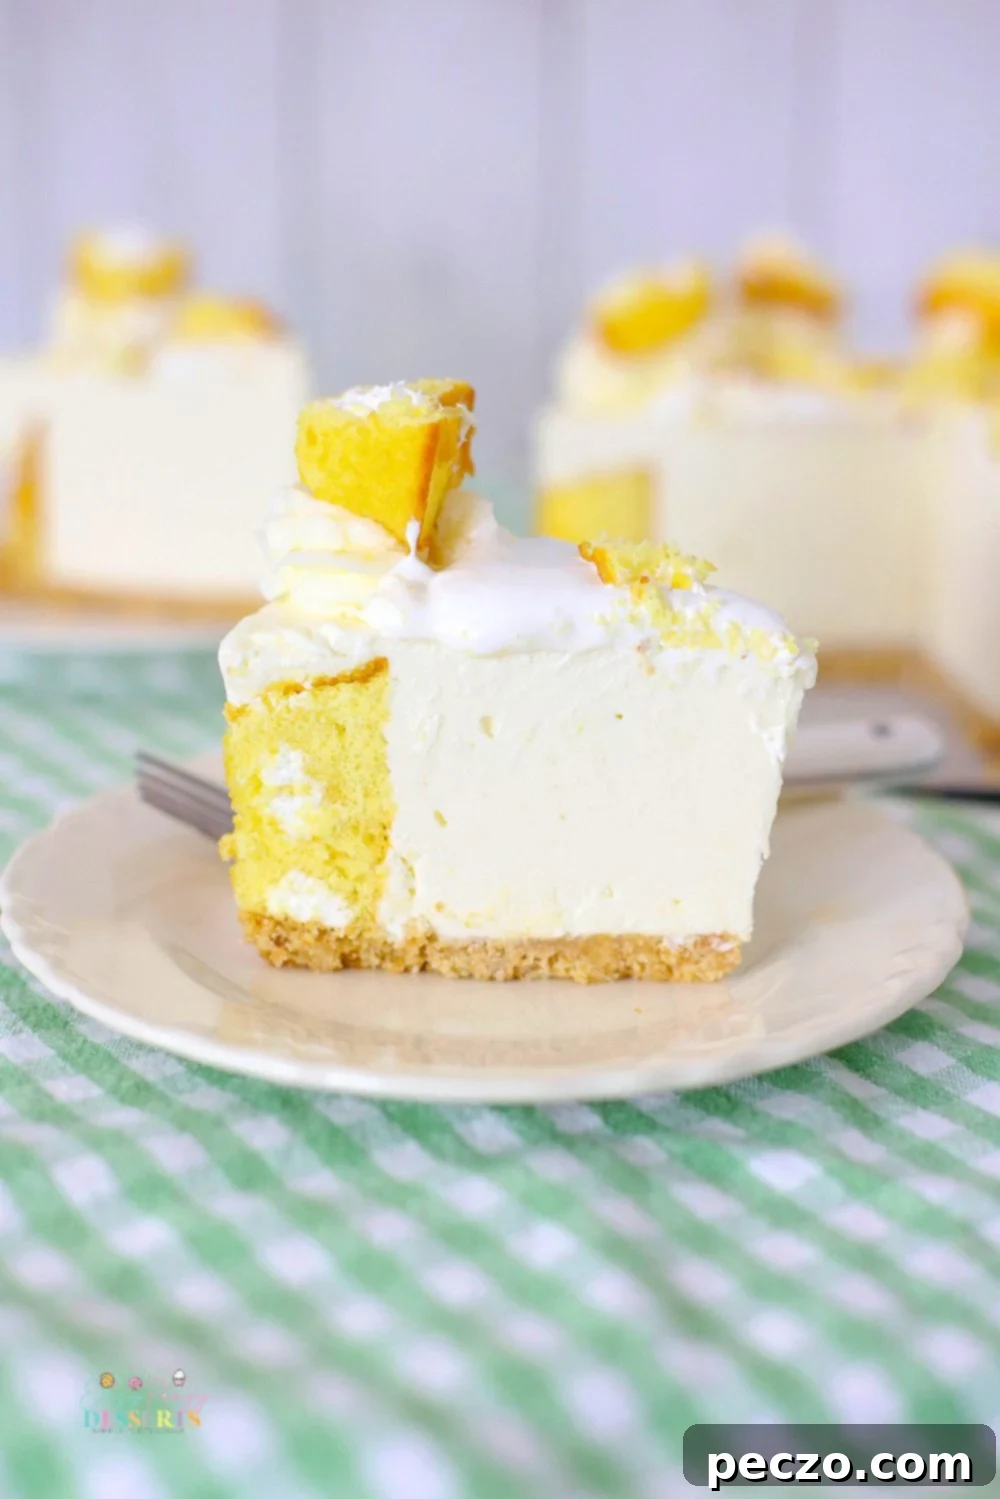
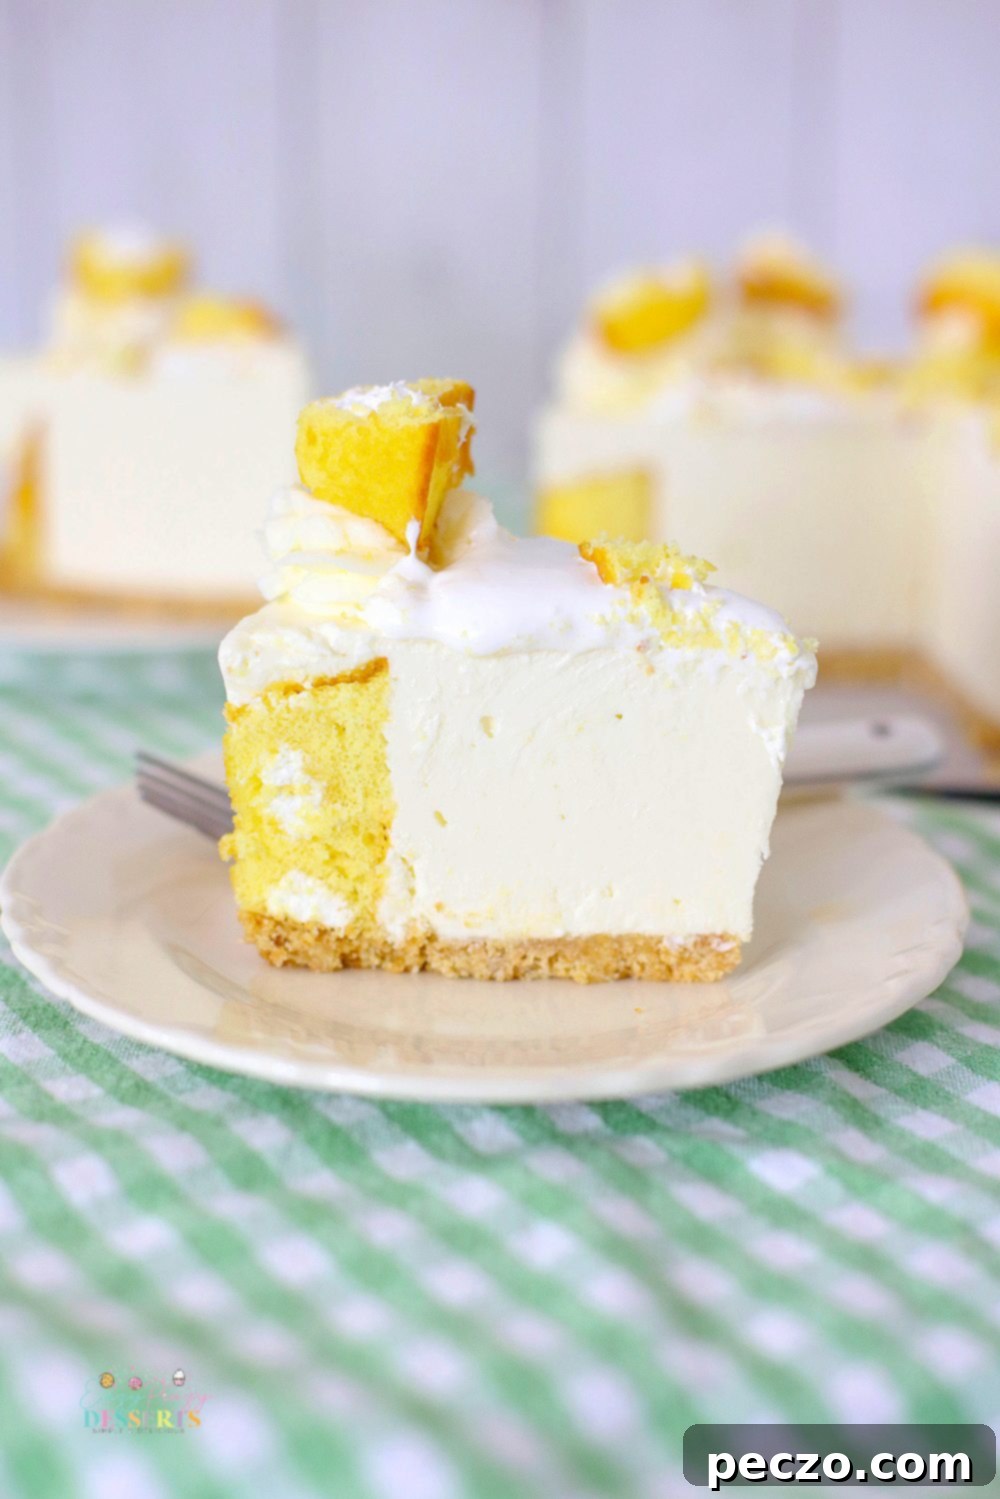
Imagine the best of both worlds coming together in one heavenly bite! If you’re a devoted fan of the rich, tangy creaminess of cheesecake and adore the iconic sweet, fluffy goodness of Twinkies, then this easy no-bake Twinkie cheesecake recipe is absolutely tailor-made for you. It effortlessly merges the luxurious texture of a traditional no-bake vanilla cheesecake with the playful charm of golden Twinkie sponge cakes, creating a truly unforgettable dessert experience. This isn’t just a simple dessert to make; it’s a wonderful and elegant treat to serve at any gathering, from casual family dinners to festive holiday celebrations or a sophisticated buffet spread. Its unique combination of flavors and eye-catching presentation will undoubtedly add a special touch to any occasion. Once you try crafting and tasting this delightful creation, you’ll understand why it’s destined to become a beloved, go-to staple in your personal recipe collection, a dessert everyone will eagerly anticipate.
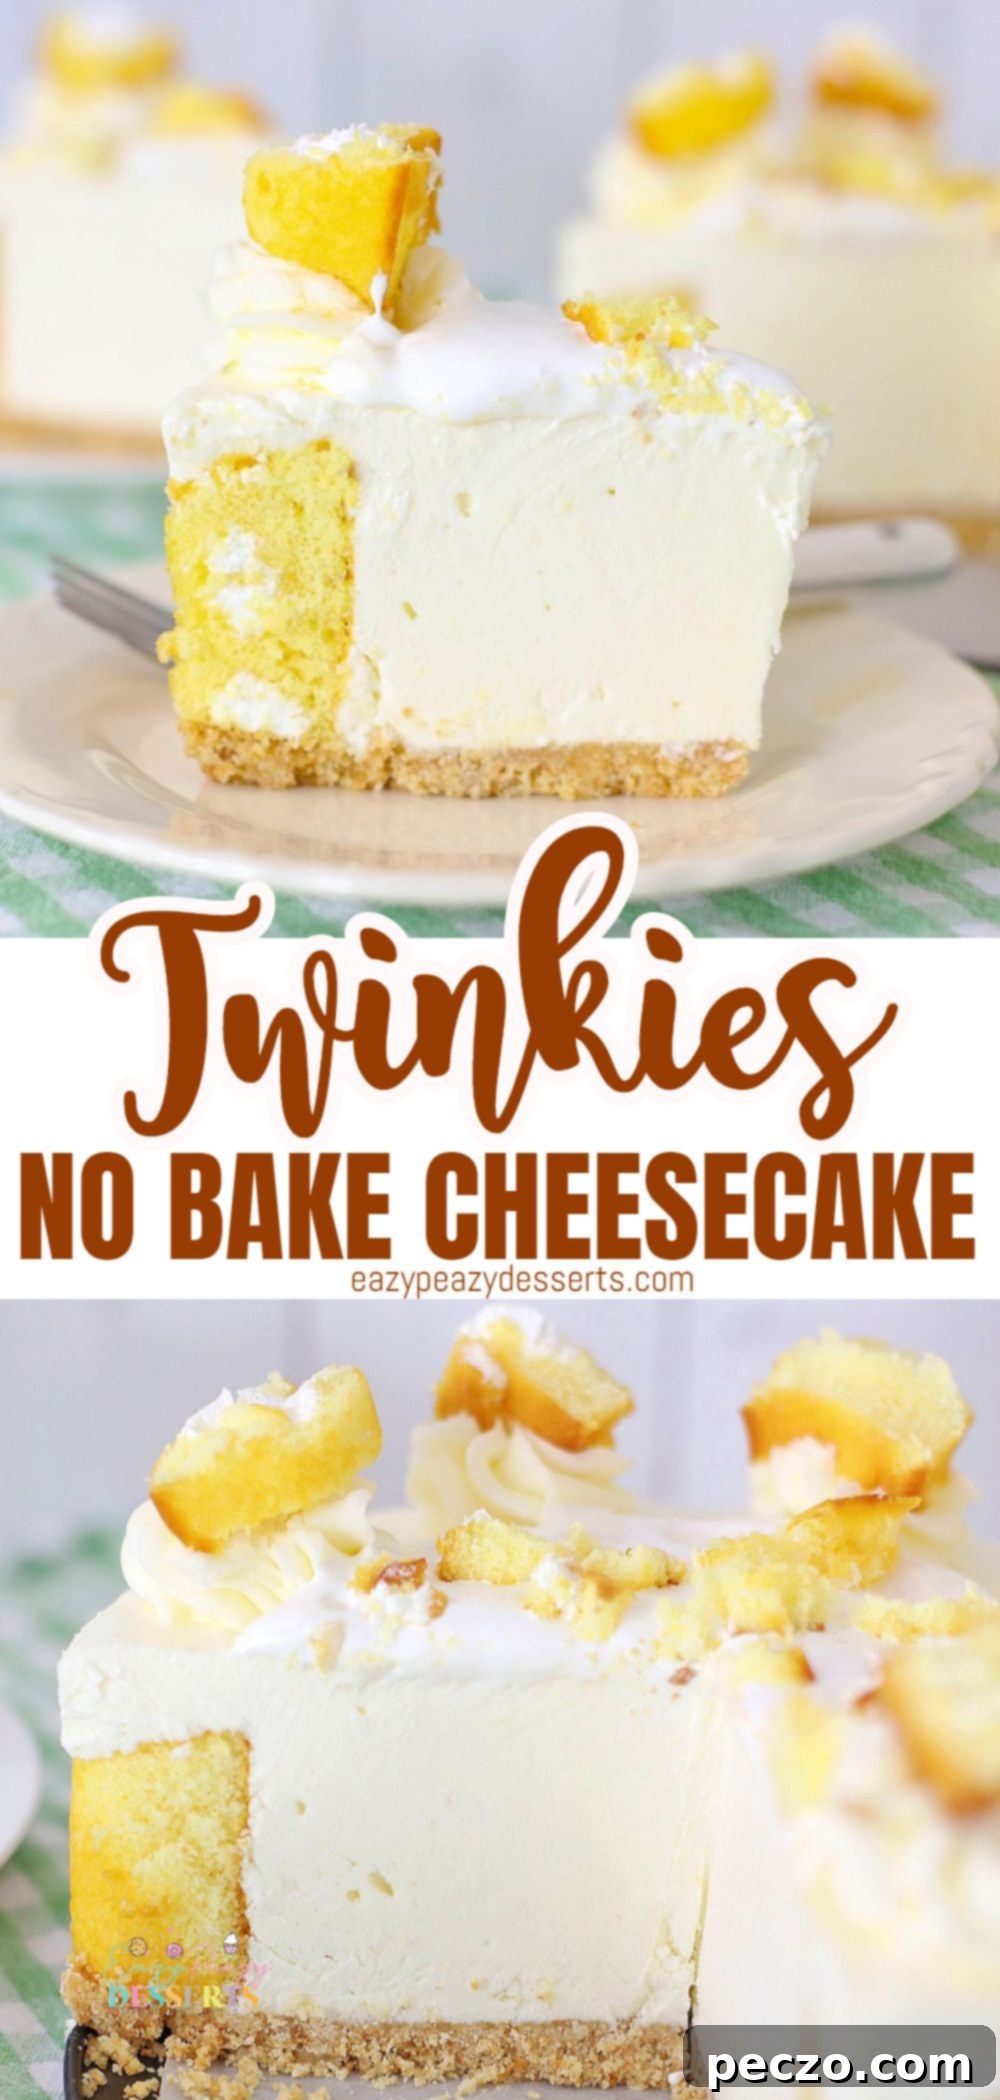
The true beauty of this easy no-bake cheesecake with Twinkies lies not only in its straightforward preparation but also in the perfect harmony of its various textures and flavors. It begins with a wonderfully flavorful and exceptionally crispy vanilla wafer crust, providing a delightful crunch and a hint of sweet vanilla with every forkful. Next, a charming and distinctive border of whole or halved Twinkies lines the perimeter of the pan, offering not only a unique visual appeal that hints at the fun within but also contributing to the dessert’s signature, sweet, and comforting taste. Finally, all these delectable layers are lovingly topped off with a perfectly fluffy, rich, and creamy buttercream frosting that beautifully ties all the elements together, creating a harmonious and utterly irresistible cheesecake that’s a feast for both the eyes and the palate.
Other Irresistible Cake Recipes You Will Love:
- Instant Pot Oreo Cheesecake
- Creme de Menthe Cheesecake
- Blueberry Lemon Cake
- Blood Orange Bundt Cake
- Root Beer Cheesecake
- Pineapple Whip Cheesecake
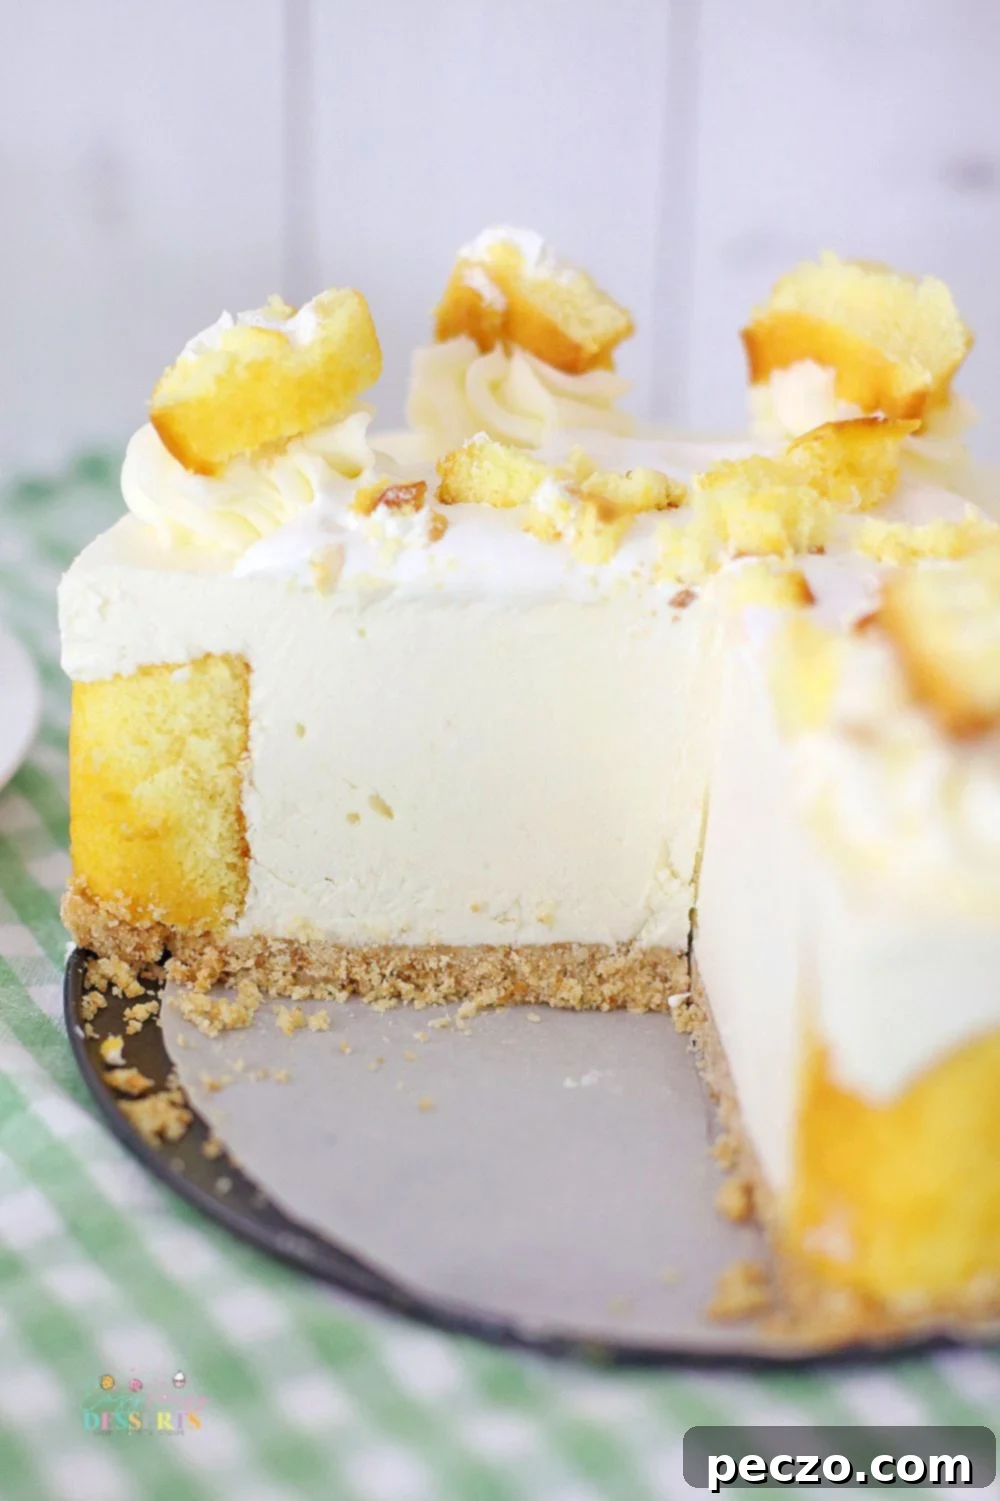
Crafting the Perfect Vanilla Wafer Crust for Your No-Bake Cheesecake
For any truly exceptional no-bake cheesecake, the crust serves as a foundational component, setting the stage for the creamy, delightful indulgence that follows. While the allure of store-bought crusts offers undeniable convenience, investing a little time in creating your own homemade crust for this Twinkie cheesecake is surprisingly simple and yields a significantly superior flavor and a perfectly crisp texture that genuinely elevates the entire dessert experience. Once you savor the remarkable difference, you might find yourself permanently converting to the homemade crust club!
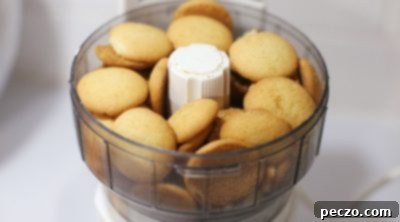
This homemade vanilla wafer crust imparts a much more pleasant, buttery, and delicately sweet flavor profile to your no-bake Twinkie cheesecake, alongside a perfectly crisp, yet tender, texture that commercial crusts often lack. The preparation process is incredibly straightforward and requires minimal effort: simply place your vanilla wafers into a food processor or a high-powered blender and pulse them until they transform into fine, even crumbs. Aim for a consistency similar to fine sand. If you happen not to have these handy kitchen appliances, or if you’re seeking a fun, engaging, and kid-friendly activity, you can easily achieve the same desired result by placing the vanilla wafers in a sturdy zipper storage bag and crushing them thoroughly with the back of a large wooden or metal spoon, or even a rolling pin. It’s a great way to involve younger helpers and make the process even more enjoyable!
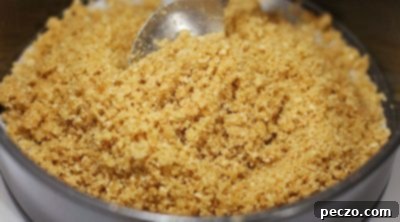
Once your vanilla wafers are perfectly crumbled, the next step is just as effortless. You’ll simply incorporate your granulated sugar and melted butter into the crumb mixture. Ensure you mix everything together thoroughly until the mixture is uniformly coated and moistened, resembling wet sand that clumps together. A reliable and highly recommended method to check if your crust mixture has achieved the ideal consistency is to take a small handful of the mixture and gently squeeze it in your palm. If it holds its shape firmly without crumbling apart, it’s absolutely perfect and ready to be pressed evenly into your prepared pan. This crucial step ensures that you’ll have a firm, delicious, and perfectly sliceable base that won’t fall apart when you serve your magnificent cheesecake.
Creative Crust Alternatives: Beyond Vanilla Wafers
While the classic vanilla wafer crust is an outstanding and highly recommended choice for this no-bake vanilla cheesecake, it’s exciting to remember that you’re not limited to just one option! The world of crusts offers a wealth of possibilities when it comes to customizing your cheesecake to perfectly suit your personal taste preferences, what you have readily available in your pantry, or even the theme of your occasion. Experimenting with different types of cookies and additions can introduce exciting new dimensions of flavor and texture to your already delightful dessert.
For instance, consider opting for a timeless graham cracker crust. This beloved classic provides a beautifully balanced, slightly spiced base that harmonizes wonderfully with the creamy cheesecake filling, offering a comforting and familiar taste. If you’re yearning for a hint of warmth and sophisticated spice, ginger snap cookies make an exceptionally excellent alternative, adding a distinct and aromatic touch that elevates the dessert. For those who adore a richer and more decadent foundation, finely crushed chocolate cookies would create an incredibly deep and luxurious base, especially if you’re aiming for an intensely flavorful profile. You could even get wonderfully creative by combining graham cracker crumbs with finely chopped and toasted pecans to craft a truly delightful crunchy crust that boasts subtle, earthy, nutty undertones. Should you decide to use graham crackers or ginger snap cookies, consider a simple yet impactful swap: substitute the regular granulated sugar in your crust mixture with brown sugar. This small change will impart a richer, deeper, and slightly molasses-like flavor, enhancing the overall complexity and depth of your easy no-bake cheesecake. The possibilities for customization are genuinely limitless, empowering you to make this already fantastic recipe uniquely and deliciously yours every single time.
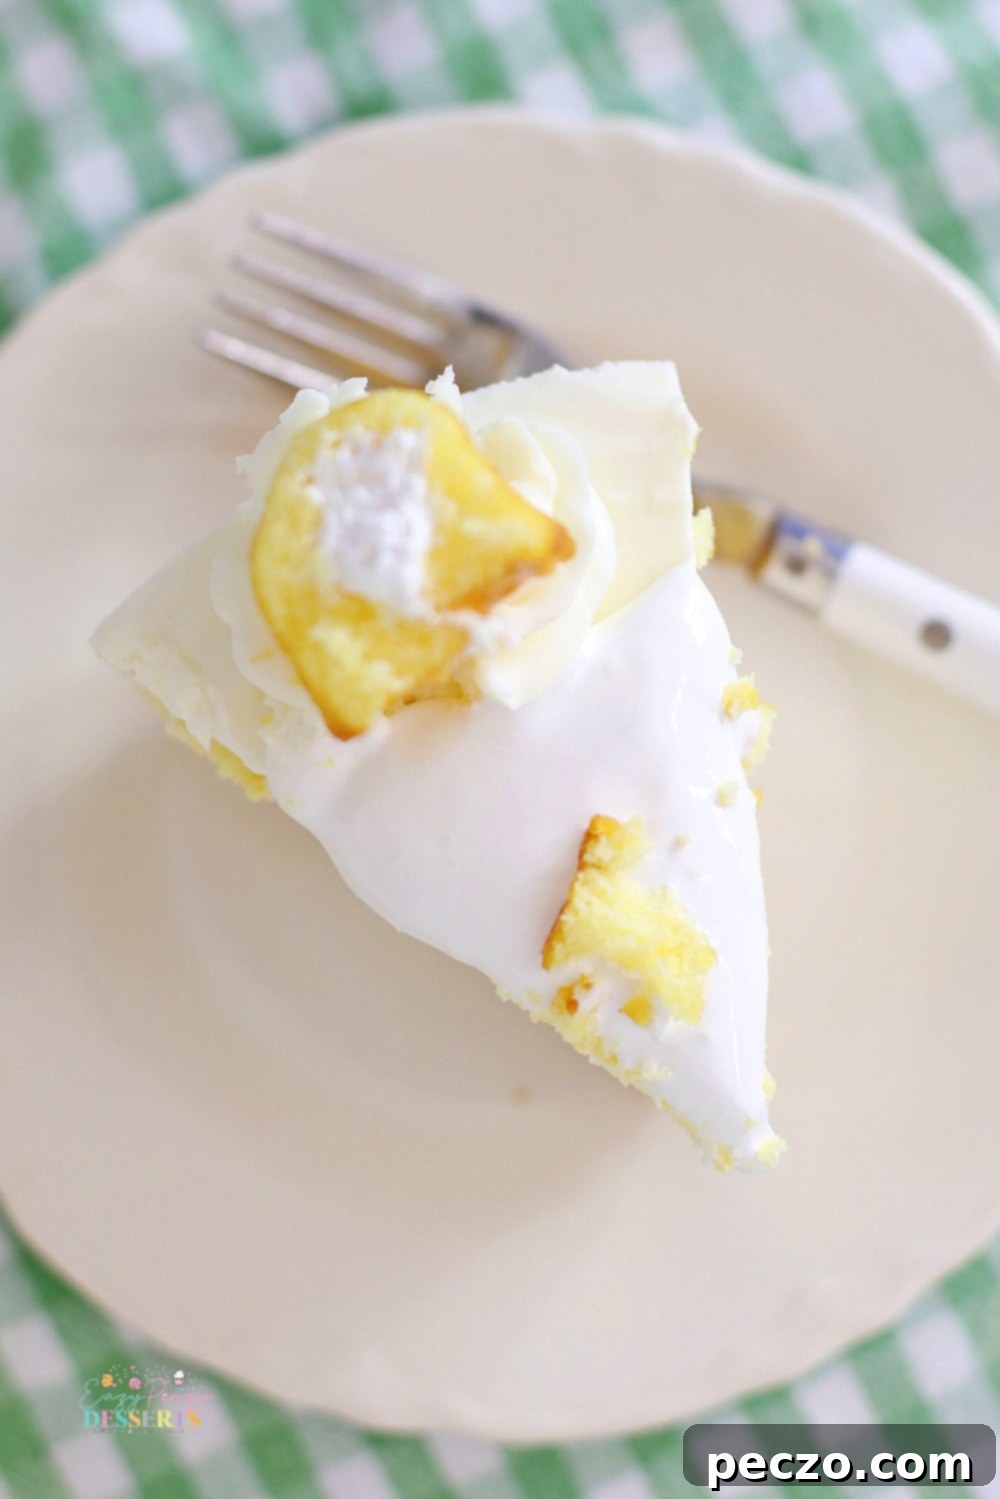
Essential Ingredients for Your Twinkie Cheesecake Masterpiece
Crafting this delightful no-bake Twinkie cheesecake requires a selection of simple, yet high-quality, readily available ingredients that seamlessly come together to create a truly magical and memorable dessert. The quality of your ingredients plays a significant role in achieving the best possible flavor and luxurious texture, so always aim for full-fat cream cheese and fresh, good-quality butter. Here’s a comprehensive breakdown of what you’ll need to gather to begin your cheesecake journey:
For the Crust You’ll Need:
- Twinkies: These iconic golden sponge cakes are the undeniable star ingredient, adding a fun, nostalgic twist and creating a unique, visually appealing border around the edges of your cheesecake.
- Vanilla Wafer Crumbs: These fine crumbs form the sweet, buttery, and crunchy base of your cheesecake. Ensure they are finely crushed for a cohesive and firm crust that holds its shape.
- Butter (Melted): Essential for binding the vanilla wafer crumbs together, the melted butter creates a firm, rich, and flavorful foundation for your cheesecake.
- Sugar: A crucial addition that provides an extra touch of sweetness to the crust, perfectly balancing the flavors and enhancing its deliciousness.
For the Cheesecake Filling You’ll Need:
- Cream Cheese (Softened): This is the backbone of any great cheesecake. Using softened, full-fat cream cheese is absolutely crucial for achieving a smooth, velvety, lump-free, and delightfully creamy filling.
- Heavy Cream: When whipped into the cream cheese, heavy cream contributes to that light, airy, yet incredibly rich texture that is characteristic of a perfect no-bake cheesecake.
- Sugar: Used to sweeten the filling to perfection, the sugar beautifully balances the subtle tanginess of the cream cheese, creating a harmonious flavor profile.
- Vanilla Extract: A staple for any dessert, vanilla extract enhances and deepens all the other flavors, adding a warm, aromatic, and comforting depth to the cheesecake.
For the Buttercream Frosting You Need:
- Butter (Softened): This forms the essential base of your wonderfully creamy, smoothly spreadable frosting. Ensuring the butter is softened is key to achieving a consistent, lump-free mixture.
- Cream Cheese (Softened): Adding a delightful tang and an extra layer of richness, the cream cheese makes the buttercream irresistibly fluffy and flavorful, perfectly complementing the cheesecake.
- Powdered Sugar: The secret to a smooth, sweet, and perfectly textured frosting. Powdered sugar dissolves effortlessly, giving the buttercream a desirable silky consistency.
To Decorate the Cake:
- Marshmallow Creme (to top – in center): A sweet, whimsical, and delightfully gooey surprise placed in the center of the cheesecake, adding another exciting layer of texture and flavor.
- Crumbled and Sliced Twinkies (to decorate the top): Perfect for garnishing, these pieces of Twinkies artistically echo the dessert’s main theme, making it visually appealing and reinforcing its unique character.
Diversify Your No-Bake Cheesecake: Endless Flavor Possibilities
One of the most exciting and rewarding aspects of this no-bake cheesecake recipe is its incredible adaptability and versatility. The foundational base of the cheesecake filling can be effortlessly modified and transformed with just a few simple additions, allowing you to create a completely personalized dessert that perfectly suits any season, special occasion, or individual preference. Don’t hesitate to unleash your culinary creativity and make this recipe truly and uniquely your own!
For a delightful and comforting autumnal treat, consider gently folding in a little pumpkin puree and a generous sprinkle of warming pumpkin pie spices, such as cinnamon, nutmeg, ginger, and cloves, into your creamy cream cheese filling. This simple yet impactful modification will create a rich, warmly spiced, and incredibly festive cheesecake that is absolutely perfect for Thanksgiving celebrations or any cozy fall gathering. If you are a devoted chocolate lover, you can easily transform this dessert by adding a few tablespoons of high-quality unsweetened cocoa powder and perhaps a touch of extra sugar to your filling to create a decadent no-bake chocolate cheesecake base. For an even more indulgent experience, consider swirling in some melted dark chocolate or scattering mini chocolate chips throughout the filling.
Beyond these tempting suggestions, the flavor possibilities are genuinely endless, limited only by your imagination. Think about introducing a vibrant burst of fresh citrus zest and juice – lemon, lime, or even orange – for a wonderfully refreshing and bright summer dessert. A beautifully swirled berry compote, made with pureed and lightly sweetened raspberries, strawberries, or blueberries, can add both stunning visual appeal with its vibrant color and a delightful fruity tang. A hint of coffee or espresso powder can create a sophisticated tiramisu-like cheesecake, while a touch of almond extract could impart a unique, delicate, and nutty note. Feel completely free to experiment with different fruit purees, various extracts, or even finely crushed candies and chopped nuts to discover your next favorite no-bake cheesecake variation! This recipe truly encourages culinary exploration.
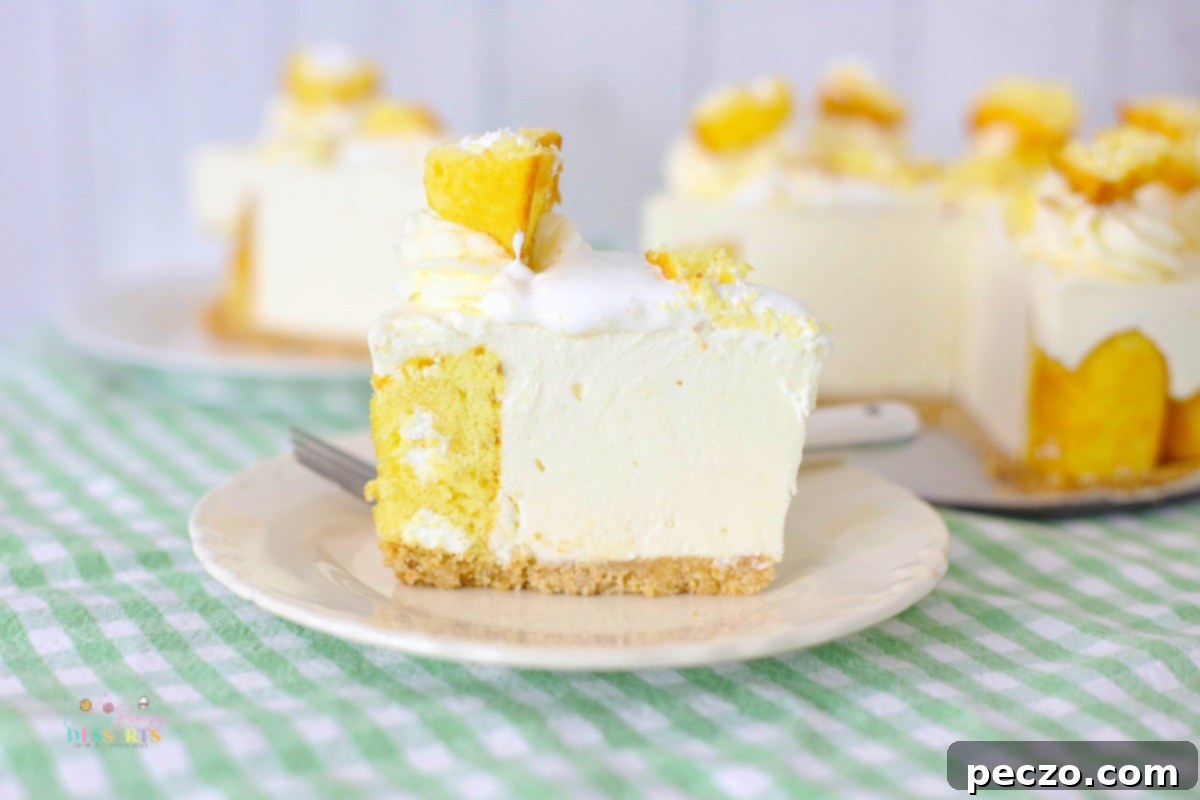
Choosing the Best Pan for Your Twinkie No-Bake Cheesecake
Selecting the right pan can significantly impact both the overall presentation and the sheer ease of serving your beautiful buttercream Twinkie cheesecake. For this particular recipe, my strong recommendation is to use a springform pan. The ingenious design of a springform pan, with its removable sides, allows for absolutely effortless release of the cheesecake once it has completely set. This feature beautifully showcases the charming golden Twinkies that meticulously line the outside perimeter of the dessert, creating a stunning visual effect. This decorative element truly adds to the impressive “wow” factor of this easy no-bake cheesecake, making it even more appealing to the eye and setting it apart from ordinary desserts.
However, if a springform pan is not readily available in your kitchen arsenal, there’s no need to fret! You can certainly still achieve a delicious and perfectly enjoyable result by using a regular pie pan or even a deep-dish tart pan. While the Twinkies might not be on full, dramatic display around the edges in quite the same way, rest assured that your cheesecake will taste just as wonderful and be equally delightful. Regardless of the type of pan you choose, when you are meticulously arranging the Twinkies around the edge, it’s absolutely crucial to place them as close together as possible. Small, minimal gaps are perfectly acceptable and will actually allow the creamy cheesecake filling to settle in, which is beneficial for helping to secure the Twinkies firmly in place once the cheesecake sets. However, it is important to avoid large gaps, as these can compromise both the structural integrity and the aesthetic appeal of the cheesecake when it’s time to slice and serve. For added convenience and even easier transfer and cleanup, consider cutting a piece of parchment paper to fit the bottom of your chosen pan before you add the crust mixture – it’s a small step that makes a big difference!
Essential Tools You’ll Need for Cheesecake Success
To ensure a smooth, efficient, and ultimately enjoyable dessert-making experience – especially for a no-bake wonder like this Twinkie cheesecake – having the right tools on hand can make all the difference in achieving perfect results. While some items on this list might be considered optional for the most basic preparation, they certainly contribute significantly to creating a professional-looking and perfectly textured no-bake dessert. Here’s a comprehensive list of recommended equipment:
- Parchment Paper: Absolutely essential for lining the bottom of your springform pan, ensuring easy, clean removal of the cheesecake without any sticking, and resulting in a pristine base.
- Stand Mixer (or High-Quality Hand Mixer): A stand mixer is an invaluable asset for thoroughly blending the cream cheese and heavy cream to achieve an incredibly smooth, lump-free filling and for whipping up a light, airy, and fluffy buttercream frosting. A powerful hand mixer can also accomplish these tasks very effectively.
- Spatulas: Both flat and rubber spatulas are crucial kitchen companions. They are used for meticulously scraping down the sides and bottom of your mixing bowl, ensuring all ingredients are evenly incorporated, and for gently spreading the creamy cheesecake filling and luscious frosting with precision.
- Pastry Bag: When it comes to decorating with the buttercream frosting, a pastry bag allows for precise and elegant piping, enabling you to create beautiful swirls, intricate patterns, or delightful dollops on top of your cheesecake.
- Frosting Tip (e.g., Large Star Tip): Used in conjunction with the pastry bag, a star tip is perfect for creating lovely, professional-looking decorative patterns, adding that impressive finishing touch to your dessert.
- Food Processor or Blender: These appliances are key for efficiently and quickly transforming the vanilla wafers into fine crumbs for the crust, ensuring a consistent texture throughout your base.
Expert Tips for the Best No-Bake Twinkie Cheesecake Results
Achieving a truly outstanding, deliciously creamy, and perfectly set no-bake cheesecake with Twinkies ultimately comes down to paying attention to a few key techniques and exercising a bit of patience. After you’ve successfully prepared and lined your pan with the delightful vanilla wafer crust and the iconic Twinkies, you’re perfectly ready to create the luscious cheesecake filling. This particular filling is wonderfully versatile and can be easily adapted for many other no-bake cheesecake recipes, or even serve as a fantastic inspiration for your own unique culinary innovations and flavor combinations.
Room Temperature Ingredients are Non-Negotiable: This is arguably the most crucial tip for ensuring a perfectly smooth filling and a velvety frosting. It is absolutely essential to ensure that both your cream cheese and butter are at proper room temperature. Cold cream cheese, for example, will inevitably lead to a lumpy, inconsistent filling, no matter how vigorously or long you mix it. If you have the luxury of time, plan ahead and let these ingredients sit on your kitchen counter for at least one to two hours before you begin your preparation. This gentle warming allows them to soften evenly, making them significantly easier to incorporate smoothly into your mixtures and resulting in that wonderfully creamy, homogeneous texture without any unappetizing chunks.
Mastering the Meticulous Mixing Process: The key to achieving a silky, uniform, and stable no-bake cheesecake filling is to take your time and, most importantly, not rush any part of the mixing process. When you’re adding the various ingredients, particularly the granulated sugar and vanilla extract, do so gradually and ensure you mix thoroughly and patiently between each addition. This meticulous approach ensures that every component is perfectly blended and fully integrated. Always remember to frequently scrape down not only the sides but, more critically, the bottom of your mixing bowl. Ingredients, especially when using a powerful stand mixer, have a tendency to settle and stick to the very bottom, which can lead to an unevenly mixed filling. Taking that extra moment to scrape all the way down ensures every bit of goodness is incorporated evenly, contributing significantly to that desirable, smooth, and consistent texture.
Elevate Your Buttercream Frosting with Flavor: Just as with the cheesecake filling, using softened butter and cream cheese for your buttercream frosting is absolutely essential for creating a light, airy, and wonderfully lump-free texture. This preparation allows the ingredients to emulsify beautifully, providing you with a smooth and delightful canvas for your decorating. But don’t feel compelled to stop at just vanilla! This is a fantastic and encouraged opportunity to experiment boldly with various flavors. A little splash of fresh citrus juice – be it lemon, orange, or even lime – can brilliantly brighten the frosting and add a zesty, refreshing counterpoint to the sweetness. You could also explore different extract flavorings beyond vanilla, such as delicate almond, tropical coconut, or even a subtle hint of mint, to perfectly complement your personalized cheesecake creation. For an extra touch of visual flair, don’t hesitate to play with food coloring to match a specific theme or simply add a delightful pop of vibrant color!
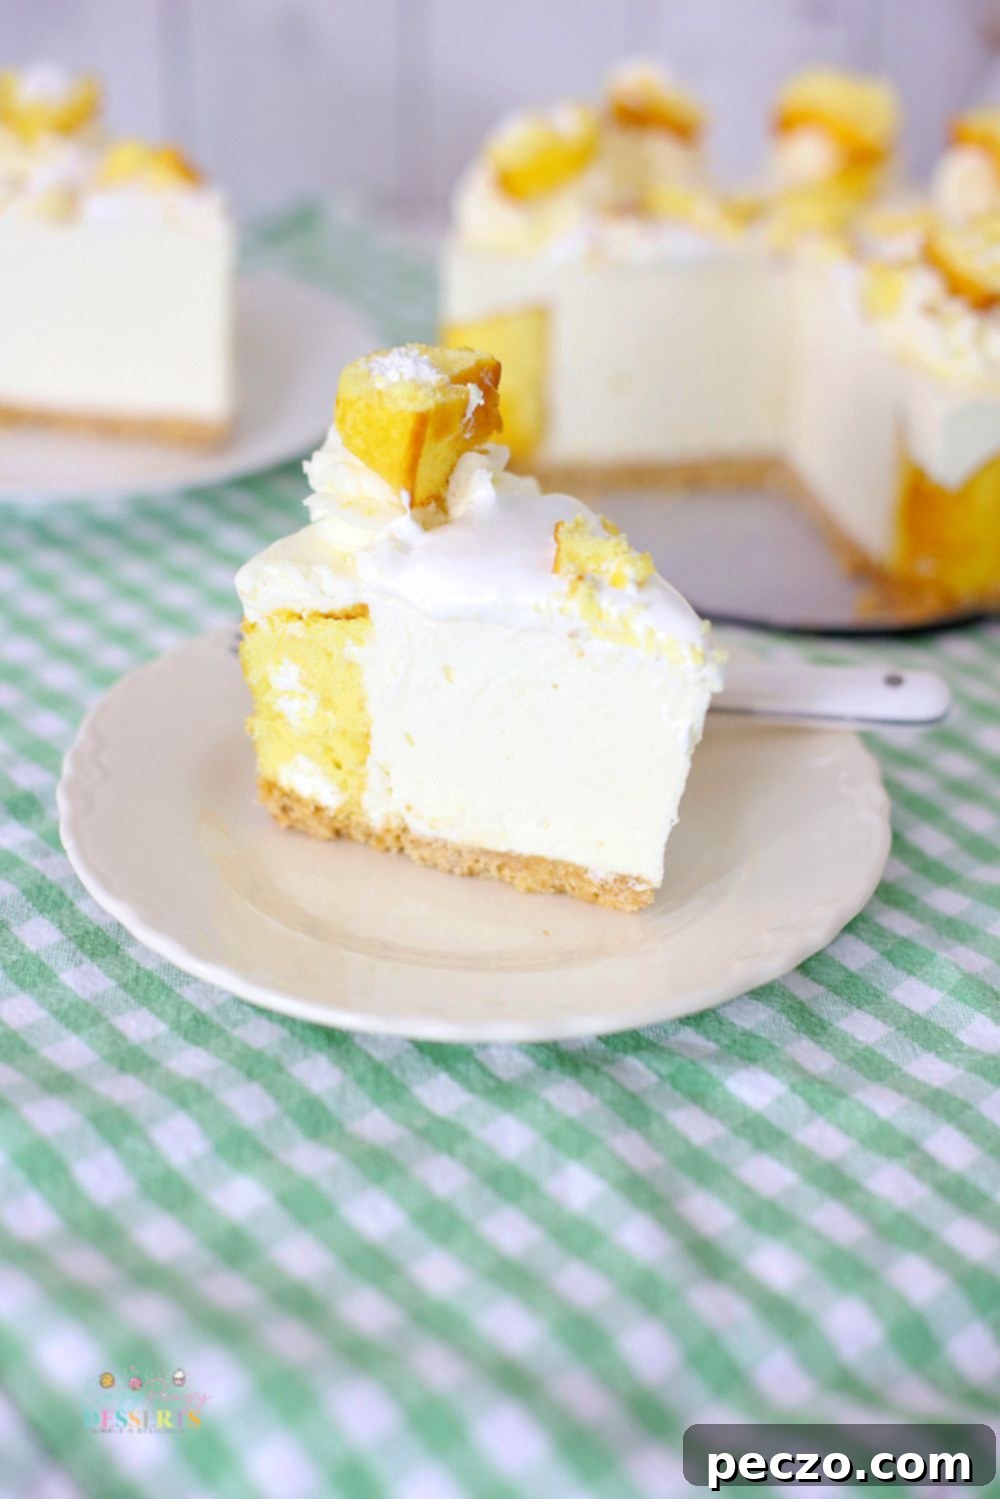
Assembling Your Irresistible Twinkie Cheesecake
With your perfectly smooth, delightfully creamy, and ready-to-go cheesecake filling, it’s finally time for the exciting step of assembling your Twinkie cheesecake! This part of the process is surprisingly straightforward, yet it’s the magical moment where all your careful preparation and attention to detail beautifully come together to form a truly stunning and delicious dessert. Gently pour the cheesecake filling into your already prepared springform pan, taking care to ensure it flows evenly over the vanilla wafer crust and, importantly, between the Twinkies that meticulously line the edges. This careful and gentle pour allows the filling to adequately settle into any small gaps or crevices, which is absolutely crucial for helping the Twinkies stay securely and neatly in place once the cheesecake has completely set and the sides of the springform pan are gracefully removed.
Now comes what is arguably the most challenging and character-testing part of this entire recipe: the waiting period! Once the luscious filling is snugly in the pan, you must resist the tempting urge to peek, prod, or move it too much. Simply place your assembled cheesecake into the refrigerator or freezer and allow it to patiently do its magic. This chilling time is absolutely vital for any no-bake cheesecake, as it provides the necessary period for the filling to firm up properly and achieve that wonderfully characteristic, dense, yet creamy cheesecake texture. While your cheesecake is patiently setting and becoming firm, you will have the perfect opportunity to prepare the luscious, cloud-like buttercream frosting. This frosting isn’t just an afterthought; it is the crowning glory, adding a rich, creamy, and visually appealing finish that perfectly complements and enhances the entire cheesecake experience.
After your cheesecake has fully set—and for optimal firmness and the best possible texture, ideally, this means chilling it overnight—it’s time for the grand finale: the decoration! Carefully and gently remove the sides of your springform pan to reveal your masterpiece. Next, spread the prepared buttercream frosting generously and evenly over the top surface of the cheesecake. For a charming, effortlessly rustic aesthetic, you can simply sprinkle some crumbled vanilla wafers or even some finely crushed Twinkie pieces artistically over the frosting. If you’re feeling a bit more adventurous and eager to create a dessert that’s as visually stunning as it is undeniably delicious, try your hand at piping the icing on top using a pastry bag fitted with a large star tip. Arrange elegant slices of Twinkies and whole vanilla wafers artfully around the piped frosting for a truly exquisite and professional-looking presentation. No matter which method you choose to adorn it, this easy no-bake Twinkie cheesecake is guaranteed to impress everyone who tries it, leaving them absolutely craving more and ensuring they’ll ask for the recipe again and again!
Pin to Save for Later
Print the Recipe Card
Easy No-Bake Cheesecake with Twinkies
petro
Pin Recipe
Equipment
-
7 inch spring-form pan
-
parchment paper
-
stand mixer
-
Spatulas
-
pastry bag
-
Frosting tip
-
food processor
Ingredients
For the crust
- 1 box Twinkies 10 count box
- 2 cups Vanilla wafer crumbs
- 6 tbsp Butter melted
- 1 tbsp Sugar
For the filling
- 4 x 8 ounce packages of cream cheese sOftened
- 1 cup Heavy cream
- 1 1/ 2 Cups Sugar
- 1 tbsp vanilla extract
For the buttercream frosting
- 4 tbsp Butter softened
- 4 ounces cream cheese softened
- 4 cups powdered sugar
To decorate
- 1 jar Marshmallow creme to top – in center
- Crumbled and sliced Twinkies to decorate the top
Instructions
To make the crust
-
Place the wafers in a food processor or blender and pulse until you have crumbs. You’ll need about 3/4 (or possibly more) of a box of wafers to equal 2 cups. Add the sugar and stir well.

-
Melt the butter in the microwave, and add to the crumbs/sugar, and stir well to mix, and coat crumbs. Line the bottom of a spring-form pan with parchment paper, and pour the crumbs into the pan .

