The Ultimate Guide to Irresistibly Easy Lemon Bars: A Classic Sweet and Tart Dessert
There’s nothing quite like the bright, zesty flavor of a lemon dessert to bring a smile to your face, especially on a warm day. When it comes to timeless classics that offer both refreshment and indulgence, these easy lemon bars stand out. With their perfect balance of a rich, buttery shortbread crust and a lusciously tart lemon custard filling, they are truly an irresistible treat. Whether you’re a seasoned baker or just starting out, this recipe is designed to help you create bakery-quality lemon squares right in your own kitchen with minimal fuss.

Why You’ll Fall in Love with These Homemade Lemon Bars
These classic easy lemon bars aren’t just a dessert; they’re an experience. Imagine sinking your teeth into a tender, buttery shortbread base, perfectly complementing the smooth, vibrant lemon filling that bursts with citrusy goodness. The contrast in textures and the harmonious blend of sweet and tart flavors make them incredibly satisfying. This recipe simplifies the process, ensuring you can whip up this delightful dessert in just a few minutes of active preparation time, making it perfect for last-minute gatherings or a spontaneous craving.
Explore More Fruit-Filled Delights You’ll Love:
If you enjoy the bright flavors of fruit desserts, be sure to check out these other fantastic recipes:
- Mini Lemon Tarts
- Sugar-Free No-Bake Lemon Pie
- Lemon Mousse with Cream Cheese
- Lemon Almond Cookies
- Blueberry Streusel Muffins
- Apple Pull Apart Bread
- Slow Cooker Lemon Crunch Cake
Expert Tips for Baking Flawless Lemon Bars
While making lemon bars is considered easy, achieving that perfect, smooth custard and firm, flaky crust can sometimes feel a bit tricky. Many home bakers encounter common issues, but with a few simple techniques, you can ensure your homemade lemon bars turn out perfectly golden, set, and delicious every single time. Here are our top baking tips to guide you:
-
Choose a Glass Baking Dish for Best Results
The type of baking pan you use often goes unnoticed in many recipes, but for lemon bars, it makes a significant difference. A glass baking dish is highly recommended over metal pans. Metal pans, especially aluminum, can react with the acidic lemon custard, potentially imparting a slight metallic taste to your delicate bars. Glass, on the other hand, is non-reactive and distributes heat more evenly, which is crucial for achieving a beautifully set and flavorful filling.
-
Sift Dry Ingredients for a Silky Smooth Filling
To avoid lumps and ensure a velvety smooth lemon filling, it’s a good practice to sift your dry ingredients, specifically the flour and sugar, before incorporating them into the wet mixture. Sifting breaks up any clumps and aerates the dry ingredients, giving them a finer, more uniform texture. This makes it much easier to mix them thoroughly with the lemon juice and eggs, resulting in a perfectly smooth custard without any undesirable flour pockets.
-
Embrace Room Temperature Ingredients for Optimal Blending
For the most consistent and well-combined lemon filling, always use room temperature ingredients, especially the eggs. Eggs that are at room temperature mix more easily and create a smoother emulsion with other ingredients like lemon juice and sugar. This ensures that all components of your lemon filling are fully integrated before baking, which is key to achieving that signature creamy and uniform texture that defines exceptional lemon bars.
Maximizing Fresh Lemon Juice for Unbeatable Flavor
The quality of your lemon juice is paramount for these bars. While bottled lemon juice is convenient, it simply cannot replicate the bright, vibrant, and complex flavor profile of freshly squeezed lemons. To truly elevate your lemon bars, using fresh juice is a non-negotiable step. But how do you ensure you’re getting every last drop of that precious liquid? Here’s how to efficiently squeeze a lemon to yield the maximum amount of juice.
How to Get the Most Juice Out of Each Lemon:
Follow these simple steps to ensure you extract every bit of juice for your easy lemon bars:
- Roll the Lemon: Before cutting, place the lemon on your counter and roll it back and forth firmly with the palm of your hand. This helps to break down the internal membranes and release the juice, making it easier to squeeze.
- Slice Crosswise: Instead of lengthwise, slice your lemon crosswise down the middle. This exposes more of the pulp and makes for a more efficient squeeze.
- Squeeze with Purpose: Hold one half of the lemon over a bowl, facing upward. Squeeze it three times, rotating the lemon slightly after each squeeze to get juice from different sections.
- Press with a Spoon: After squeezing, use a spoon (or a fork) to press into the insides of the lemon. This can often release a surprising amount of remaining juice that your hands might have missed.
- Repeat and Strain: Repeat the entire process with the other half of the lemon. Once you’ve collected all the juice, remember to remove any seeds with your fingers or strain the juice through a fine-mesh strainer to ensure your lemon filling is perfectly smooth.
Don’t Forget the Zest!
While the juice provides the tartness, lemon zest is where much of the lemon’s essential oils and aromatic flavor reside. Don’t skip this crucial ingredient! When zesting, be sure to only grate the bright yellow part of the rind, avoiding the white pith underneath, which can be bitter. The zest adds an incredible depth of lemon flavor to both the crust and the filling, enhancing the overall brightness of your lemon bars.
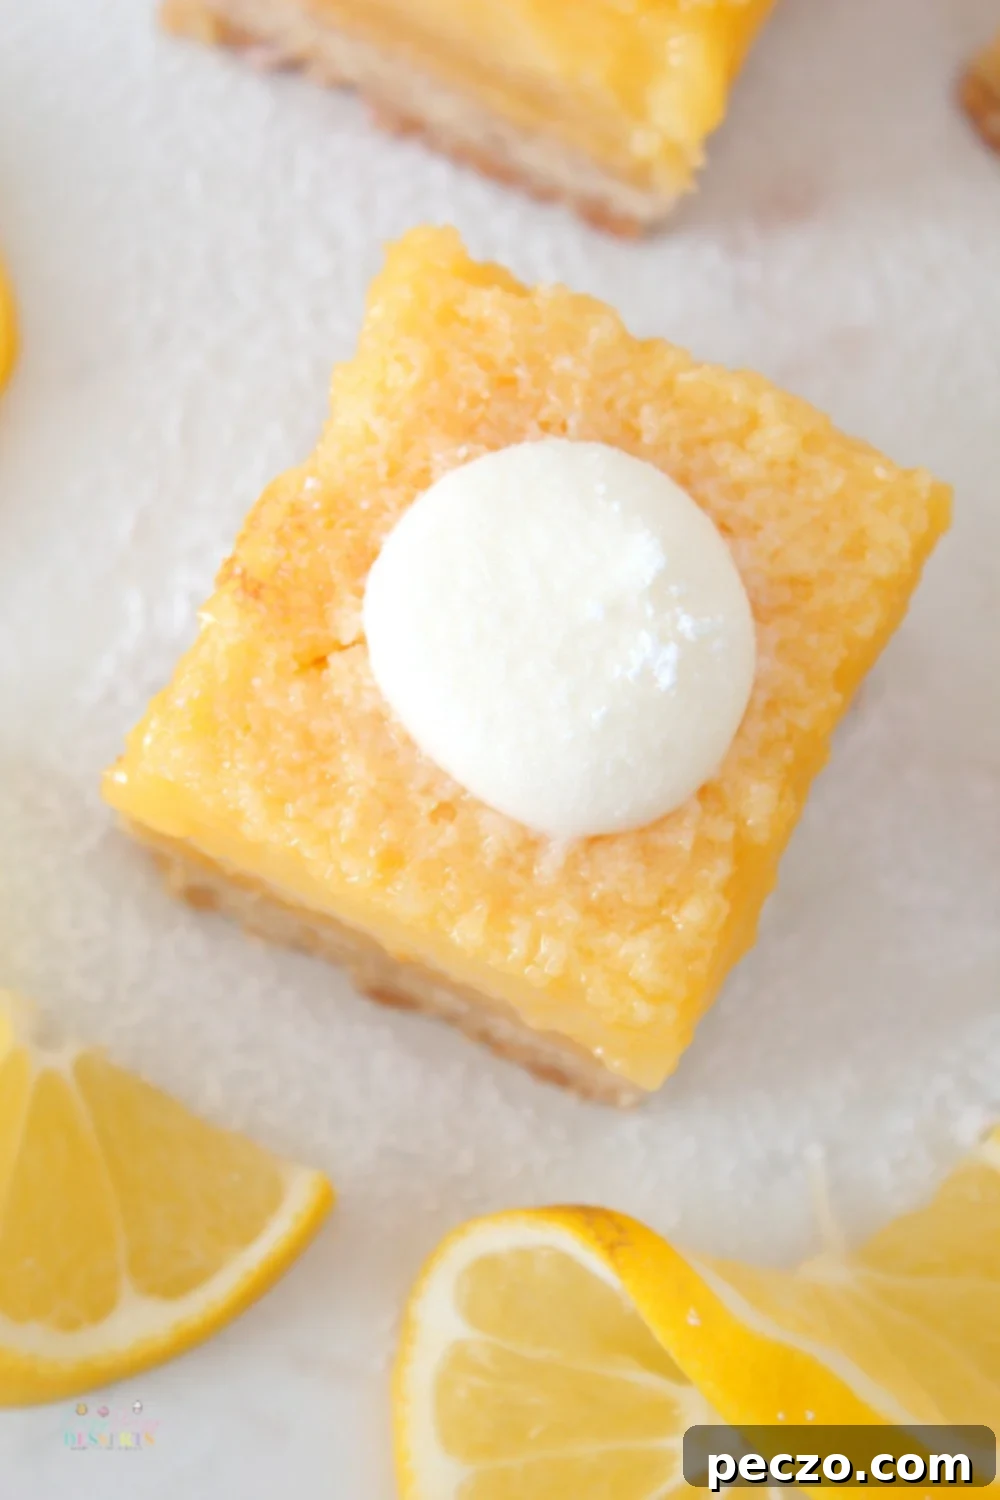
Proper Storage for Fresh and Flavorful Lemon Bars
Once your easy lemon bars have cooled completely and you’ve enjoyed a piece (or two!), it’s important to store them correctly to maintain their freshness, texture, and flavor. Proper storage also ensures food safety, especially given the custard-like filling.
Room Temperature vs. Refrigerated Storage:
After baking, allow your lemon bars to cool completely on a wire rack. This is crucial for the filling to fully set. Cooked lemon bars can be kept at room temperature for up to six hours, especially if they are going to be served soon after cooling. However, for longer storage, refrigeration is a must. After the initial six hours, or if you want to store them for more than a day, transfer the bars to an airtight container and store them in the refrigerator. This will keep them fresh for up to 3-4 days. You can enjoy your leftover bars chilled directly from the fridge, or allow them to come to room temperature for about 15-20 minutes before eating for a slightly softer texture.
Can You Freeze Lemon Bars?
Absolutely! Lemon bars are excellent for freezing, making them a fantastic make-ahead dessert. To freeze, ensure the bars are completely cooled and set. Cut them into individual squares. Arrange the squares in a single layer on a baking sheet and freeze for about an hour until firm. Once frozen, transfer them to an airtight freezer-safe container, separating layers with parchment paper to prevent sticking. They can be stored in the freezer for up to 2-3 months. To serve, simply thaw them in the refrigerator overnight or at room temperature for a few hours. A light dusting of confectioners’ sugar after thawing will make them look fresh and beautiful.
The Art of Knowing When Your Lemon Bars Are Perfectly Baked
Baking the best lemon bars requires a delicate touch, especially when it comes to determining their doneness. It can be challenging to tell when they’re perfectly set because visual cues aren’t always definitive. The goal is a firm yet tender filling that isn’t runny but also not overcooked and chewy.
The Jiggle Test: Your Best Indicator
The most reliable way to check if your lemon treats are finished baking is the “jiggle test.” Gently shake the pan. If the center of the lemon filling still jiggles like liquid, it needs more time in the oven. The edges should be set, and the very center might have a slight, barely perceptible jiggle, similar to a very firm gelatin. If the entire filling is completely firm and no longer jiggles, it’s likely overbaked. This delicate balance means the squares should be cooked for a few minutes longer if the center is still too wobbly, but pulled out immediately once they pass the subtle jiggle test.
Common Baking Pitfalls and How to Avoid Them:
- Runny Filling: This usually means they were underbaked. Trust the jiggle test and bake for a few more minutes until just set.
- Cracked Filling: Overbaking is the main culprit here. When the custard bakes too long, it dries out and contracts, leading to cracks on the surface. Ensure you pull them out as soon as they’re done.
- Soggy Crust: A soggy crust can happen if the filling is poured over a hot crust, causing steam, or if the bars are not cooled properly before refrigerating. Always allow the crust to cool slightly before adding the filling, and cool the entire pan completely before chilling.
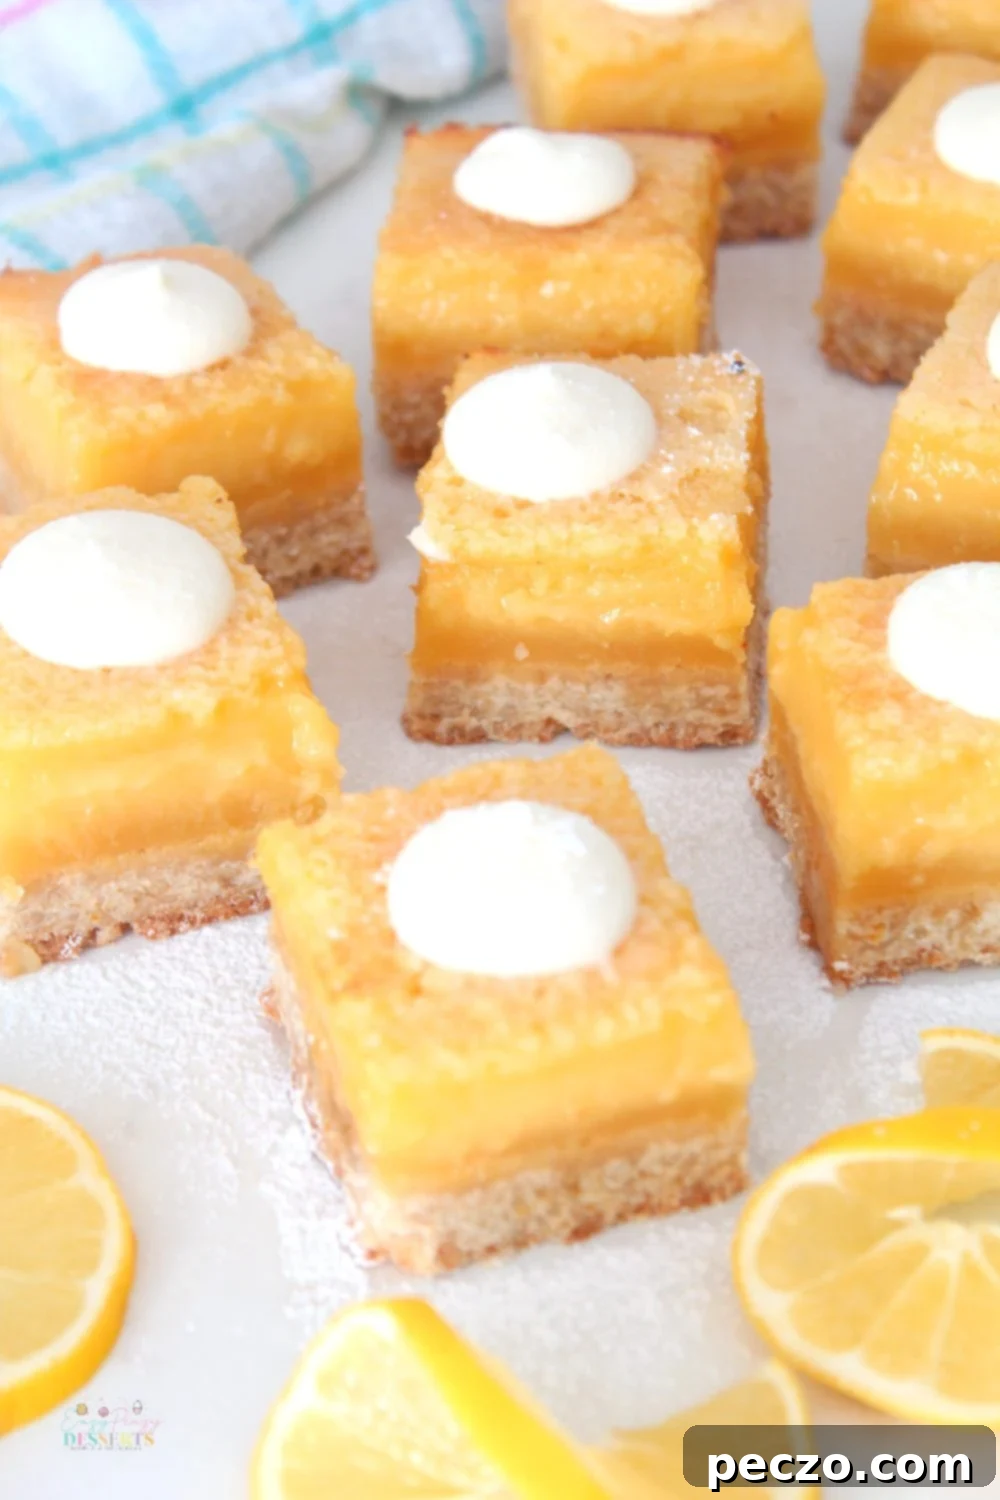
The Irresistible Easy Lemon Bar Recipe
Key Ingredients for the Best Lemon Bars
One of the many charms of this easy lemon bar recipe is its reliance on a minimal number of simple, everyday ingredients. You probably already have most of what you need in your pantry! Here’s a closer look at each essential component and why it’s so important for creating perfect homemade lemon bars:
- Butter: The foundation of our classic shortbread crust. Unsalted butter provides an unmatched richness and a tender, flaky texture. Do not substitute with margarine or shortening, as they will compromise the flavor and consistency of the crust.
- Sugar: We use white sugar in both the crust and the lemon curd filling. In the crust, it provides sweetness and helps achieve that golden-brown finish. In the filling, it balances the tartness of the lemon juice, ensuring a perfectly sweet and sour profile that isn’t overpowering.
- Flour: All-purpose flour is crucial for both layers. In the crust, it creates the sturdy yet crumbly shortbread base. In the filling, it acts as a stabilizer and thickener, preventing the lemon curd from becoming too runny as it bakes and ensuring it sets beautifully.
- Vanilla Extract: While lemon is the star, a touch of vanilla extract in the crust provides a warm, underlying sweetness that beautifully complements the bright, tart lemon. It adds depth and helps to balance the overall flavor profile of the dessert.
- Eggs: Essential for the creamy, smooth texture of the lemon curd. Eggs act as an emulsifier and thickener, transforming the simple lemon juice and sugar into a rich, custard-like filling that sets firm yet remains wonderfully delicate. Large eggs are recommended for consistency.
- Lemon Juice: The heart and soul of this dessert! Freshly squeezed lemon juice is paramount for an authentic, vibrant lemon flavor. Bottled lemon juice often contains preservatives and lacks the natural brightness and complexity that fresh lemons provide. Invest in fresh lemons for truly superior results.
- Lemon Zest: Found in the crust, lemon zest (the outer yellow rind) is packed with essential oils that contribute intense citrus aroma and flavor. It enhances the lemoniness without adding extra tartness, making the crust aromatic and even more delicious.
Step-by-Step Instructions to Bake Lemon Bar Perfection
Creating these delightful lemon bars is a straightforward process when broken down into clear steps. Follow along to bake your own batch of this classic dessert:
- Prepare Your Baking Pan: Begin by preheating your oven to 325°F (160°C). Line the bottom and sides of a 9×13-inch baking pan with parchment paper. Leave a generous overhang on the sides – this will act as “handles” later, making it incredibly easy to lift the cooled bars out of the pan. Set the prepared pan aside.
- Craft the Buttery Crust: In a medium-sized mixing bowl, combine the melted unsalted butter with the icing sugar, vanilla extract, fresh lemon zest, and salt. Stir these ingredients together until well combined. Gradually add the all-purpose flour, mixing until a thick, cohesive dough forms. Ensure there are no dry streaks of flour.
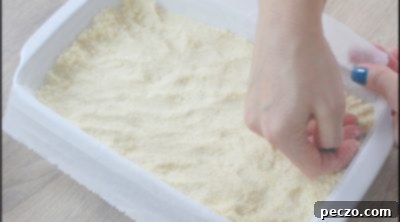
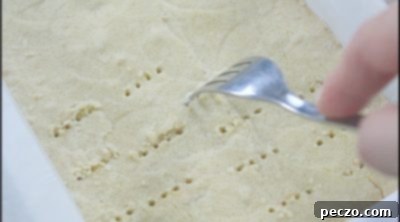
- Press and Bake the Crust: Firmly and evenly press the dough into the bottom of your prepared baking pan. Use your hands or the back of a spoon to create a smooth, consistent layer. Bake the crust for 20-25 minutes, or until the edges are just lightly golden brown. Remove the crust from the oven and, while it’s still warm, use a fork to gently poke holes all over its surface. This helps prevent the crust from puffing up and ensures better absorption of the lemon filling.
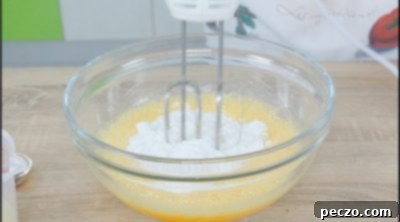
- Prepare the Zesty Filling: In a large bowl, sift together the icing sugar and all-purpose flour. This step is vital for a lump-free filling. Add the large eggs, vanilla extract, and freshly squeezed lemon juice to the dry ingredients. Whisk everything together thoroughly until the mixture is completely smooth and well combined.
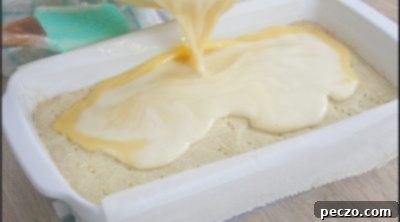
- Assemble and Bake the Bars: Carefully pour the lemon filling mixture over the warm, pre-baked crust in the pan. Return the pan to the oven and bake for an additional 20-25 minutes. The bars are done when the center no longer jiggles significantly when the pan is gently shaken (it might have a very slight, almost imperceptible wobble).
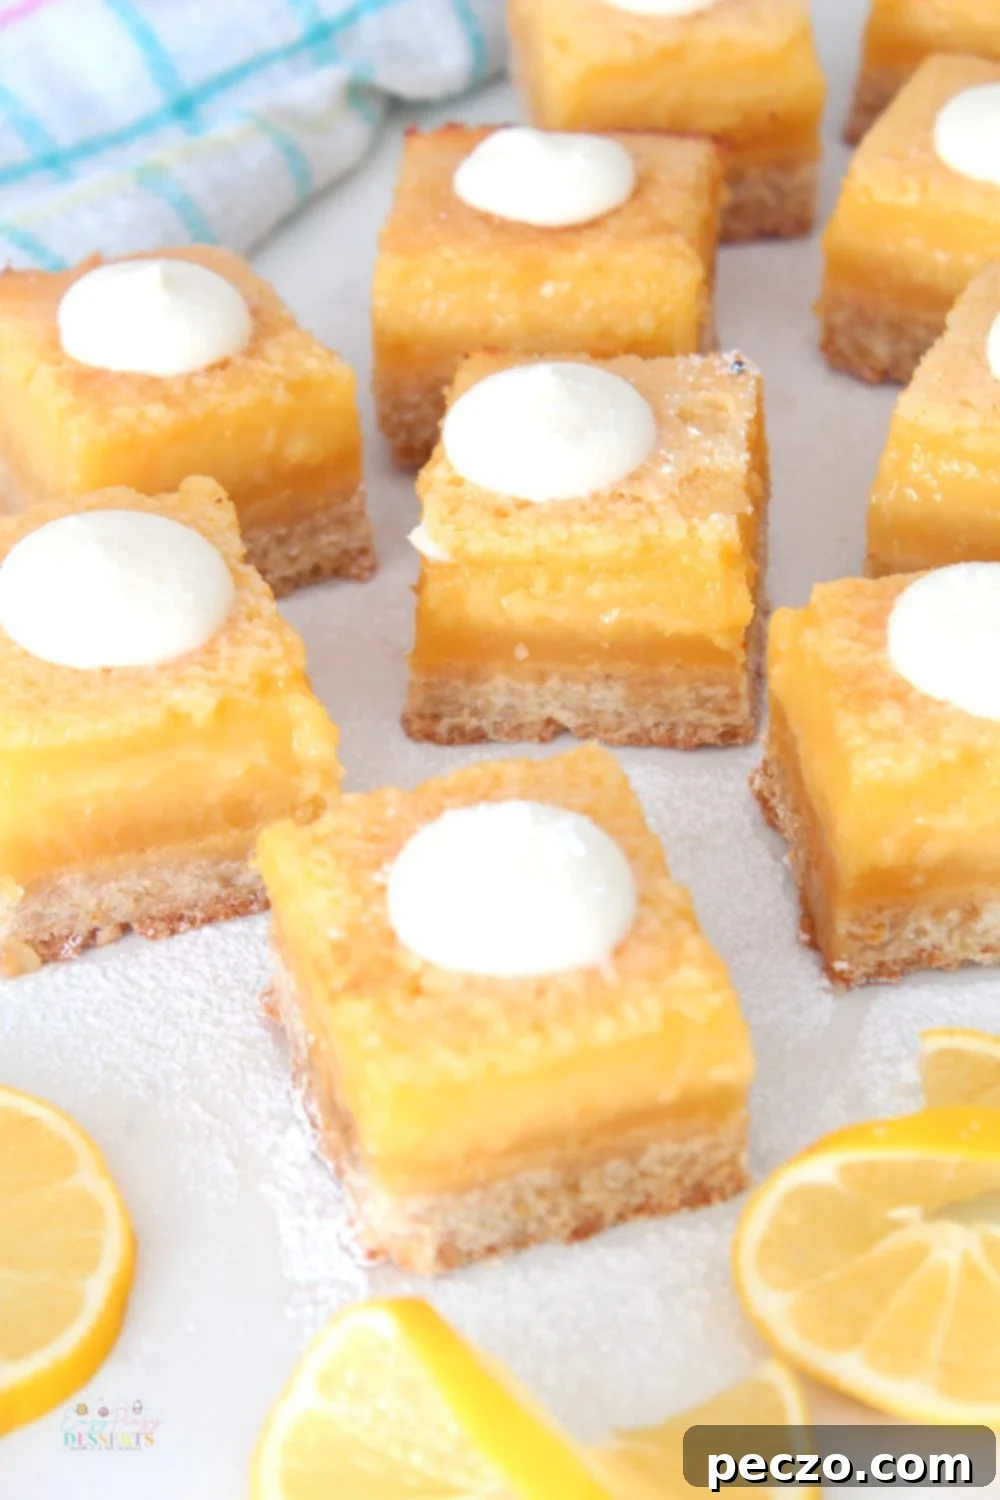
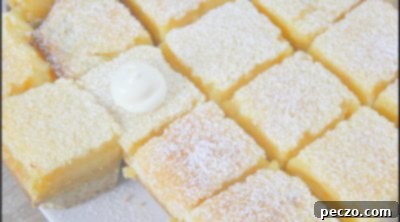
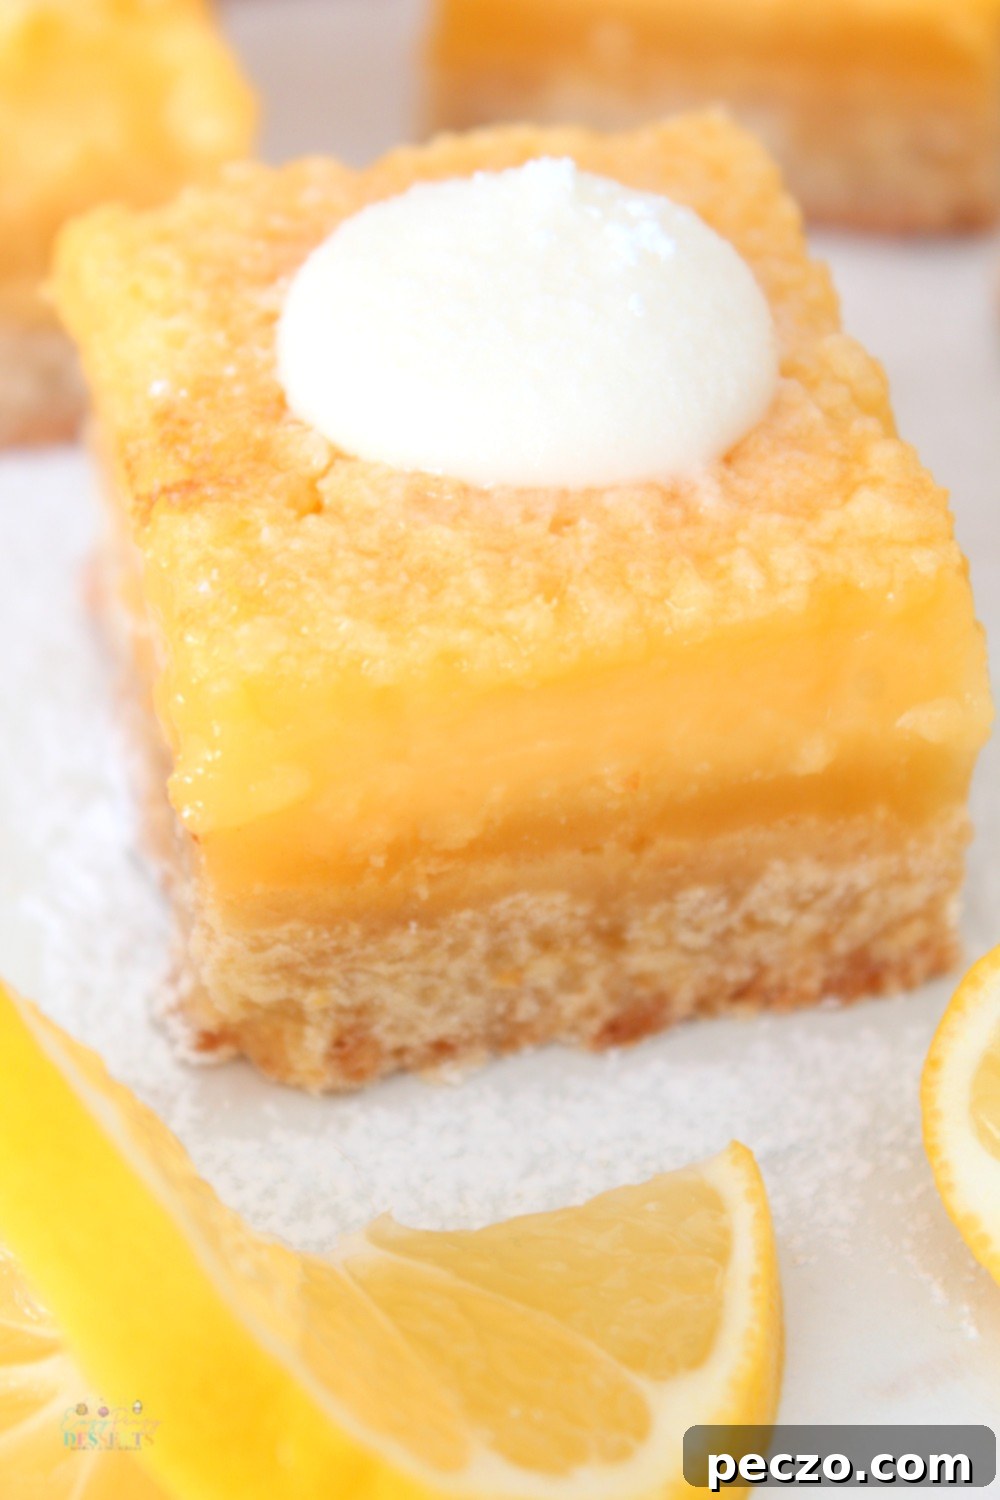
- Cool, Chill, and Serve: Remove the baked lemon bars from the oven and place the pan on a wire rack to cool completely at room temperature. This will take a couple of hours. Once cooled, transfer the pan to the refrigerator and chill for at least 2 more hours, or until the bars are thoroughly cold and firm. When ready to serve, use the parchment paper overhang to lift the entire slab of lemon bars out of the pan. Dust generously with confectioners’ sugar for a beautiful presentation and an extra touch of sweetness. For an indulgent treat, serve with a dollop of fresh whipped cream or a rich cream cheese frosting on top.
Pin to save for later

Print the recipe card

Easy lemon bars
petro
Pin Recipe
Equipment
-
mixing bowl
-
hand mixer
-
9 x 13 baking dish
Ingredients
For the crust
- 1 cup unsalted butter melted
- 1/4 cup icing sugar
- 2 tsp vanilla extract
- 1/2 tsp salt
- 1 tbsp lemon zest
- 2 cups all-purpose flour
For the filling
- 2/3 cups icing sugar
- 6 tbsp all-purpose flour
- 6 eggs large
- 1 tsp vanilla extract
- 1 1/4 cups lemon juice about 5 medium lemons
To decorate
- icing sugar
- cream cheese frosting
Instructions
-
Preheat the oven to 325°F.
-
Line the bottom and sides of a 9×13 baking pan with parchment paper, leaving an overhang on the sides, to help you to lift the bars out of the pan. Set aside.
To make the crust
-
In a medium bowl combine the melted butter with sugar, vanilla extract, lemon zest and salt.

-
Add the flour and stir to fully combine. The dough will be thick.

-
Press the dough firmly into the prepared pan, in an even layer.

-
Bake for 20-25 minutes or until the edges are just lightly browned. Remove from the oven and use a fork to poke holes all over the warm crust.

To make the filling
-
Sift the sugar and flour together in a large bowl. Add the eggs, vanilla, and lemon juice and whisk until fully combined.

-
Pour lemon filling over the warm crust and bake for 20-25 minutes, or until the center no longer jiggles.

-
Remove from the oven and cool completely on a wire rack. Place in the refrigerator for 2 more hours until fully chilled. Once cooled and ready to serve, lift the parchment paper out of the pan using the overhang on the sides. Dust with confectioners’ sugar and serve with a dollop of cream cheese frosting on top.

Video
Nutrition
