Easy Homemade S’mores Bars: The Ultimate No-Campfire Treat Recipe
Experience the beloved taste of a classic campfire treat without ever lighting a fire! This incredibly easy s’mores bars recipe brings together the timeless combination of graham cracker, gooey marshmallow, and rich chocolate in a convenient, handheld form. Perfect for satisfying those nostalgic cravings, these homemade s’mores bars are a quick and delightful dessert that can be enjoyed any time, anywhere. Say goodbye to sticky fingers from roasting marshmallows over an open flame and hello to a fuss-free, utterly delicious s’mores experience.
Irresistible S’mores Bars: A Modern Twist on a Classic
There’s something truly magical about gathering around a crackling campfire, sharing stories, and basking in the warmth of the flames. These moments create cherished memories, whether you’re camping in the wilderness or simply enjoying a fire pit in your own backyard. And for many, no campfire experience is complete without the quintessential s’more – a delightful sandwich of toasted marshmallow, melted chocolate, and crisp graham crackers. While the traditional campfire s’more holds a special place in our hearts, sometimes the weather, lack of a fire pit, or simply the desire for a less messy alternative calls for a different approach. That’s where these easy homemade s’mores bars come in, allowing you to savor those iconic flavors even when you can’t watch the fire flicker.
My own connection to the campfire experience runs deep, woven into the fabric of my childhood memories. I vividly recall “getaways” with my father in our backyard, where we’d pitch a tent, build a small fire, and pretend we were on a grand wilderness expedition. Those evenings were filled with imaginative play, thrilling stories, and, of course, the joy of making s’mores. The laughter we shared as marshmallows perfectly melted, leading to wonderfully sticky fingers, always brings a smile to my face when I look back. I carried this tradition into adulthood, inviting friends over for relaxing backyard gatherings that often culminated in the shared delight of s’mores. The simple pleasure of those sweet, gooey treats, combined with good company, truly encapsulates happiness for me.
Craving More Chocolatey Delights?
If these s’mores bars have sparked your love for rich, decadent chocolate desserts, you’re in luck! We have plenty more recipes to satisfy your sweet tooth and keep that chocolate craving at bay. From indulgent layered creations to quick and easy bites, there’s a chocolate dessert for every occasion. Explore some of our other favorites:
- Sandwich cookies chocolate lasagna
- Chocolate peanut clusters
- Chocolate fudge cupcakes
- Wacky cake recipe
Why You’ll Love This S’mores Bars Recipe
My desire to relive those pleasant memories, but with a practical twist, led me to create this s’mores bars recipe. The goal was simple: an equally delicious alternative that was less messy and easier to share. And voilà! These bars truly came to life, capturing all the magic of traditional s’mores in a convenient baked form. I’m thrilled to share this creation with you, as I know it will bring delicious moments and evoke happy camping memories for everyone who tries them. Whether you serve these s’mores dessert bars as an easy-to-distribute treat at parties, a comforting snack during a quiet night at home, or simply to satisfy a sudden craving for nostalgia, I promise your taste buds will be absolutely delighted. They’re the perfect solution when you want that gooey, chocolatey, graham cracker goodness without the hassle of building a fire.
S’mores: Fun Facts & Origin Story
Just as many of us have heartwarming personal histories involving s’mores, the s’more itself boasts a fascinating background. Did you know that we owe the very first published s’mores recipe to the innovative minds of the Girl Scouts? It’s true! In their 1927 publication, “Tramping and Trailing with the Girl Scouts,” a recipe for “Some More” was featured. Loretta Scott Crew is widely credited with creating this original version, which notably called for 16 graham crackers, 16 marshmallows, and eight bars of chocolate – a generous recipe designed to feed sixteen hungry scouts.
This delightful creation quickly gained popularity, often referred to as “Some More” in various publications until around 1971. The exact moment the playful nickname “s’more” (a contraction of “some more”) became widely adopted remains a bit of a mystery, but its enduring charm speaks volumes. The simplicity and irresistible combination of ingredients have made s’mores a timeless treat enjoyed by generations. Share these fun facts and give a nod to the Girl Scouts as you happily munch on your own easy-to-make, simply delicious s’mores bars, continuing a sweet tradition that started nearly a century ago.
Now that you’re well-versed in s’mores lore, let’s address some of your burning questions to ensure your homemade s’mores bars are a resounding success!
S’mores Bars Frequently Asked Questions (FAQs)
Can I use jumbo marshmallows instead of mini marshmallows in s’mores bars?
Absolutely, you can! While I personally prefer using mini marshmallows for my s’mores cookie bars because they melt more evenly and allow for better distribution across the chocolate layer, substituting them with jumbo marshmallows or even regular-sized marshmallows is perfectly fine. If you opt for larger marshmallows, a helpful tip is to cut them in half or quarters. This ensures they soften and toast properly without burning, and also helps in creating a more consistent marshmallow layer. Just remember to keep a very watchful eye on the oven to prevent them from burning, as larger marshmallows might take a slightly different time to reach that perfect golden toast.
Can I use marshmallow fluff instead of regular marshmallows for my s’mores bars?
Yes, you certainly can use marshmallow fluff! If it’s what you have on hand, or if you prefer a silkier, more uniform marshmallow layer, go for it. Marshmallow fluff will produce a wonderfully gooey and yummy result. However, be aware that it can be a bit stickier and more challenging to spread evenly compared to individual marshmallows. Additionally, the cooking time may vary slightly with fluff; it might brown more quickly, so diligent monitoring while baking is crucial to achieve a beautiful, lightly toasted topping without over-browning. The texture will be different – more of a continuous, soft layer rather than distinct toasted marshmallow pockets.
How do I cut the s’mores bars without making a mess?
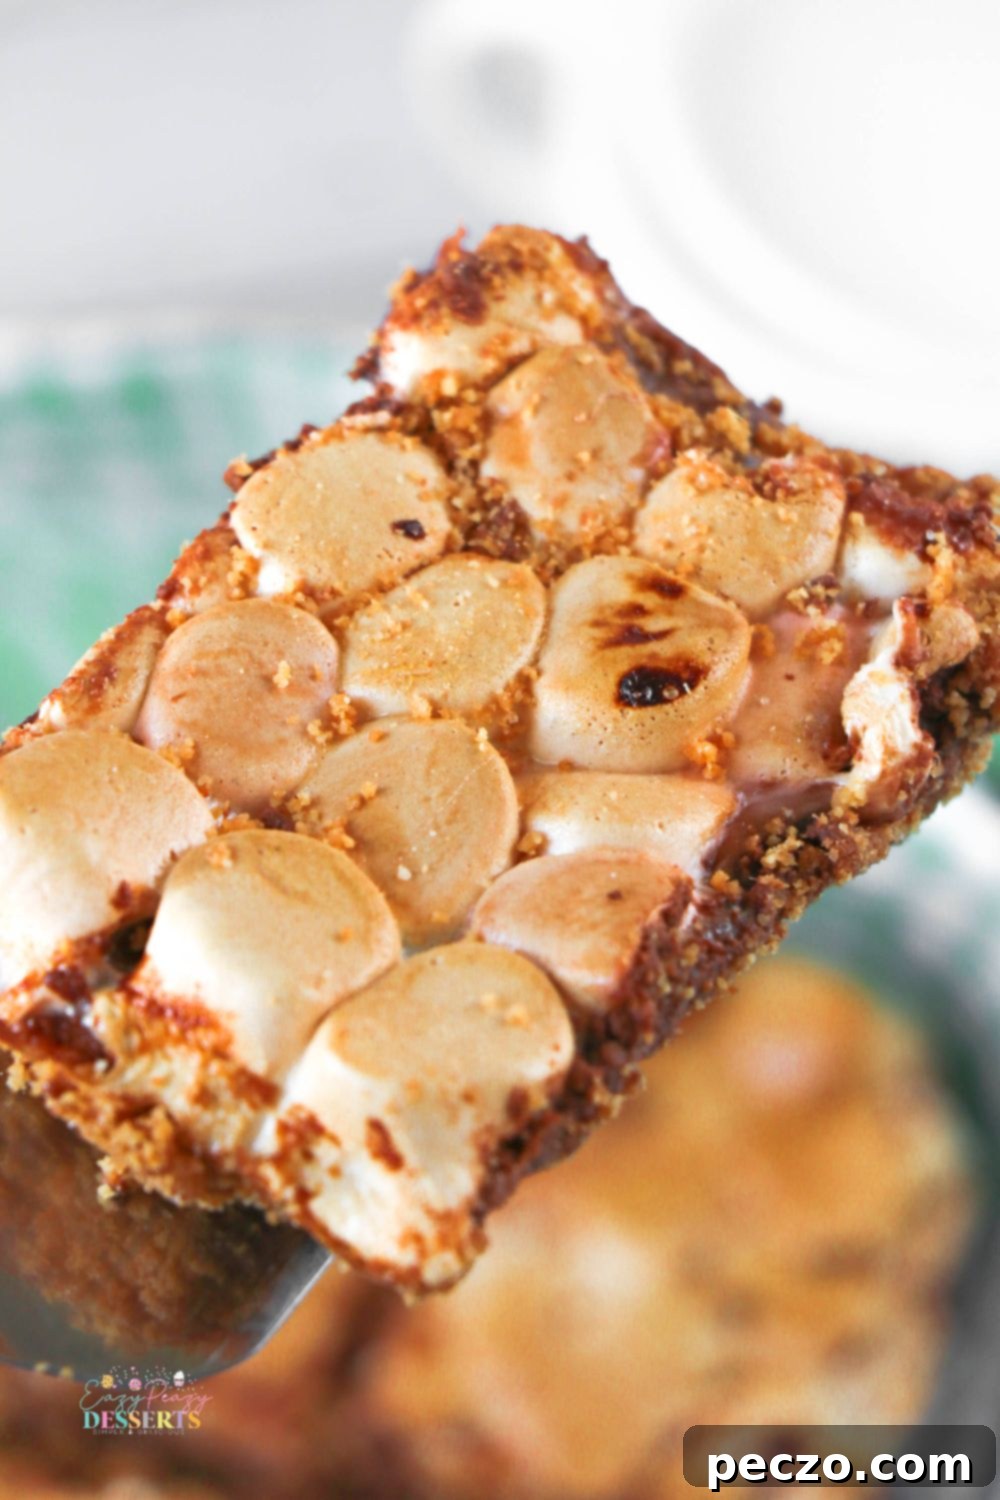
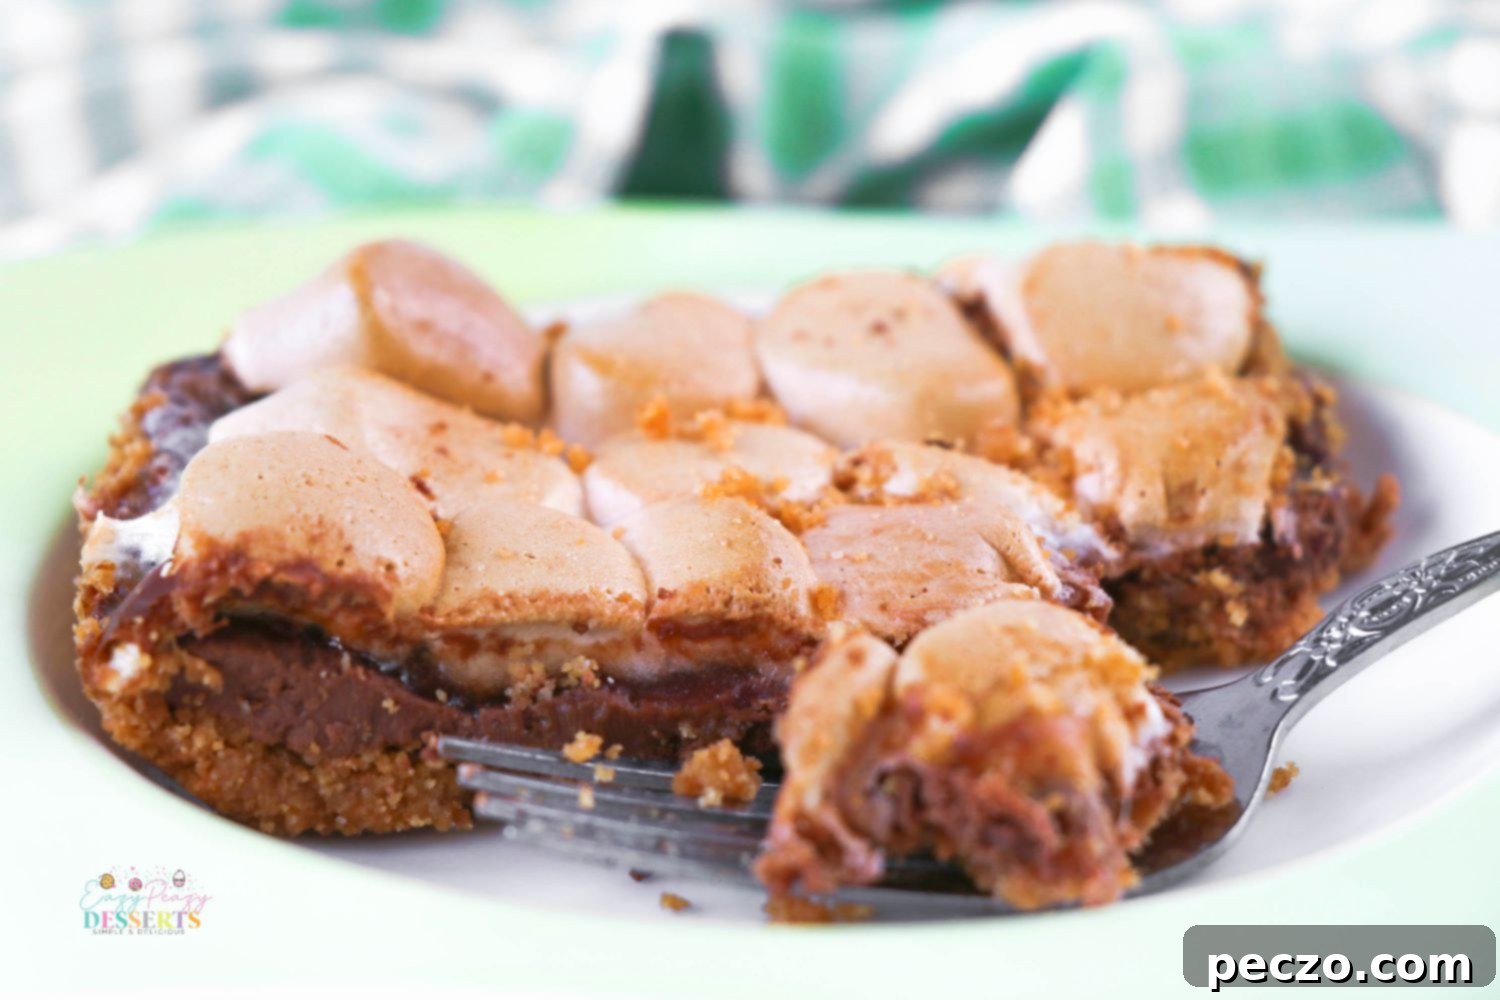
The wonderfully ooey-gooey nature of s’mores bars is precisely what makes them so delicious, but it can also make cutting them a bit tricky! If you’re aiming for clean, precise slices, I have a fantastic trick: once the bars have cooled completely, place them in the freezer for about 10-15 minutes. This brief chill helps the chocolate and marshmallow layers firm up, allowing for much cleaner cuts. After cutting, you can let them thaw at room temperature for a few minutes before serving. Alternatively, if you’re eager to enjoy them warm and gooey right out of the oven, simply embrace the delicious mess! Use a sharp knife that you’ve lightly greased (with a little butter or non-stick spray) to slice through the warm layers. The grease helps prevent sticking. Lastly, and perhaps most importantly, always line your baking pan with parchment paper, leaving an overhang on the sides. This creates “handles” that allow you to easily lift the entire dessert out of the pan before cutting, minimizing mess and making serving a breeze.
How to store s’mores bars?
Proper storage ensures your s’mores bars remain fresh and delicious! If you plan to refrigerate them, they will stay wonderful for approximately one week when stored in an airtight container. For those who prefer to keep their s’mores bars at room temperature, airtight storage will keep your treats perfectly delicious for about three days. Always make sure they are completely cooled before storing to prevent condensation.
Can I freeze s’mores bars?
Yes, absolutely! S’mores bars freeze wonderfully. Once they are completely cooled, cut them into individual bars and wrap each bar tightly in plastic wrap, then place them in an airtight freezer-safe container or bag. They can be stored in the freezer for up to 2-3 months. When you’re ready to enjoy them, simply allow them to thaw at room temperature, or for that fresh-out-of-the-oven consistency, place them in a preheated oven at 300°F (150°C) for a few minutes or briefly under the broiler (watch carefully!) to re-toast the marshmallows and melt the chocolate slightly.
Can I double this s’mores bars recipe?
You bet! Doubling this recipe is a fantastic idea, especially if you’re serving a larger crowd or just want to ensure you have plenty of these irresistible treats on hand. Simply multiply all the measurements by two, and make sure you use a larger baking pan – typically a 9×13 inch pan is perfect for a doubled batch – to accommodate the increased volume of ingredients. The baking times might need slight adjustment, so keep an eye on them, especially during the marshmallow toasting phase.
Can I customize my s’mores bars with variations?
Absolutely! While the classic graham, chocolate, and marshmallow combination is perfect, s’mores bars are wonderfully versatile. Feel free to experiment with different types of chocolate, such as dark chocolate, white chocolate, peanut butter cups, or even chopped candy bars for an extra twist. You could also sprinkle a pinch of sea salt on top of the chocolate layer before adding marshmallows to enhance the flavors, or add some colorful sprinkles for a festive look. A drizzle of caramel or chocolate sauce after baking can also elevate your s’mores bars to a new level of deliciousness!
Now that you are geared up with fun facts, a clear list of ingredients, and answers to all your frequently asked questions, I hope you feel confident and excited to jump into these deliciously classic flavors by baking my easy s’mores bar recipe. Once you’ve baked yours, we’d love to hear how it went in the comments below. And, as always, happy baking!
What are you waiting for? Let’s get baking!
What Do I Need to Make These S’mores Bars?
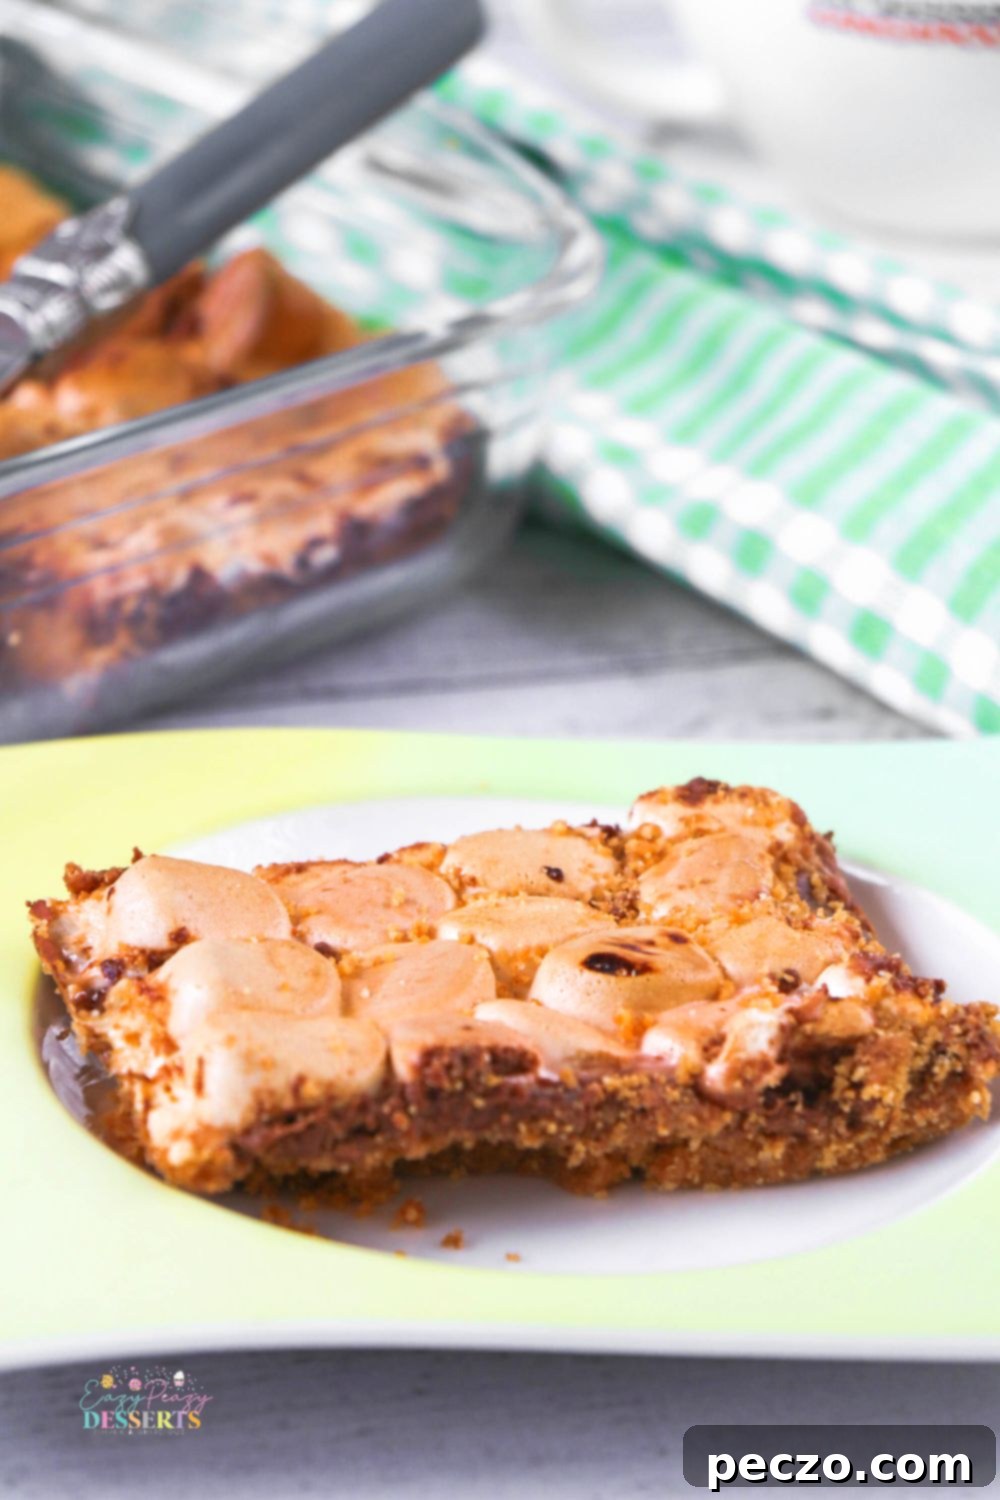
Preparing to bake is half the fun! Get yourself prepped and ready for a smooth baking experience by gathering these essential baking tools. Having everything at hand before you start will make the process even more enjoyable:
- Parchment paper (crucial for easy removal!)
- Large baking pan (a standard 8×8 or 9×9 inch square pan is ideal)
- Mixing bowl (for combining the crust ingredients)
- Measuring spoons and cups (for accurate ingredient amounts)
- Spatula or offset spatula (for spreading chocolate)
Most importantly, gather your delicious ingredients and get set up to prepare a batch of pure deliciousness. Here’s a simple list of what you will need for these incredible homemade s’mores bars:
- Unsalted butter (melted, for the graham cracker crust)
- Graham cracker crumbs (you can buy them pre-crushed or crush your own)
- Confectioner’s sugar (also known as powdered sugar, for the crust)
- Chocolate bars (Hershey’s milk chocolate bars are traditional for s’mores, but feel free to use your favorite!)
- Mini marshmallows (for that perfect gooey, toasted topping)
How Do You Make S’mores Bars? Step-by-Step Instructions
- Start by preparing your baking pan: Line a large baking pan (an 8×8 or 9×9 inch square pan works well) generously with parchment paper. Make sure to leave an overhang on all sides; these will serve as convenient “handles” to lift the finished bars out later. Preheat your oven to 350°F (175°C).
- In a medium-sized mixing bowl, combine the graham cracker crumbs, confectioners’ sugar, and the melted unsalted butter. Stir these ingredients together until the crumbs are thoroughly moistened and resemble wet sand.
- Transfer the graham cracker mixture to the bottom of your prepared baking pan. Press the crumbs down firmly and evenly across the bottom of the pan to form a compact crust. You can use your fingers, the bottom of a glass, or a flat measuring cup to achieve a nice, tight crust.
- Place the pan with the crust into the preheated oven and bake for 5-7 minutes. This short bake time will help set the crust, making it sturdy. The crust will harden even more as it cools.
- Remove the pan from the oven and let the graham cracker crust cool for about 5 minutes on a wire rack. This helps prevent the chocolate from melting too quickly when added.
- Next, arrange the chocolate bars evenly on top of the slightly cooled crust. Place the pan back into the oven for just 2-3 minutes, or until the chocolate just begins to soften and looks slightly glossy. You want it pliable, not fully melted.
- Once the chocolate is softened, remove the pan from the oven. Using a spatula or an offset spatula, gently spread the melted chocolate until it forms an even layer that completely covers the graham cracker crust. Allow this chocolate layer to cool for 2 minutes to slightly set.
- Now, evenly distribute the mini marshmallows on top of the chocolate layer, ensuring good coverage.
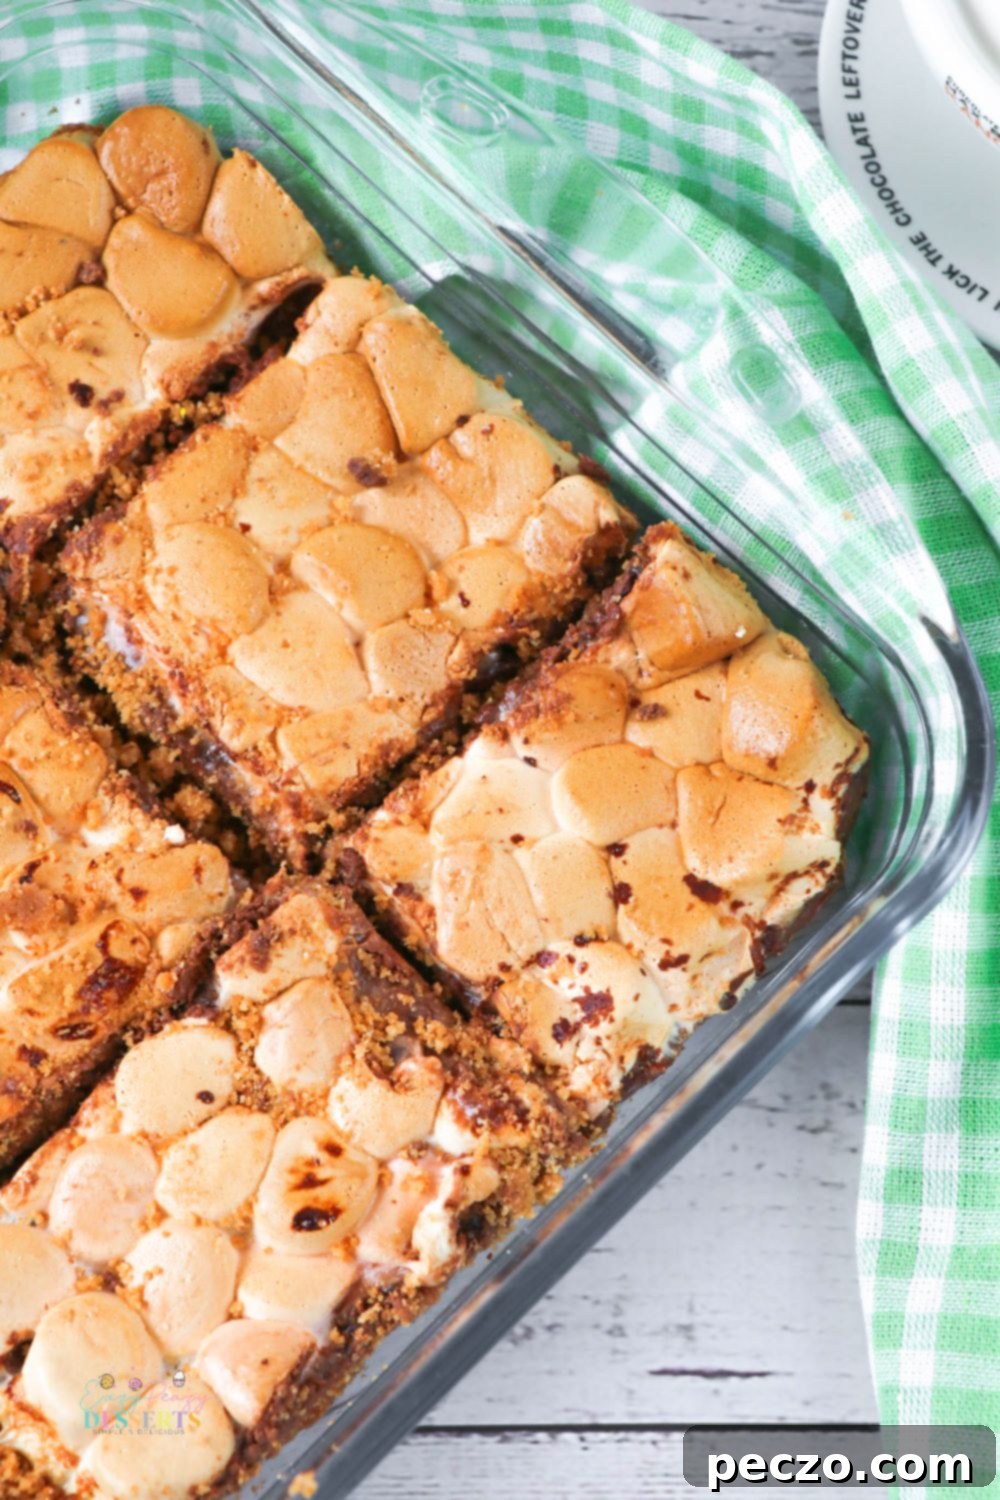
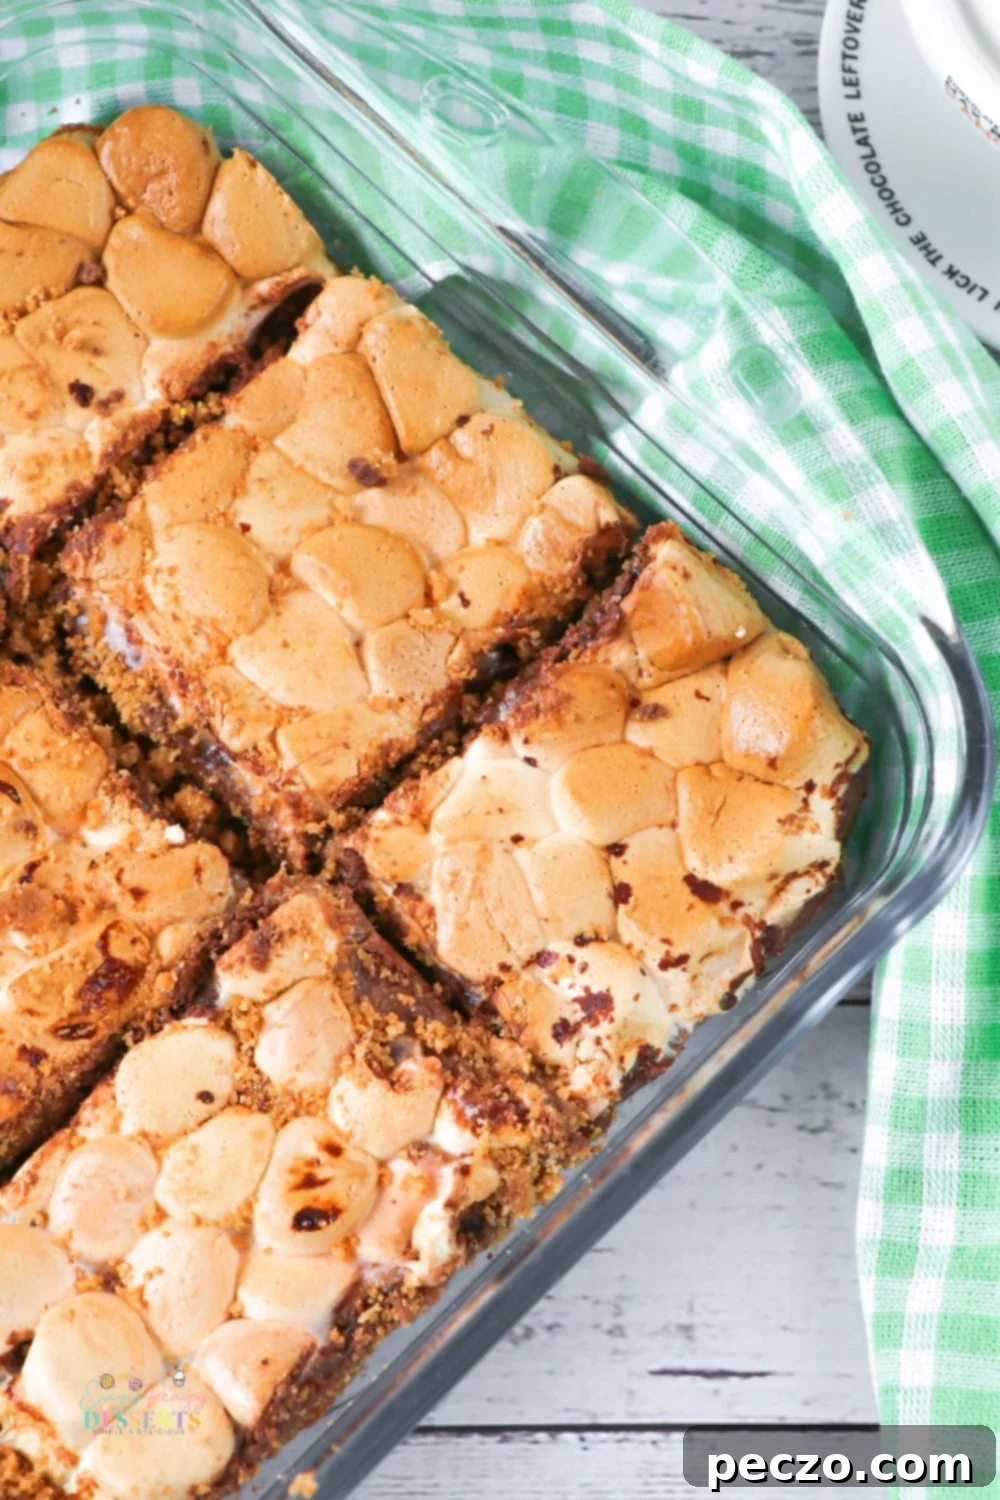
- Return the pan to the oven and cook for 5 to 10 minutes. This is the crucial step for achieving that perfect toasted marshmallow topping. Keep a very close watch on the marshmallows – they can go from perfectly golden to burnt very quickly, as every oven is different. You’re looking for a beautiful, puffy, golden-brown hue.
- Once the marshmallows are perfectly toasted, remove the pan from the oven and let the s’mores bars cool completely on a wire rack. This is important for the layers to set properly for easier cutting. If you prefer, you can chill them in the fridge for about 30 minutes to an hour after they’ve cooled to room temperature for even cleaner cuts.
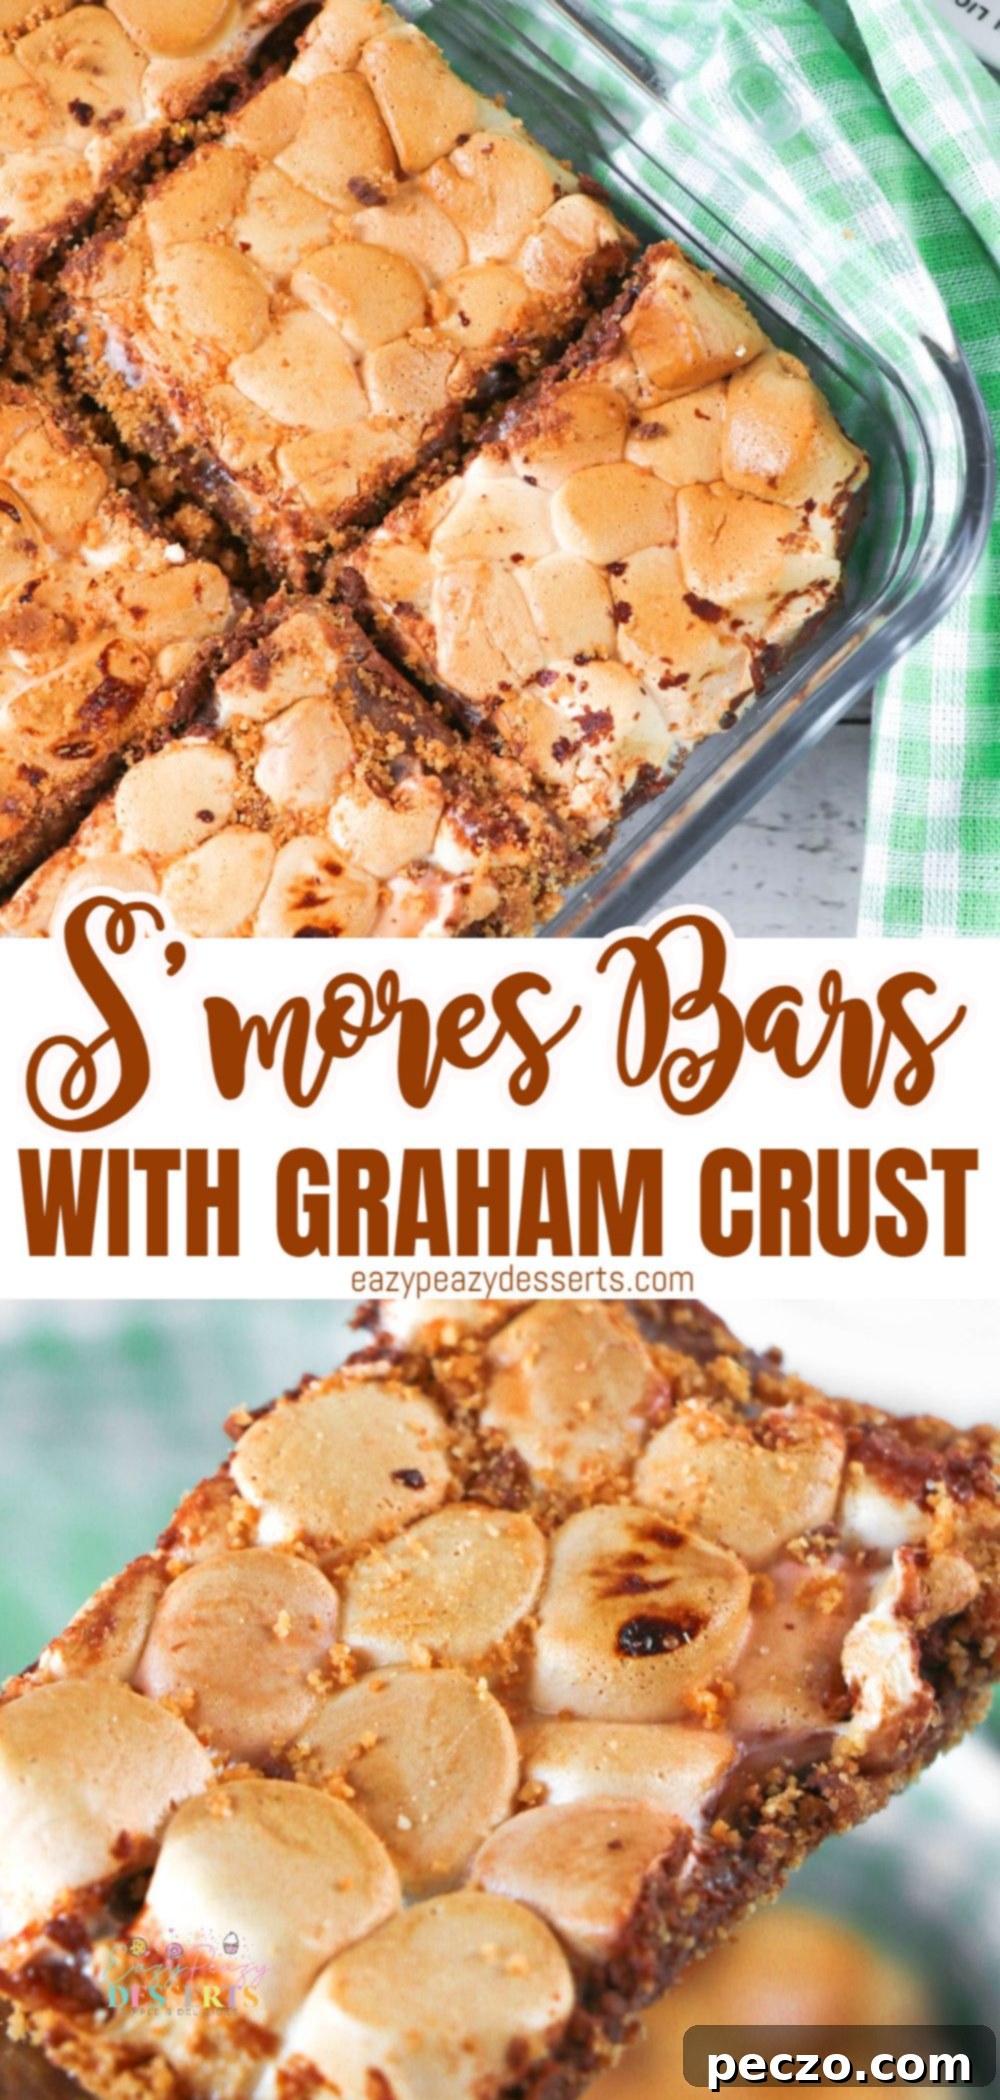
Pin to Save for Later!
Print the recipe card

S’mores bars
petro
Pin Recipe
Equipment
-
baking pan
-
parchment paper
-
mixing bowl
Ingredients
- ½ cup butter melted
- 2 cups graham Crackers crumbs
- ½ cup confectioners’ sugar
- 5 bars Hershey Chocolate
- 1 package mini marshmallows
Instructions
-
Put a parchment paper in a large baking pan. Preheat the oven to 350 F. In a bowl, mix the graham cracker crumbs, confectioners’ sugar and melted butter.

-
Put the mixture to the bottom of the baking pan. Press down the crumbs with your finger or a help of a glass. Place in the oven and bake for 5-7 minutes (the crust will harden as it cools). Take out from the oven and let it cool for 5 minutes.

-
After, put the chocolate bars on top of the crust and place in oven for 3 minutes (until the chocolate just begins to melt). Spread the chocolate with spatula until all the crusts is covered. After, cool it down for 2 minutes.

-
Place the marshmallows on top of the chocolate. Put the pan into the oven and cook for 5 to 10 minutes. (Watch for the marshmallows, do not burn, because every oven is different)

-
After it cooked, let them cool completely. If you want, you can chill them in the fridge.)

Nutrition
