Easy No-Bake Grinch Fudge: Your Ultimate Guide to a Festive Holiday Treat
The holiday season often brings a whirlwind of festivities, from lively parties to cozy family gatherings. Amidst the joyful chaos, finding time to prepare elaborate desserts can be a challenge. But what if you could create a show-stopping, deliciously festive treat with minimal effort and no oven required? This delightful No-Bake Grinch Fudge is your answer! Vibrant, creamy, and undeniably charming, it’s designed to brighten any celebration, adding a whimsical touch of Whoville to your holiday buffet or dessert table.
Whimsical Grinch Fudge: A Festive Favorite for Every Occasion
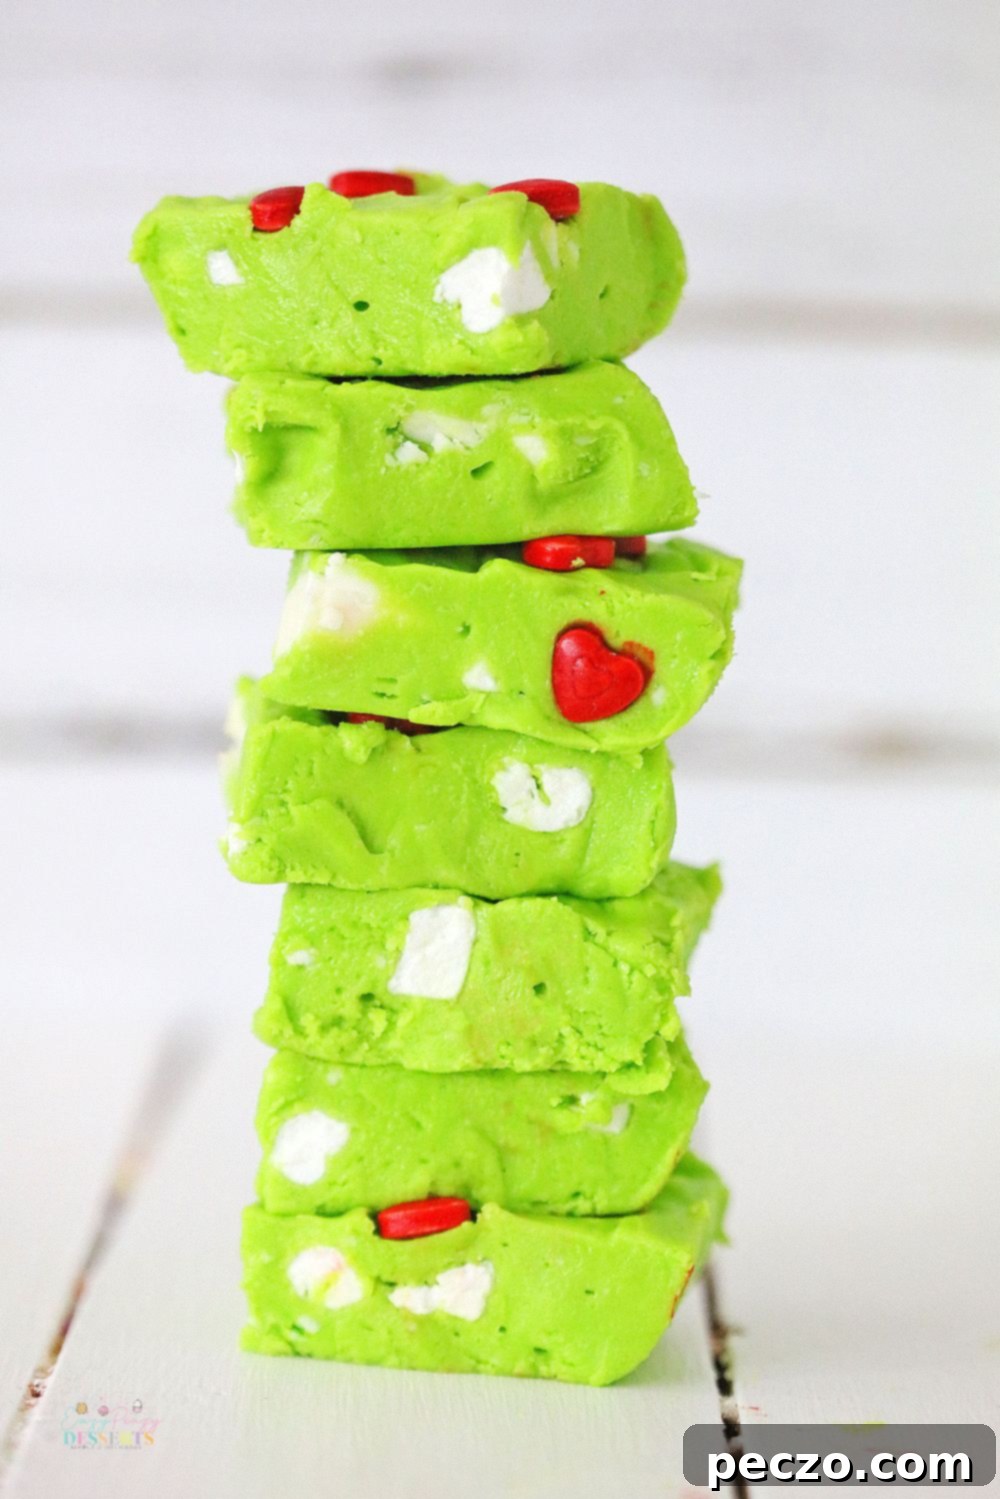
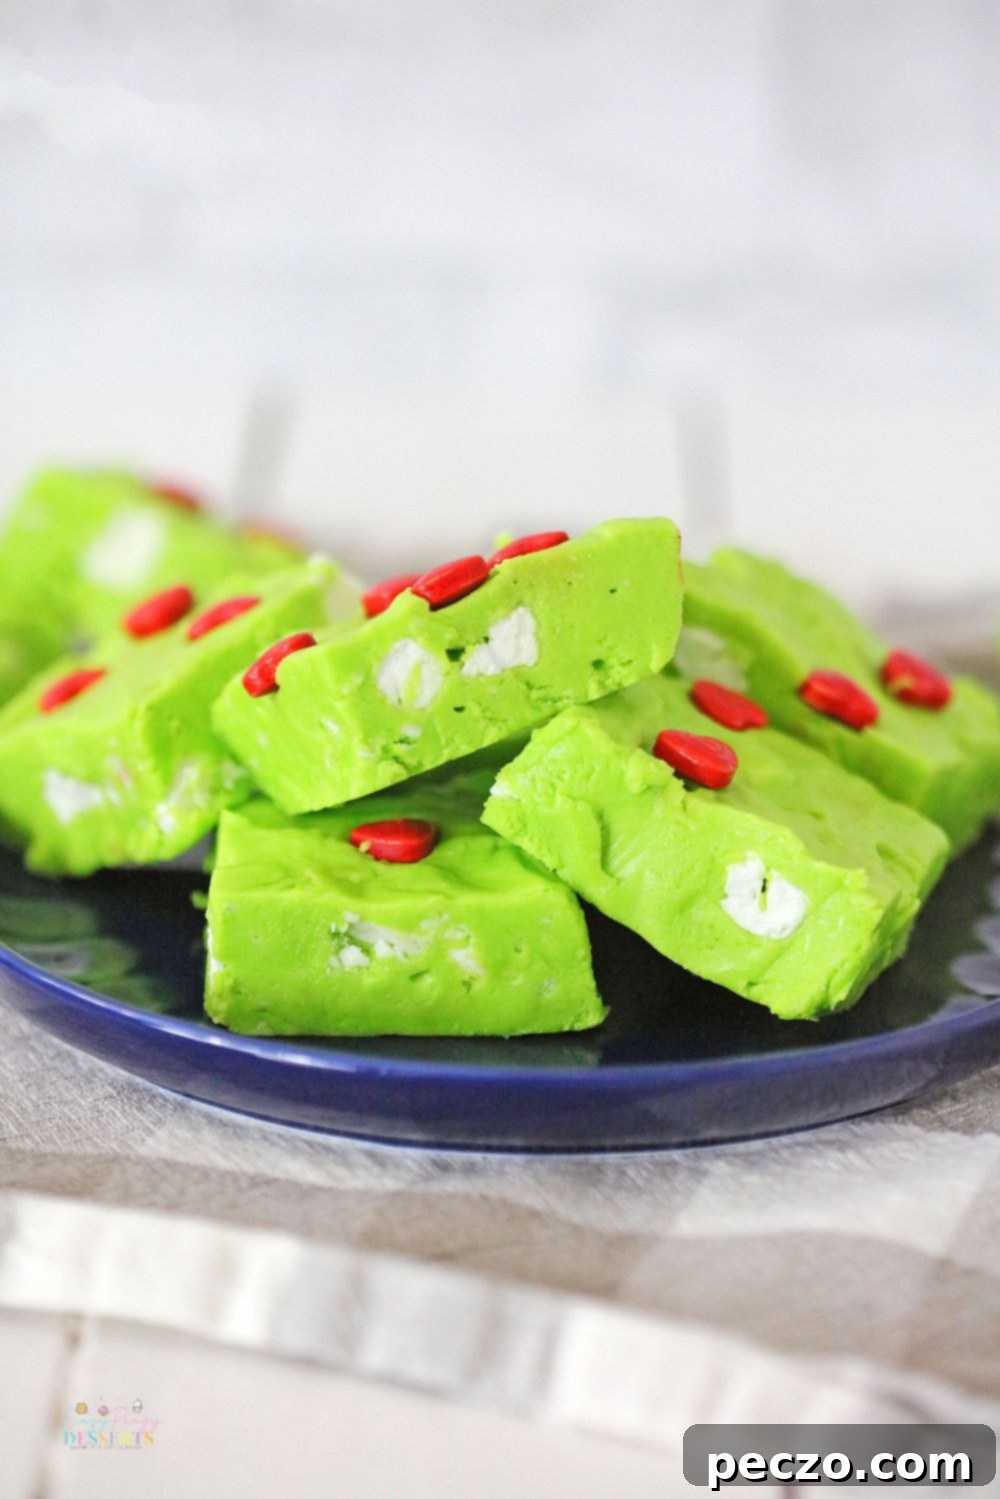
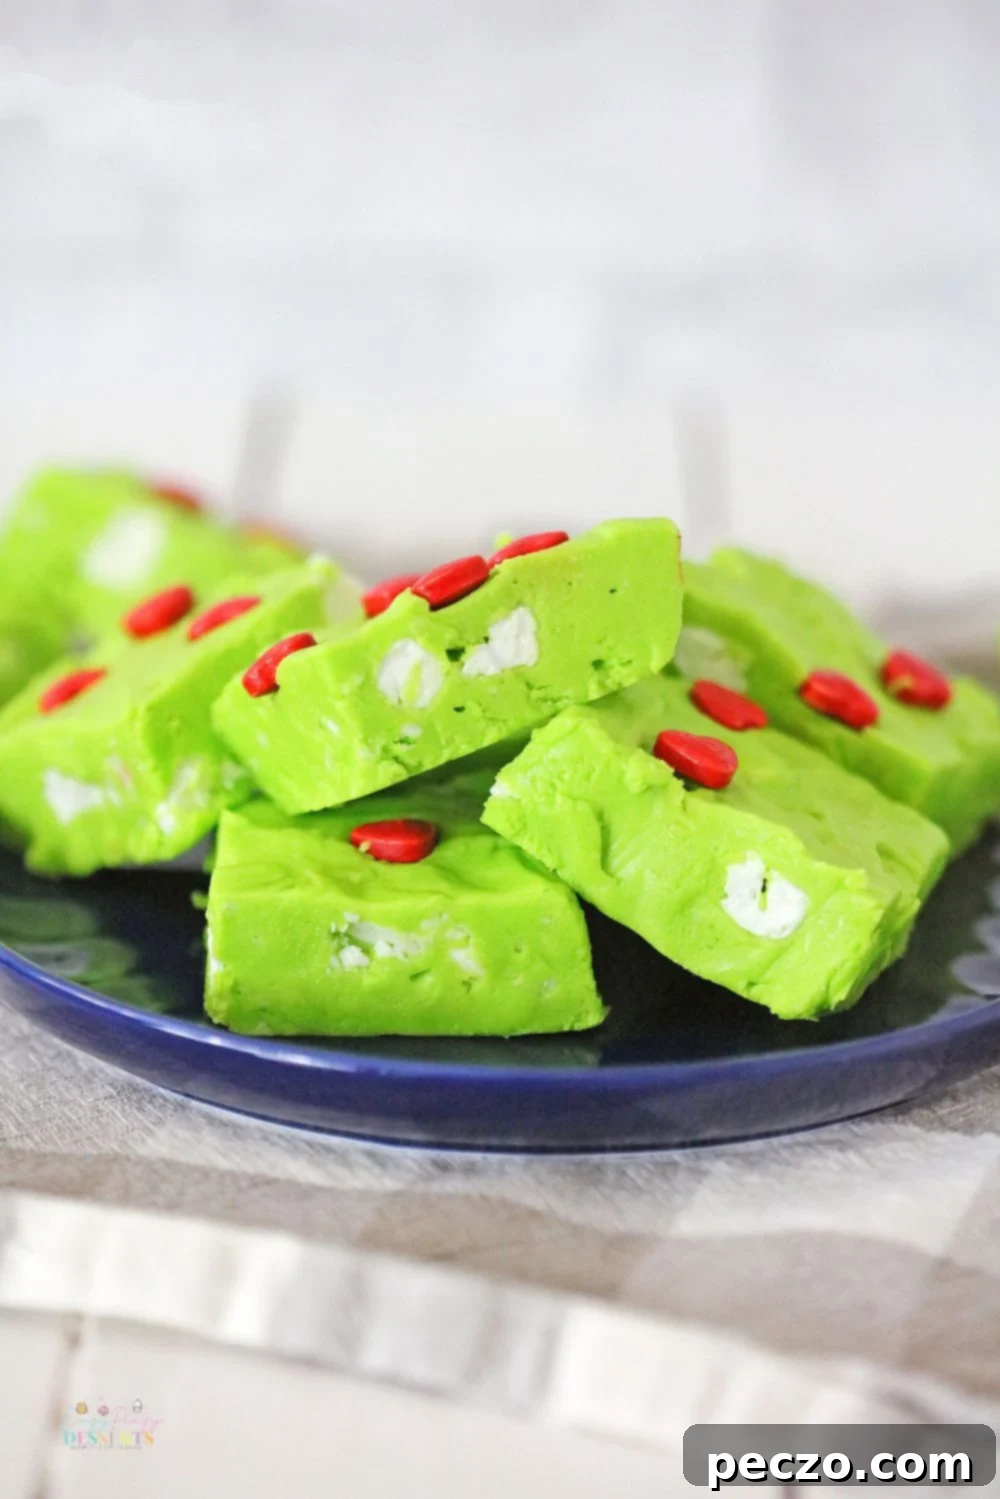
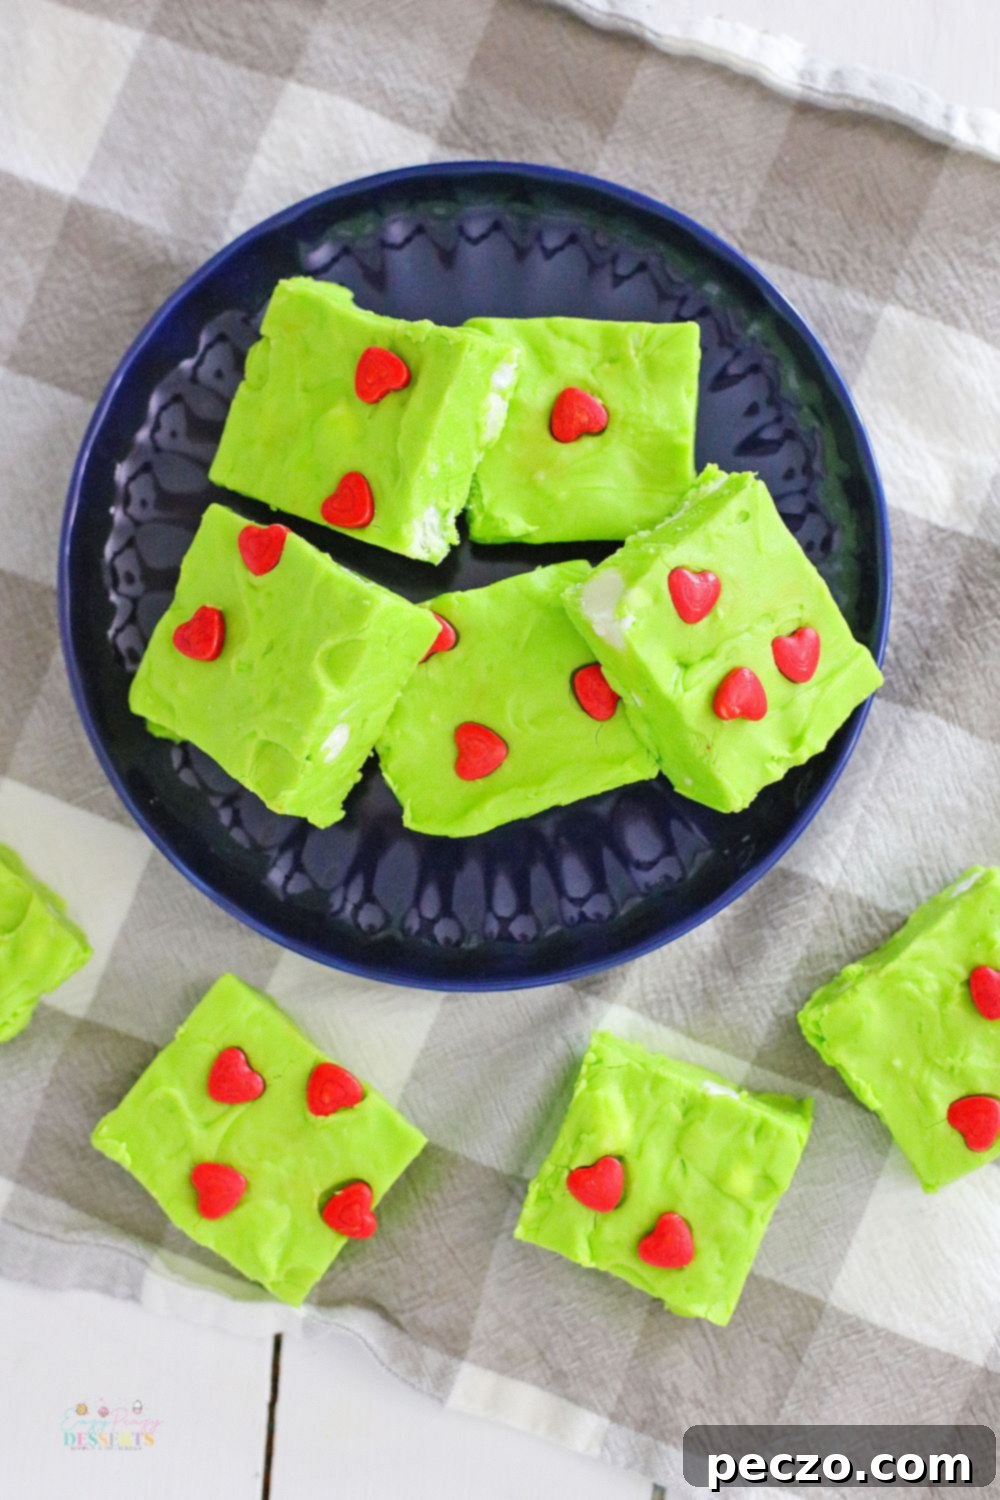
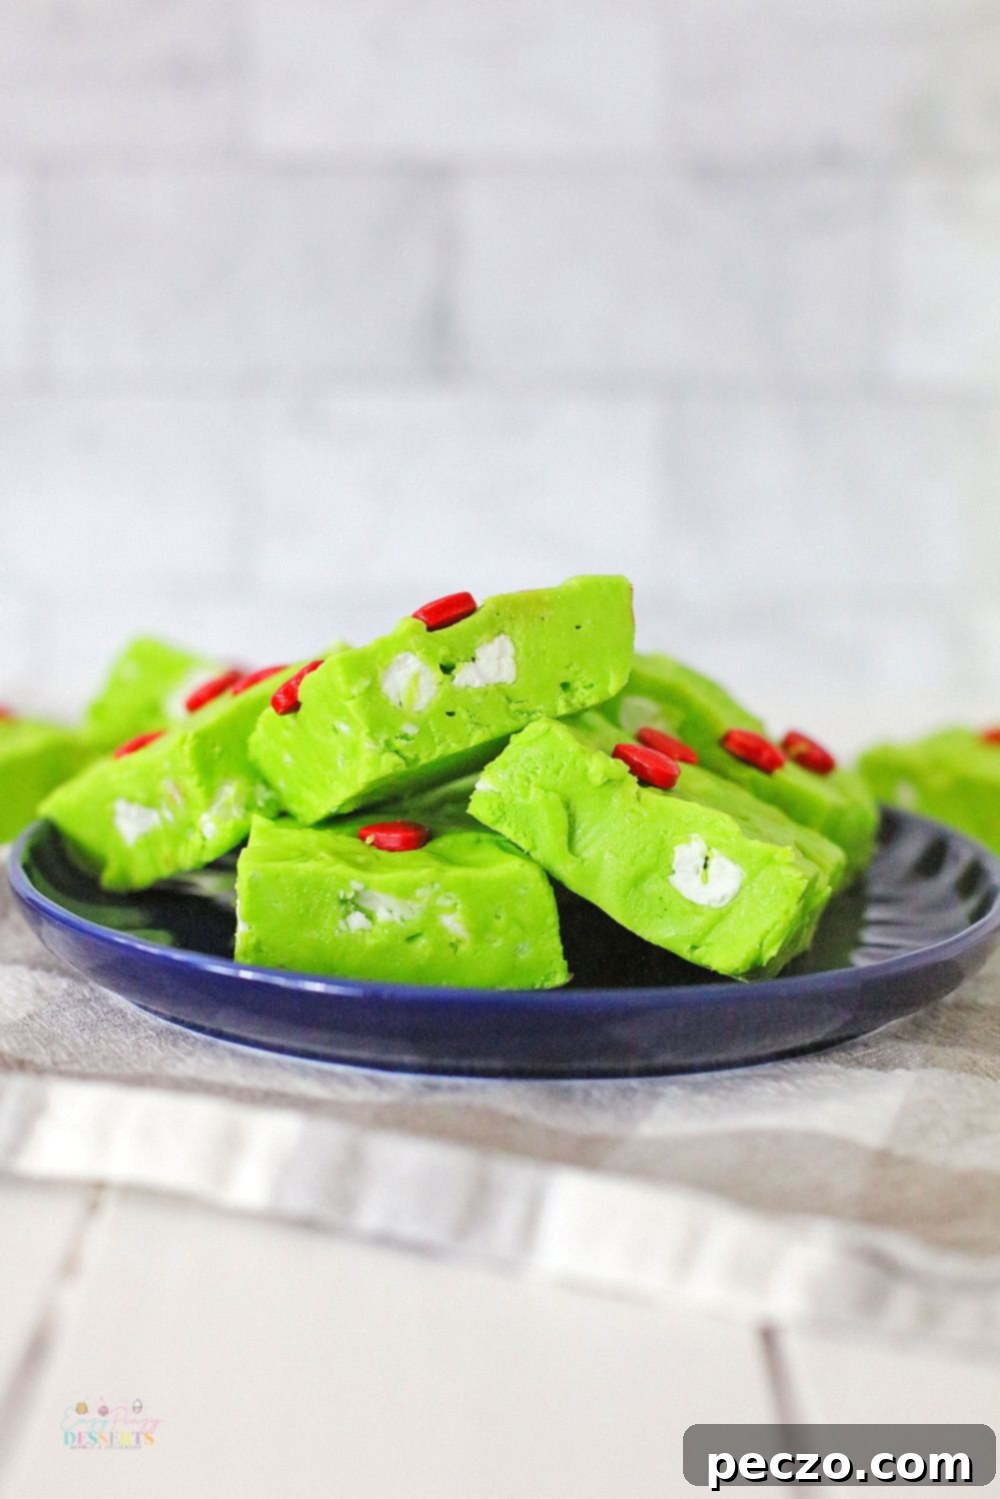
This Grinch-themed fudge isn’t just a dessert; it’s a celebration in itself. Its striking green hue, adorned with playful red heart sprinkles, instantly evokes the beloved holiday character and sparks joy in everyone who sees it. Perfect for adding a pop of color to your holiday spread, this fudge is as much a visual delight as it is a culinary one. Guests will be captivated by its festive appearance and impressed by its rich, smooth flavor, making it a memorable addition to any Christmas party, family dinner, or casual get-together. The best part? Its exceptional taste is matched only by its incredible ease of preparation, ensuring you can enjoy the holiday magic without spending hours slaving over a hot stove.
Crafted with just a handful of common ingredients, this recipe transforms simple components into a luxurious, melt-in-your-mouth experience. It’s the ideal sweet treat when you need something quick, impressive, and utterly delicious. Once you try this fuss-free method, this Grinch fudge is sure to become a cherished recipe in your holiday repertoire, eagerly anticipated by friends and family year after year.
Craving More Irresistible Chocolate Desserts?
If you’re a true chocolate aficionado, this Grinch fudge is just the beginning! Explore these other delightful chocolate-infused recipes that are perfect for satisfying any sweet tooth:
- Creamy Peanut Butter Cheesecake Fudge
- Decadent Chocolate Mousse Cake
- Classic Chocolate Fudge with Powdered Milk
- Easy Chocolate Fudge Cupcakes
Essential Ingredients for Your Magical Grinch Fudge
One of the many wonders of this Grinch fudge recipe is its incredibly simple ingredient list. You’ll be amazed at how easily these few items transform into such a spectacular holiday treat, primarily made in your microwave! To create this festive and delicious no-bake sensation, you’ll need the following:
- Flour: An essential component for the fudge’s texture and structure.
- Sugar: Provides the foundational sweetness that makes fudge so irresistible.
- Vanilla Extract: Enhances all the other flavors, adding a warm, aromatic depth.
- White Chocolate: The star of the show, providing the rich, creamy base for our vibrant green fudge. You can use high-quality white chocolate chips, baking bark, or melting chocolate wafers for the best results.
- Butter: Contributes to the smooth, luxurious mouthfeel of the fudge.
- Sweetened Condensed Milk: A key ingredient in many no-bake fudge recipes, it binds everything together and adds a wonderful creaminess and sweetness.
- Mini Marshmallows: These small additions add a delightful chewiness and extra softness to the fudge, contrasting beautifully with its smooth base.
- Green Gel Food Coloring: Crucial for achieving that iconic Grinch green. Gel coloring is preferred over liquid as it provides intense color without altering the fudge’s consistency.
- Red Heart Sprinkles: The perfect finishing touch to transform your green fudge into a true Grinch masterpiece, symbolizing his growing heart.
Crafting Your Grinch Fudge: A Step-by-Step No-Bake Method
Making this eye-catching green fudge is wonderfully straightforward, thanks to the magic of microwave cooking. Forget the complexities of traditional candy-making; this recipe simplifies the process, allowing you to whip up a batch of delicious Christmas fudge without the need for a hot stove or candy thermometer. Just follow these detailed steps to prepare your creamy white chocolate fudge:
- Step 1: Melt the White Chocolate Base. The first crucial step to your green Christmas fudge is perfectly melting your white chocolate. For this recipe, you have the flexibility to use white chocolate chips, baking bark, or dedicated melting chocolate, depending on your preference and availability. Place your chosen white chocolate in a microwave-safe bowl. Heat it in short bursts – typically 15-second intervals – stirring thoroughly after each interval. This staggered heating and stirring process is vital to prevent the chocolate from seizing or burning, ensuring a smooth, glossy, and fully melted consistency. Continue until the chocolate is completely smooth and free of lumps.
- Step 2: Prepare the Flour for Safe Consumption. Since raw flour is an uncooked ingredient, it can sometimes contain bacteria that are unsafe to consume. To ensure your no-bake fudge is perfectly safe and delicious, you’ll need to briefly heat the flour. Place the measured flour in a separate microwave-safe bowl. Microwave it for at least one minute, stirring halfway through, to kill any potential bacteria. Once cooked, your flour will be safe and ready to incorporate into the rest of your fudge ingredients, adding to its unique texture without any risks.
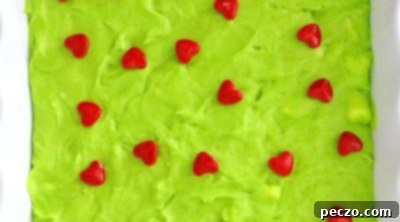
- Step 3: Combine and Chill for Festive Perfection. With your chocolate melted and flour prepared, it’s time to bring all the elements together. In a large bowl, combine the melted white chocolate, the microwave-safe flour, sugar, vanilla extract, butter, sweetened condensed milk, and mini marshmallows. Stir vigorously until all ingredients are thoroughly mixed and a uniform consistency is achieved. Now, add your green gel food coloring, a few drops at a time, mixing until you reach that desired vibrant Grinch green. Once colored, pour the mixture into a prepared pan (we’ll cover pan preparation in the tips section), smooth the top, and generously scatter your red heart sprinkles across the surface. Place the pan in the refrigerator for at least four hours, or until the fudge is firm enough to slice.
Expert Tips for Making the Best Microwave Fudge
While this no-bake Grinch fudge recipe is inherently simple, a few expert tips can elevate your results from great to truly exceptional. These insights will help you achieve perfectly smooth, delectable fudge every time, making your holiday preparation even smoother.
- Opt for High-Quality White Chocolate: The quality of your white chocolate directly impacts the final taste and texture of your fudge. Investing in a good quality brand ensures a richer flavor and a smoother melt. High-quality white chocolate, whether chips, baking bars, or wafers, will melt more evenly and produce a creamier fudge that isn’t grainy or prone to seizing. This small upgrade makes a significant difference in the overall indulgence of your Grinch fudge.
- Master the Art of Melting Chocolate (Don’t Overheat!): Melting white chocolate in the microwave requires a delicate touch. White chocolate is particularly sensitive to high heat and can easily seize or burn, becoming hard and unusable. The key is to heat it in very short intervals (15-20 seconds at most) and stir diligently after each burst. Stirring distributes the heat and helps the chocolate melt smoothly, even if some solid pieces remain. The residual heat from the melted chocolate will continue to melt the remaining solids. Stop heating as soon as it’s mostly smooth, relying on stirring to finish the job.
- Line Your Pan for Effortless Cutting: To make cutting and serving your fudge incredibly easy and mess-free, take an extra minute to line your baking pan. Use parchment paper or aluminum foil, ensuring that the edges overhang the sides of the pan. This creates “handles” that allow you to easily lift the entire slab of hardened fudge out of the pan. Once lifted, you can place it on a cutting board and slice it into perfect bite-sized squares without any sticking or struggle.
- Warm Your Knife for Pristine Slices: For the cleanest, most professional-looking cuts, warm your knife before slicing the chilled fudge. Run a sharp knife under very hot water for about 30 seconds, then quickly wipe it completely dry. The warm blade will glide through the dense fudge without sticking or causing cracks, resulting in beautifully neat pieces. Repeat this process as needed for multiple cuts to maintain warmth and cleanliness.
Serving and Decorating Your Grinch Fudge
Once your Grinch fudge is perfectly chilled and cut into charming squares, it’s time to present it! Arrange the vibrant green pieces on a festive holiday platter, perhaps alongside other seasonal treats like gingerbread cookies or candy canes. For an extra touch of sparkle, you can dust the fudge with edible glitter or a light sprinkle of powdered sugar just before serving. A few extra mini marshmallows or even small green candies can be scattered around the platter for added visual appeal. This fudge also makes a wonderful homemade gift; simply stack a few pieces in a decorative box or clear cellophane bag, tie with a festive ribbon, and share the Grinchy cheer!
How Long Can You Keep Homemade Fudge Fresh?
Proper storage is key to enjoying your delicious homemade Grinch fudge for as long as possible. With the right care, this festive treat can maintain its freshness and flavor for several days, or even months.
For short-term storage, place any leftover fudge in an airtight container. If you need to store multiple layers of fudge, place a piece of wax paper or parchment paper between each layer to prevent the pieces from sticking together. Store the container at room temperature in a cool, dry place, away from direct sunlight or heat. When stored this way, your fudge will remain delicious for up to 14 days.
For extended enjoyment, you have the option to store your homemade fudge in the refrigerator or freezer. In the refrigerator, stored in an airtight container, the fudge will stay fresh for up to three weeks. For even longer preservation, freeze the fudge in a freezer-safe, airtight container for up to three months. When you’re ready to enjoy frozen fudge, simply let it thaw at room temperature for an hour or two until it reaches your desired consistency.
Pin this Recipe to Save for Later!
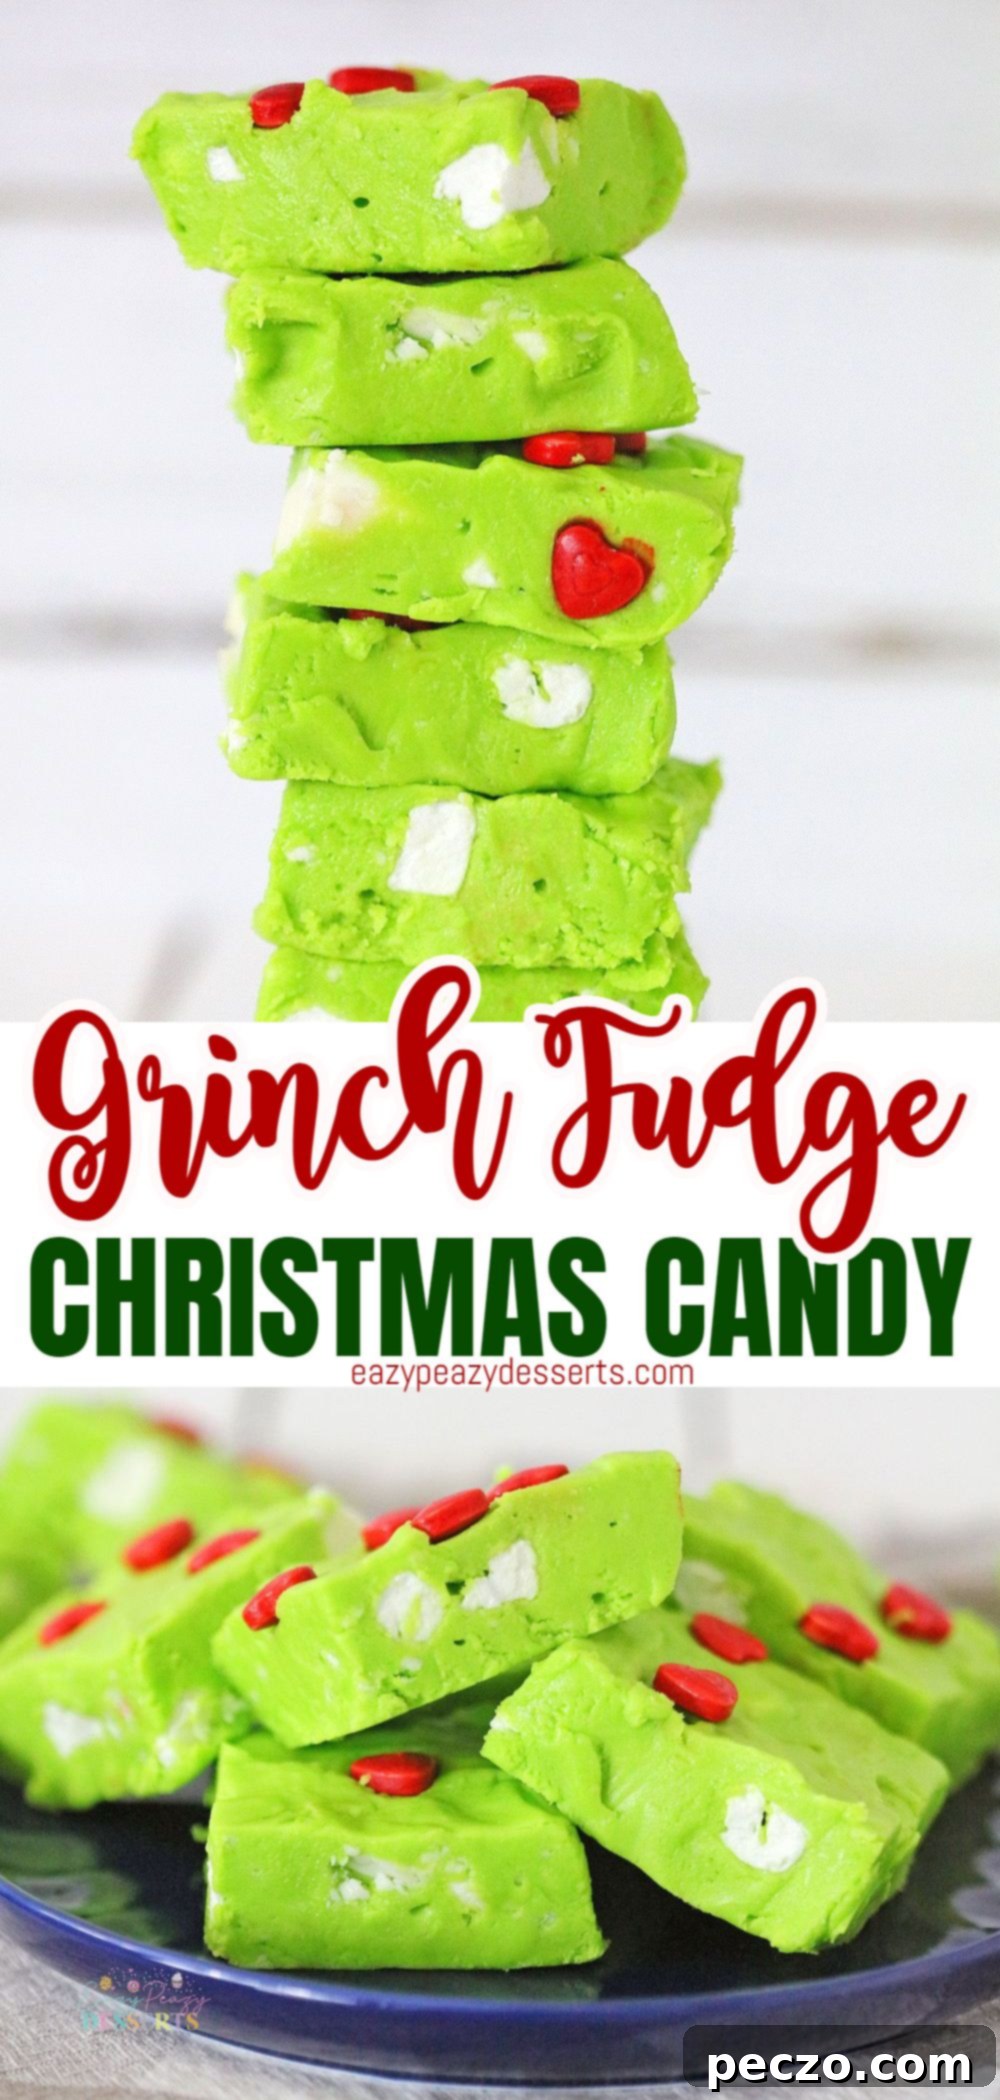
Print the complete recipe card below!
Grinch Fudge Christmas Candy
petro
Pin Recipe
Equipment
-
8 x 8 inches dish
-
spatula
-
mixing bowl
Ingredients
- 1 cup Flour
- 3/4 cups Sugar
- 1 teaspoon Vanilla
- 1 1/2 cups White Chocolate you can use White chocolate chips, or bark, or melting chocolate
- 1/2 cup Butter
- 1 can Sweetened Condensed Milk Eagle-brand Milk
- 1/2 cup Mini Marshmallows
- Green Food Coloring Gel
- Red Grinch Hearts
Instructions
-
In a microwave safe bowl, place the white chocolate, and microwave at 15 second intervals until melted. Stir well until smooth and creamy. Add the sweetened condensed milk, mini marshmallows and stir until all ingredients are mixed well. Place the flour in a separate bowl, and microwave for 1 minute. Stir and set aside. In a separate dish, mix the butter, sugar and vanilla, and stir until well combined. Add the flour to the butter mixture, and then add the white chocolate, and stir well.

-
Add the green food coloring gel, and stir to mix.

-
Spray an 8 X 8 dish with Cooking Spray, and pour the fudge into the dish. Sprinkle the red hearts on top of the fudge, and place in the refrigerator for at least four hours. Cut into 9 to 12 pieces, serve and Enjoy!

Notes
Nutrition
Frequently Asked Questions About No-Bake Grinch Fudge
Here are answers to some common questions you might have when making this fun and festive Grinch fudge:
- Can I use a different type of chocolate? While this recipe specifically calls for white chocolate to achieve the vibrant green color, you could experiment with milk chocolate or dark chocolate. However, keep in mind that using other chocolate types will result in a different base color, so your fudge might not have the signature Grinch look unless you adjust the food coloring significantly.
- Is it really necessary to heat the flour? Yes, absolutely! This is a crucial safety step that should not be skipped. Raw flour can contain bacteria like E. coli. Microwaving it for at least one minute ensures that any potential bacteria are eliminated, making your no-bake fudge safe for consumption.
- Can I use liquid food coloring instead of gel? Gel food coloring is highly recommended for this recipe. Liquid food coloring contains water, which can alter the consistency of the fudge, making it too soft or grainy. Gel coloring provides a much more concentrated color without adding excess moisture, allowing you to achieve that vibrant Grinch green without affecting the texture.
- My fudge turned out too soft/too hard. What went wrong? If your fudge is too soft, it might not have been chilled long enough, or perhaps the ratio of ingredients was slightly off (e.g., too much condensed milk). If it’s too hard, the chocolate might have been slightly overcooked and seized, or there wasn’t enough liquid. Always ensure accurate measurements and be careful not to overheat the white chocolate.
- How can I make my fudge perfectly smooth? The key to smooth fudge lies in high-quality ingredients and careful melting of the white chocolate. Heat the chocolate in short bursts, stirring continuously until just melted and smooth. Avoid over-mixing once all ingredients are combined, as this can sometimes introduce air and affect the texture.
Embrace the Holiday Spirit with Easy Grinch Fudge!
This No-Bake Grinch Fudge recipe is more than just a dessert; it’s a testament to how simple ingredients and a little creativity can bring immense joy during the festive season. With its striking appearance and delightful flavor, it’s the perfect treat to share with loved ones, spread holiday cheer, and make lasting memories. Whether you’re a seasoned baker or new to the kitchen, this easy microwave fudge promises a stress-free and delicious experience. So, gather your ingredients, turn on your favorite holiday tunes, and get ready to create a batch of Grinch fudge that will make even the Grinch’s heart grow three sizes! Happy holidays and happy fudging!
