The Ultimate Easy Apple Danish Recipe: Flaky Pastry & Warm Cinnamon Bliss
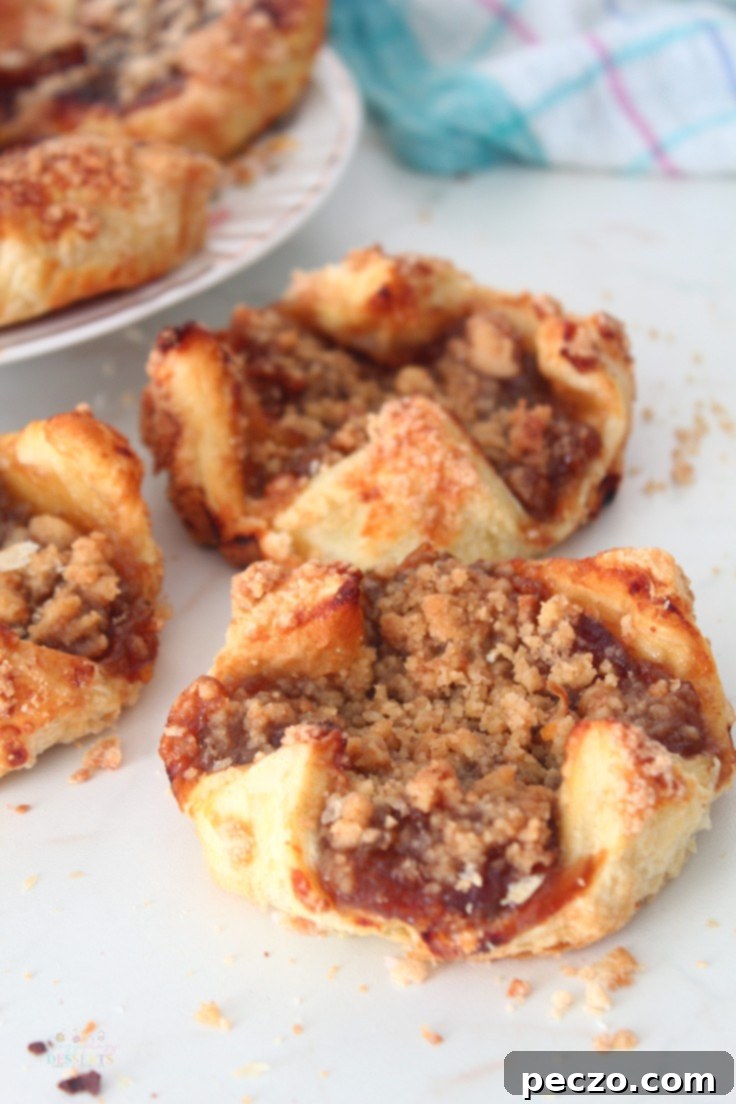
There’s something truly magical about a warm, flaky Danish pastry, and when it’s filled with sweet, spiced apples, it becomes an irresistible treat. Apples are one of nature’s most versatile fruits, readily available year-round, making them a perfect star for countless culinary creations. Today, we’re diving into crafting an incredible Apple Danish recipe that’s surprisingly simple to make, yet delivers on all the comforting flavors and textures you crave. Get ready to impress yourself and your loved ones with this bakery-quality dessert right from your own kitchen!
Homemade Apple Danish: A Simple Indulgence
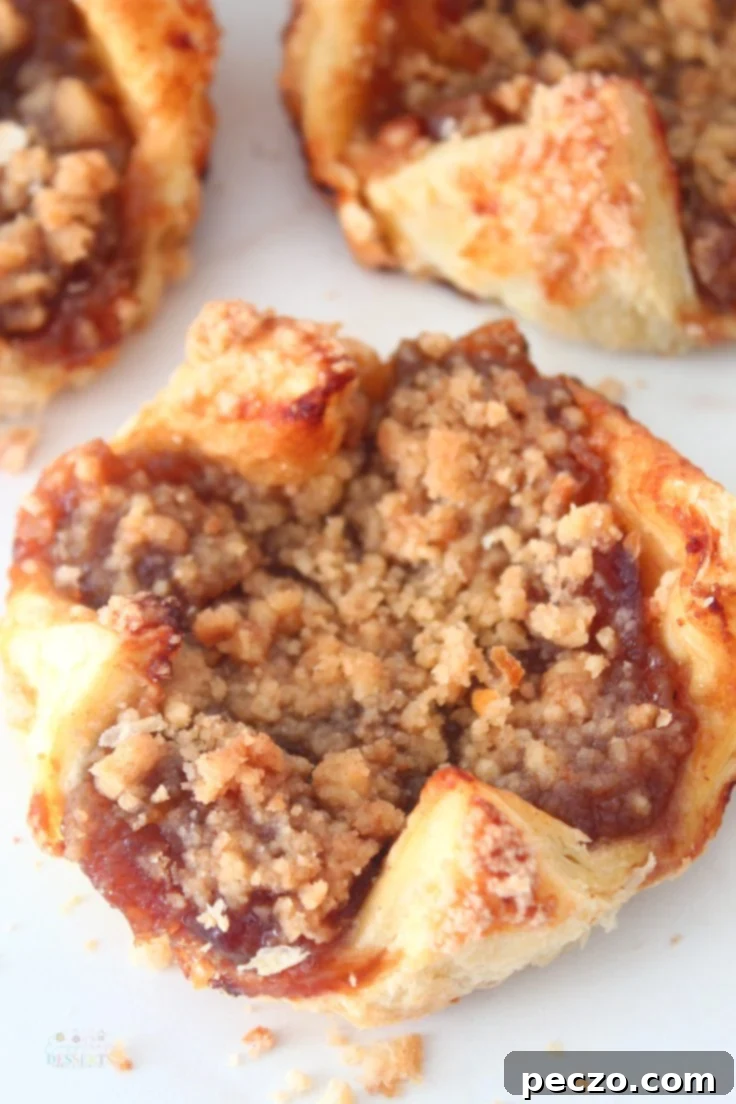
The beauty of this apple Danish recipe lies in its simplicity, largely thanks to the humble yet extraordinary puff pastry. This ready-to-use dough transforms baked apples into a delightful dessert with minimal effort, significantly cutting down on baking time compared to making pastries from scratch. While homemade puff pastry is a rewarding endeavor, opting for a quality store-bought version makes this recipe accessible to even the busiest of bakers, promising a light, airy, and wonderfully flaky result every time.
Don’t let the thought of multiple ingredients intimidate you! Many of the items for this apple Danish pastry are likely staples you already have in your pantry, meaning you can whip up this treat without needing a major grocery run. We’ll guide you through each step to ensure your apple Danish is not just easy, but also absolutely delicious.
Discover More Fruit-Filled Delights
If you’re a fan of fruit-based desserts, you’re in for a treat. Here are some other delightful recipes that celebrate the sweetness and freshness of various fruits, perfect for expanding your baking repertoire:
- Mini Lemon Tarts
- Blueberry Streusel Muffins
- Apple Pull Apart Bread
- Blueberry Buttermilk Cake
- Raspberry Tiramisu
- Apple Tiramisu
- Banana Berry Trifle
- Apple Coffee Cake
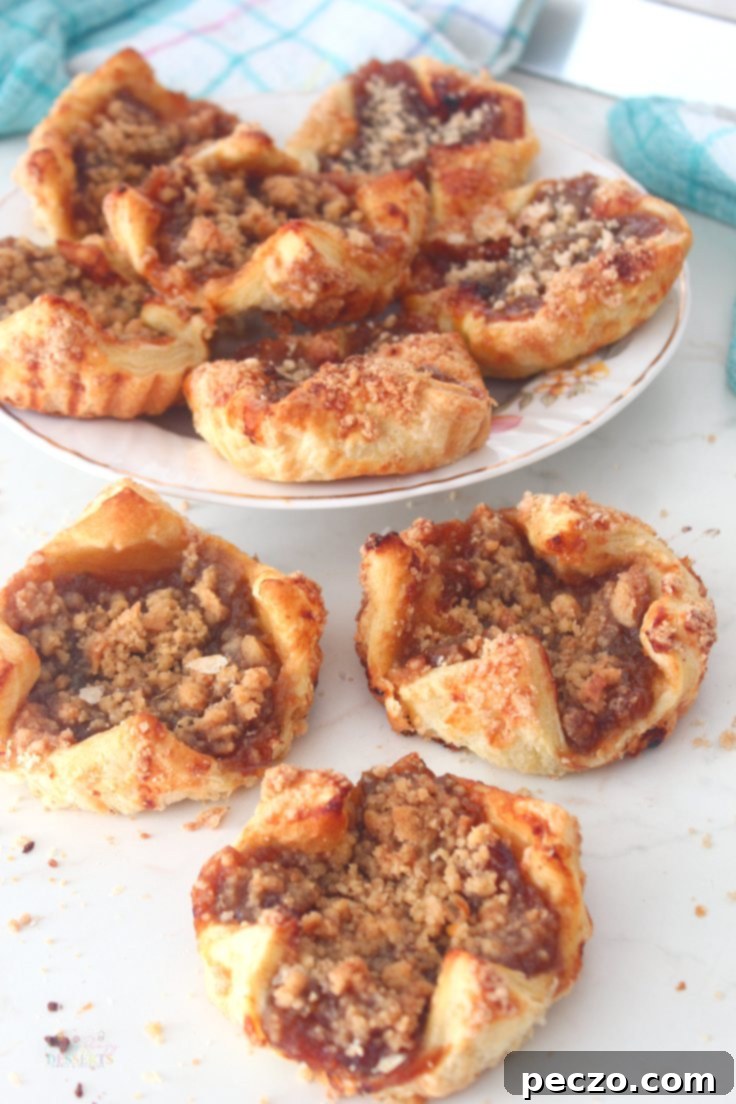
Serving Suggestions for Your Apple Danish Pastry
The beauty of apple Danish pastry is its versatility. Whether you’re enjoying a quiet morning or hosting a lively brunch, these pastries are sure to be a hit. Here are some ways to best enjoy your homemade delights:
- Warm and Wonderful: Apple Danishes are absolutely heavenly when served warm, straight out of the oven. The warmth enhances the aroma of cinnamon and apples, and the pastry is at its flakiest. However, don’t fret if you have leftovers; they remain delightfully delicious the next day, perhaps with a quick reheat in the oven for a few minutes.
- Breakfast or Brunch Staple: These pastries make for an ideal breakfast or brunch item. Pair them with a freshly brewed cup of coffee for a comforting start to your day, or alongside a mimosa for a special brunch. Their satisfying sweetness and filling nature will keep you energized and content for hours.
- Party Perfection: With their appealing golden-brown crust, inviting apple filling, and optional crumb topping, apple Danishes are visually stunning enough to grace any brunch or dessert party spread. Be prepared for them to disappear quickly – guests often clean up the tray in the blink of an eye!
I often like to bake a large batch of these apple Danishes during the weekend. This way, my family and I can enjoy a delightful, homemade treat throughout the entire week, making busy mornings a little more special.
Creative Variations & Customizations for Your Apple Danish
While the classic apple Danish “nest” is charming, this recipe is incredibly adaptable to various shapes and fillings. The possibilities truly are endless, allowing you to personalize your pastries to your heart’s content. Consider these ideas:
- Different Shapes: Beyond the small nests, you can shape the puff pastry into elegant braided cakes, delightful turnovers, charming pinwheels, or even rustic hand pies. Each shape offers a unique aesthetic and eating experience, yet uses the same delicious apple filling.
- Alternative Fillings: Don’t limit yourself to just apples! Experiment with other sweet fillings like creamy sweet cheese (mixed with a touch of sugar and vanilla), fresh strawberries or mixed berries, decadent chocolate cream, or even a luscious pear or peach filling. You can also combine fruits, such as apple-cranberry or apple-cherry, for added complexity.
- Enhanced Textures: If you’re sticking with the classic apple filling, consider adding some crushed walnuts, pecans, or almonds for an extra layer of crunch and nutty flavor. These additions complement the soft, spiced apples beautifully.
- Glaze & Topping Options: While a simple dusting of powdered sugar is always elegant, you can also drizzle a lemon glaze for a citrusy tang, or a rich cream cheese frosting for added indulgence. For a more savory touch, a sprinkle of sea salt can enhance the sweetness of the apple.
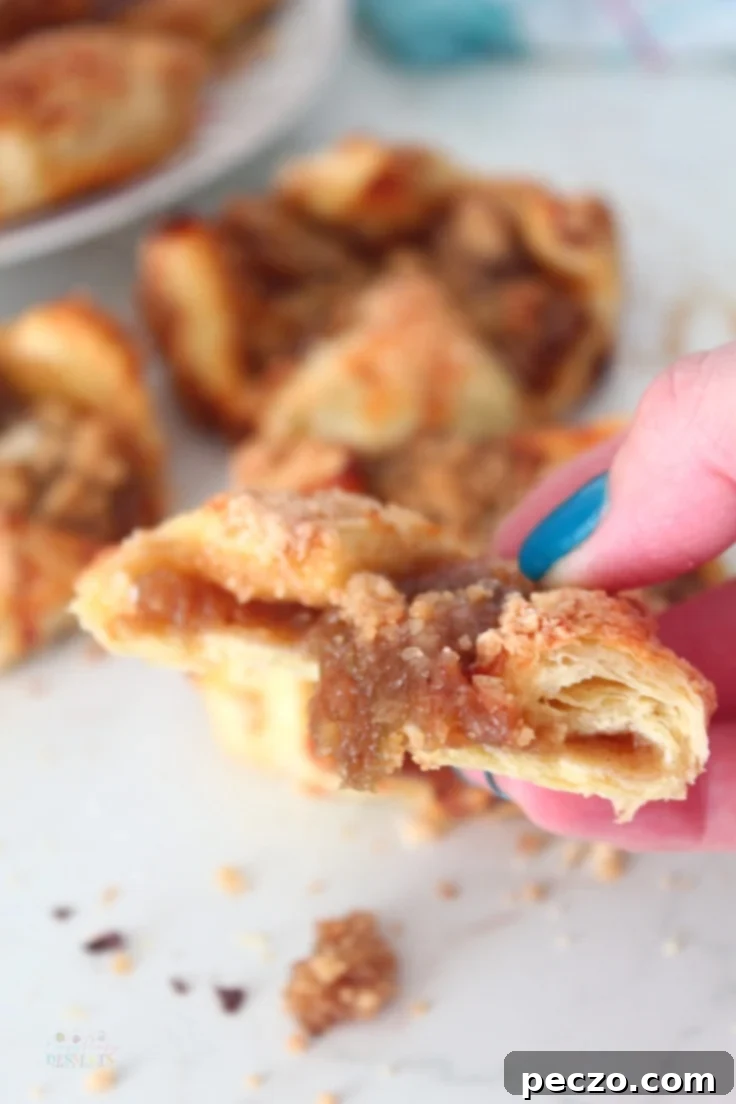
Expert Tips and Tricks for the Perfect Apple Danish
Achieving a truly outstanding apple Danish is easy with a few insider tips:
- Choosing the Best Apples: The type of apple you use significantly impacts the final texture of your filling. For baking, opt for firm varieties that hold their shape well and offer a good balance of sweet and tart. Excellent choices include Pink Lady, Granny Smith, Fuji, or Gala apples. Softer varieties tend to become mushy after baking, which can compromise the texture of your Danish.
- Make Ahead Magic: This pastry is perfect for preparing in advance. You can assemble your Danishes and wrap them tightly in plastic wrap, then store them in the refrigerator for up to 2 days. When you’re ready to bake, let them sit at room temperature for about an hour before baking, or add an extra 5-10 minutes to the baking time if baking them cold straight from the fridge. This makes them ideal for entertaining or busy mornings.
- Freezing for Future Enjoyment: Apple Danishes are wonderfully freezer-friendly, both before and after baking.
- Freezing Unbaked: Assemble your Danishes as instructed in the recipe. Place them on a baking sheet lined with parchment paper and freeze for 3-4 hours until solid. Once frozen, transfer them to an airtight freezer bag or container and store for up to 3 months. When ready to bake, there’s no need to thaw! Simply place them on a baking sheet and extend the baking time by 15-20 minutes, or until golden brown and puffed.
- Freezing Baked: Allow your baked Danishes to cool completely. Then, place them in an airtight freezer-safe container, separating layers with parchment paper if stacking. They can be frozen for up to one month. To reheat, simply warm them in a preheated oven until heated through and flaky again. This is perfect for having quick, single servings on hand.
I would love to hear your thoughts on this recipe! What do you like to pair your apple Danishes with? Do you prefer them with a generous crumb topping, a delicate glaze, or simply plain? Share your ideas and feedback in the comments section below!
Crafting Your Apple Danish: Ingredients & Process Overview
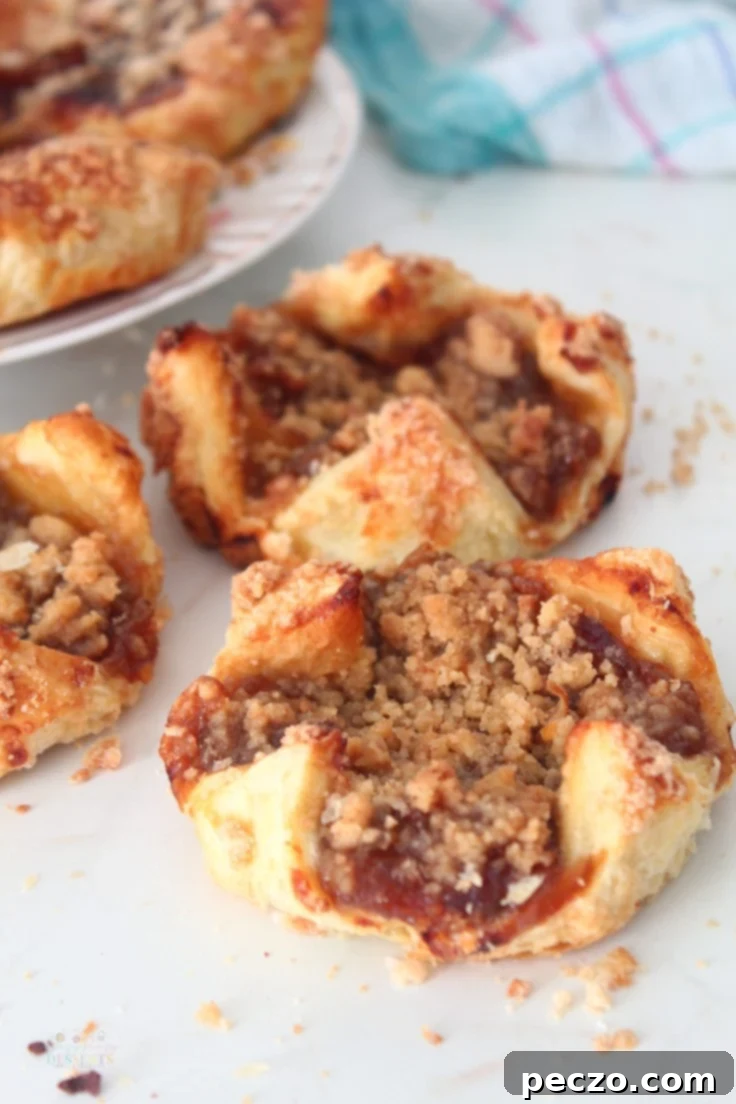
What You’ll Need to Create This Delicious Apple Danish Recipe
The secret to a truly flavorful apple Danish lies in its components. While speed is often a factor, opting for fresh ingredients where it counts can elevate your pastry from good to extraordinary.
- For the Apple Cinnamon Filling: While canned apple pie filling offers a quick shortcut, I wholeheartedly recommend making your own from scratch using fresh apples. The difference in taste, texture, and aroma is significant and well worth the minimal extra effort. It only takes about 8 minutes to cook down fresh diced apples with a touch of lemon juice, butter, sugar, salt, cornstarch, and the warming spices of cinnamon and nutmeg until you achieve a luscious, jelly-like consistency. This fresh filling is the heart of your apple Danish.
- The Irresistible Crumb Topping: A crumb topping, or streusel, adds a delightful textural contrast and an extra layer of sweetness and spice to these tasty nests. It’s a simple blend of flour, brown sugar, melted butter, and cinnamon, creating a coarse, crumbly mixture that bakes into a golden, buttery crust. You can certainly omit it if you prefer, but once you experience that delightful crunch and added flavor, I guarantee you won’t want to skip it again. Trust me, it’s absolutely worth washing one more dish for!
- Optional Glaze: A simple glaze can add a beautiful sheen and an extra touch of sweetness. For this particular recipe, I chose to leave it out to let the natural flavors of the apple and crumb topping shine, but it’s a wonderful addition. To make it, just whisk together some icing sugar with a splash of milk or water and a drop of vanilla extract until smooth. Kids especially love helping with this part – and, of course, licking the bowl clean!
- The Flaky Dough: For the base of your Danish, you have two primary options. The quickest and easiest route is to use store-bought frozen puff pastry, which typically thaws and is ready for baking in about 30-40 minutes. Look for all-butter puff pastry for the best flavor. If you’re feeling ambitious and have more time, you can certainly make your own puff pastry from scratch – a rewarding, albeit more time-consuming, process. Regardless of your choice, remember that keeping all your ingredients, especially the pastry, very cold is crucial for achieving that coveted light, airy, and flaky result.
- Sweet Enhancements: Honey pairs exceptionally well with baked apples. You can add a tablespoon or two directly into your apple filling mixture for a deeper, more complex sweetness, or simply drizzle a little on top of the finished Danishes just before serving for an elegant touch. Maple syrup is another fantastic alternative.
How to Easily Make Your Own Apple Danish
Follow these straightforward steps to create your perfect apple Danish pastries:
- Prepare the Apple Filling: In a medium saucepan, combine your diced apples with lemon juice, melted butter, sugar, salt, vanilla extract, cinnamon, nutmeg, and corn starch. Cook this mixture over medium heat, stirring occasionally, until it begins to bubble and thicken into a jelly-like consistency. As it cooks, gently press the apples with a potato masher to create a smoother, purée-like texture while still leaving some small apple chunks for body. Allow the filling to cool slightly.
- Make the Crumb Topping: In a separate small bowl, mix together the flour, brown sugar, melted butter, and cinnamon powder for the crumb topping. Use a fork or your fingertips to combine the ingredients until coarse crumbs form. If the mixture feels too wet, add a tiny bit more flour until you reach your desired crumbly texture.
- Prepare the Puff Pastry: Preheat your oven according to the instructions on your puff pastry package. Line a large baking sheet with parchment paper. Unroll your sheet of puff pastry and lightly roll it out a bit with a rolling pin to smooth any creases and slightly enlarge it.
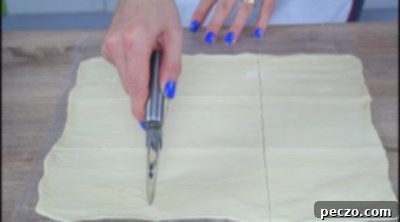
- Cut the Pastry: Using a pastry wheel or a pizza cutter, carefully cut the puff pastry sheet into 9 equal squares or rectangles.
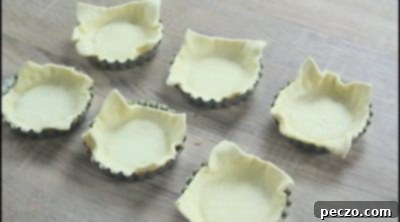
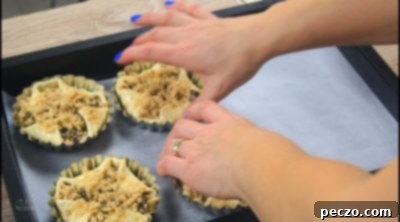
- Shape the Danishes: Gently press each pastry square into the cups of a mini tart pan. If your tart pans are not non-stick, or if you prefer extra assurance, line the bottoms with small circles of baking paper. The pastry should create a small “nest” for the filling.
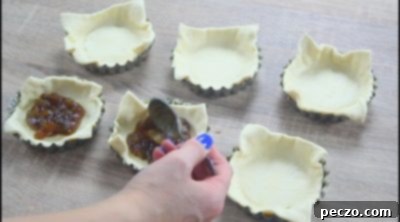
- Fill & Fold: Spoon a generous amount of the cooled apple filling into the center of each pastry nest. Gently fold the corners of the pastry squares inwards, partially covering the filling, to create a rustic, open-face Danish shape.
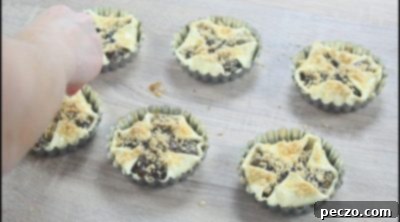
- Egg Wash & Crumb Sprinkle: In a small bowl, whisk one egg to create an egg wash. Lightly brush the exposed pastry edges of each Danish with the egg wash. This will give them a beautiful golden-brown shine. Then, liberally sprinkle your prepared crumb topping over the apple filling in each tart.
- Bake to Perfection: Transfer the filled mini tart pans to your prepared baking sheet. Bake in the preheated oven for the time instructed on your puff pastry package, or until the pastry is puffed, golden brown, and the apple filling is bubbly. This typically takes about 15-20 minutes, depending on your oven.
- Cool & Enjoy: Once baked, remove the Danishes from the oven and let them cool in the pans for a few minutes before transferring them to a wire rack to cool completely, or serve them warm for an ultimate treat!
Pin to save for later

Print the recipe card
Apple Danish Recipe
petro
Pin Recipe
Equipment
-
mixing bowl
-
saucepan
-
potato masher
-
spatula
-
Rolling Pin
-
pastry wheel
-
mini tart pans
-
baking sheet
-
baking paper
-
pastry brush
Ingredients
- 1 sheet puff pastry if you like less filling in each pastry nest, use 2 pastry sheets
- 1 egg
For the apple filling
- 3 apples medium, diced
- 1/2 lemon juice
- 1/2 stick butter melted
- 1 cup sugar
- 1/4 tsp salt
- 1/8 tsp nutmeg powder
- 1/2 tsp cinnamon powder
- 1 tbsp corn starch
- 1 tsp vanilla extract
For the crumbs
- 2/3 cup flour add a little more if crumbs are too soft
- 1/2 cup brown sugar
- 4 tbsp butter melted
- 1/2 tsp cinnamon powder
Instructions
-
In a saucepan, mix apples with lemon juice, melted butter, sugar, salt, nutmeg, cinnamon, corn starch and vanilla extract. Cook over high heat until bubbly then turn the heat to low and cook until you get a jelly like texture. While cooking, press the apples with a potato masher to mash into a puree.

-
Make the crumbs by mixing the crumb ingredients with a spoon until crumbs are formed. You might need to add a bit more flour to get to the texture you like.

-
Pre heat the oven as instructed on the pastry package. Line a baking sheet with baking paper.
-
Spread the puff pastry and roll out a bit with a rolling pin.

-
Use the pastry wheel or a pizza wheel to cut the pastry into 9 squares/rectangles.

-
Add the pastry squares to the mini tart pans. If your pans are not non stick, line some baking paper to the bottoms.

-
Add the apple filling to each nest

-
Fold the corners inside.

-
Brush with egg wash

-
Sprinkle crumbs over each tart

-
Transfer the pans to a baking sheet and bake as instructed on the puff pastry package. The pastry should be golden brown.

Video
Nutrition
