Decadent Chocolate Peanut Clusters: The Easiest 3-Ingredient No-Bake Recipe
Are you constantly on the hunt for new and irresistible dessert ideas that don’t require hours in the kitchen? Look no further! We all love chocolate, and there’s something uniquely comforting and utterly delicious about a simple, homemade treat. These chocolate peanut clusters are not just tasty; they are an absolute game-changer for anyone craving a quick, satisfying, and incredibly easy dessert. Get ready to discover the ultimate fuss-free way to whip up these delightful morsels!
Irresistible Chocolate Peanut Clusters: A Quick & Simple Delight
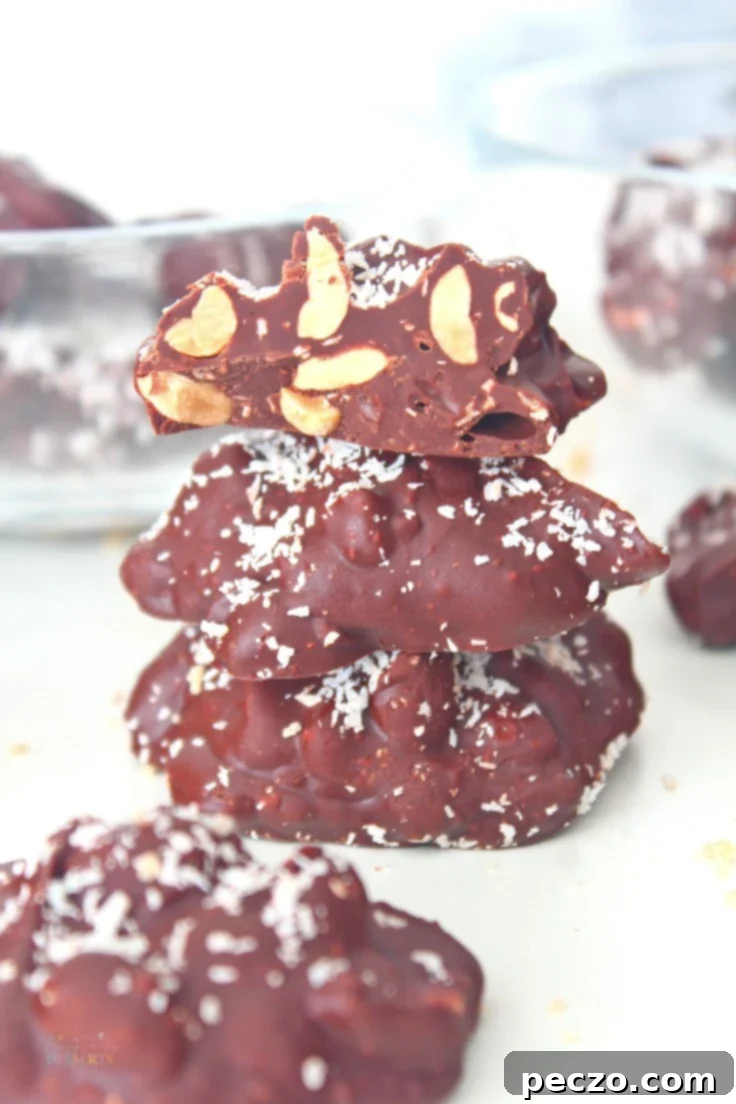
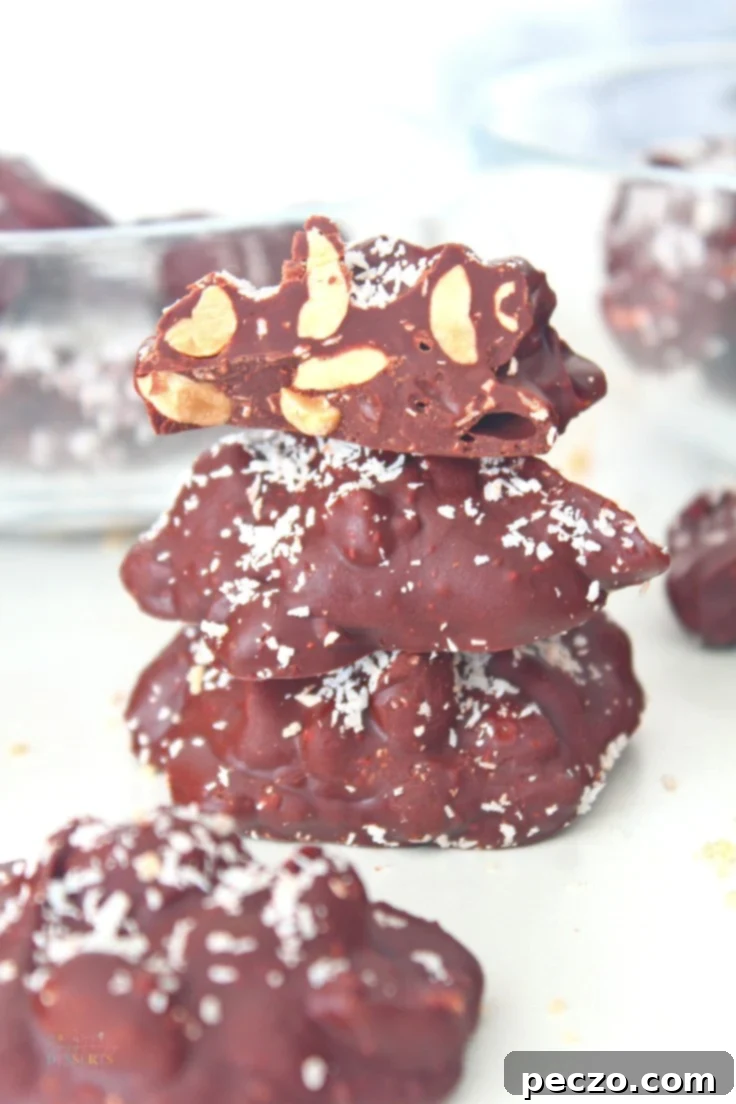
These chocolate peanut clusters are truly a marvel of simplicity and speed. Imagine crafting a batch of delicious candies in under 10 minutes of active preparation! This recipe is a perfect testament to the fact that you don’t need a pantry full of exotic ingredients or advanced culinary skills to create something truly special. Requiring just three easy-to-find ingredients and primarily utilizing your microwave for lightning-fast melting, this recipe is incredibly beginner-friendly. In fact, it’s so straightforward that even kids can join in the fun, making it an ideal family activity. Say goodbye to complicated baking and hello to instant gratification!
Other Chocolate Desserts You Will Love:
- Chocolate Fudge with Milk Powder
- Fudge Cupcakes
- Wacky Cake Recipe
- Double Chocolate Cake
- Italian Chocolate Salami
- Chocolate Marshmallow Popcorn Bars
- Chocolate Pretzels
Why You’ll Love Making These Peanut Clusters
Beyond their ease and deliciousness, these chocolate peanut clusters offer a multitude of reasons to become your new go-to treat. Their incredibly fast preparation time makes them a lifesaver for busy individuals who need a last-minute dessert for parties, potlucks, or holiday gatherings. Forgot to bake for that office party? No problem! These clusters come to the rescue, allowing you to create a homemade confection without any stress.
But it’s not just about emergencies. Sometimes, you just need a little pick-me-up on a random weekday. These clusters are perfect for satisfying that sudden sweet craving. They’re also fantastic as thoughtful, easy-to-make gifts for your loved ones. Imagine a beautifully packaged box of these homemade candies – it shows care without requiring extensive effort. If you have a small treat business or are planning to start one, these clusters are a brilliant addition to your product line. They are cost-effective, universally appealing, and incredibly simple to gift wrap. Just pop them into a cute box or a cellophane bag, tie with a festive ribbon, and you’ve got a charming present ready to go!
How to Add Diversity and Personalize Your Amazing Chocolate Peanut Clusters
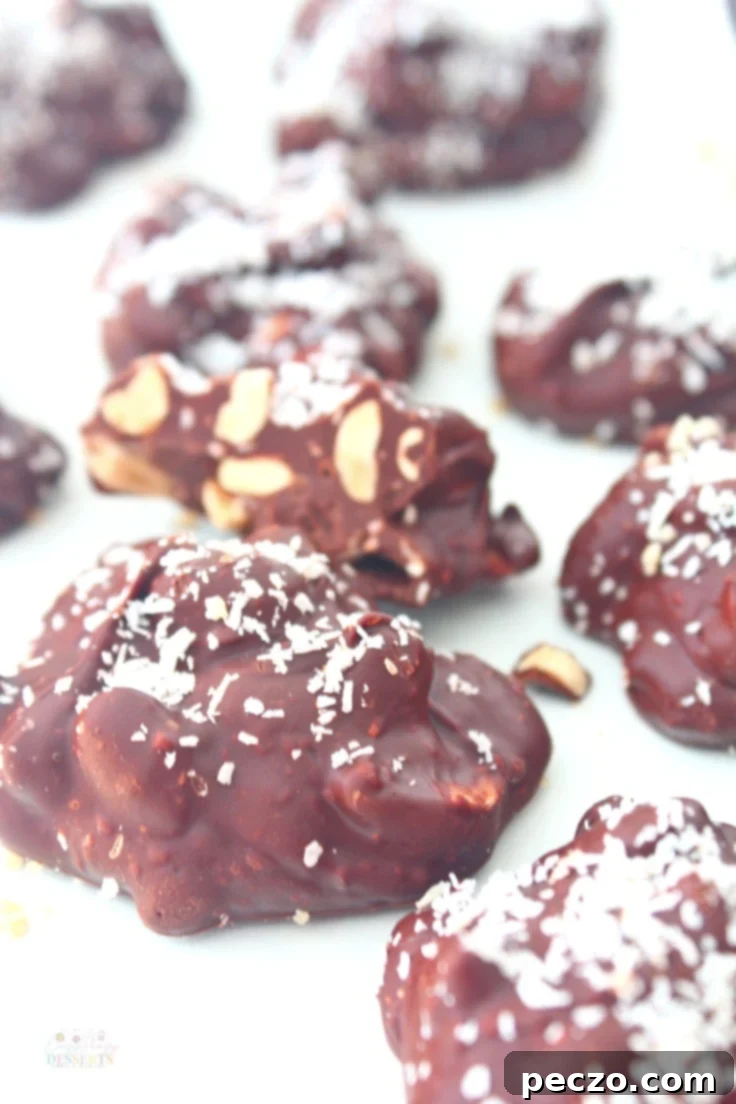
While the classic chocolate peanut cluster is undeniably perfect, this recipe truly shines in its versatility. You can easily customize it to suit your taste, the occasion, or whatever ingredients you have on hand. Here are some fantastic ideas to elevate your clusters:
- **Flavor Boost:** If you’re using unsalted peanuts, consider adding a sprinkle of sea salt on top of the finished clusters for a delightful sweet and salty contrast that truly enhances the chocolate flavor.
- **Nutty Alternatives:** Not a fan of peanuts or just want to try something new? Replace peanuts with other nuts like pecans, walnuts, almonds, cashews, or even a mixed nut blend. Each type of nut brings its unique texture and flavor profile.
- **Festive Touches:** Make your clusters more celebratory by topping them with colorful sprinkles, contrasting chocolate sprinkles, or even a dusting of edible glitter. This is especially fun for holidays or birthday parties.
- **Chocolate Varieties:** Don’t limit yourself to dark chocolate! Experiment with milk chocolate for a sweeter profile, white chocolate for a creamy, elegant look, or even a combination of chocolates for a marbled effect.
- **Extra Indulgence:** Stir in peanut butter chips, mini marshmallows, or even dried fruit pieces (like cranberries or raisins) into the mix for added flavor and texture.
- **Saucy Finish:** Drizzle a bit of caramel sauce or a light dusting of cocoa powder over the top of the set clusters for an extra layer of gourmet appeal.
- **Extract Adventures:** Infuse your chocolate with your favorite extract. Almond, orange, mint, or rum extracts all pair beautifully with chocolate. For adult gatherings, a splash of your favorite liquor can add a sophisticated touch – just be sure to label them if serving to a mixed audience!
Consider melting different kinds of chocolate separately and creating an assortment of delicious candies for your dessert table. A mix of dark, milk, and white chocolate clusters, perhaps with varied toppings, will look incredibly impressive. This recipe is also a fantastic way to use up any leftover chocolate from other baking projects – zero waste, maximum flavor!
Beyond ingredients, you can also play with shapes. Instead of traditional drops, place the mixture into cute themed molds like stars, trees, gingerbread men, or hearts. This adds a personalized touch perfect for holidays or special events. This recipe truly encourages your imagination, so don’t hesitate to get creative!
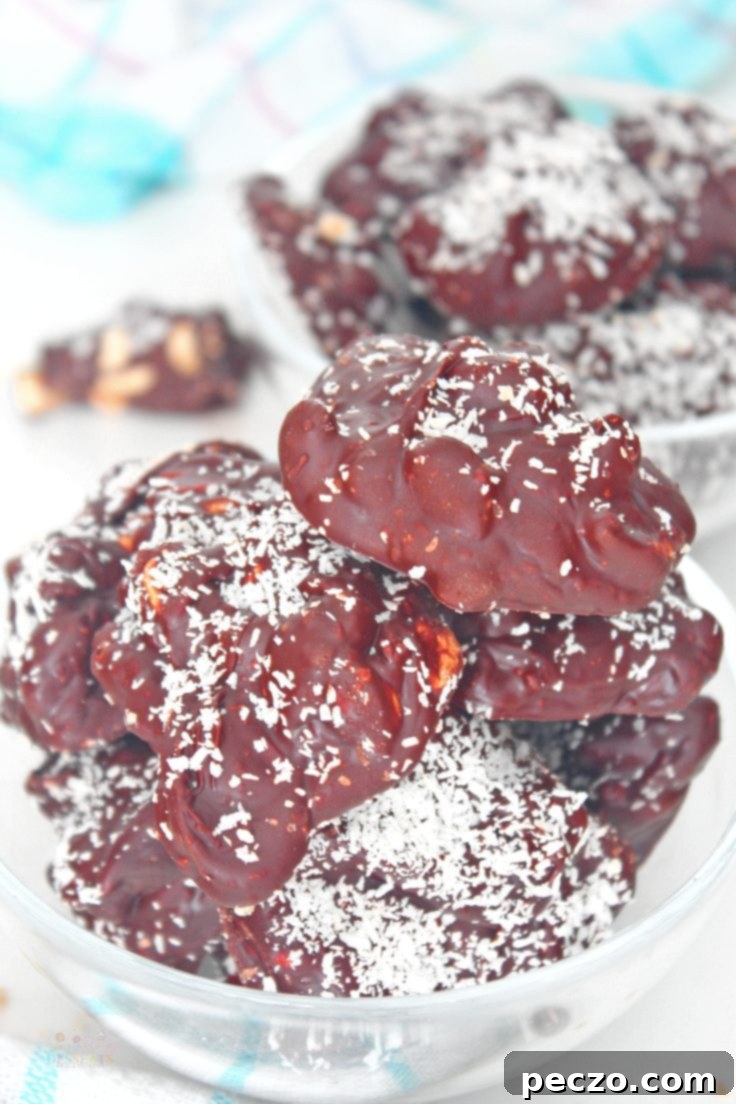
How to Perfectly Melt Chocolate for Your Clusters
While the microwave is undoubtedly the quickest and most convenient method for making these delightful chocolate peanut clusters, you certainly have other options. The key is to melt the chocolate gently and evenly to prevent it from seizing or burning.
Microwave Method (Quickest)
For microwave melting, place your chopped chocolate (or chocolate chips) in a microwave-safe bowl. Heat in short intervals, typically 20-30 seconds, stirring thoroughly after each interval. Chocolate retains its shape even when melted, so stirring is crucial to determine its consistency and prevent overheating. Continue this process until the chocolate is smooth and fully melted. Do not overcook, as this can cause the chocolate to burn and become grainy.
Double Boiler Method (Stovetop)
If you prefer a stovetop method or don’t have a microwave, a double boiler (bain-marie) is your best friend. You can use a dedicated double boiler or improvise one: place a heat-safe bowl over a saucepan filled with about an inch or two of simmering water, ensuring the bottom of the bowl does not touch the water. The steam from the simmering water will gently heat the bowl and melt the chocolate. Stir continuously until smooth. This method provides more controlled heat, reducing the risk of burning the chocolate.
Should You Temper Your Chocolate?
The decision to temper your chocolate is entirely up to you and depends on your desired final result. Tempering chocolate involves a specific heating and cooling process that stabilizes the cocoa butter crystals. While not strictly necessary for taste, tempering offers several benefits:
- **Glossy Finish:** Tempered chocolate results in a beautiful, shiny appearance, making your clusters look professionally made.
- **Firm “Snap”:** It creates a satisfying crisp texture when you bite into the chocolate.
- **Bloom Resistance:** Tempered chocolate is less prone to “blooming” (developing white, streaky spots) when stored at room temperature, which is purely an aesthetic issue but can make your candies look less appealing.
For a simplified home tempering method (often called the “seeding” method), melt about two-thirds of your chocolate in the microwave or double boiler until smooth and warm (around 115°F or 46°C for dark chocolate). Remove from heat and add the remaining one-third of finely chopped, unmelted chocolate. Stir continuously. The warmth of the melted chocolate will melt the solid pieces, and at the same time, the cooler chocolate will lower the overall temperature of the batch, bringing it into temper (around 88-90°F or 31-32°C for dark chocolate). Continue stirring until smooth, glossy, and slightly thickened. Once tempered, quickly mix with your peanuts and proceed to the next step.
How to Store Your Delicious Chocolate Peanut Clusters
One of the many great things about chocolate peanut clusters is their excellent shelf life. They are quite forgiving when it comes to storage, ensuring you can enjoy them for an extended period or prepare them in advance.
- **Room Temperature:** Just like solid chocolate, your clusters will keep well for up to 2-3 weeks at cool room temperature (ideally below 70°F or 21°C) in an airtight container. This helps prevent them from absorbing odors or becoming stale.
- **Refrigerator:** For longer storage or in warmer climates, storing them in an airtight container in the refrigerator is an excellent option. They can last for several weeks this way. Be aware that refrigeration can sometimes cause a slight “bloom” or a temporary dulling of the chocolate’s shine, but this doesn’t affect the taste. Allow them to come to room temperature for about 10-15 minutes before serving for the best texture and flavor.
- **Freezer:** For even longer preservation, chocolate peanut clusters can be frozen for up to 3 months. Place them in a single layer on a baking sheet to freeze until solid, then transfer them to a freezer-safe, airtight container or bag. When ready to enjoy, thaw them in the refrigerator overnight or at room temperature for a few hours.
However you choose to store them, ensuring they are in an airtight container is paramount to maintaining their freshness and preventing any unwanted moisture or odors from affecting their delightful taste and texture.
I’m genuinely excited to hear how your chocolate peanut clusters turn out! Did you enjoy making them as much as we did? Were they a hit with your family and friends? Feel free to share your experiences, photos, and any creative variations you tried in the comments section below!
Classic Chocolate Covered Peanuts Recipe
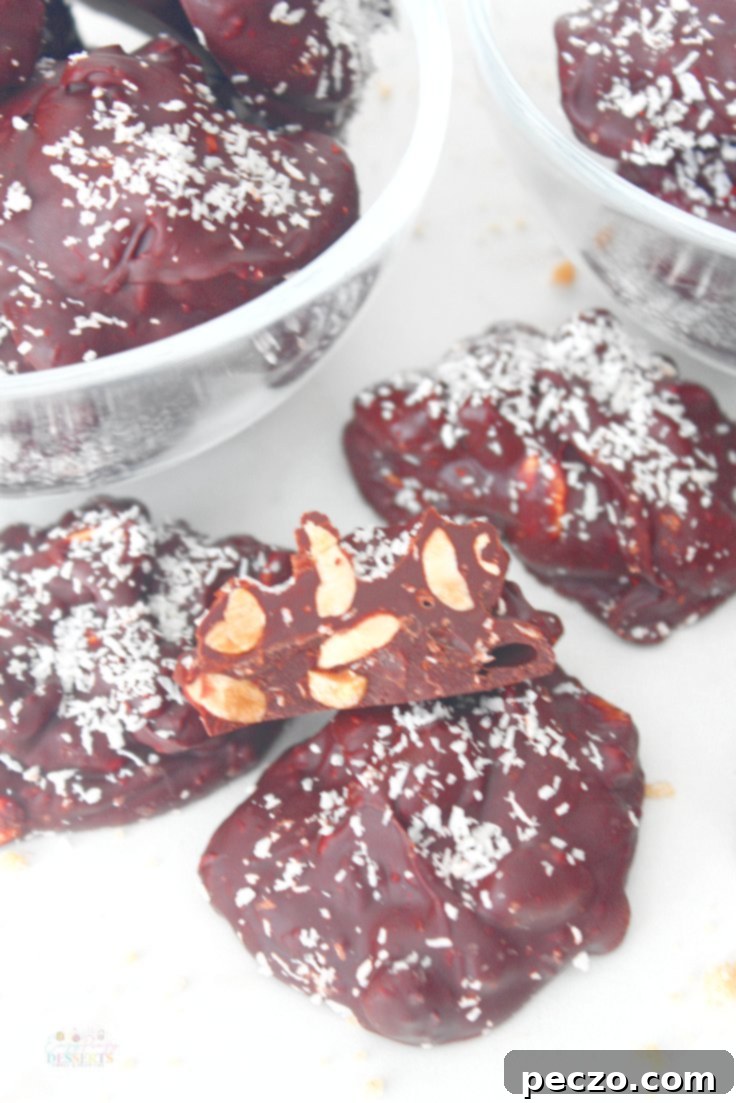
What Are the Ingredients for These Peanut Clusters?
You might be surprised to learn that the base of this incredibly satisfying recipe can be made with just two simple ingredients! For an added layer of flavor and texture, I chose to use three. Here’s what you’ll need:
- Dark chocolate (or your favorite chocolate variety: milk, white, or a blend)
- Unsalted peanuts (roasted or raw, depending on your preference)
- Sweetened coconut flakes (optional, but highly recommended for an extra tropical twist)
The beauty of this recipe lies in its minimal ingredient list, making it accessible and quick to prepare anytime a craving strikes.
How Do You Make Dark Chocolate Peanut Clusters? (Step-by-Step Instructions)
Creating these delightful clusters is as easy as 1-2-3-4! Follow these simple steps for perfect results every time:
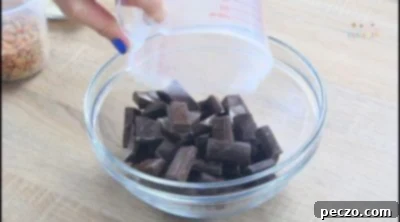
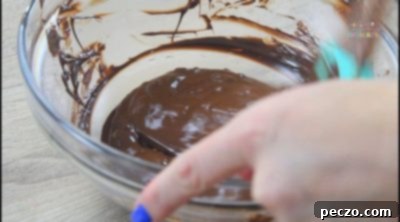
- Melt your chosen chocolate in increments of 30 seconds in the microwave, stirring well after each interval until smooth and fully melted.
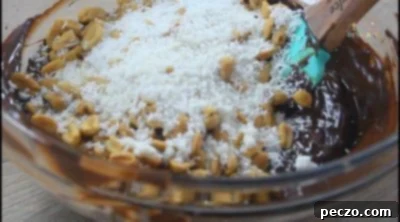
- Once the chocolate is melted, add the unsalted peanuts and the optional sweetened coconut flakes to the bowl. Mix everything thoroughly with a spatula until the peanuts and coconut are completely coated in the luscious chocolate.
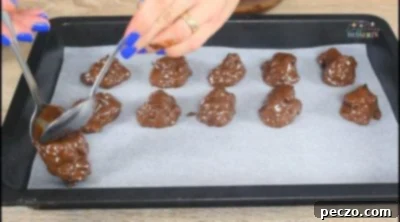
- Prepare a baking sheet by lining it with baking paper (parchment paper). Using two spoons, carefully drop spoonfuls of the chocolate-nut mixture onto the lined baking sheet, forming individual clusters.
- Transfer the baking sheet to the refrigerator and chill for a short period, typically 15-30 minutes, or until the chocolate is completely set and hard. Once firm, your clusters are ready to enjoy!
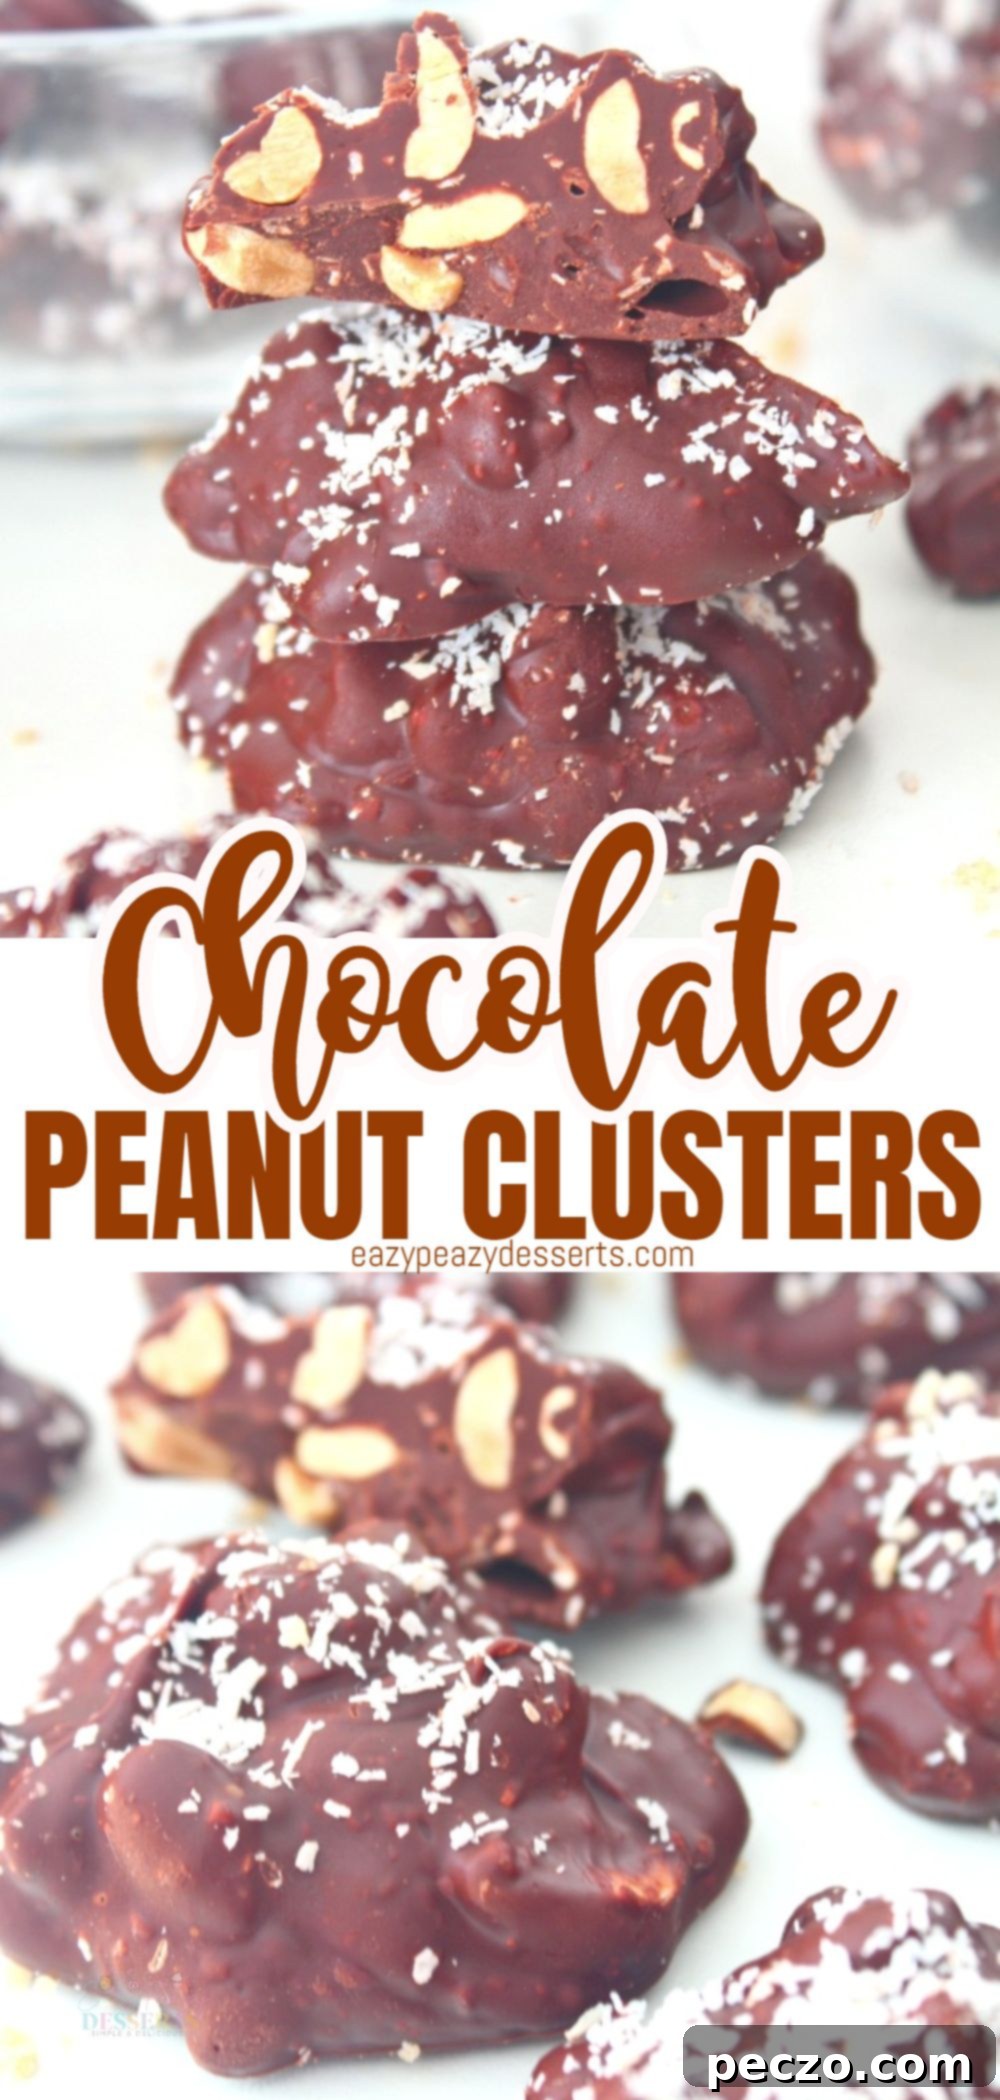
Pin to save for later!
Print the Recipe Card
Chocolate Peanut Clusters
petro
Pin Recipe
Equipment
-
microwave safe bowl
-
silicone spatula
-
baking sheet
-
baking paper
-
spoons
Ingredients
- 2 1/2 cups dark chocolate
- 2 cups unsalted peanuts
- 1 cup sweetened coconut flakes
Instructions
-
Add chopped chocolate to a microwave safe bowl and cook 30 seconds

-
Remove from the oven and mix with a spatula. Return to the oven and keep cooking in increments of 30 seconds until the chocolate is completely melted. Don’t over cook!

-
Add peanuts and coconut and mix well to coat.

-
Line a baking sheet with baking paper. Drop clusters onto the baking sheet, using 2 spoons.

-
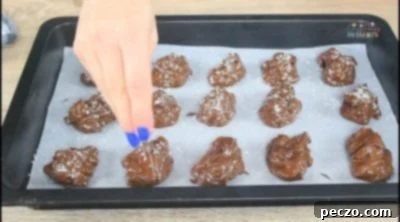
Sprinkle more coconut then refrigerate until hard.

Video
Nutrition
