The Best Homemade Fresh Peach Pie Recipe: Your Ultimate Summer Dessert
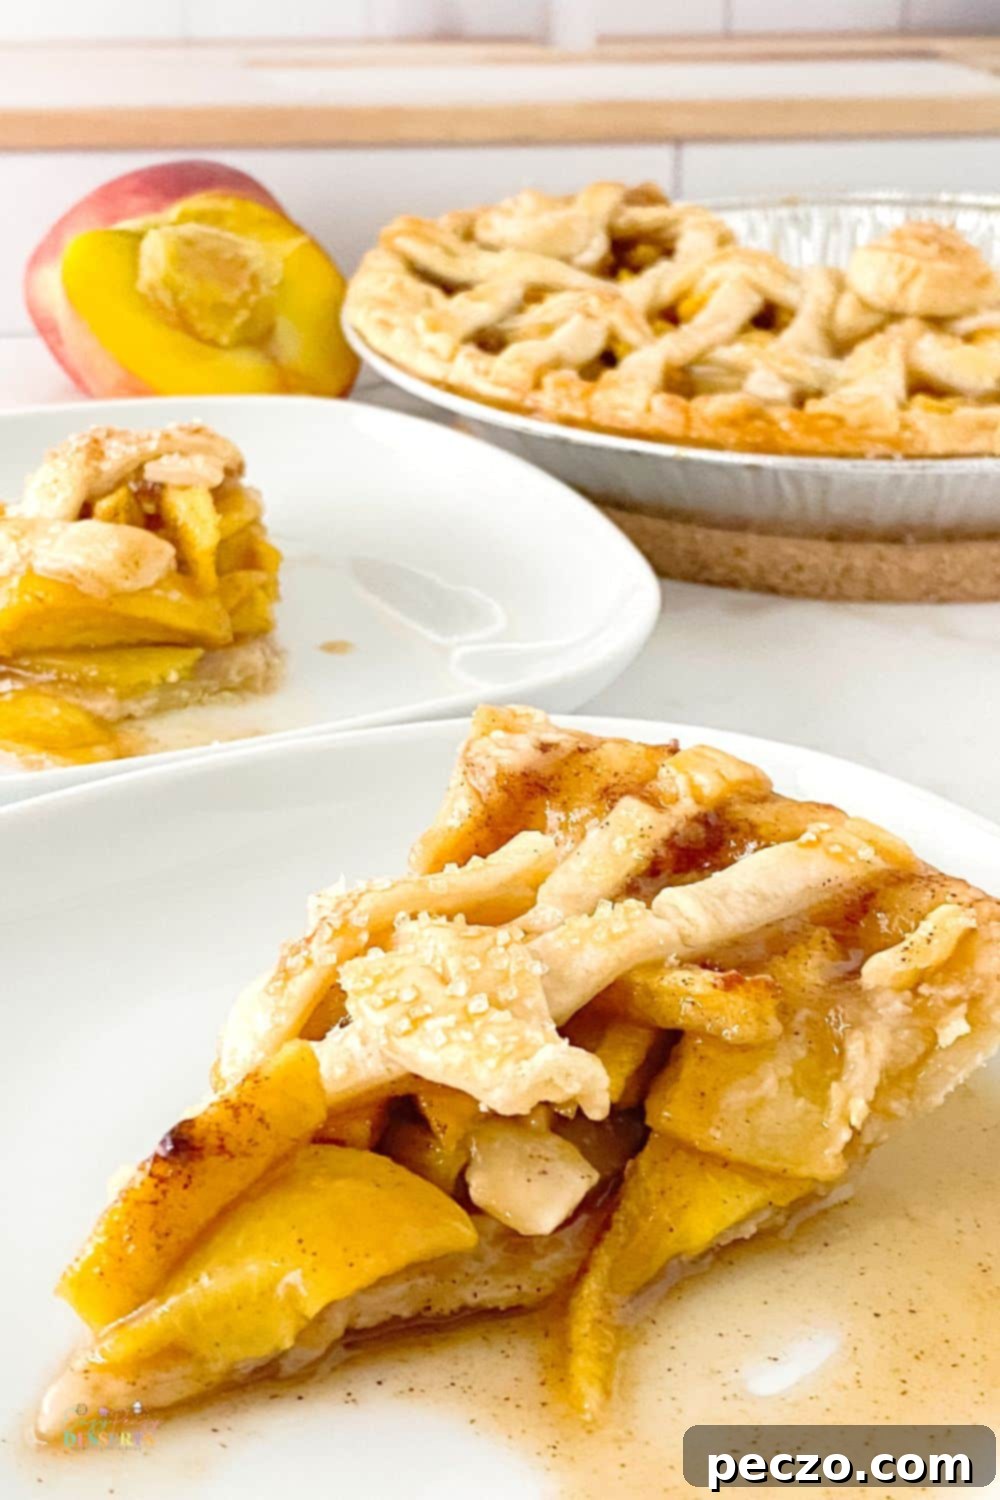
Delight in the sweet, juicy flavor of fresh peaches transformed into this scrumptious fresh peach pie! With its buttery, flaky crust and perfectly spiced filling, it’s sure to become your go-to summer dessert. This classic recipe is not only incredibly easy to make but even easier to enjoy, making it a beloved treat for any occasion. There’s truly nothing quite like a slice of warm, homemade peach pie to capture the essence of a sun-drenched summer day.
Classic Fresh Peach Pie Perfection
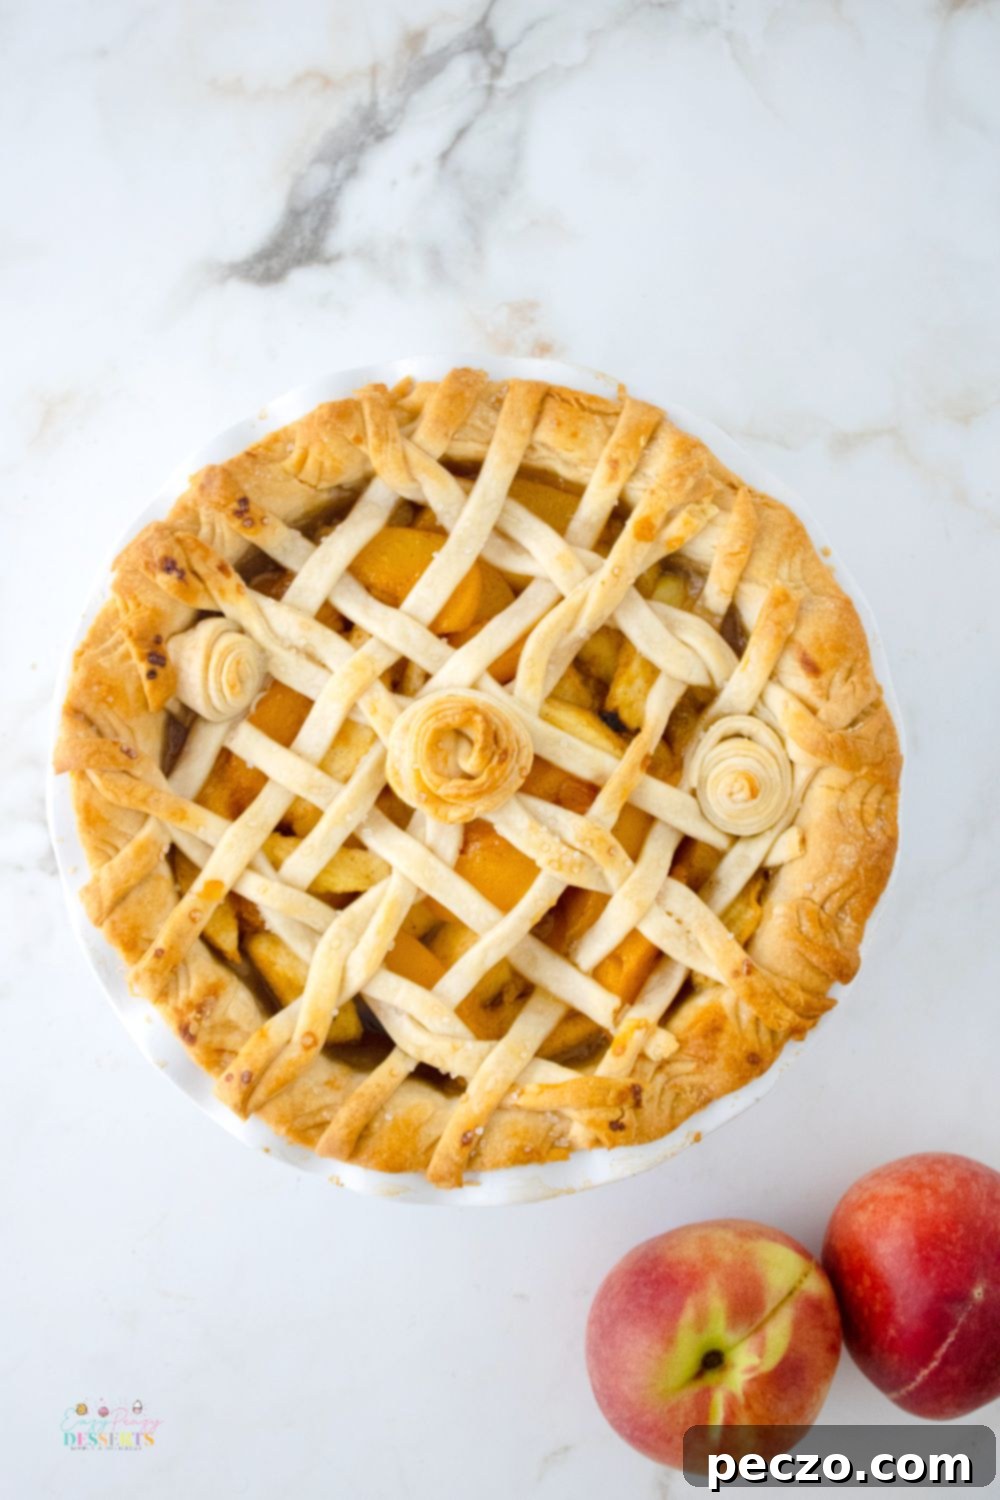
Prepare to be the star of every summer gathering when you bring out this glorious fresh peach pie. Whether served warm with a dollop of whipped cream, a scoop of creamy vanilla ice cream, or a splash of cool buttermilk, this easy peach pie recipe is guaranteed to garner rave reviews. Peach pie stands out as one of summer’s most cherished delights, celebrating the season’s abundant, luscious fruit. You might be surprised at just how straightforward it is to craft this delicious treat right in your own kitchen when you follow our simple, step-by-step guide to the perfect homemade peach pie.
Fresh peach pie is the true epitome of summertime indulgence. The vibrant, sweet juiciness of ripe peaches bursts forth in every single bite, offering a flavor profile that is simply unparalleled and utterly satisfying for anyone with a sweet tooth. Complementing this fruity sweetness is the warm, golden, and flaky crust, which adds a savory, buttery dimension that perfectly balances the bright flavors of the fruit. This harmonious combination creates a dessert that is both comforting and exhilarating.
With fresh, in-season peaches readily available during the warmer months, now is absolutely the perfect time to bake a batch of this irresistible easy peach pie. By utilizing the detailed step-by-step method provided below, you’ll be able to prepare a delicious homemade peach pie, complete with a perfectly flaky crust and an exquisitely flavorful filling, in surprisingly little time. Imagine the aroma filling your home and the smiles on the faces of those who get to enjoy a slice of your labor of love.
Want more pie goodness? Explore these delightful recipes:
- Sugar Free Lemon Pie
- Filo Pastry Apple Pie
- Creamy Sweet Potato Pie
- Puff Pastry Apple Pie Bites
When is Fresh Peach Pie Season?
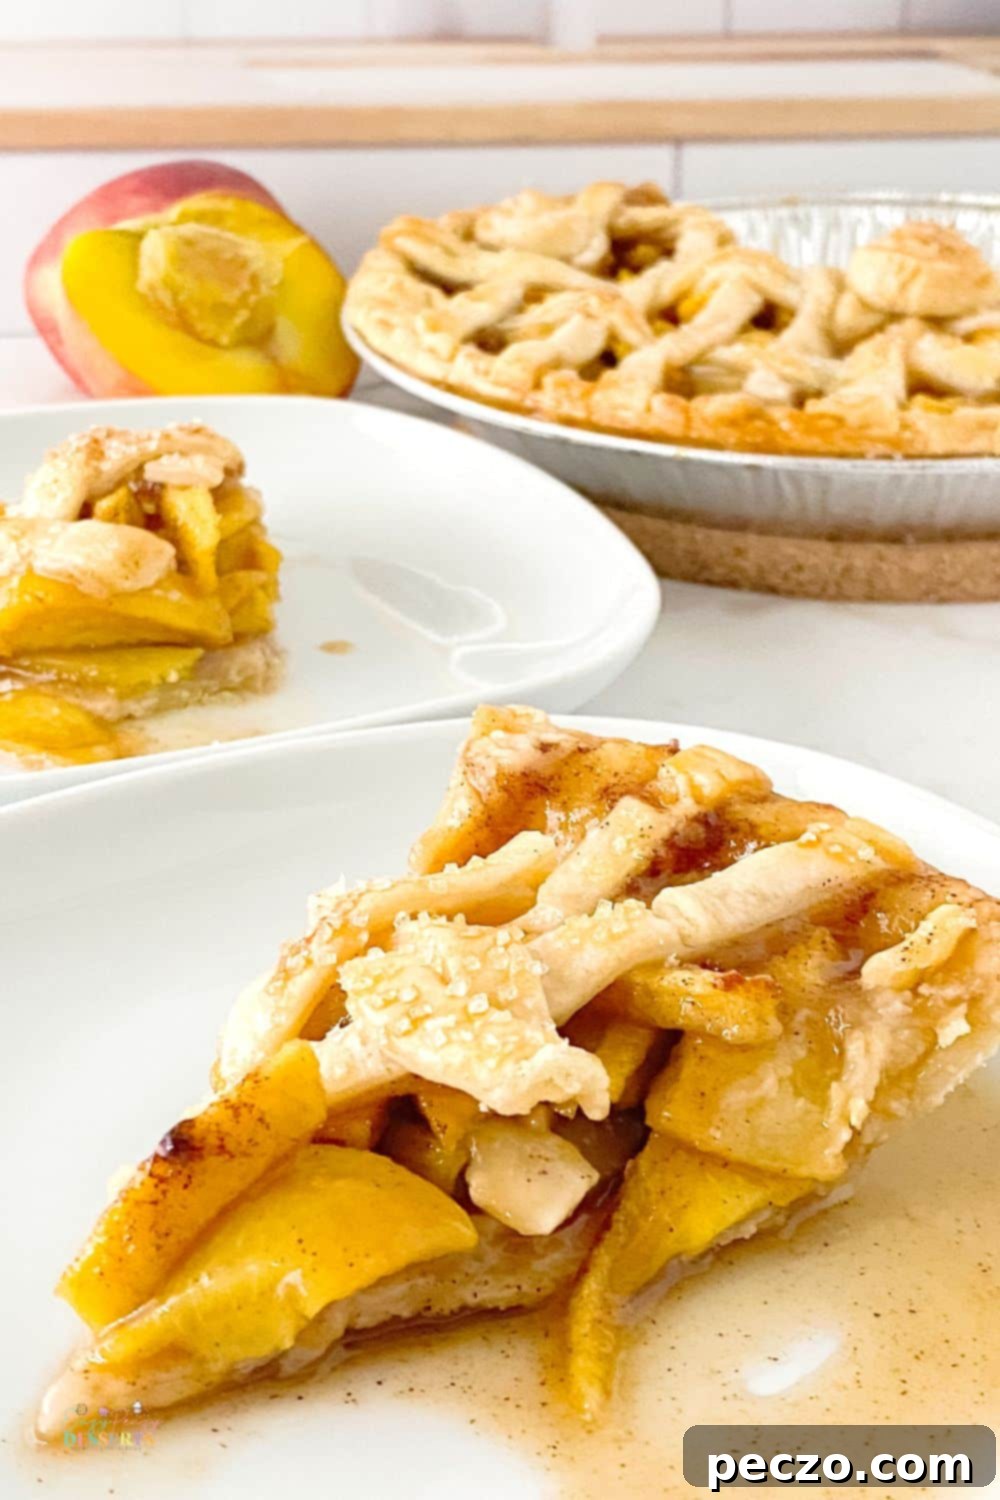
Nothing quite signals the arrival of summer like biting into a wonderfully juicy, perfectly ripe peach, savored straight from the tree. But for those who yearn to elevate that incredible flavor to a new level, a homemade fresh peach pie is an absolute delight. So, when exactly is the prime time to indulge in this fruity, comforting treat? Well, the fresh peach pie season typically aligns with the peak availability of fresh peaches, which, depending on your geographical location, can range from late June through early September. Generally, the months of July and August offer the most abundant and flavorful peaches, making these weeks the absolute ideal time to bake a truly homemade peach pie. Furthermore, who could possibly resist the enchanting, sweet aroma of a peach pie gently baking in the oven on a warm summer day? It’s an experience that truly captures the essence of the season.
What’s the Difference Between a Peach Pie and a Peach Cobbler?
When it comes to beloved sweet summer desserts, peaches are undoubtedly a star ingredient. This versatile fruit lends itself beautifully to countless creations, from classic pies and rustic cobblers to delightful crumbles and crisps. However, a common question often arises: what exactly is the distinction between a peach pie and a peach cobbler? The primary difference fundamentally lies in their respective crusts or toppings.
A peach pie traditionally features a fully enclosed crust, usually a flaky, rich, and buttery pastry that forms both the bottom and top layers, completely encasing a luscious filling made from sliced peaches, sugar, and a blend of warm spices. The top crust might be a solid sheet, a decorative lattice, or even a crumble, but it’s typically made from pie dough. On the other hand, a peach cobbler is characterized by a sweet, often biscuit-like or cake-like topping that is dropped or spread over a simmering filling of peaches and sugar. This topping is not a full crust but rather a collection of doughy dollops or a simple batter that bakes up golden and tender, creating a more free-form, “cobbled” appearance. Both desserts are undeniably delicious in their own right, but their distinct textures and the emphasis on either a structured pastry crust versus a soft, baked topping are what truly set them apart. So, whether your preference leans towards the elegance of a golden, flaky pie crust or the rustic charm of a tender biscuit topping, one thing remains certain: either way, you are in for an absolutely delightful and memorable treat.
What is the Best Way to Cut Peaches?
There’s an undeniable joy in biting into a perfectly ripe, juicy peach, but before you can savor that exquisite goodness, you need to master the art of cutting it. While some might simply opt for halving the peach and removing the pit, there are several more efficient and aesthetically pleasing methods to consider. One widely popular and practical technique is to cut the peach into uniform wedges. This method is excellent for easy snacking, adding to salads, or arranging beautifully on a fruit platter. The wedges maintain a good bite and are less prone to becoming mushy.
If you’re aiming for a more refined or aesthetically pleasing presentation, particularly for a dessert like peach pie, try slicing the peach into thin, even pieces. This approach not only helps the slices cook more uniformly in the pie filling but also allows you to showcase the fruit’s stunning natural color and tender texture. For optimal results, ensure your knife is sharp, and if the peach is freestone (where the flesh easily separates from the pit), you can simply slice around the pit. If it’s a clingstone peach (where the flesh adheres tightly), you may need to slice the peach into quarters and then carefully cut the flesh away from the pit. Whichever method you ultimately choose, make sure to handle the peaches gently to preserve their delicate structure and flavor, ensuring every last bite of this glorious summertime fruit is savored.
Can You Use Canned Peaches for Peach Pie?
When contemplating the creation of a delicious peach pie, the perennial question of using canned versus fresh peaches invariably arises. While fresh, in-season peaches are often considered the ideal choice for a truly vibrant and juicy pie filling, packed with natural sweetness and texture, it’s absolutely true that using high-quality canned peaches can work just as effectively, especially when fresh options are out of season or unavailable. In fact, opting for canned peaches can offer significant convenience, as they are readily available year-round and completely eliminate the need for time-consuming peeling and slicing.
However, there are a few important considerations when using canned peaches. Most importantly, you must be sure to thoroughly drain the excess syrup they are packed in. This syrup is often very sweet and can make your pie filling overly watery and sugary if not removed. Some bakers even prefer to give the drained peaches a quick rinse under cold water to further reduce stickiness and residual syrup, then pat them dry before incorporating them into the pie. You might also need to adjust the amount of added sugar in your recipe, as canned peaches typically contain more residual sweetness than fresh ones. By taking these simple steps, canned peaches can serve as a fantastic, convenient substitute, allowing you to enjoy a homemade peach pie no matter the time of year.
Do You Peel Peaches for Fresh Peach Pie?
With peaches offering such a delightful array of culinary possibilities, one question that frequently pops up among home bakers is whether or not to peel the peaches when preparing them for recipes like a fresh peach pie. This is a topic that often sparks a friendly debate in the kitchen, as both approaches have their merits.
Some culinary enthusiasts argue passionately that the fuzzy, tender skin of the peach contributes an additional layer of texture and a subtle, rustic flavor to the pie. They believe leaving the skin on adds a certain charm and ensures that none of the fruit’s natural goodness is wasted. The skin can soften considerably during baking, blending seamlessly into the filling for many.
Conversely, many others prefer a smoother, more consistently tender bite, completely devoid of any potential “distraction” from the peach peel. For these bakers, peeling ensures a silky-smooth filling that focuses purely on the sweet, juicy flesh. This preference often comes down to personal textural sensitivity and the desired elegance of the final dessert.
Ultimately, the decision of whether or not to peel your fresh peaches for pie is largely a matter of personal preference and the specific texture you wish to achieve. Some may prioritize the ease of leaving the skin intact and appreciate its contribution to a more rustic, wholesome feel, while others embrace the extra step of peeling for a refined and uniformly tender experience. Regardless of your choice, one truth stands firm: a homemade fresh peach pie, prepared with care and love, is an absolutely quintessential summertime treat that is always worth savoring.
How Do You Peel Fresh Peaches for Baking?
If you’ve decided to go the route of a smooth, peel-free peach pie, the thought of peeling a batch of ripe, delicate peaches might seem like a somewhat daunting task. However, fear not, as there’s a classic, simple, and remarkably effective method to get the job done quickly and efficiently – the blanching method. Here’s how to achieve perfectly peeled peaches with minimal effort:
- **Prepare your setup:** First, bring a large pot of water to a rolling boil. While the water heats, prepare a large bowl of ice water next to your stove. This thermal shock is key to the peeling process.
- **Score the peaches:** Carefully take each peach and, using a small, sharp paring knife, score a shallow “X” on the bottom (blossom end) of the peach. This cut should only pierce the skin, not the flesh.
- **Blanch the peaches:** Once the water is boiling, carefully drop the peaches, a few at a time, into the hot water. Let them simmer for approximately 30 to 60 seconds. You might notice the skin around the “X” beginning to pucker or loosen slightly.
- **Ice bath:** Using a slotted spoon, quickly remove the blanched peaches from the boiling water and immediately plunge them into the prepared bowl of ice water. Allow them to cool for a minute or two. The rapid change in temperature is what causes the skin to loosen dramatically from the flesh.
- **Peel with ease:** Once cooled enough to handle, remove the peaches from the ice water. You should now find that the skin peels off incredibly easily, often by simply nudging it with your fingers or gently pulling it away from the scored “X” with a small knife. Discard the peels and proceed with your recipe!
This blanching technique makes peach peeling a breeze, ensuring your pie filling is as smooth and tender as possible.
What is the Best Way to Thicken Peach Pie Filling?
Any baker who has attempted to create a luscious, seasonal peach pie knows the frustration of a filling that sometimes turns out disappointingly runny or excessively watery. Achieving that perfect, scoopable consistency is crucial for a satisfying slice. Fear not, as there are several effective methods to thicken that juicy peachy goodness to the ideal consistency without compromising its delightful flavor. The goal is a filling that holds its shape beautifully once cooled, yet remains tender and flavorful.
One of the most common and reliable methods involves adding a small amount of **cornstarch** (or corn flour) to the mixture. Cornstarch creates a shiny, clear, and relatively smooth filling. It’s often mixed with a small amount of cold water or peach juice to create a slurry before being added to the fruit, preventing lumps. Another excellent alternative is **tapioca**, particularly instant or quick-cooking tapioca, which creates a slightly less clear but very stable filling, and performs well with juicy fruits. For a more traditional, slightly cloudier, and heartier consistency, **all-purpose flour** can also be used, though it requires more volume than cornstarch (typically double) and needs to be cooked thoroughly to avoid a raw flour taste.
Beyond thickeners, another technique involves simmering the peach filling for a longer period of time on the stovetop before baking. This pre-cooking step helps to evaporate excess liquid, allowing the natural sugars to concentrate and the filling to thicken naturally. Some recipes even call for draining a portion of the peach juice and only adding back what’s needed for flavor and consistency. Experimenting with different thickening agents and cooking techniques can help you discover your preferred method for achieving that perfect, irresistible peach pie filling that holds its own.
Can I Use Flour Instead of Cornstarch for Pie Filling?
Yes, you absolutely can use all-purpose flour as a substitute for cornstarch in your peach pie filling, especially if you find yourself in a pinch or prefer a slightly different texture. However, it’s important to be aware that the final texture and overall quality of your filling may indeed differ slightly from what you’d achieve with cornstarch. Cornstarch is renowned for its ability to create a smoother, silkier, and more translucent texture in fruit fillings, resulting in a cleaner, brighter fruit flavor. Flour, on the other hand, tends to yield a thicker, heartier, and often cloudier consistency. It also requires more thorough cooking to eliminate any raw flour taste.
To make the substitution effectively, you’ll generally want to use approximately twice the amount of flour as you would cornstarch. For example, if your recipe calls for 2 tablespoons of cornstarch, you would use about 4 tablespoons of all-purpose flour. It’s also a good practice to whisk the flour with a small amount of the liquid from the peaches (or water) to create a smooth paste before adding it to the fruit, preventing lumps. While flour may not provide the exact same “glossy” finish as cornstarch, using it instead can certainly work wonders when cornstarch isn’t available, still leaving you with a wonderfully delicious and perfectly functional peach pie.
How to Store Fresh Peach Pie?
Properly storing a freshly baked peach pie is essential to maintain its flavor, texture, and freshness, ensuring you can enjoy it for as long as possible. While it might seem like a complex task, it’s quite straightforward once you know the key principles. The primary rule is to keep your pie in a cool, dry place.
For short-term storage, typically for a day or two, you can safely keep your peach pie covered at room temperature on the kitchen counter. Make sure it’s completely cooled before covering to prevent condensation, which can make the crust soggy. Simply cover the pie loosely with plastic wrap, aluminum foil, or place it under a pie dome or in a dedicated pie container. This helps protect it from air exposure and keeps it fresh.
For longer storage, or if your kitchen is particularly warm, refrigerating the pie is your best bet. The cool temperature of the fridge helps to slow down spoilage, especially with fruit fillings that contain fresh ingredients. Again, ensure the pie is fully cooled before refrigerating. Once cool, cover the pie tightly with plastic wrap or aluminum foil, or transfer it to an airtight pie container. Refrigerated peach pie will typically remain fresh and delicious for 3-5 days. Always bring it to room temperature or gently warm a slice before serving for the best flavor and texture.
Can Fresh Peach Pie Be Frozen?
Absolutely, fresh peach pie can be frozen, which is a fantastic option if you’ve baked an extra pie, want to prepare one in advance for a future occasion, or simply need to store it for more than a few days. Freezing allows you to preserve the delicious flavors of summer peaches long after the season has passed. You can freeze both baked and unbaked peach pies.
Freezing a Baked Peach Pie:
Allow the pie to cool completely to room temperature. This is crucial; freezing a warm pie will create condensation and result in a soggy crust. Once cooled, wrap the entire pie tightly in several layers of plastic wrap, ensuring no air can get in. Then, wrap it again in a layer of heavy-duty aluminum foil. This double layer of protection helps prevent freezer burn and keeps unwanted freezer odors at bay. Label the pie with the date, then place it in the freezer. A baked peach pie can be safely frozen for up to 3 months. To serve, thaw the pie overnight in the refrigerator, then warm it in a preheated oven (around 350°F or 175°C) for 20-30 minutes, or until heated through, to crisp up the crust.
Freezing an Unbaked Peach Pie:
Prepare the pie filling and crust as directed, but do not bake. Assemble the pie in a freezer-safe pie plate. Wrap the unbaked pie just as you would a baked one: tightly with plastic wrap, then with aluminum foil. Freeze for up to 2-3 months. When ready to bake, place the frozen pie directly into a preheated oven (no need to thaw) and bake according to your recipe, typically adding an extra 15-30 minutes to the baking time. You may also need to cover the edges with foil earlier to prevent over-browning. This method is great for having a fresh-baked pie whenever the craving strikes!
Now you can confidently enjoy your delicious homemade peach pie over several sittings, or save it for a special moment, without worrying about it going bad.
What Ingredients Are in This Fresh Peach Pie?
For the Crust:
- 1 (9-inch) unbaked pie dough/crust (homemade or store-bought for convenience)
For the Filling:
- 5 cups fresh peaches, peeled and thinly sliced (about 6-7 medium, ripe peaches)
- 2 tablespoons fresh lemon juice (to brighten flavor and prevent browning)
- 1/2 cup granulated sugar
- 1/2 cup packed light brown sugar (adds depth of flavor)
- 2 tablespoons corn starch (for thickening the juicy filling)
- Pinch of ground nutmeg (enhances peach flavor)
- 1/2 teaspoon ground cinnamon (a classic pairing with peaches)
- 1/4 teaspoon vanilla extract (optional, for added warmth)
Equipment You’ll Need:
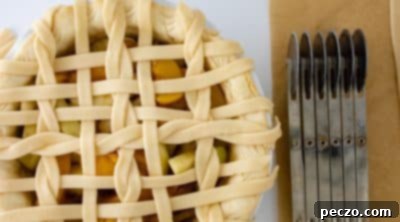
- 6 wheel pastry roll/cutter (for decorative lattice or strips, optional)
- Large mixing bowl
- Paring knife (for peeling peaches, if desired)
- Cutting board
- Measuring cups and spoons
- 9-inch pie plate
- Aluminum foil (for covering pie edges)
- Pastry brush (for egg wash)
How to Make Fresh Peach Pie: A Step-by-Step Guide
- **Preheat Oven:** Preheat your oven to 375°F (190°C). This ensures the oven is at the correct temperature for even baking from the start.
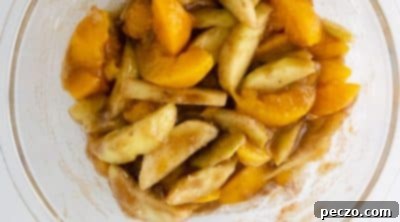
- **Prepare Filling:** In a large bowl, gently combine the peeled and sliced fresh peaches with cinnamon, both brown and granulated sugars, nutmeg, vanilla extract (if using), and corn starch. Toss carefully to coat all the peaches evenly without mashing them. Set the mixture aside for 5-7 minutes. This resting period allows the sugars to draw out some of the peach juices, creating a flavorful base for the filling.
- **Prepare Pie Crust:**
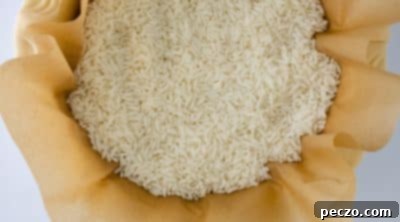
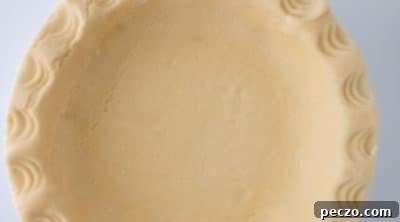
- If you are using a homemade pie crust, you’ll want to blind bake it first to prevent a soggy bottom. Line the pie crust with parchment paper, then fill it with pie weights, dry rice, or dry beans. Bake for 10 minutes, then remove the weights and parchment paper. This step gives the crust a head start.
- If you are using a store-bought frozen pie crust, blind baking is generally not necessary, as these crusts are designed to bake well with the filling.


- **Add Filling:** Carefully remove the prepared pie crust from the oven (if blind baked). Pour the peach filling evenly into the pie crust, spreading it out to create a level surface.
- **For the Top Crust (Lattice/Decorative):**
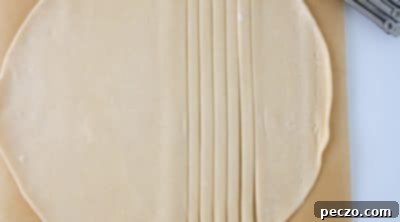
- Using a pastry roller or a sharp knife, create small, even strips of dough from your second pie crust. These strips will form your decorative top.

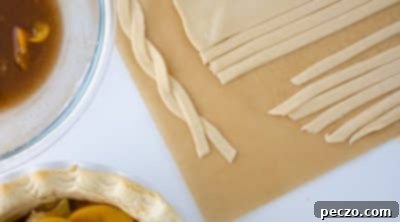
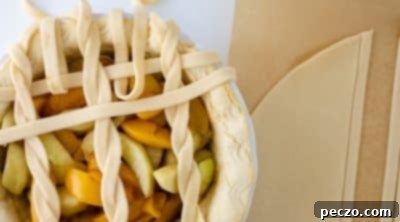
- For an elegant touch, braid two strips of dough at a time. Make three such braids and set them aside.

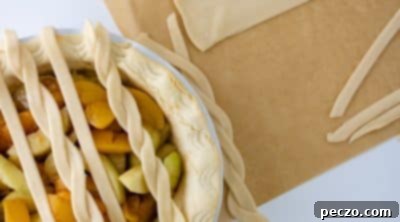
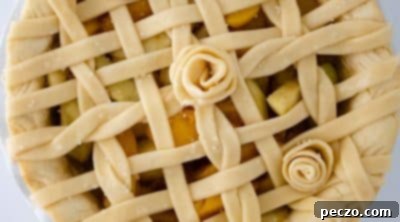
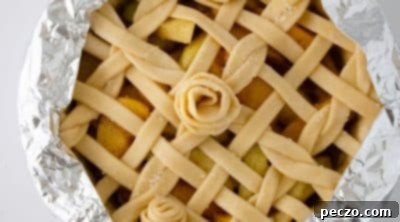
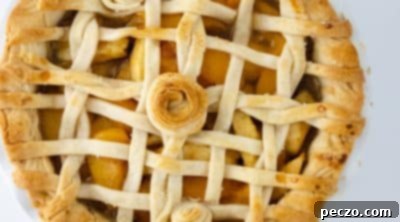
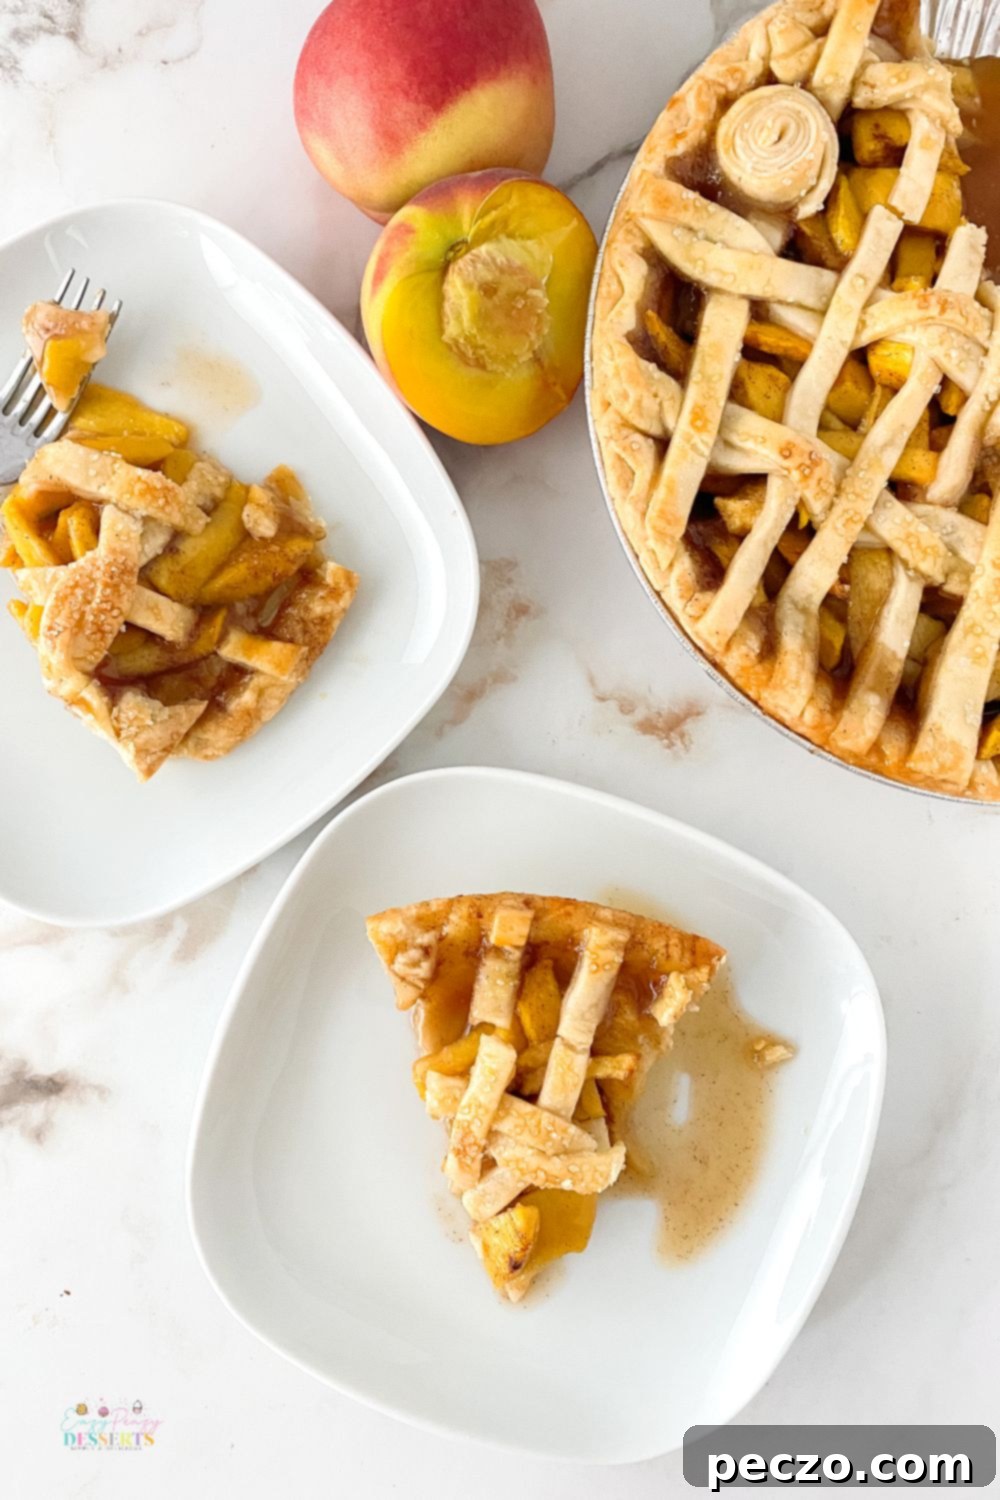
- Lay these three braids (or several single strips) across the top of the pie in one direction, as pictured, evenly spaced. Add smaller single strips between them for visual interest.

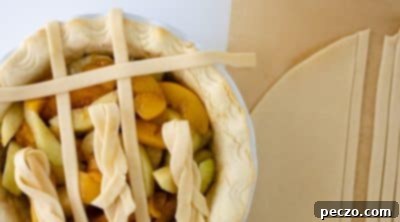
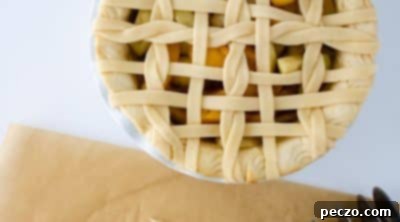
- Now, weave in single strips going perpendicular to the strips already laid down, lifting alternating strips to create a classic lattice pattern.

- Continue weaving in this manner until the entire top of the pie is covered with your desired lattice design.

- Trim any excess dough from the edges, then crimp the edges of the pie crust decoratively, either with your fingers or a fork, to seal the pie.

- Using a pastry roller or a sharp knife, create small, even strips of dough from your second pie crust. These strips will form your decorative top.
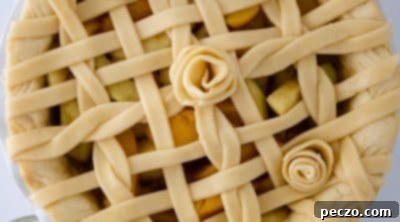
- **Create Dough Roses (Optional Decorative Touch):** To add an extra special flourish, roll thin strips of dough into tight spirals to form small roses. Place these artfully on top of your lattice.

- **Egg Wash & Sugar:** Lightly brush the entire top crust with an egg wash (one egg beaten with a tablespoon of water). This will give the pie a beautiful golden sheen. Sprinkle generously with confectioners’ sugar for a touch of extra sweetness and a lovely finish.


- **Protect Edges & Bake:** Cover the edges of the pie crust with strips of aluminum foil to prevent them from burning while the rest of the pie bakes. Bake for 20 minutes.

- **Continue Baking:** Remove the aluminum foil. Continue baking for an additional 20-30 minutes, or until the crust is golden brown and the filling is bubbly and tender. The total baking time will be approximately 40-50 minutes, but ovens vary.

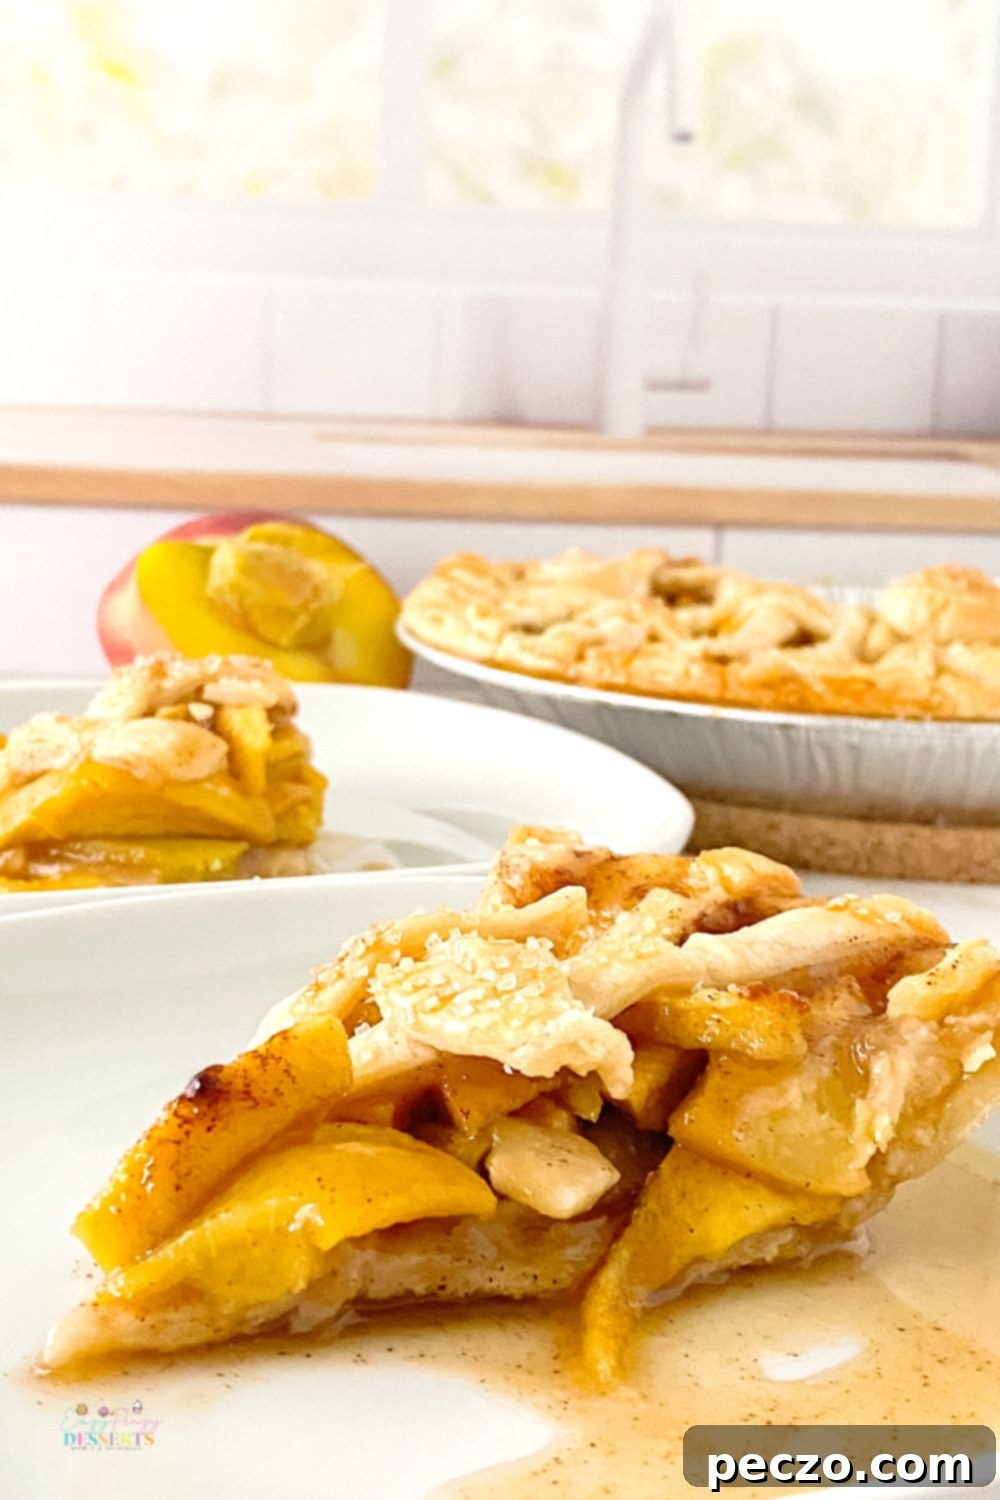
- **Rest Before Serving:** Let the fresh peach pie rest for at least 10-15 minutes before slicing and serving. This allows the filling to set properly, ensuring clean, beautiful slices.
Whether you’re enjoying it simply with a scoop of creamy vanilla ice cream, a dollop of fresh whipped cream, or entirely on its own, there’s something undeniably comforting and satisfying about biting into a freshly baked, warm peach pie. It’s the quintessential dessert to serve at a casual summer barbecue, an elegant garden party, or to lovingly bring to a potluck gathering, and it is absolutely guaranteed to impress a crowd with its homemade charm and irresistible flavor. One bite of this spectacular dessert and you’ll instantly be transported to a sunny summer day, savoring all the delightful tastes and aromas of the season. So, gather your ripe peaches, dust off your rolling pin, and let’s get baking!
Pin to save this incredible recipe for later!

Print the recipe card

Fresh peach pie
petro
Pin Recipe
Equipment
-
6 Wheel pastry roll/cutter
-
large bowl
-
Pairing knife
-
cutting board
-
Measuring cups and spoons
Ingredients
- 1 Pie crust
For the pie filling
- 5 cups peaches 6 or 7, ripe, peeled and sliced
- 2 tablespoons lemon juice
- 1/2 cup granulated sugar
- 1/2 cup brown sugar
- 2 tbsp corn starch
- Pinch of ground nutmeg
- 1/2 tsp cinnamon
- 1/4 tsp vanilla extract
Instructions
-
Preheat the oven to 375
-
Place peaches, cinnamon, brown sugar, granulated sugar, nutmeg, vanilla and corn starch in a bowl. Mix together and set aside for 5-7 mins

-
Prepare pie crust – if using homemade pie crust, blind bake by layering parchment paper and rice or dry beans for weight. Bake for 10 mins.

-
If using frozen pie crust, blind bake isn’t necessary.

-
Remove from oven, add the filling to the pie crust
For the top
-
Using a pasty roller, make small even strips of dough.

-
Braid two strips of dough at a time and set aside. Make 3 braids.

-
Lay them across the top of the pie as pictured. Add small strips between them.

-
Weave in single strips going perpendicular to the strips already down.

-
Continue waving in this manner.

-
Trim excess

-
To make the roses, roll strips of dough in a circle.

-
Brush with egg wash

-
Add confectioners sugar to the top

-
Cover the edges of the pie with aluminum foil

-
Bake for 20 mins, remove foil. bake for additional 20 mins.

-
Let rest 10 mins before serving.
Nutrition
