The Ultimate Moist Honey Bundt Cake: A Simple Recipe with Zesty Orange Glaze
Looking for a truly delicious and comforting cake that’s perfect for any occasion? Whether you’re planning an elegant afternoon tea, a festive party, or simply craving a sweet treat for breakfast, this incredible honey cake recipe is your answer. Crafted in a classic Bundt cake pan and finished with a vibrant, yummy orange coating, this cake is not only visually stunning but also incredibly easy to make. Get ready to bake a show-stopping dessert that will delight everyone!
Irresistible Honey Cake Recipe: Simple, Moist, and Flavorful
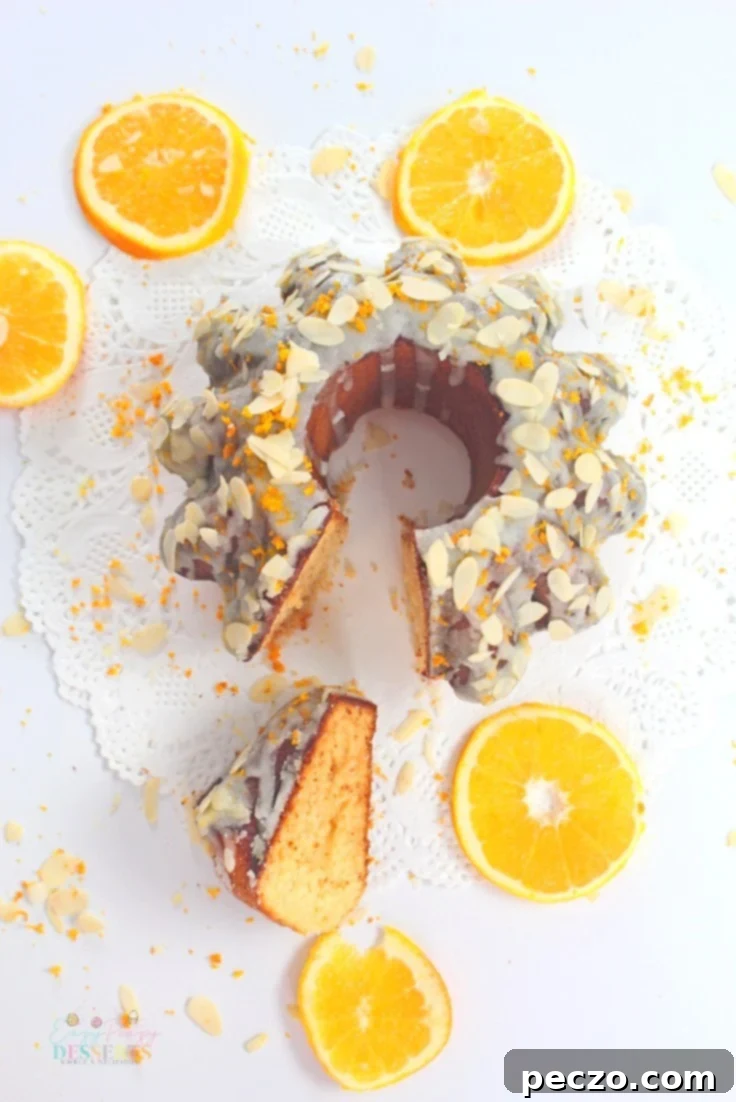
One of the most remarkable aspects of this honey cake recipe is its incredible simplicity. Seriously, it’s almost impossible to mess up! This isn’t just a claim; it’s a promise. The batter comes together effortlessly, it bakes beautifully, achieving that perfect golden-brown hue, and consistently releases from the pan with ease, leaving you with a perfectly sculpted cake every time.
This honey orange cake truly shines in its versatility. It transitions seamlessly from a humble yet delightful weeknight dessert that stays moist and flavorful for several days to a grand centerpiece for a special celebration. Imagine it as a sophisticated tea cake, offering a delicate sweetness to complement your favorite brew, or as a hearty and sweet breakfast treat – its rich flavor and filling nature make it a perfect start to the day. The cake boasts an exceptional flavor profile, harmonizing the natural sweetness of honey with subtle undertones, all encased in a wonderfully moist texture and a delicate, tender crumb that melts in your mouth.
More Delicious Desserts You’ll Love to Bake:
- Buttermilk Blueberry Cake
- Gingerbread Cream Horns
- Wacky Cake Recipe
- Dairy and Egg Free Cake
- Double Chocolate Cake
- Blood Orange Bundt Cake
This recipe offers remarkable flexibility, allowing you to create a simple, classic cake one day and a special, unique dessert the next. The beauty lies in your choice: leave it plain to appreciate its pure honey flavor, or adorn it with a delightful glaze and decorative elements. While a classy Bundt pan adds elegance, especially for special occasions, don’t hesitate to use a regular round cake pan or even a sturdy cast iron pan if that’s what you have on hand. Each baking vessel will yield a slightly different aesthetic, but the delicious core of the cake remains consistent.
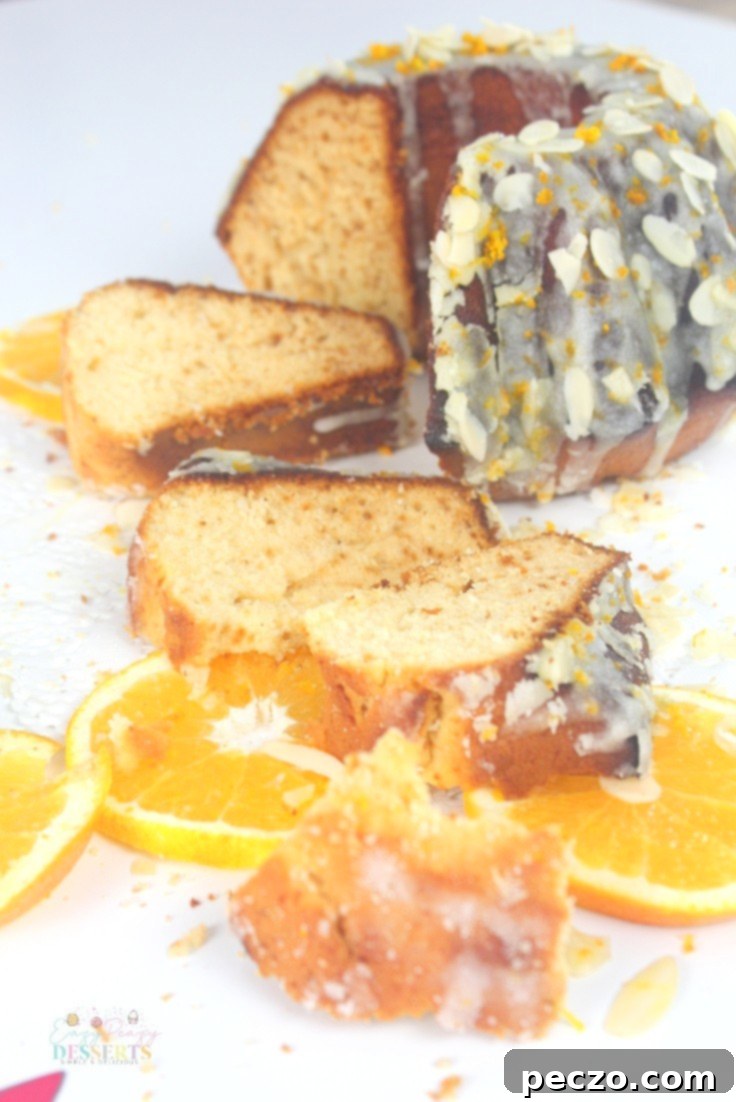
The harmonious blend of honey, ginger, and cinnamon makes this cake a truly fantastic option for the holiday season, particularly as a Christmas cake. These warm spices enhance the rich honey notes, creating an inviting aroma and taste that perfectly captures the spirit of winter festivities. However, its refreshing orange glaze also makes it a delightful treat for warmer months. Let’s dive into some essential tips and tricks to ensure you bake the best honey cake recipe possible.
Choosing the Right Bundt Pan for Perfection
If you’ve decided to embrace the beautiful shape of a Bundt cake, selecting the right pan is crucial for a successful bake and an easy release. We highly recommend an anodized aluminum Bundt pan. These pans are renowned for their sturdiness and longevity, making them a worthwhile investment for any baker. More importantly, anodized aluminum is an excellent heat conductor, which means your cake will bake evenly, preventing dry edges or an undercooked center. Many quality Bundt pans also come with a non-stick coating, an invaluable feature that ensures your intricately shaped cake can be inverted and removed with minimal fuss and maximum visual appeal.
Mastering the Art of Perfect Cake Release
The moment of truth for any Bundt cake is when you attempt to remove it from the pan. Many bakers traditionally grease the pan thoroughly and then dust it with flour to create a non-stick barrier. While effective, there’s an even easier and more delightful method: after greasing your pan, coat it with coarse sugar instead of flour. This clever trick not only provides a stable, non-stick grip for your cake but also imparts a truly delicious, slightly crunchy, and caramelized sugary crust that adds another layer of flavor and texture. After removing your freshly baked cake from the oven, resist the urge to immediately flip it. Instead, allow it to cool in the pan for precisely 10 minutes. During this crucial cooling period, the cake will naturally begin to contract and release itself from the pan’s intricate mold, making inversion a breeze. An added bonus of using the sugar coating method is that the resulting sweet, slightly crisp exterior is so appealing, you might even opt to serve the cake as is, skipping the frosting entirely for a simpler, yet equally satisfying, dessert.
Unlock the Secrets: A Few Secret Ingredients for an Amazing Cake
- **Sour Cream or Buttermilk:** These dairy heroes are truly the best choices for achieving incredibly moist and fluffy cakes. Their acidity reacts with the baking soda in the recipe, creating a tender crumb and helping the cake stay fresh and moist for several days – that is, if anyone in your household is strong enough to resist devouring it all at once!
- **Cake Flour:** When it comes to delicate baked goods, cake flour consistently outperforms all-purpose flour. It contains a lower protein content, which results in a much more tender and delicate crumb, giving your honey cake a melt-in-your-mouth texture that standard flour simply can’t achieve.
- **Vanilla Bean Pods or Extract:** For an elevated flavor experience, vanilla bean pods are a fantastic addition. Simply rub the tiny, aromatic seeds directly into the granulated sugar before mixing with other ingredients. This infuses the sugar with intense vanilla flavor, which then disperses beautifully throughout the cake. If vanilla beans aren’t accessible, a good quality vanilla extract is a perfectly acceptable substitute. Remember, if you’re aiming for a prominent citrus flavor, consider using lemon or orange extract instead of vanilla to enhance those bright notes.
What to Coat Your Honey Cake With? Endless Delicious Possibilities!
While this honey almond cake is undeniably delicious all on its own, a thoughtfully chosen frosting or glaze can elevate it to new culinary heights. The beauty of this recipe lies in its adaptability, allowing you to create different desserts every time you bake it, simply by changing the topping.
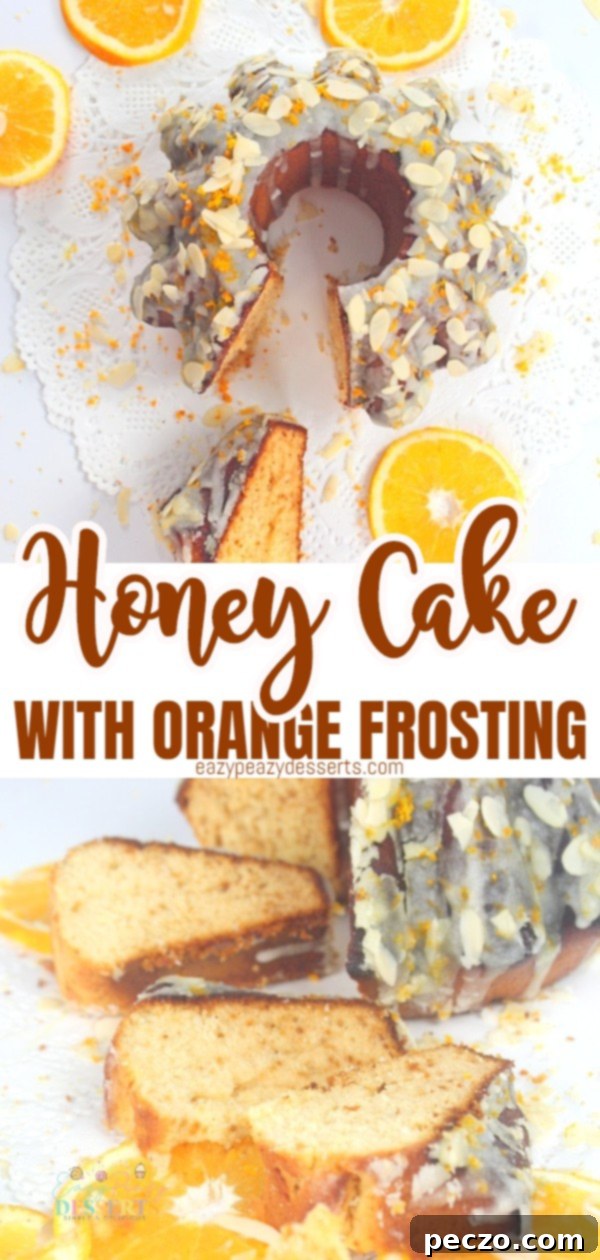
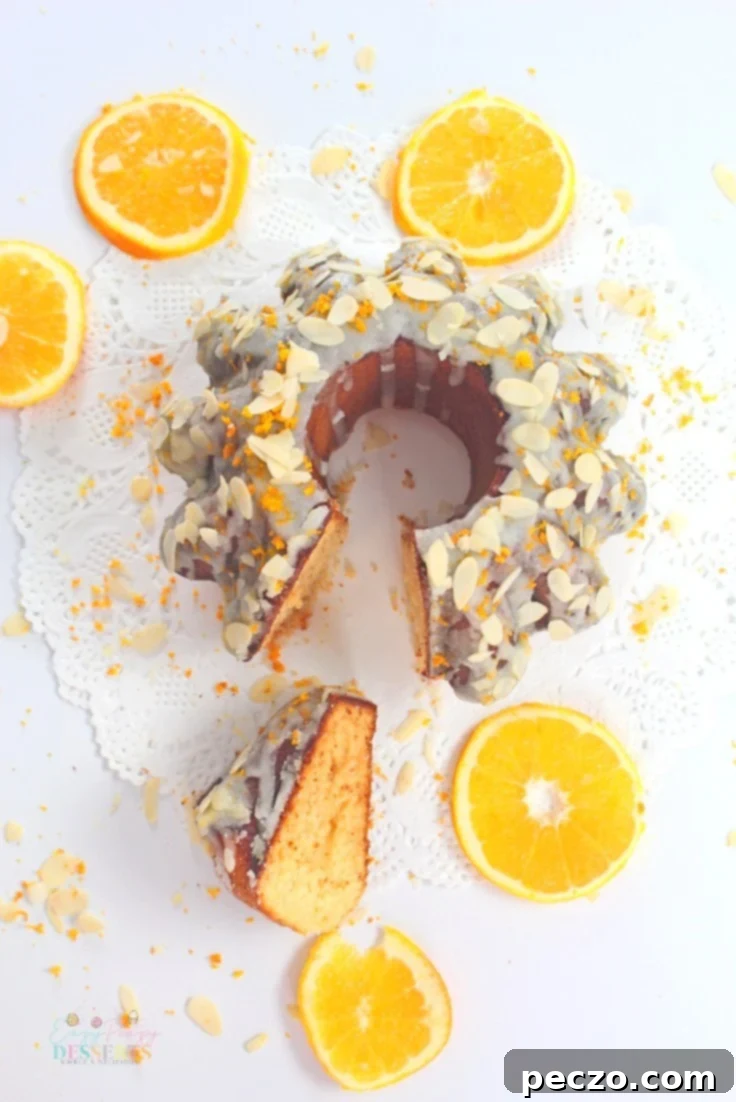
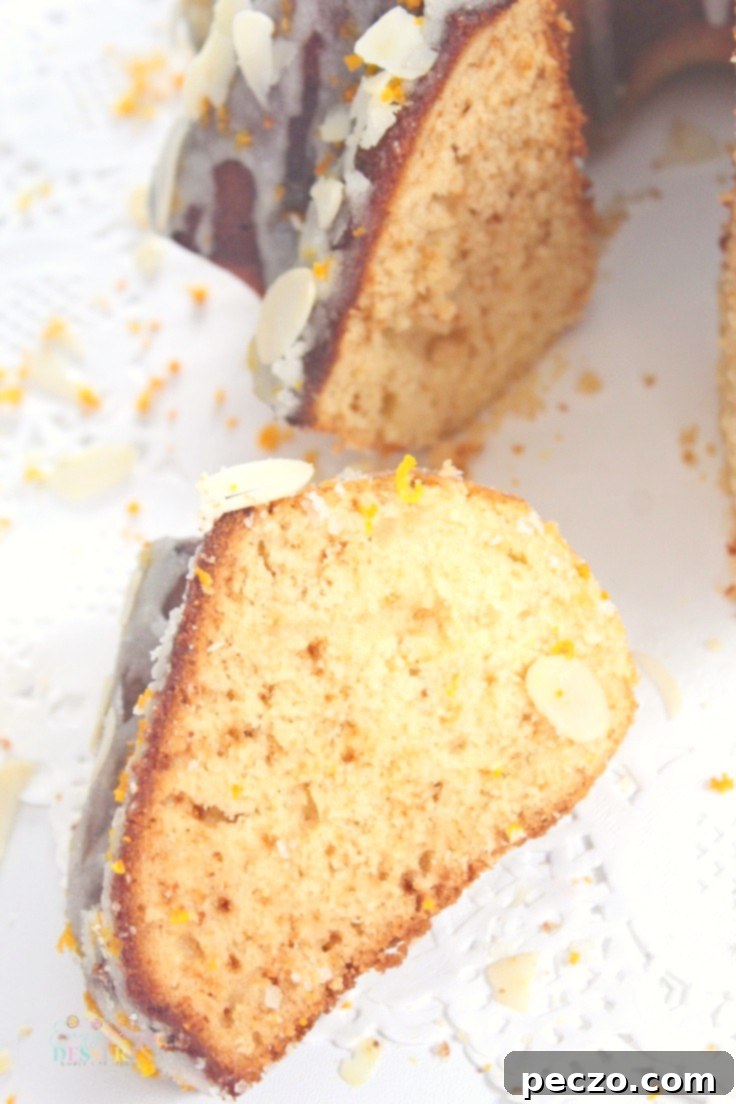
My personal favorite, and the one featured here, is a bright and zesty orange frosting. It’s absolutely divine, especially during the festive holiday season, but its refreshing taste also makes it a wonderful choice for summer. The subtle tartness of the orange juice provides the perfect counterpoint to the rich sweetness of the honey, creating a beautifully balanced flavor profile. This particular glaze is, in my opinion, a perfect complement to the honey-vanilla base, enhancing its flavors without making the cake too soggy or altering its delightful texture.
However, the options don’t stop there! Other equally delicious choices for glazes include a classic lemon or vanilla glaze, both offering their own unique charm. For chocolate lovers, a decadent chocolate ganache or a simple chocolate drizzle can transform this honey cake into a luxurious treat. For an added touch of elegance and festivity, consider a dollop of freshly whipped cream, perhaps adorned with colorful sprinkles, making it even more appealing for a party or a special holiday gathering.
Unleash your creativity with themed frostings to celebrate various occasions. Imagine vibrant red and green glazes for Christmas, a cheerful green for St. Patrick’s Day, or patriotic red, white, and blue for July 4th celebrations. Beyond glazes and frostings, you can also mix in a variety of delightful ingredients directly into the batter or sprinkle them on top. Think crunchy nuts, plump raisins, chewy dried fruits, or sweet chocolate chips to add diversity and surprise your family and guests with a new flavor and texture experience every time. The almond orange combination I used for this particular cake is an absolute favorite for its harmonious blend of nutty richness and bright citrus notes!
What’s your go-to glazing for this honey cake recipe that makes it an absolute showstopper? Do you have any other brilliant tips or secret ingredients you love to share? We’d be thrilled to hear them! Please leave your thoughts and suggestions in the comments section below.
Baking Your Perfect Honey Bundt Cake: Step-by-Step Guide
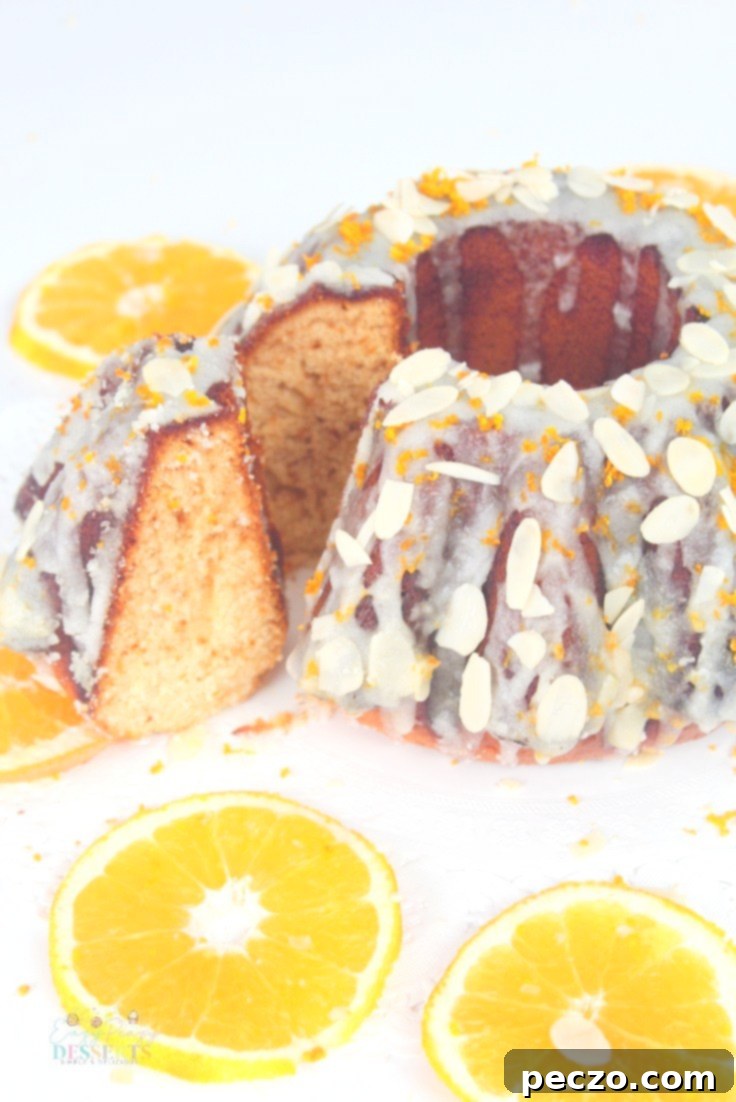
Making this honey Bundt cake is genuinely incredibly easy, requiring only a few staple ingredients that you likely already have in your pantry: flour, baking soda, a pinch of salt, rich honey, creamy butter, and tangy buttermilk. If you plan to adorn your cake with a beautiful glaze, you’ll simply need a couple more items for the frosting.
Once you’ve prepared the smooth, luscious batter, carefully transfer it into your prepared Bundt cake pan. Before placing it in the oven, gently tap the pan a few times against your countertop. This simple step helps to release any trapped air pockets within the batter, ensuring an even bake and a smooth, uniform texture in your finished cake.
When it’s time to bake, position the cake pan in the middle rack of your oven. This central placement allows for optimal heat circulation, promoting consistent baking from all sides. A crucial tip for achieving a beautifully risen and light cake is to resist the temptation to open the oven door for at least the first 15 minutes of baking. Prematurely opening the door can cause the cake to collapse due to sudden temperature changes. After approximately 25 minutes, you can begin checking your cake for doneness. Insert a clean toothpick into the very center of the cake. If the toothpick comes out with just a few moist crumbs clinging to it, your cake is perfectly done. If it comes out with wet batter, bake for another 5 minutes, then test again. While typically you might not need more than one additional 5-minute session, ovens can sometimes be a bit finicky, so always trust the toothpick test. If it still needs a little more time, continue baking in 5-minute increments until it’s just right.
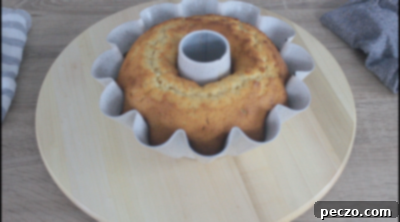
Don’t be alarmed when you take the cake out of the pan and notice its crust is a dark brown color. This is entirely normal and not a sign that your cake is burned! The rich, dark brown hue is a characteristic result of the honey in the recipe, and its intensity can vary depending on the specific color and quality of the honey you’ve used. For this particular recipe, I opted for raw honey, which often contributes to a beautiful, deep golden-brown finish.
How Do You Make This Honey Cake Recipe from Scratch?
- In a large mixing bowl, combine the dry ingredients: flour, baking powder, and salt. Whisk them together thoroughly to ensure they are well-distributed.
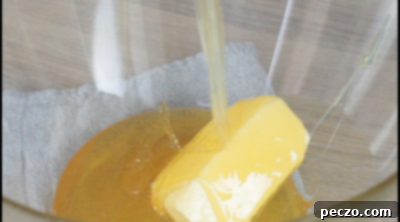
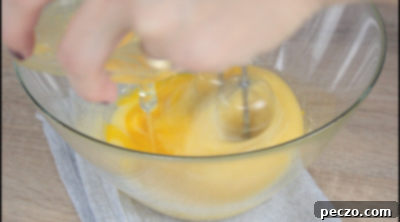
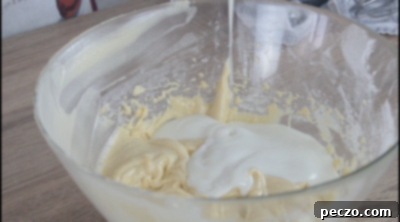
- In a separate, medium-sized bowl, combine the softened butter and honey. Beat these together with a hand mixer until they are well combined and creamy. Then, add the vanilla extract and mix until just incorporated.
- Gradually add the dry flour mixture to the wet ingredients, beating slowly until the batter is smooth and lump-free. Be careful not to overmix.
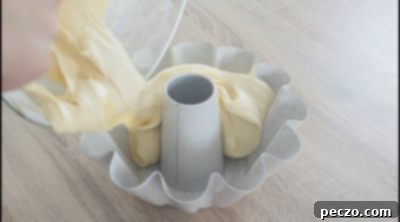
- Pour the prepared batter evenly into your greased and sugared Bundt cake pan. Tap the pan gently on the counter to release any air bubbles.
- Bake for 30-35 minutes, or until a toothpick inserted into the center comes out clean with a few moist crumbs. Allow the cake to cool in the pan on a wire rack for 10 minutes before carefully inverting it onto the rack to cool completely.
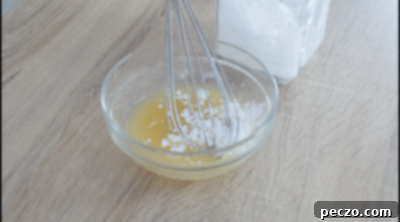
- Decide if you want to keep the cake simple or cover it in a delicious glaze. To prepare the orange glaze, simply whisk together the orange juice and powdered sugar until it reaches a thick, pourable consistency. Drizzle generously over the cooled cake.
Print the recipe card
Honey Cake Recipe
petro
Pin Recipe
Equipment
-
mixing bowl
-
spatula
-
whisk
-
hand mixer
-
9″ bundt cake pan
Ingredients
- 2 cups cake flour
- 3 tsp baking powder
- 1/2 tsp salt
- 1 stick butter softened
- 1 cup honey
- 3 eggs medium
- 1 tsp vanilla extract
- 1/2 cup buttermilk fridge temperature
For the Glaze
- 1/2 cup orange juice
- 2 1/2 – 3 cups powdered sugar
To Decorate
- orange zest from 1 large orange
- shaved almonds
Instructions
-
Preheat your oven to 350 F (175 C). Thoroughly grease and flour (or sugar) a 9-inch Bundt cake pan.

-
In a large bowl, combine the cake flour, baking powder, and salt. Whisk these dry ingredients together thoroughly until well combined.

-
In another large bowl, use a hand mixer to beat the softened butter and honey together until they are smoothly blended and creamy.

-
Add the eggs one at a time, beating well after each addition to fully incorporate them into the mixture.

-
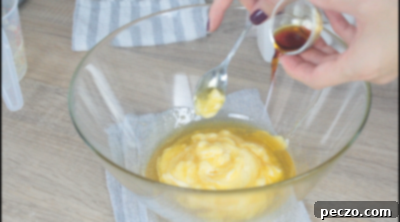
Beat in the vanilla extract until it’s evenly distributed throughout the batter.

-
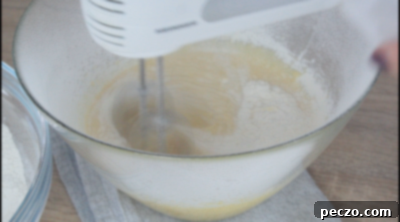
Slowly add the flour mixture to the wet ingredients, mixing on low speed until just combined. Be careful not to overmix.

-
Finally, add the buttermilk and beat until the batter is smooth and all ingredients are well incorporated.

-
Transfer the finished batter evenly into the prepared Bundt cake pan. Gently tap the pan on the counter a few times to eliminate any air pockets.

-
Bake for approximately 30-35 minutes, or until a toothpick inserted into the center of the cake comes out clean with just a few moist crumbs. If needed, bake for an additional 5 minutes. Allow the cake to cool in the pan for at least 10 minutes on a wire rack before carefully inverting it to cool completely.

-
While the cake cools, prepare the glaze by mixing the orange juice and powdered sugar until it reaches a thick but pourable consistency. For easy drizzling, you can transfer the glaze into a zip-top bag and snip off a small corner when you’re ready to decorate.

-
Once the cake is completely cool, generously drizzle the orange glaze over it. Immediately sprinkle with fresh orange zest and shaved almonds for an extra touch of flavor and elegance.

Video
Nutrition
Pin to save for later
