Decadent Strawberry Valentine Hot Chocolate Bombs: An Easy Recipe for Sweet Gifting
Love is truly in the air, and there’s no better way to express it than with a warm, comforting hug in a mug! This Valentine’s Day, delight your dearest with homemade Strawberry Valentine Hot Chocolate Bombs. This easy-to-make, simply delicious recipe offers a unique and enchanting twist on the classic chocolate-covered strawberry, delivering a delightful burst of flavor and a comforting embrace of warmth. Imagine the joy as these beautiful bombs melt into a creamy, strawberry-infused hot chocolate, perfect for sharing a special moment.
Create Unforgettable Valentine Hot Chocolate Bombs
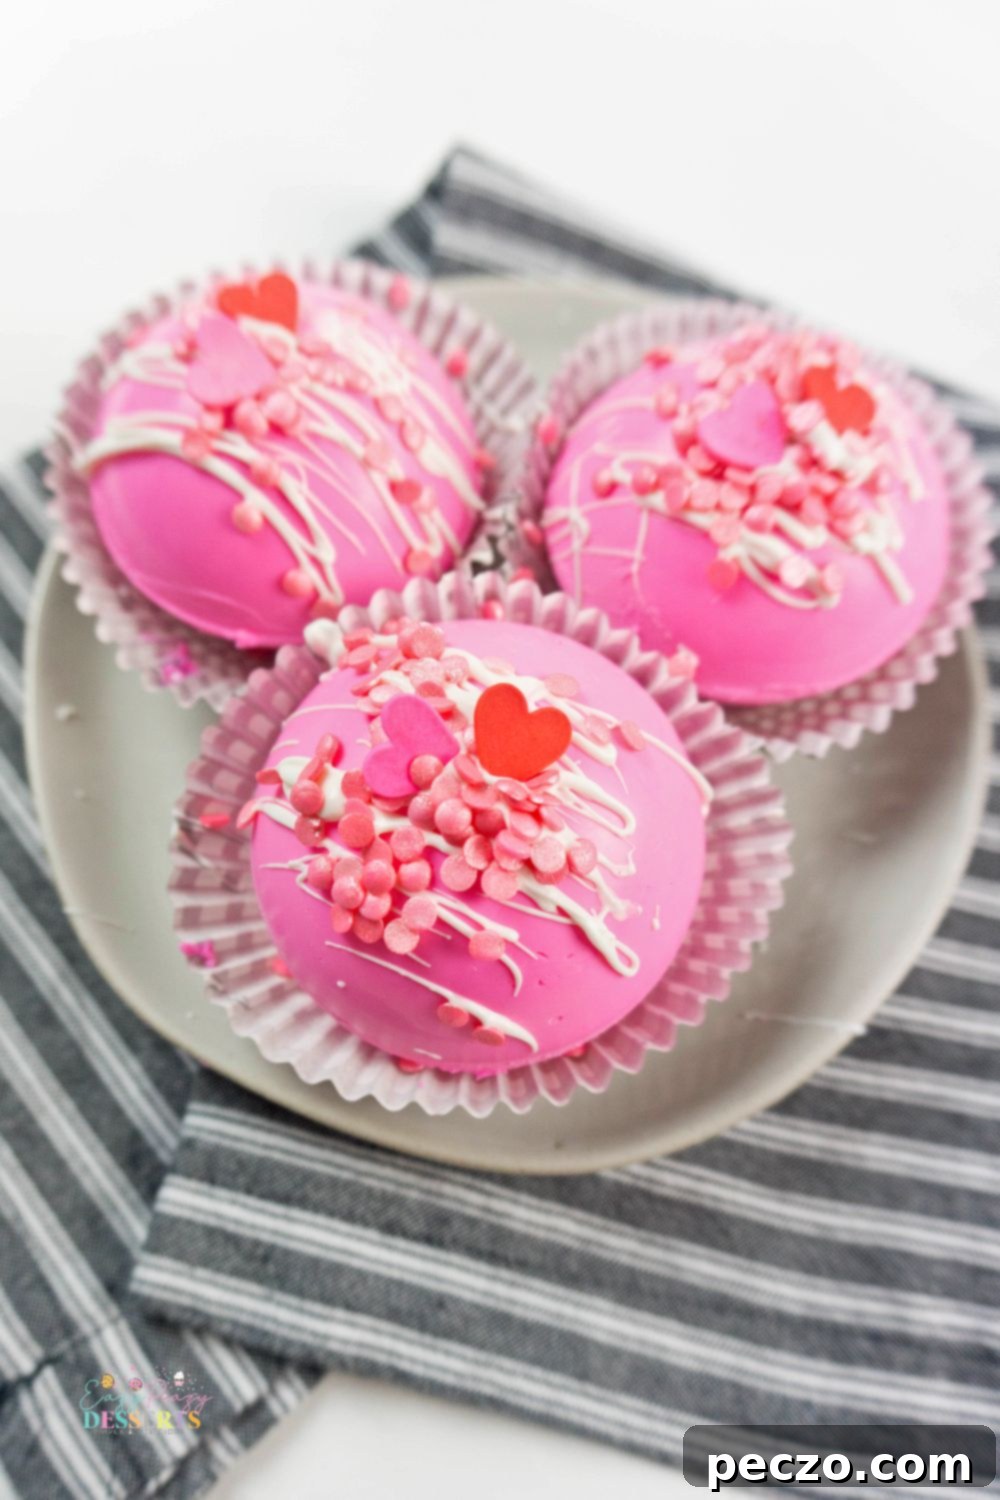
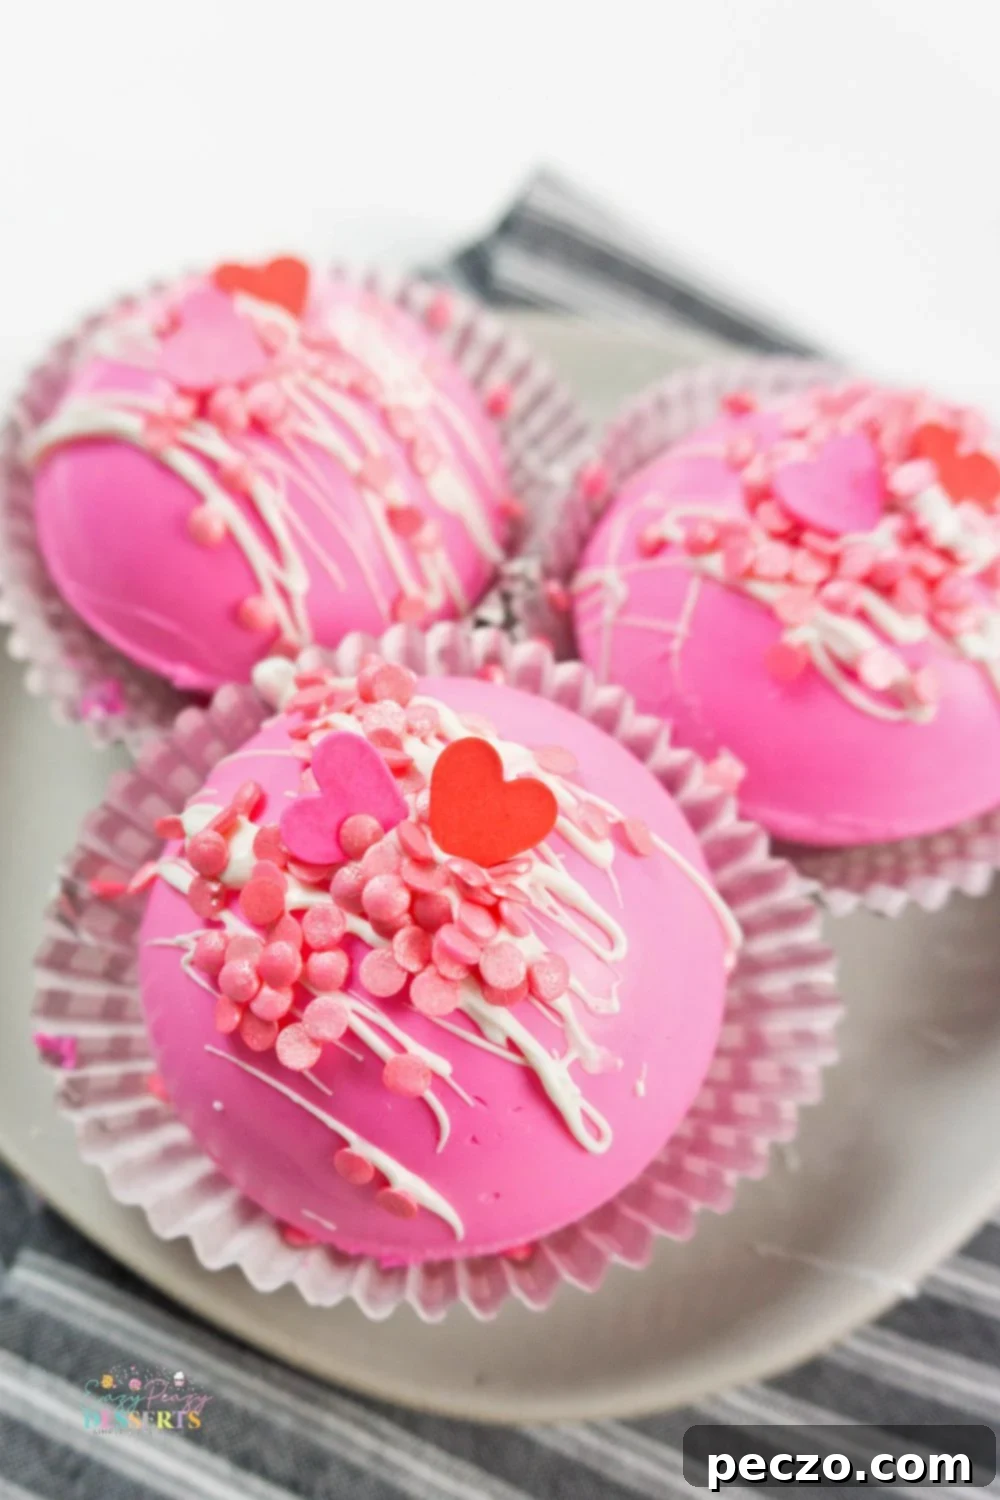
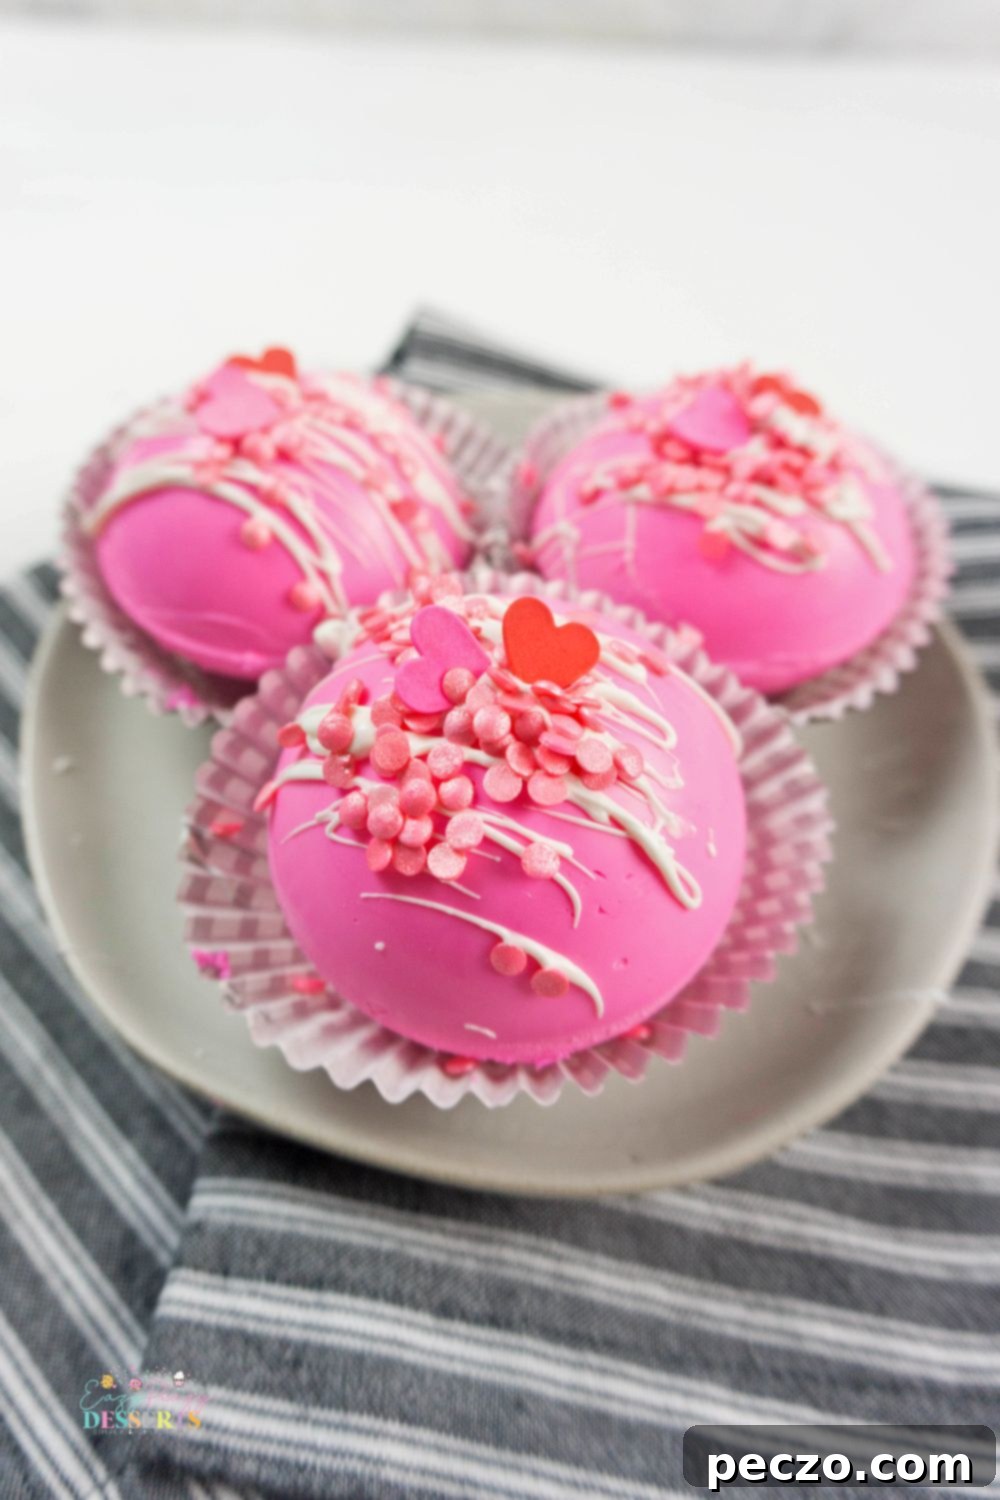
Valentine’s Day has always held a special place in my heart. It’s not just for sweethearts; it’s a wonderful opportunity to show appreciation for everyone you hold dear, from family to friends. And as the old saying goes, the quickest route to anyone’s heart is often through their stomach! My Strawberry Valentine Hot Chocolate Bombs are designed to do just that, combining the delightful aesthetics of pink and white candy melts with the vibrant flavor of strawberry mix, fluffy marshmallows, and festive sprinkles. The result is a yummy, colorful treat that promises to warm the heart of anyone who receives it.
Each year, my children’s school hosts a charming Valentine’s Day party where kids eagerly exchange treats and cards with their classmates. These hot chocolate bombs have become our go-to contribution. The recipe is incredibly kid-friendly, making it a fun activity for my little helpers. They absolutely love being involved in the process, from melting the candy to adding the final sprinkles. It’s a wonderful bonding experience that doubles as a festive preparation for the holiday.
Without fail, these homemade strawberry hot chocolate bombs are always a huge hit in the classroom. We carefully package them individually, tying them with a ribbon to accompany their Valentine’s Day cards. I’ve even had teachers approach me, asking if we plan on making them again the following year – surely a testament to their irresistible appeal! Such feedback is truly rewarding and confirms that these treats are not just delicious but also memorable.
Why You’ll Adore These Strawberry Hot Chocolate Bombs
There are countless reasons why these Strawberry Valentine Hot Chocolate Bombs will become a staple in your holiday celebrations. Firstly, they are a fantastic alternative to traditional chocolate-covered strawberries, offering a delightful warm beverage experience rather than a cold snack. The process of making them is surprisingly straightforward, even for novice bakers, making it an enjoyable project for families. Furthermore, their vibrant pink hue and playful sprinkles make them visually stunning, adding a touch of elegance and fun to any Valentine’s gathering or gift. They truly embody the spirit of love and celebration in every sip.
Other Chocolate Desserts You Will Love:
- Homemade Chocolate Fudge
- Chocolate Mousse
- Funfetti Strawberry Fudge
- Chocolate Pretzels
Beyond school parties, I always prepare an extra batch of these delightful treats for our home. They are the perfect indulgence after a romantic evening out with my sweetheart. This year, we’re planning a quiet, relaxing night in, complete with a homemade dinner, snuggles on the couch, champagne, movies, and, of course, these tantalizingly delicious Strawberry Hot Chocolate Bombs. Few flavors evoke the essence of Valentine’s Day quite like the classic combination of strawberry and chocolate. I wholeheartedly encourage you to whip up a batch today and create a beautiful, shareable moment with those you cherish most.
What Is a Hot Chocolate Bomb?
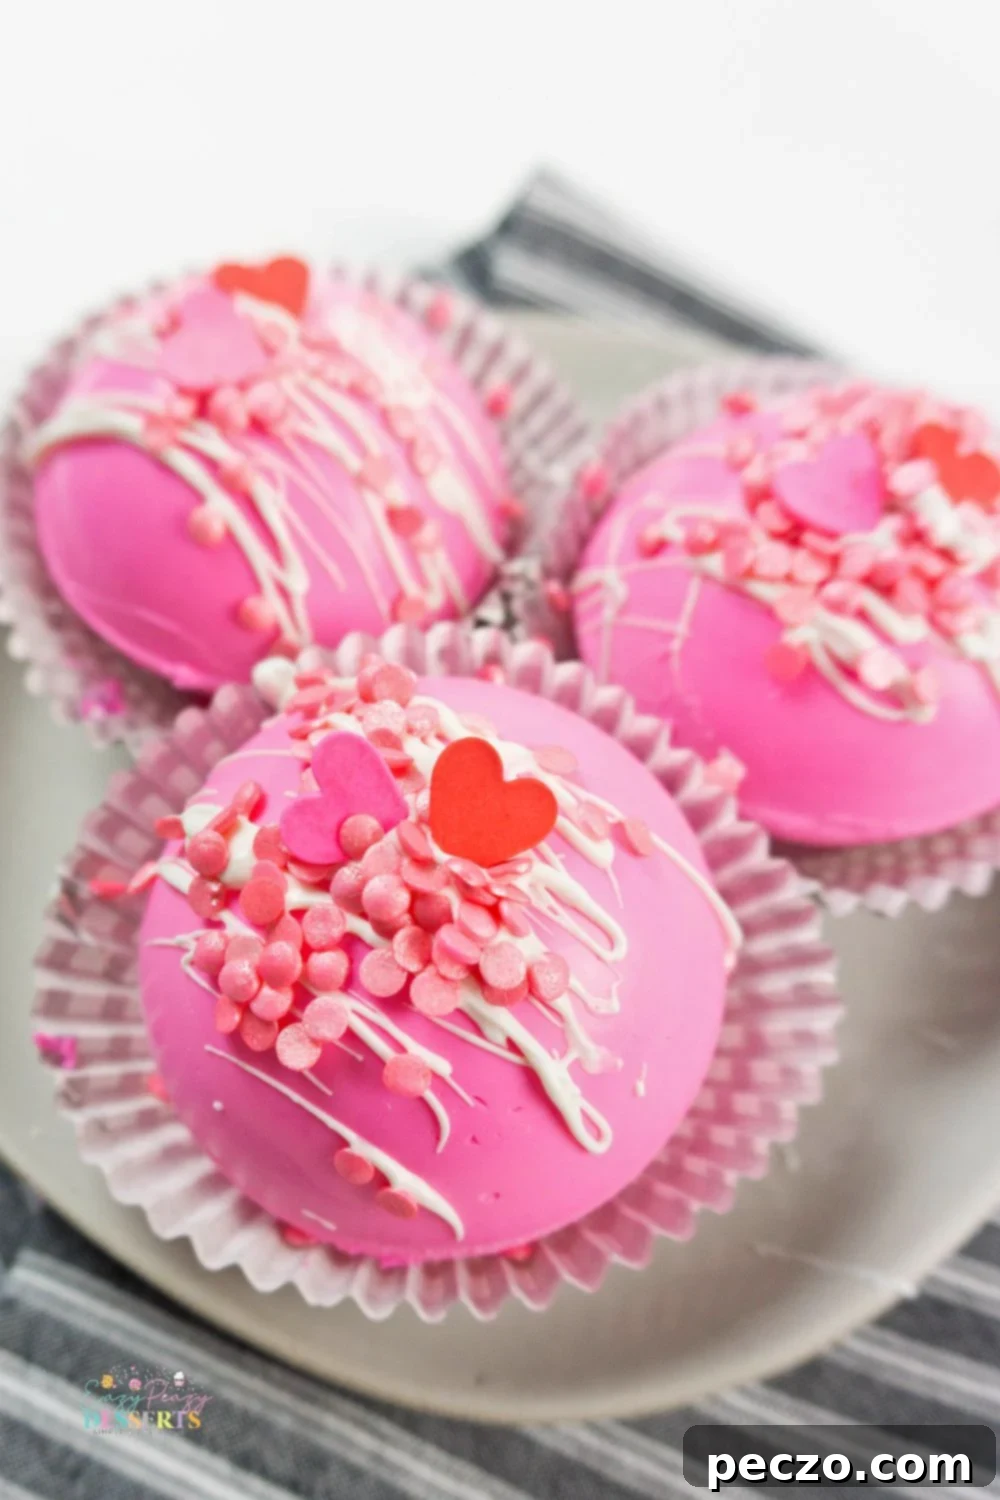
A hot chocolate bomb is essentially a magical sphere designed to transform a simple cup of hot milk into an extraordinary mug of gourmet hot chocolate. Typically, these individual domes are crafted from melted chocolate or candy melts and filled with hot cocoa mix and mini marshmallows. When dropped into a steaming cup of milk, the outer shell gently melts away, releasing the delicious contents within, which then dissolve to create a rich, creamy, and wonderfully comforting beverage. It’s an interactive and exciting way to enjoy a classic treat!
My Valentine-themed hot chocolate bombs take this concept and elevate it with a festive flair. They aren’t just beautiful to look at before they’re added to hot milk; their transformation is equally enchanting. As the candy shell melts, the colorful sprinkles and miniature marshmallows spring to life, dancing elegantly throughout the mug. The result is a beautiful, light pink hot chocolate, perfectly adorned with festive colors that capture the essence of Valentine’s Day. It’s a magnificent, show-stopping moment that will genuinely ‘wow’ everyone you share them with, creating a truly memorable experience.
Gather Your Supplies for Valentine Hot Chocolate Bombs
Preparing for the upcoming holiday means ensuring you have all the necessary ingredients and tools to create these delightful strawberry bombs. Here’s a comprehensive list to guide your shopping and preparation:
Baking Tools
- 1 silicone dome mold medium/large 2.5 inch (essential for shaping perfect spheres)
- Spoon (for spreading melted candy and stirring)
- Plate (for setting the bomb halves)
- Frying Pan (for gently melting and sealing the edges)
- Mugs (for serving your finished hot chocolate creations)
Ingredients
- 1 bag light pink candy melts (provides the beautiful Valentine’s hue and structural integrity)
- 1/3 cup white candy melts (for drizzling and contrast)
- 6 tablespoons Nesquik strawberry mix (for that essential strawberry flavor inside)
- 15 mini marshmallows (the classic hot chocolate companion)
- Valentine’s Day sprinkles (for festive decoration and extra cheer)
This easy shopping list will equip you to make a simply delightful recipe for that special someone who is downright easy to love!
Expert Tips, Tricks, and FAQ for Perfect Hot Chocolate Bombs
Many people find the idea of making hot chocolate bombs, especially for the first time, to be a bit intimidating. They often appear intricate and complex. However, I assure you, the reality is quite the opposite! My recipe is designed to be incredibly straightforward, and once you give it a try, you’ll see just how simple (and utterly delicious) the entire process can be.
But just in case you’re still feeling a little apprehensive, I’ve put together some expert tips, clever tricks, and answers to frequently asked questions to help ease any fears. These insights will empower you to focus on what truly matters: celebrating those you love with a handmade treat.
Can I Use Chocolate Chips Instead of Candy Melts?
The quick, direct answer is no, and here’s why it’s crucial: the success of a hot chocolate bomb hinges on creating a sturdy, solid outer shell that can hold its perfect spherical shape and contain all the delightful fillings inside. If the chocolate coating isn’t thick and strong enough, it risks breaking apart before it even reaches the mug. Candy melts are specifically formulated to melt smoothly and set firmly, ensuring the proper consistency and structural integrity needed for these bombs. Regular chocolate chips, while delicious, often lack the necessary stability and temper correctly without additional steps, making them less reliable for this particular application.
Can I Make More Than Three Hot Chocolate Bombs?
Absolutely! Spreading more love is always a fantastic idea. This recipe yields three bombs, but if you wish to make a larger quantity, simply scale up the ingredients accordingly. For instance, if you’re aiming to make nine bombs, you would multiply all ingredient quantities by three, and so on. The beauty of this recipe is its flexibility, allowing you to easily adjust it for any number of recipients or occasions. Feel free to make as many as your heart desires!
How Can I Store Strawberry Hot Chocolate Bombs?
Once your hot chocolate bombs are fully set, they can be stored efficiently for two to three weeks. The key is to place them in an airtight container at room temperature. This makes them an ideal make-ahead gift or a convenient treat to have on hand. Don’t worry about the marshmallows inside drying out; once submerged in hot milk, they will rehydrate beautifully, returning to their delightfully soft and chewy original texture, ready to melt into your cozy drink.
How Can I Package Hot Chocolate Bombs for Gifting?
The possibilities for creatively packaging your strawberry hot chocolate bombs are virtually endless, allowing your personal touch to shine! You can nestle them individually inside festive mugs, wrap them in cellophane with a decorative ribbon, place them in clear cupcake boxes for an elegant presentation, or even set them in colorful cupcake liners before tucking them into cute mini bags. The most important thing is to ensure they are somewhat protected from breakage during transport. Let your creativity soar and express your love in the most charming way you know how!
Troubleshooting: Achieving Smooth, Shiny Hot Chocolate Bombs
For the smoothest and shiniest hot chocolate bombs, proper melting of your candy melts is key. Use a microwave-safe bowl and melt in short intervals (30 seconds), stirring thoroughly after each interval to prevent overheating and scorching. If your candy melts seem too thick, add a tiny bit of coconut oil or vegetable shortening (about 1/2 teaspoon per bag) to thin them slightly, ensuring a perfectly smooth coating. Working quickly is also essential, especially when spreading the melted candy in the molds, to achieve an even layer before it begins to set.
Experimenting with Flavors: Beyond Strawberry
While this recipe focuses on delightful strawberry hot chocolate bombs, the base concept is incredibly versatile. Feel free to experiment with other flavors of hot cocoa mix or even different candy melt colors and extracts to create a variety of bombs. Imagine mint chocolate bombs with green candy melts, or a rich dark chocolate bomb with a hint of chili for a spicy kick. You can also vary the fillings, adding different types of sprinkles, small chocolate chips, or even a mini chocolate bar piece inside. The possibilities are truly endless, allowing you to customize your creations for any preference or occasion!
Tip For Using Silicone Molds
If you’re new to working with silicone molds, they can sometimes feel a bit tricky until you get the hang of them. A helpful tip to gain more control, especially when demolding or coating, is to carefully cut your silicone mold. Separate the individual half-sphere cavities so each one stands on its own. This allows for easier handling when you’re spreading the melted chocolate or candy melts, and it makes popping out the delicate chocolate shells much simpler, reducing the risk of breakage. This small adjustment can make a big difference in your hot chocolate bomb crafting experience!
Step-by-Step Instructions to Make Strawberry Hot Chocolate Bombs
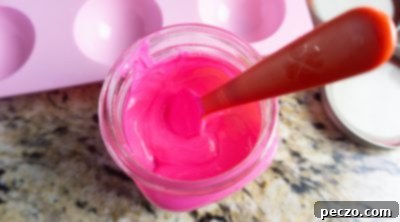
- Melt the light pink candy melts according to the package directions. You can do this in the microwave using a microwave-safe bowl, heating in short 30-second bursts and stirring between each, or by using a double boiler for a gentler melt.
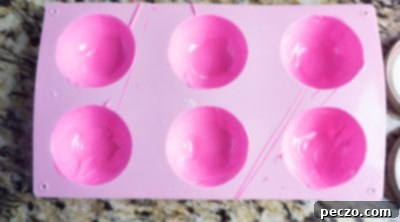
- Once melted and smooth, spoon a small amount of the light pink candy melts into each dome mold cavity. Use the back of a spoon or a clean brush to spread a thin, even layer across the entire surface of each mold. Ensure there are no thin spots. Place the mold in the freezer for 10 minutes to allow the candy to set firmly. After 10 minutes, remove it from the freezer and check for any translucent areas. If you can see through the mold in any spot, apply a bit more melted candy only to those areas. You want the bomb to be sturdy enough to hold its shape but not overly thick. Return to the freezer for another 10 minutes if additional coating was applied.
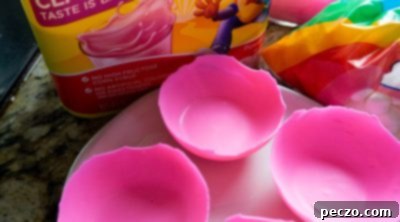
- Carefully remove the set candy shells from the freezer. Gently pop out each half-sphere from the silicone mold. Handle them with care to avoid cracking. Place all the candy half-spheres on a clean plate.
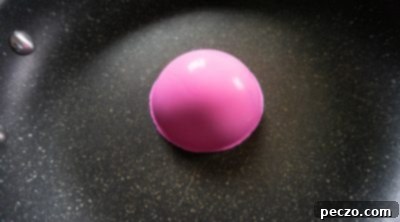
- Heat a frying pan over low heat. The pan should be warm enough to gently melt the candy without scorching it. Take one half of a bomb and place its rim down onto the warm frying pan for a few seconds. This will slightly melt and even out the edges, creating a smooth surface for sealing.
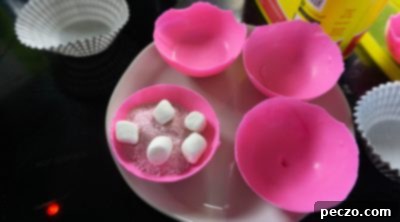
- Working quickly, add about 2 tablespoons of Nesquik strawberry mix and a generous handful of mini marshmallows into one of the melted-edge bomb halves. Take another bomb half, gently melt its rim on the warm frying pan, and then carefully place it evenly on top of the filled half. This will seal the two halves together to form a complete sphere. Avoid applying hot candy melts to the outside to seal, as this will melt the bomb itself.
- Once all the bombs are sealed, melt the white candy melts as directed on their package. Drizzle the melted white candy melts decoratively over the top of each strawberry hot chocolate bomb. Immediately sprinkle with Valentine’s Day sprinkles while the white candy is still wet. Allow the melted candy drizzle to dry completely, which should only take a few minutes.
- To serve, place one finished hot chocolate bomb in a mug. Pour hot milk (approximately 8-10 ounces) over the bomb. Watch as the bomb magically melts and dissolves, releasing the strawberry mix and marshmallows. Stir well until all ingredients are fully incorporated and your hot chocolate is creamy and smooth. You can store any leftover bombs in an airtight container in the refrigerator until their next use.
Do you have any fantastic tips and tricks that help you make your hot chocolate bombs at home? Or perhaps you’ve already tried my delightful strawberry hot chocolate bomb recipe? Share the love and tell me all about your experiences and variations in the comments below!
Happy Valentine’s Day—and as always, happy baking!
Pin to save for later
Valentine Hot Chocolate Bombs
petro
Pin Recipe
Equipment
-
medium bowl
-
spatula
-
1 silicone dome mold medium/large 2.5 inch
Ingredients
- 1 bag light pink candy melts I used sweet tooth fairy ones
- 1/3 cup white candy melts
- 6 tbsp nesquick strawberry mix
- 15 marshmallows
- Valentine Sprinkles
Instructions
-
Melt light pink candy melts to the package directions in the microwave.

-
Add light pink candy melts to the dome mold and spread with the back of a spoon or a brush. Do this in one thin layer to coat then place in freezer for 10 minutes. Take it back out and coat only where you can see through the mold. If you cannot see through the mold you do not need to add more. You want the bomb to stay together but not be too thick. If you add more to the see through spots then place back in the freezer for another 10 minutes.

-
Remove and slowly pop out the each side of the bombs. Place on a plate.

-
Heat a frying pan to low heat. Place one side of the bomb rim down onto the frying pan. This will lightly melt and even out the edges.

-
Quickly add about 2 tablespoons strawberry mix to the bomb and marshmallows. Melt the other side of the bombs rim and then place evenly with the other side. This will seal them together evenly. Do not add hot candy melts to the outside as it will just melt the bomb.

-
Melt white candy melts as directed. Drizzle over the top of the bomb and Valentine’s sprinkles. Let dry and serve in a cup and pour over hot milk to dissolve the bomb and stir well.

Nutrition
