Easy No-Bake Root Beer Cheesecake Recipe: A Refreshing Dessert Without the Oven!
Craving a sweet, creamy dessert but don’t want to turn on your oven? Look no further! This incredible **no-bake root beer cheesecake** is the perfect solution for satisfying your sweet tooth, offering a unique and delightful flavor profile that will truly surprise and impress. Forget complicated baking steps; this recipe is all about simple preparation and maximum enjoyment. Prepare to be amazed by a dessert that tastes just like your favorite root beer float, but in a luscious, cheesecake form!
The Irresistible Charm of Root Beer Cheesecake
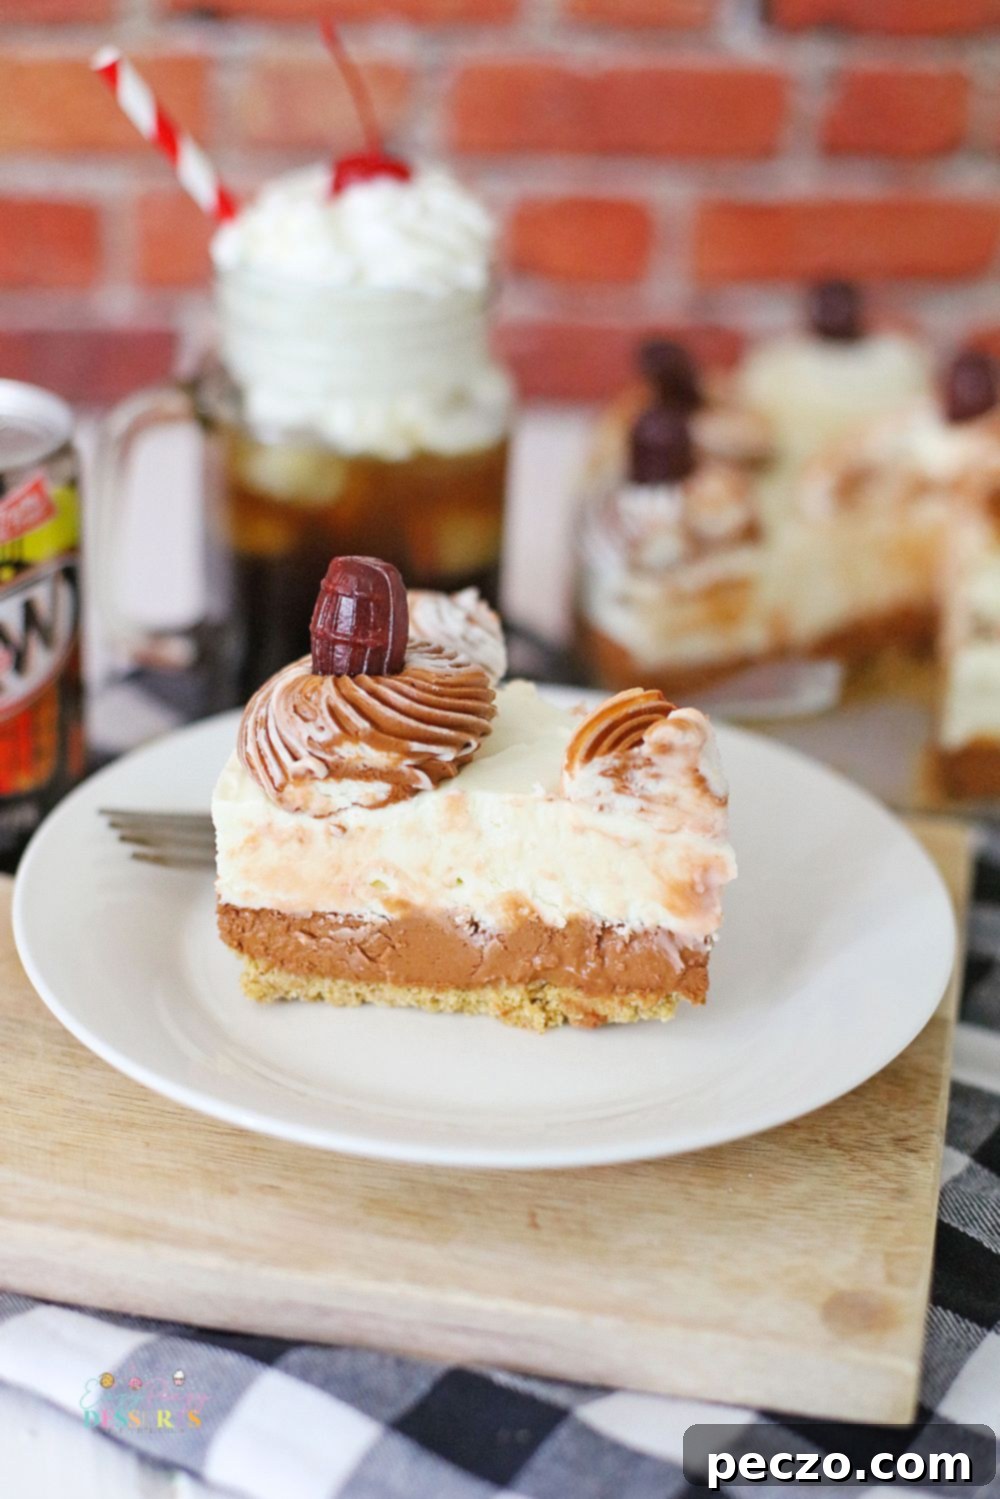
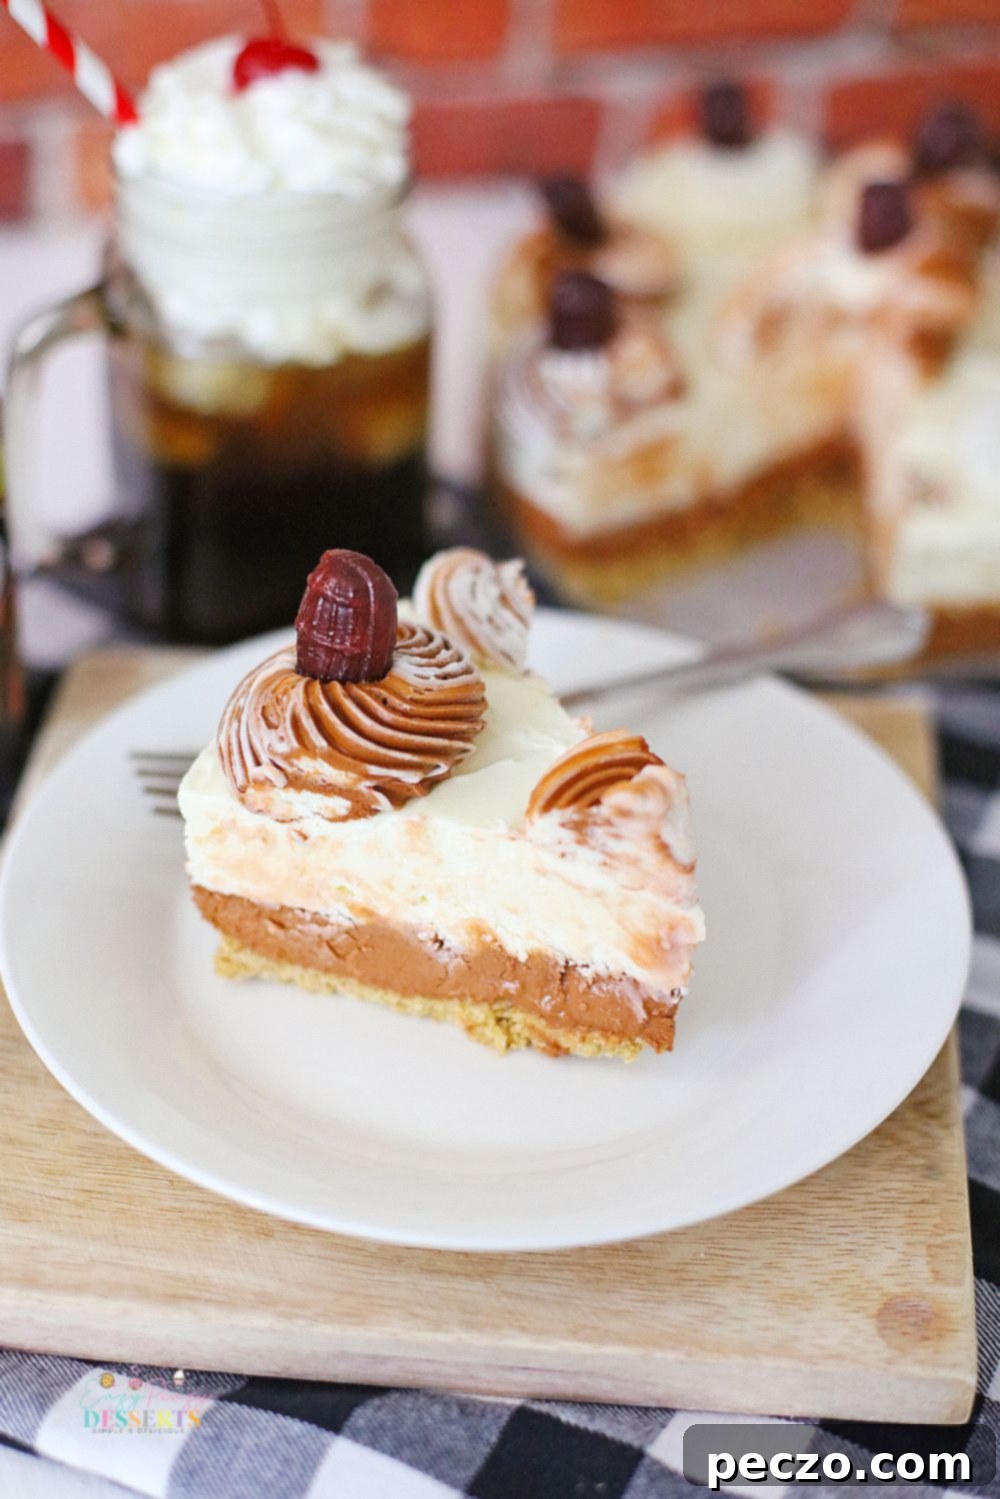
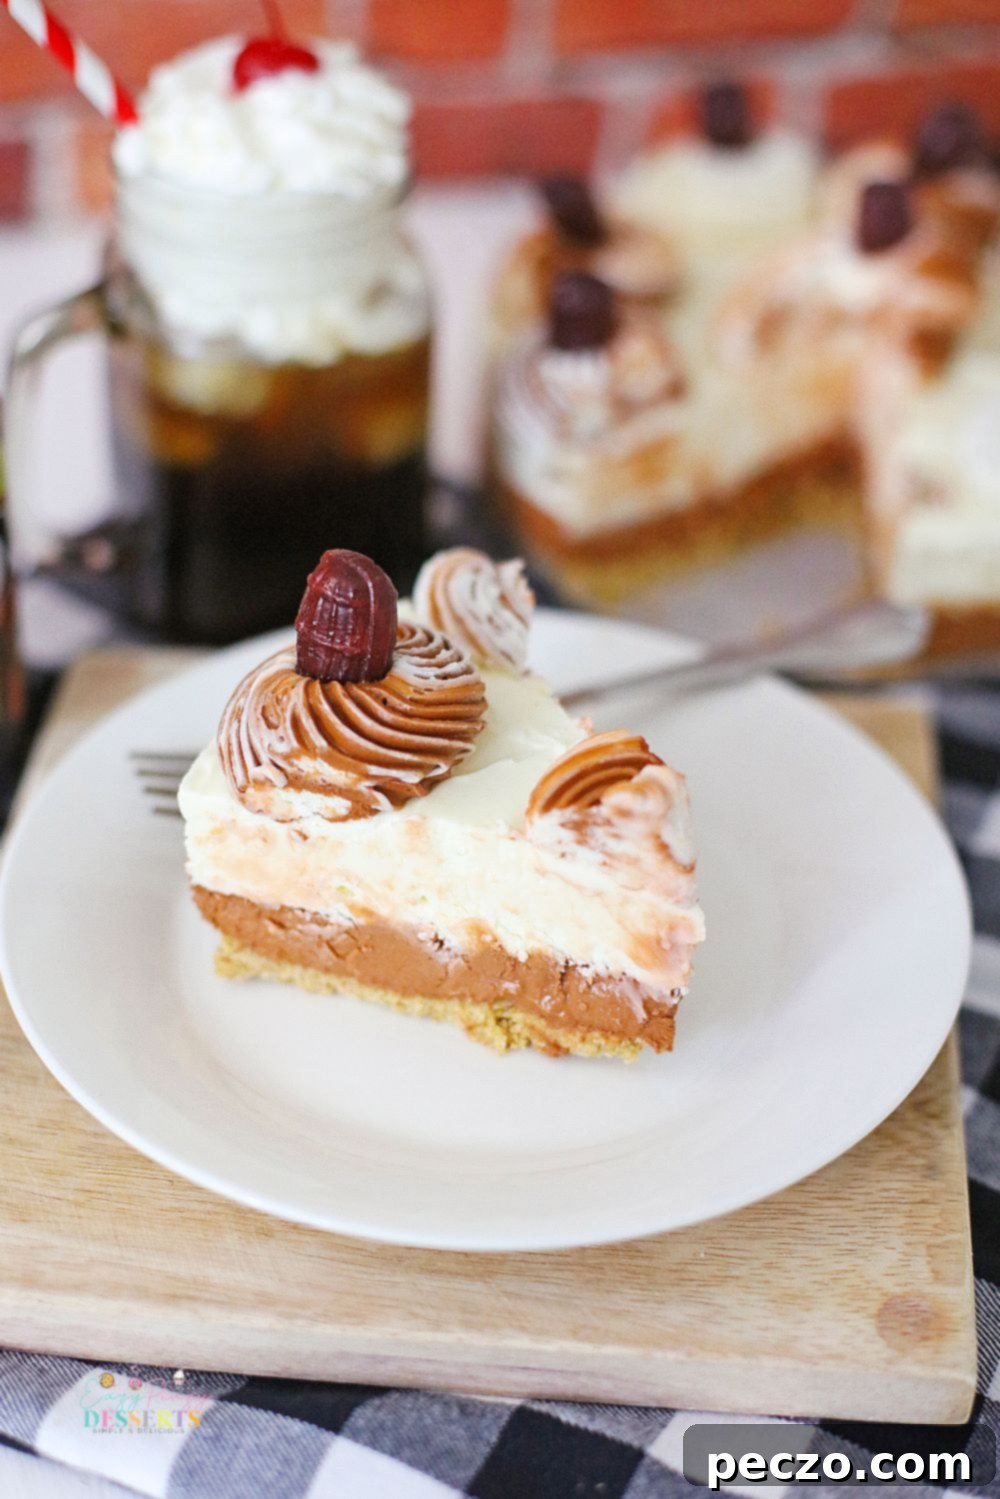
If you’re on the hunt for a truly delicious and effortlessly prepared no-bake dessert, this **root beer cheesecake** is precisely what you need. Imagine a homemade delight featuring a perfectly fluffy, light no-bake mousse filling perched atop a classic, buttery graham cracker crust. This isn’t just any cheesecake; it’s a nostalgic trip to your childhood, reminiscent of a fizzy root beer float, transformed into an elegant and satisfying treat. Every bite delivers a harmonious blend of creamy sweetness and distinct root beer flavor that will undoubtedly knock your socks off!
This unique dessert is a dream come true for any root beer enthusiast. It boasts a rich, root beer-flavored cheesecake filling, crowned with a smooth, creamy frosting that perfectly complements the overall taste. Beyond its incredible flavor, its ease of preparation makes this **root beer cheesecake** an ideal choice for any gathering, party, or simply as a special treat for your family. Its striking appearance and irresistible taste guarantee it will be the star of any dessert table.
Discover More Cheesecake Delights You’ll Love:
If you’re a fan of no-bake desserts and cheesecakes, explore some of these other fantastic recipes:
- No-Bake Twinkie Cheesecake
- Instant Pot Oreo Cheesecake
- No-Bake Crème de Menthe Cheesecake
- Pineapple Whip Cheesecake
Essential Ingredients for Your Root Beer Cheesecake Masterpiece
Thanks to its decadent cheesecake filling and a delightful creamy frosting, this extraordinary dessert truly captures the essence of a classic root beer float. The best part? Since it’s a no-bake, egg-free treat, you can effortlessly whip it up with minimal fuss and just a few minutes of active preparation. Gathering your ingredients is the first step towards creating this magical dessert.
To craft this delightful **root beer float cheesecake**, you’ll only need a handful of readily available, simple ingredients:
- Graham cracker crumbs: The foundation of our perfectly crunchy and buttery crust. You can buy them pre-crushed or crush whole graham crackers yourself.
- Sugar: Essential for both the crust and the cheesecake filling, balancing the flavors.
- Butter (melted): Acts as the binding agent for the graham cracker crust, ensuring it holds together beautifully.
- Cream cheese: The heart of any cheesecake, providing that signature tang and creamy texture. Ensure it’s softened to room temperature for smooth blending.
- Heavy cream: Whipped to light and airy peaks, it gives the cheesecake its fluffy mousse-like consistency.
- Powdered sugar: Used in the cheesecake filling and frosting for a smooth, melt-in-your-mouth sweetness.
- Vanilla extract: A touch of vanilla enhances all the other flavors, adding depth and warmth.
- Root beer: The star ingredient! Use your favorite brand (like A&W suggested in the recipe) to infuse that distinct root beer flavor. Alternatively, if you prefer a stronger, more concentrated flavor, or if regular root beer isn’t easily accessible, you can use **root beer extract**, **root beer flavoring**, or even **root beer concentrate** found at your local grocery store or specialty baking shops.
- Brown food coloring: A few drops help achieve that iconic root beer hue, adding to the visual appeal.
- Root beer barrel candy: Perfect for decorating, these candies not only look great but also reinforce the root beer theme.
Crafting Your No-Bake Root Beer Cheesecake: A Simple Guide
One of the most appealing aspects of this **A&W dessert recipe** is its incredible simplicity and speed. You can prepare this show-stopping dessert in a matter of minutes, making it ideal for impromptu celebrations or when time is of the essence. The entire process is broken down into three straightforward parts:
- The Crust: This delightful no-bake cheesecake begins with a simple, yet foundational, graham cracker crumb crust. To start, thoroughly crush your graham crackers in a food processor until fine crumbs form. Next, combine these crumbs with sugar and melted butter. This mixture is then firmly pressed into the bottom of a 7-inch springform pan, creating an even, compact base. Once pressed, place the pan in the freezer to chill and firm up while you move on to preparing the other layers. Freezing is crucial here as it helps the crust maintain its structure without baking.
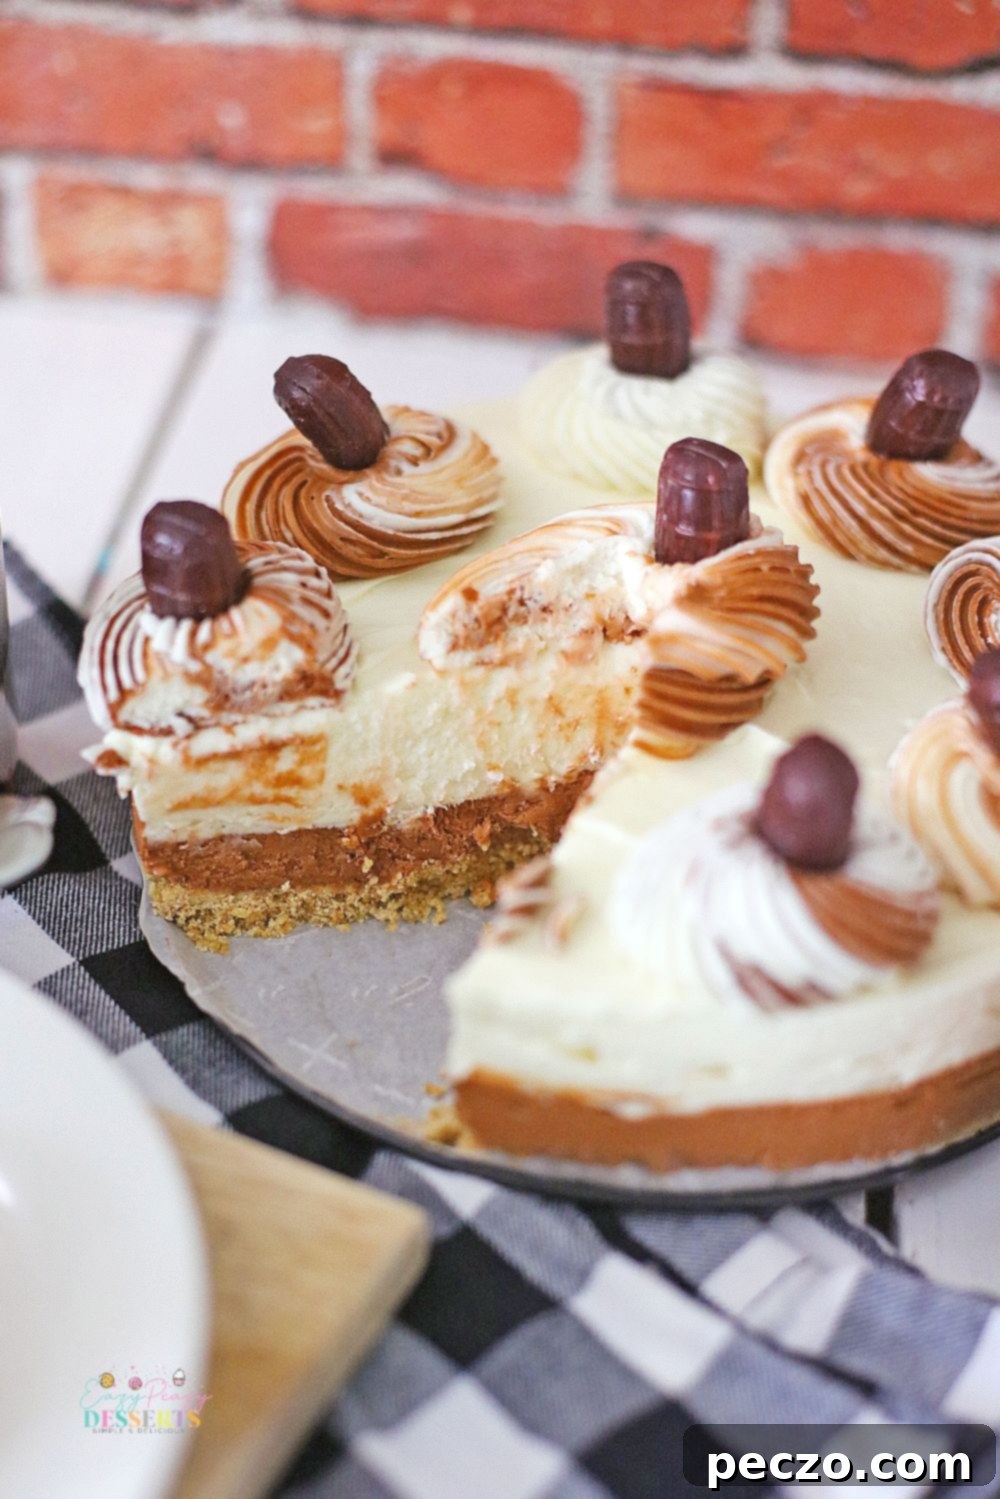
- The Cheesecake Mix: After your crust is chilling, it’s time to create the star of the show – the creamy cheesecake layer. For the fluffy no-bake filling, combine softened cream cheese, heavy cream, powdered sugar, vanilla extract, and sugar in a large mixing bowl. Using an electric mixer or a stand mixer, beat these ingredients until the mixture becomes wonderfully smooth and creamy. Next, divide this luscious cheesecake filling into two separate bowls. To achieve the distinctive root beer color, fold brown food coloring into one of the bowls. Carefully spread the brown layer into the chilled springform pan over the crust, then return it to the freezer until it’s solid. Once firm, gently spread the plain white cheesecake layer on top of the brown layer and place the pan back into the freezer to set completely. This two-tone effect adds visual appeal and mimics the layers of a root beer float.
- The Frosting: Once both cheesecake layers are frozen solid and perfectly set, you’re ready to add the final, decorative touch to your **root beer float dessert**. Prepare the frosting by beating together softened cream cheese, butter, vanilla, heavy cream, and powdered sugar until it’s smooth, light, and creamy. For an authentic look, tint the frosting with a few drops of brown food coloring. Transfer this tinted frosting to a piping bag fitted with a star tip. Pipe beautiful dollops of icing around the edge of the cheesecake. To complete the root beer float aesthetic, top each dollop with a classic root beer barrel candy. The visual effect is stunning, and the taste is unparalleled!
Planning Ahead: Can You Make Cheesecake in Advance?
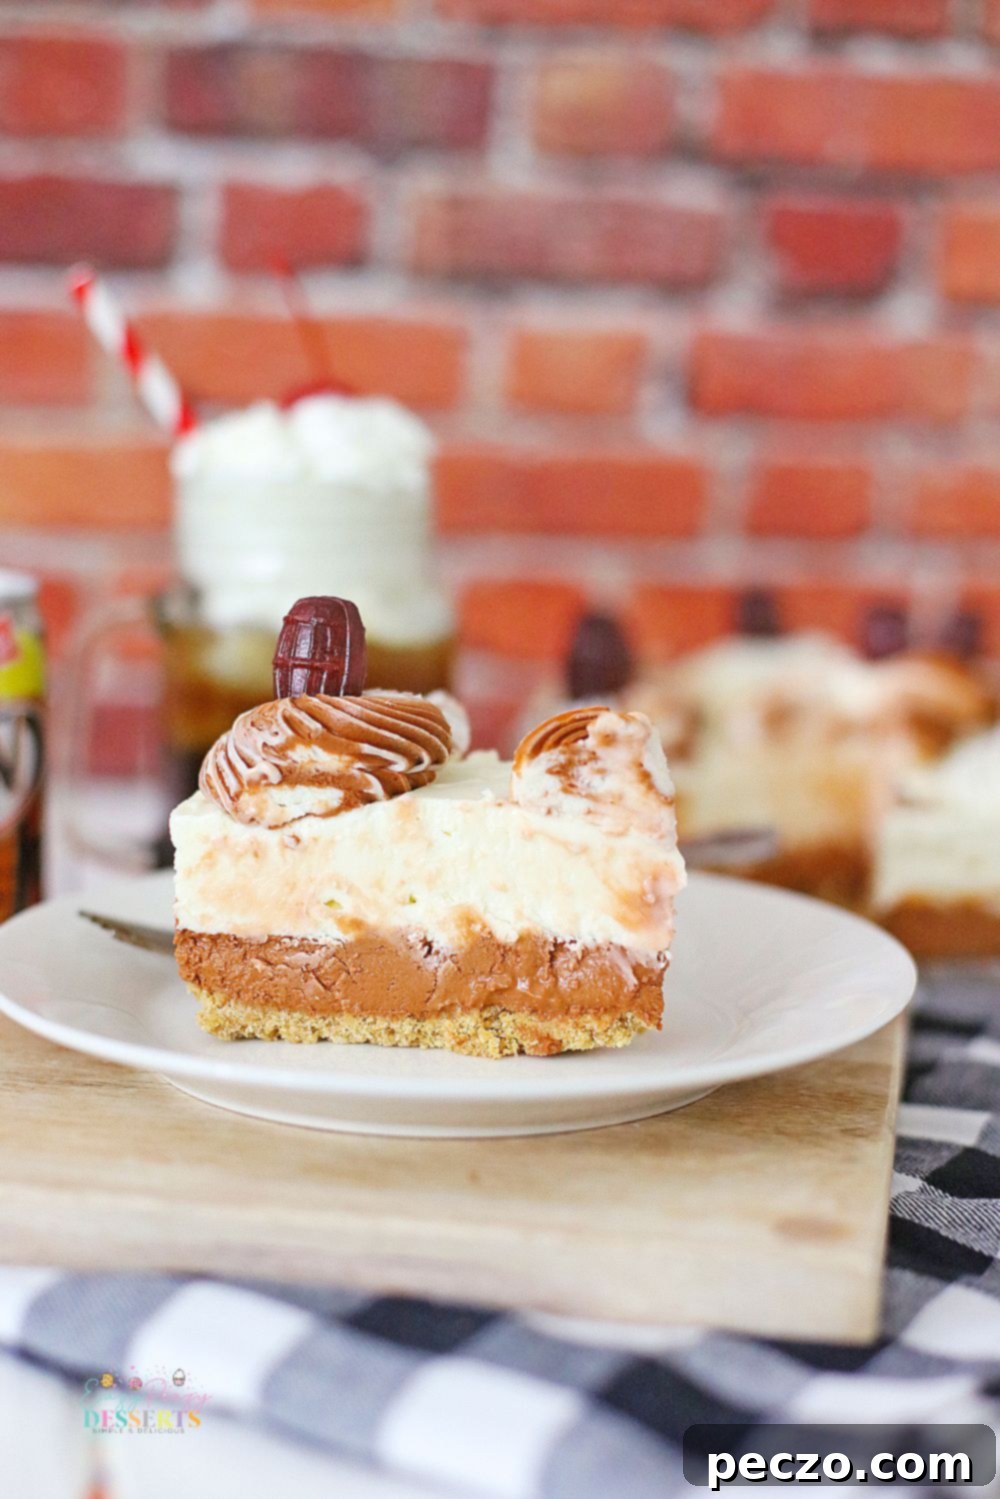
Absolutely! One of the greatest advantages of this simple **no-bake root beer cheesecake recipe** is its fantastic make-ahead potential. Preparing your dessert in advance means less stress on the day you plan to serve it, allowing you to focus on other aspects of your event. Once the cheesecake is fully prepared and beautifully decorated, simply return the springform pan to the freezer. It will be perfectly ready to serve whenever you need it.
If you intend to store your cheesecake in the freezer for more than a day, it’s highly recommended to cover the pan securely with plastic wrap. This crucial step helps to prevent freezer burn, which can affect the texture and taste of your delicious dessert, keeping it fresh and perfect. When you’re ready to serve, carefully release the springform pan from around the cheesecake. For neat, professional-looking slices, use a sharp knife that has been run under hot water and wiped clean between each cut. This ensures clean edges and a beautiful presentation for your two-inch slices.
Expert Tips for a Flawless No-Bake Cheesecake
This **no-bake cheesecake recipe** is incredibly straightforward, making it a perfect and unique dessert to bring to your next party or family gathering. With these essential tips, you’ll be able to prepare this delicious and impressive dessert perfectly every time, cementing your reputation as a culinary wizard!
- Begin with Room Temperature Ingredients: Whether you’re crafting the silky no-bake cheesecake filling or whipping up the creamy frosting, the secret to achieving the ideal consistency lies in using room temperature ingredients. Before you start mixing, make sure to remove your butter and cream cheese from the refrigerator well in advance. Allow these ingredients to sit on the counter for at least an hour (or even two) to soften thoroughly. This prevents lumps from forming and ensures all ingredients blend together seamlessly, creating a smooth and uniform mixture. Cold ingredients will result in a lumpy texture and a less cohesive dessert.
- Avoid Overmixing the Batter: While it’s vital to thoroughly combine all the ingredients in your no-bake cheesecake to ensure everything is well incorporated, it’s equally important to avoid overmixing the cheesecake batter. Excessive beating can unfortunately cause your cheesecake to become runny. This happens because over-beating breaks down the emulsion created by the cream cheese, leading to a thinner, less stable consistency. To minimize the need for prolonged mixing, always start with those perfectly softened, room temperature ingredients – they’ll blend easily with just enough mixing to combine.
- The Freezer is Your Best Friend: Since no baking is involved in creating this delectable cheesecake dessert, your freezer plays a crucial role in achieving the perfect firm consistency for both your cheesecake layers and the crust. Freezing the graham cracker crust is essential; it ensures the crumbs stick together firmly and don’t crumble when the cake is sliced. More importantly, freezing the cheesecake filling gives all the ingredients ample time to thicken and set, allowing them to achieve a rich, dense, and creamy consistency that beautifully resembles a traditional baked cheesecake. Patience with freezing equals perfect results.
- Wrap the Cheesecake to Prevent Freezer Burn: Storing your cheesecake in the freezer is indeed the best method to help it firm up and set. However, if you anticipate freezing your cheesecake for longer than just overnight, it’s a wise decision to give it an extra layer of protection. Use plastic wrap to cover the cheesecake tightly, wrapping it securely around the entire springform pan. This creates a barrier that prevents the cheesecake filling from developing an undesirable gritty texture and guards against the formation of freezer burn ice crystals on the surface of your dessert, keeping it pristine and delicious for longer.
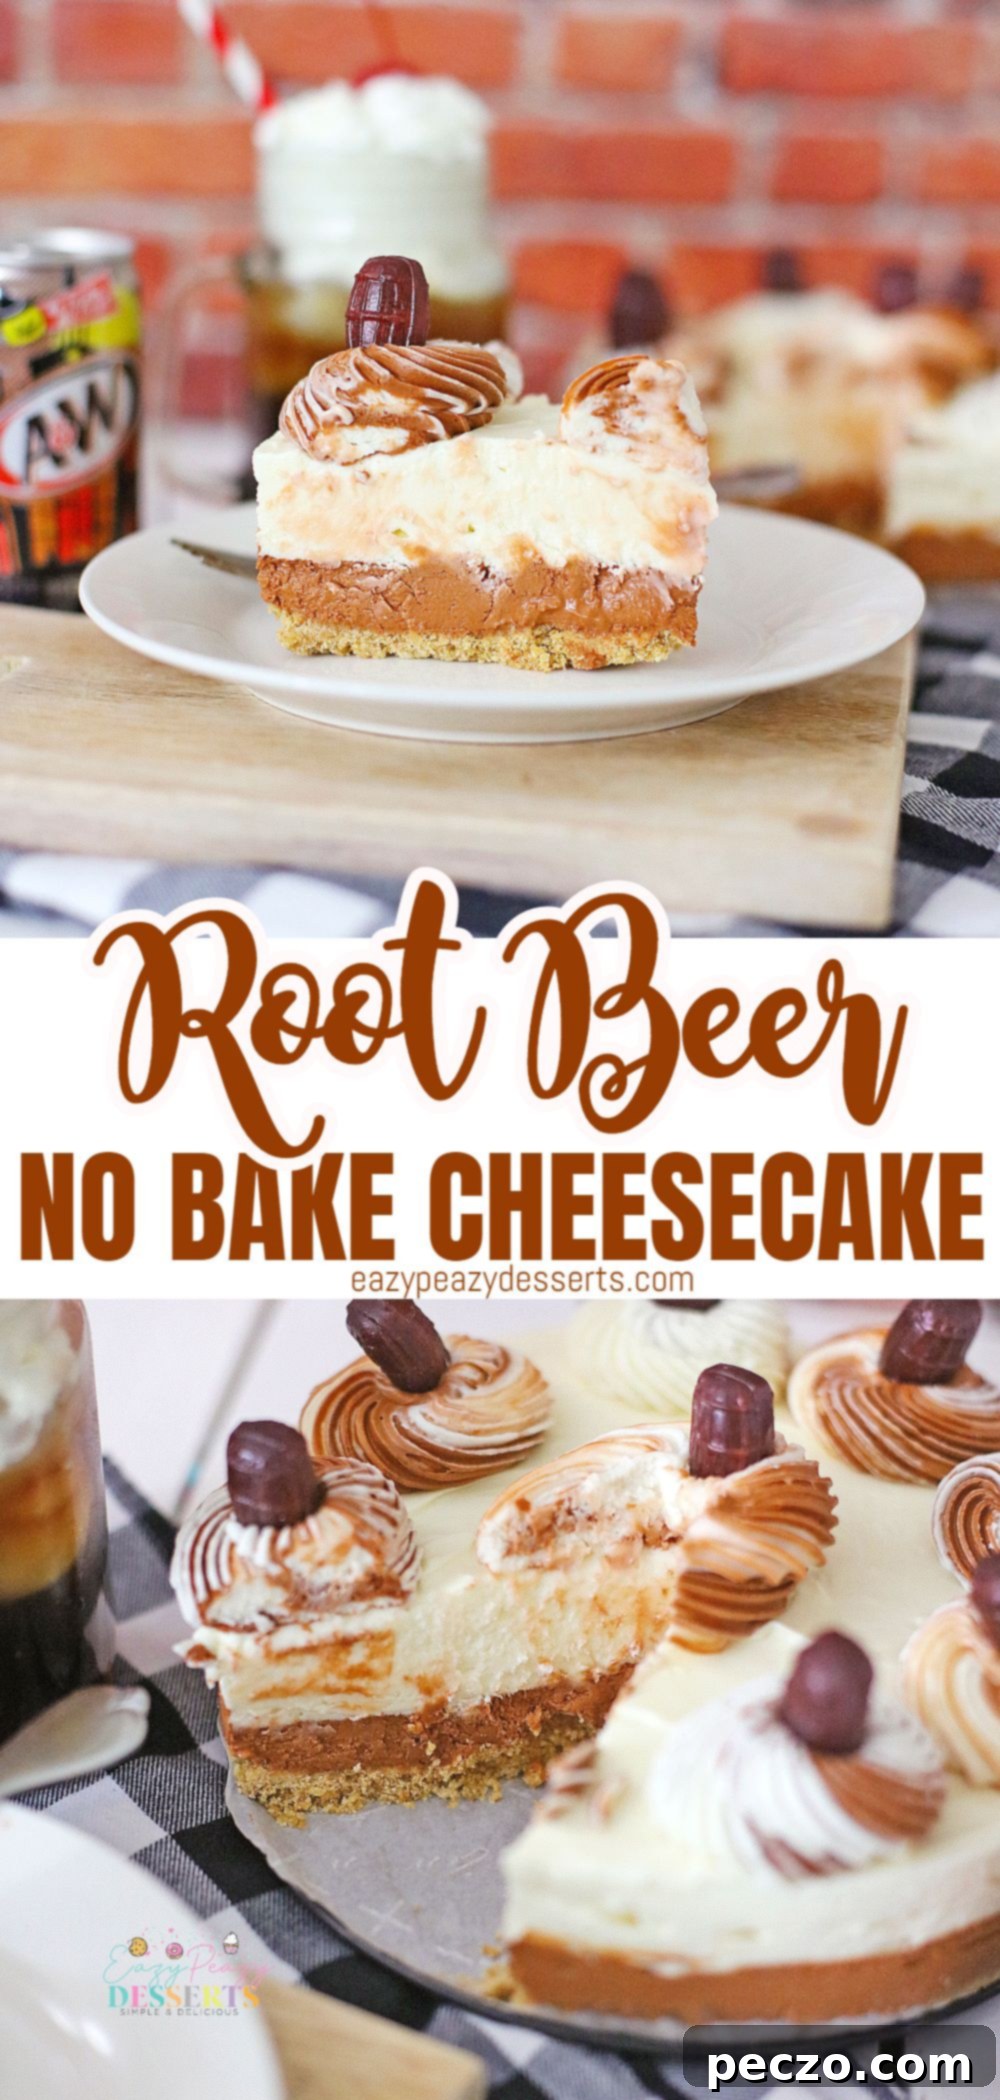
Pin to save for later
Print the recipe card
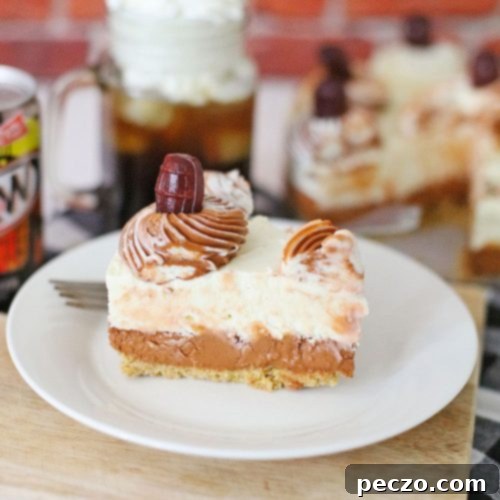
Root beer cheesecake
petro
Pin Recipe
Equipment
-
mixing bowl
-
standing mixer
-
spatula
-
springform pan
Ingredients
For the crust
- 2 sleeves Graham Crackers pulsed into crumbs
- 2 tbsp Sugar
- 1 stick Butter melted
For the cheesecake
- 3 pkg Cream Cheese 8 ounces – softened
- 1/2 cup Heavy Cream Whipped
- 1 tbsp Powdered Sugar
- 1 tsp Vanilla extract
- 3/4 cup Sugar
- 1/4 cup Powdered Sugar
- 1/3 cup Root Beer I used A & W
For the frosting
- 4 ounces Cream Cheese
- 4 tbsp Butter
- 1/4 tsp Vanilla
- 1 tbsp Heavy Cream
- 3 to 4 cups Powdered Sugar
- Brown Food Coloring Gel
To top
- Dad’s Old Fashioned Root Beer Barrels – candies
Instructions
To make the crust
-
Place the graham cracker crumbs in the food processor with the sugar, and pulse into crumbs. Melt the butter in a medium size bowl, and pour graham cracker crumb mixture into the butter and stir well to coat. Line the bottom of a 7 inch spring-form pan with parchment paper, and press the crumbs into the bottom of the pan, evenly, smoothing with the back of a spoon. Place the pan in the freezer.
To make the cheesecake
-
In the mixing bowl of a stand mixer, place the heavy cream, and 1 tablespoon of powdered sugar, and whip with the whisk attachment until stiff peaks form, and the cream is whipped. Remove the whipped cream to a separate bowl, and place the bowl in the refrigerator. In the mixing bowl, place the cream cheese, and blend until smooth and fluffy. Add the vanilla, powdered sugar, and sugar, and mix until smooth. Remove the whipped cream from the refrigerator, and add to the mixing bowl, and blend to mix.

-
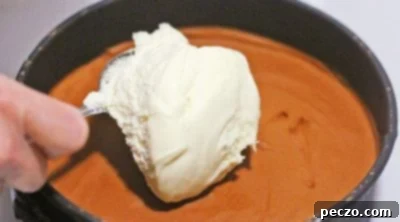
Add the root beer, and mix well into the cheesecake batter. Divide the cheesecake batter in half, and place half in a bowl, and place the bowl in the refrigerator.

-
Add several drops of the brown food coloring gel to the remaining cheesecake batter in the mixing bowl, and mix well to blend. Remove the pan from the freezer, and pour the brown layer of cheesecake batter into the pan. Place the pan back into the freezer, for a least 4 hours, or until cheesecake is firm to the touch.

-
Remove pan from freezer, and pour the white layer of cheesecake batter from the refrigerator on top of the brown layer in the pan. Smooth the top of the white layer, and place the pan back in the freezer, overnight for best results.

To make the frosting
-
In the mixing bowl, add the softened butter, and softened cream cheese, and mix with the whisk attachment until creamy and fluffy. Add the vanilla and heavy cream, and mix. Add the powdered sugar, one cup at a time, blending on low speed, and scraping the bowl down as needed, until all powdered sugar is added, and the frosting is completely mixed and smooth. Add the brown food coloring gel, a few drops at a time until the desired color of brown is achieved.
-
Using plastic wrap (Glad Wrap) tear off a piece about 10 inches wide, and place the frosting length-wise in the middle of the plastic wrap. It will look like a long ribbon of frosting. Then, roll the plastic wrap around the frosting, making sure to keep it long, or length-wise like a long ribbon. Snip the end off of the plastic wrap, on one end only, and twist the other end closed. Place the plastic wrap in a pastry bag with the large star tip. Pipe the frosting onto the edges of the cheesecake, using a swirling, motion, leaving big dollops on the cheesecake, and bring it up to a point. Place a candy root beer barrel on top of each dollop of frosting. Place the cheesecake back in the freezer until time to serve. When ready to serve, remove the spring-form from the pan, and slice the cheesecake into 2 inch pieces.
Notes
Nutrition
