From Garden to Jar: Crafting Easy Small-Batch Berry Jam (No Pectin Needed!)

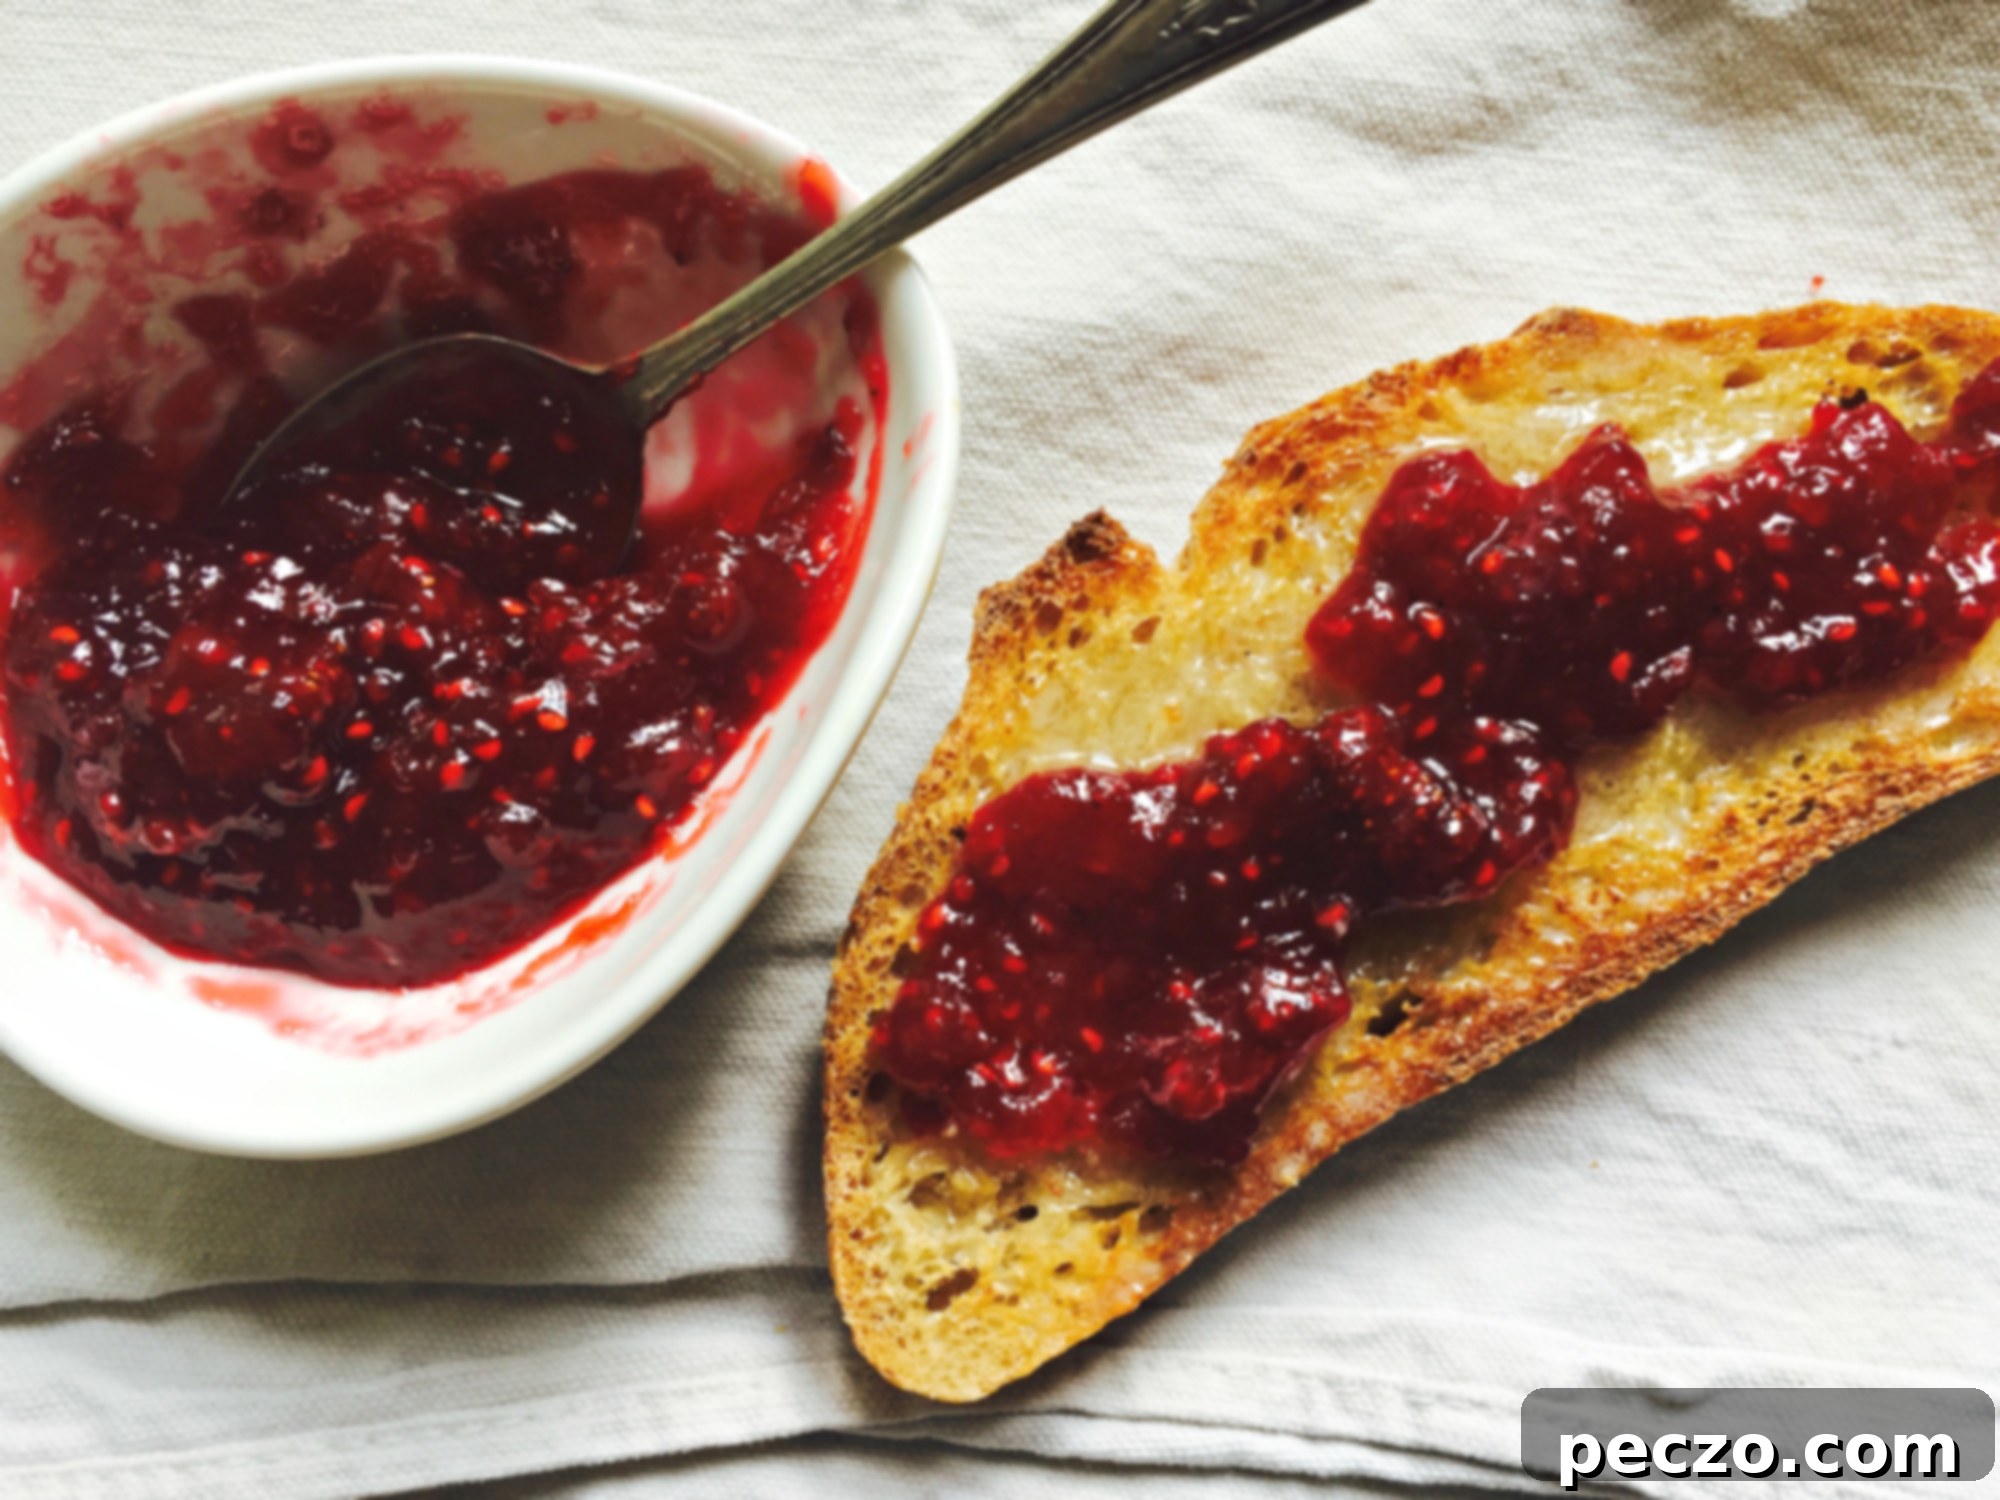
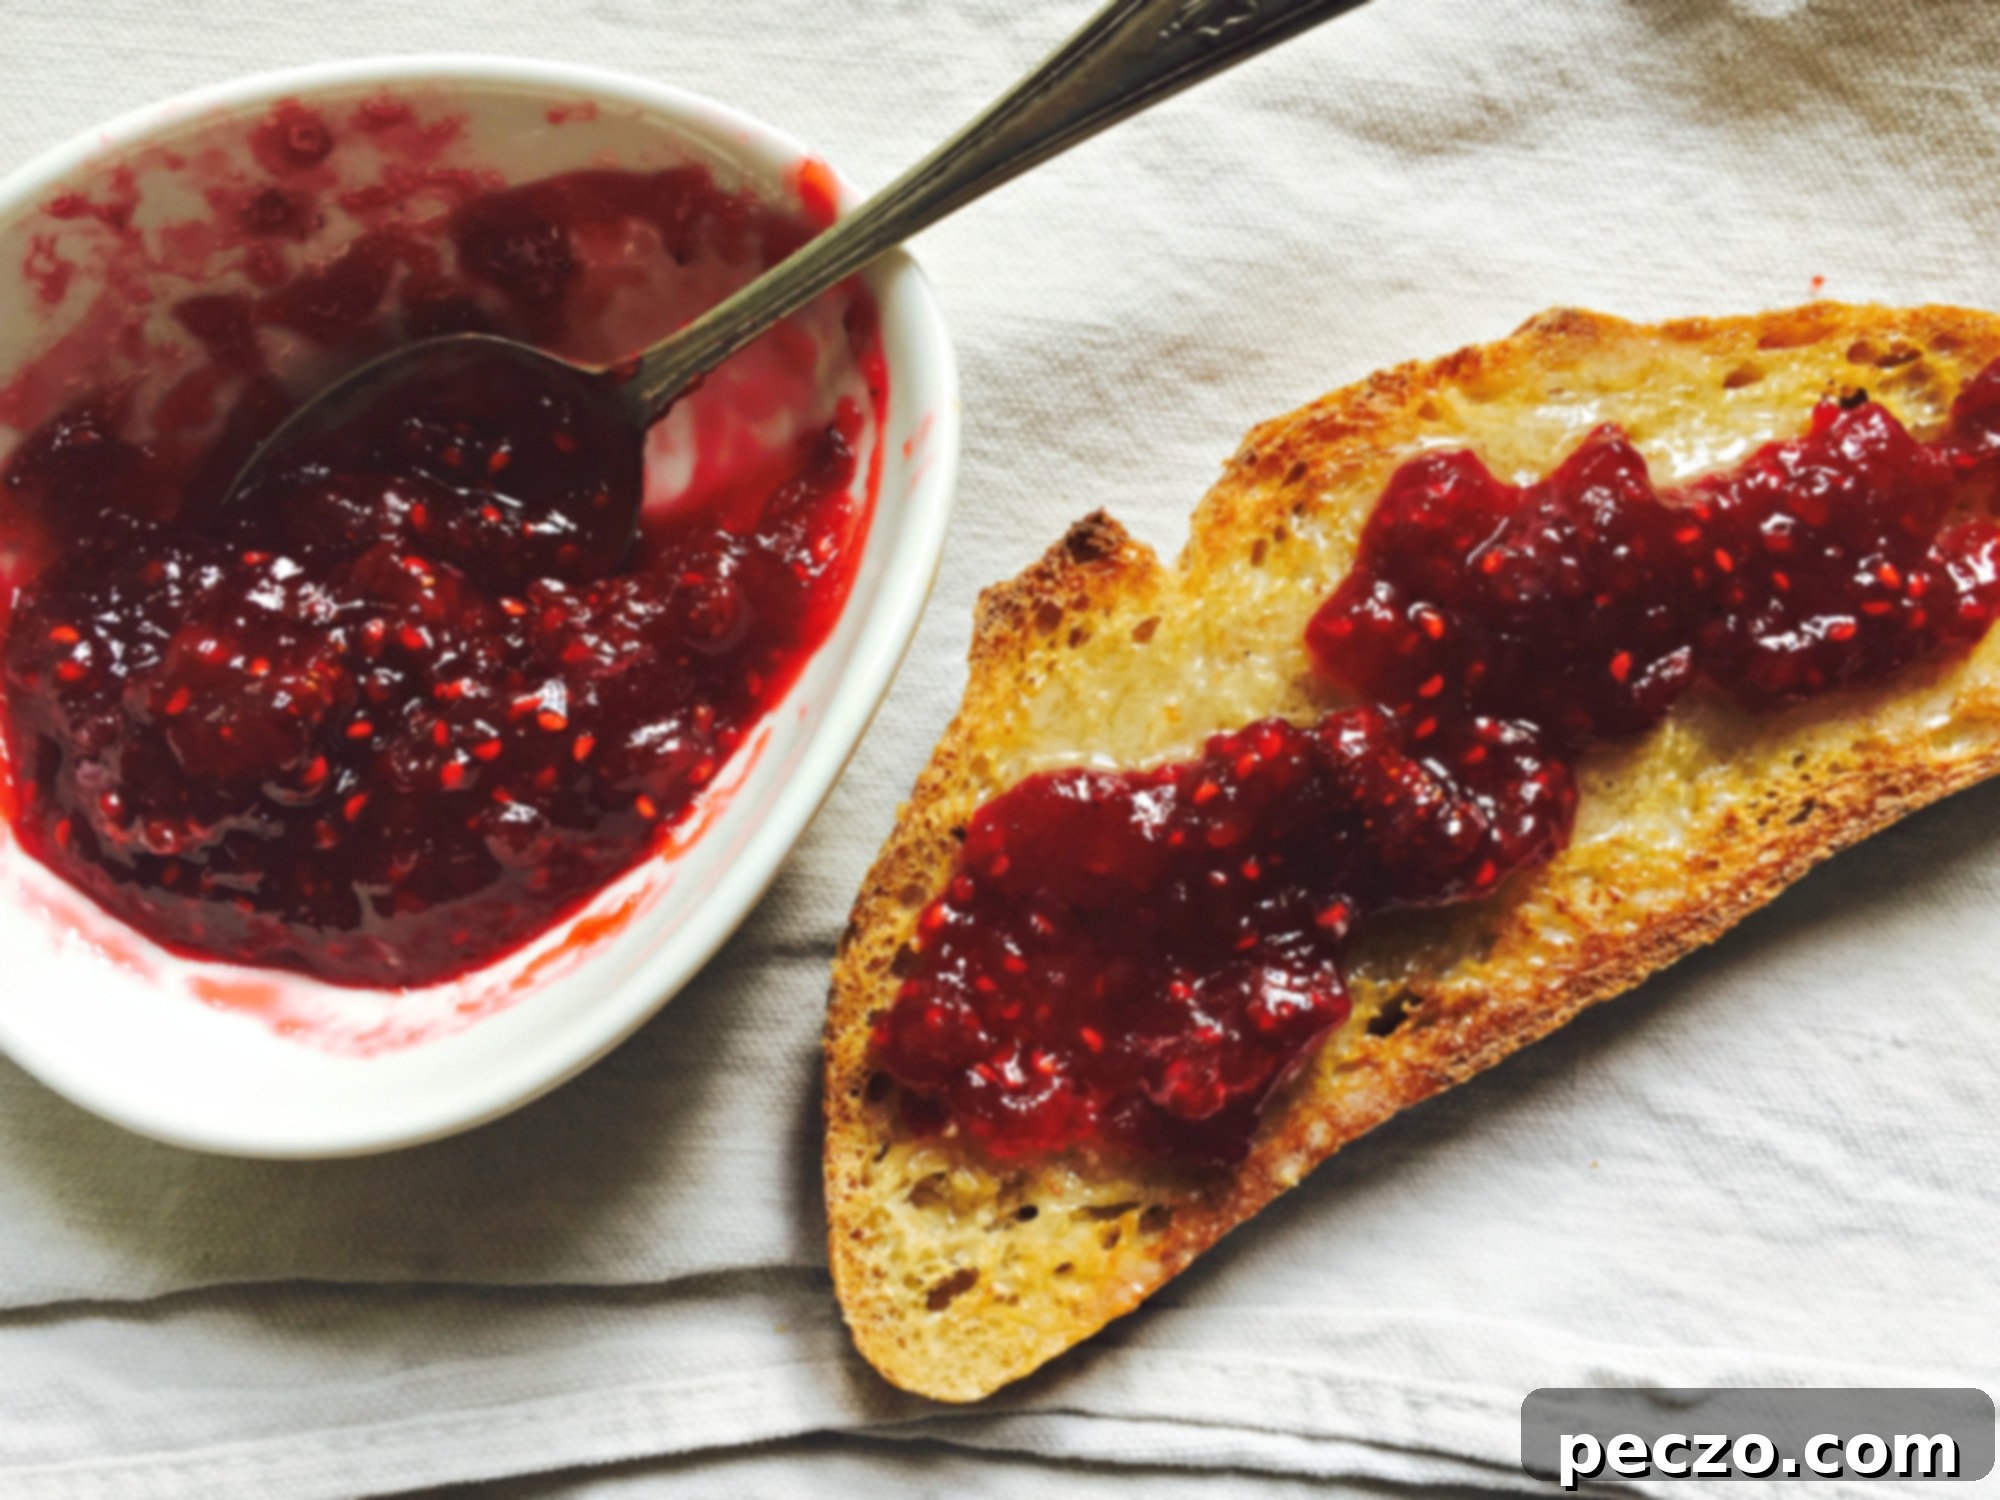
There’s an undeniable magic in a slice of perfectly toasted bread, especially when it’s topped with a spoonful of homemade jam. The kind of jam that bursts with the fresh flavors of summer berries, made with love and a touch of intuition. Many people imagine jam-making as a daunting, all-day affair involving countless jars, specialized equipment, and a precise recipe. But what if I told you it doesn’t have to be that way? What if making your own jam could be as simple as simmering a handful of berries you found in a friend’s backyard or picked up at a local market?
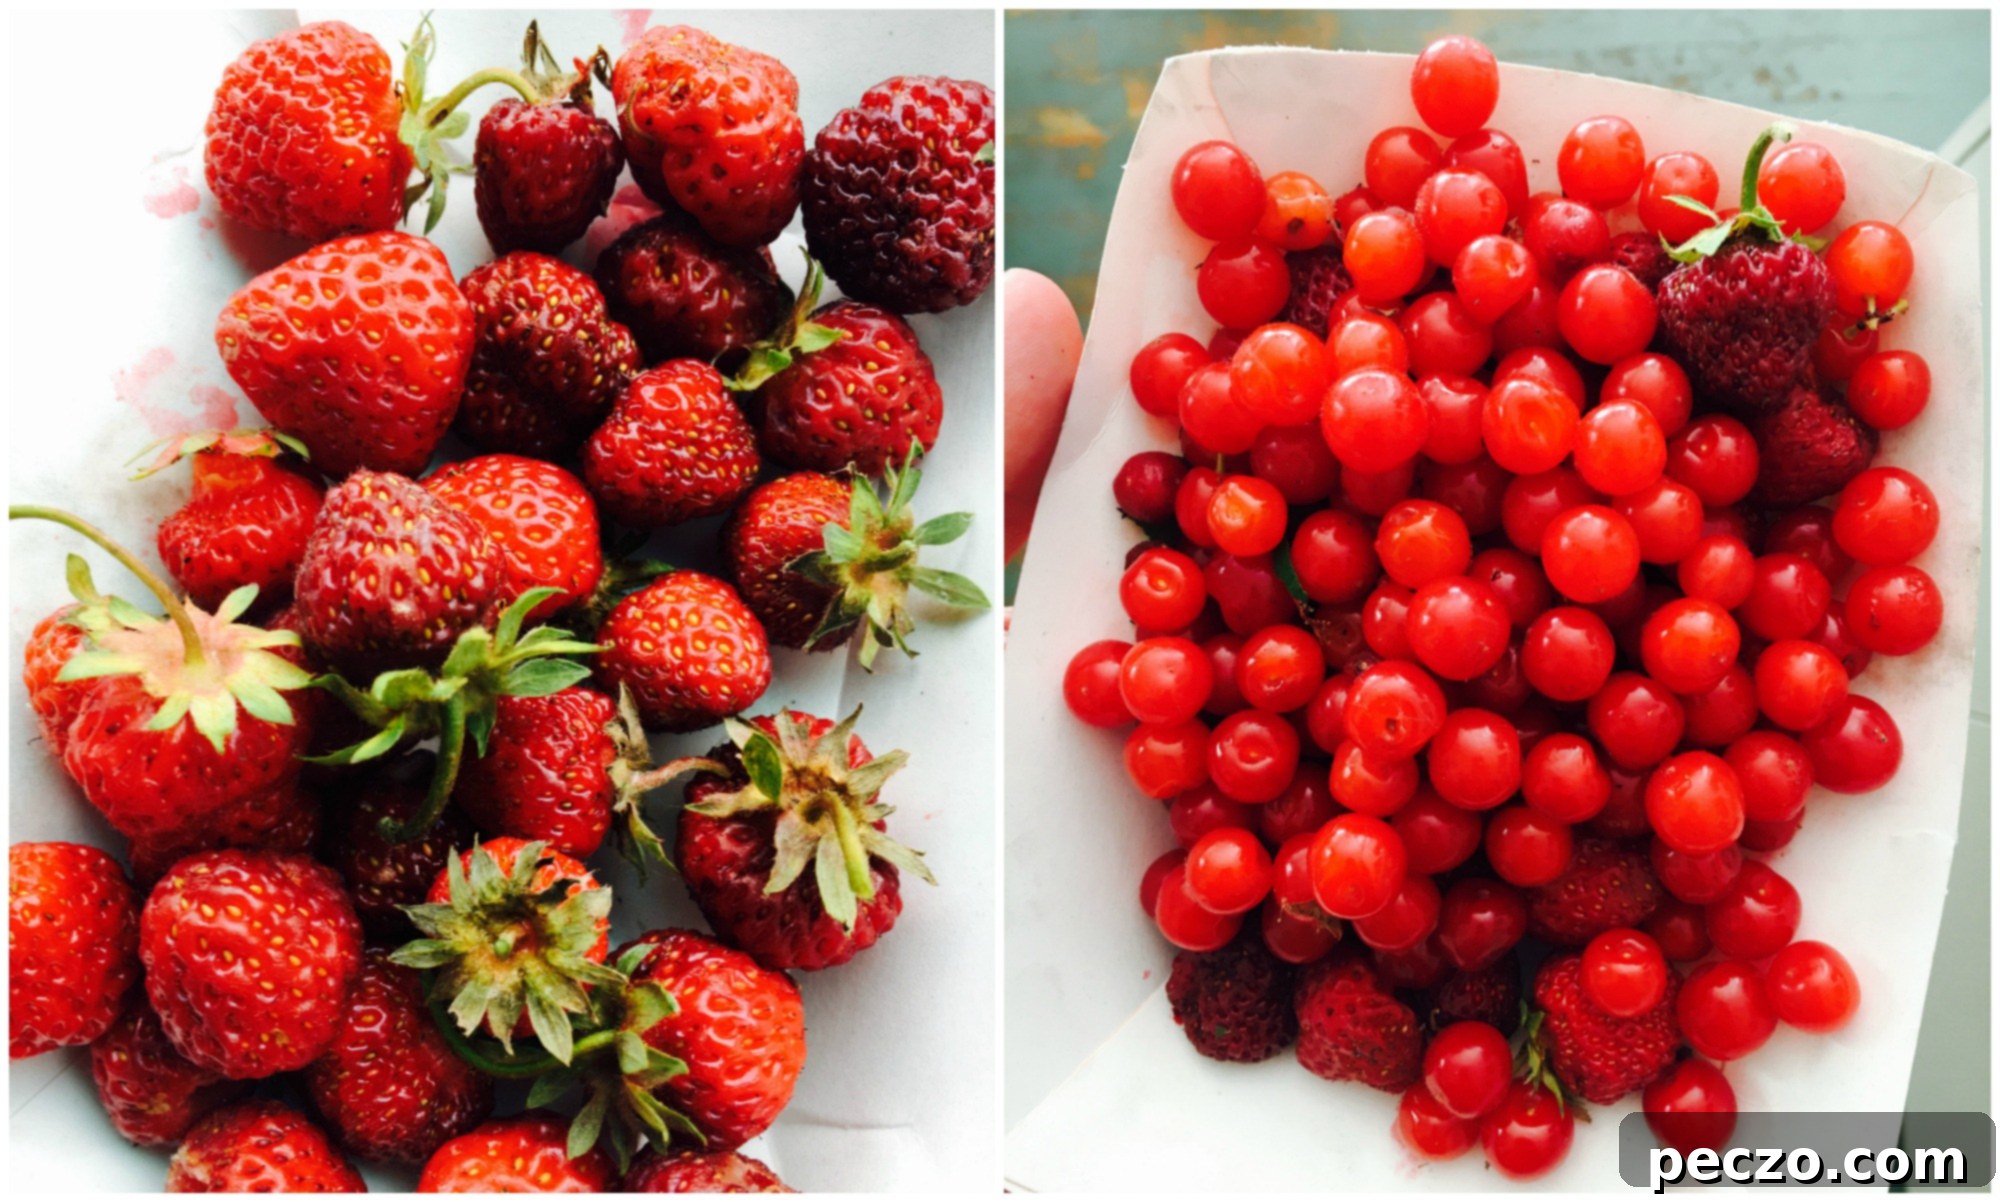
That’s exactly what I did recently, inspired by a magnificent loaf of bread practically begging for a fruity companion. I gathered a small bounty of berries—sweet strawberries from my sister Anne’s garden, juicy raspberries from my sister Ali’s, and a mix of tart Nanking and Juliette cherries from our own yard and my parents’ place. With these treasures, I set out to prove that homemade jam isn’t scary. It doesn’t demand a full day of labor, nor does it require dozens of jars. It’s an accessible, rewarding process that anyone can embrace, resulting in a fresh, vibrant preserve ready to elevate your breakfast or afternoon tea.
The Allure of Small-Batch Jam: Less Fuss, More Flavor
Choosing to make jam in small batches completely transforms the experience. It strips away the intimidation often associated with traditional canning and turns it into a delightful, manageable kitchen project. Instead of feeling pressured to process a mountain of fruit, you can focus on enjoying the process and savoring the immediate rewards.
- Less Intimidating: With just a few cups of fruit, the task feels less overwhelming and more like a creative experiment.
- Time-Saving: Small batches cook faster and cool quicker, meaning you can whip up a jar of jam in under an hour from start to finish.
- Perfect for Foraged or Market Finds: It’s ideal for those times when you have a modest amount of fruit—perhaps a small harvest from your garden, a pint from a farmers’ market, or, like me, a collection of backyard berries.
- Fresher Taste: Without the need for extensive processing, small-batch jams often retain a brighter, more pronounced fruit flavor.
- Encourages Experimentation: You can play with different fruit combinations, sugar levels, and flavor additions (like a hint of vanilla or lemon zest) without committing to a huge quantity.
- No Special Equipment Needed: Forget the large canning pots and racks. A regular saucepan and a clean jar are all you need.
This approach allows you to enjoy the seasonal bounty without the pressure. Imagine having a fresh jar of strawberry jam in spring, a raspberry concoction in summer, and a cherry preserve as the season allows, all made with minimal effort and maximum flavor.
Gathering Your Berries: A Treasure Hunt for Flavor
The journey to a delicious jam often begins with the fruit itself. For me, it was a delightful “foraging” adventure through family backyards. My sister Anne’s strawberries offered their sweet, classic charm, while Ali’s raspberries contributed a tart, aromatic depth. The Nanking cherries, small and vibrantly red, were an unexpected bonus, shaken from their branches directly into my empty coffee cup between the car and our house. A few plump Juliette cherries from my parents’ place rounded out the mix, adding another layer of complex fruitiness. This blend of berries, each with its unique character, promised a jam that was truly one-of-a-kind.

If backyard foraging isn’t an option for you, don’t despair! The best jam starts with the freshest fruit you can find. Head to your local farmers’ market for seasonal gems, where you might discover unique varieties of berries and stone fruit. Many grocery stores also offer excellent seasonal produce. Look for fruit that is ripe but firm, free from mold or bruising, and bursting with natural fragrance. Here are some fantastic options for small-batch jam:
- Strawberries: Sweet, classic, and always a crowd-pleaser.
- Raspberries: Tart, aromatic, and full of natural pectin.
- Blueberries: Earthy, sweet, and turn a beautiful deep purple.
- Blackberries: Rich, slightly tart, and develop a wonderful depth of flavor.
- Cherries: Both sweet and sour varieties work wonderfully, adding a lovely tang and vibrant color.
- Peaches or Apricots: When chopped, these stone fruits make excellent jams, though they might require a bit more cooking time.
The key is to use fruit that you love and that is at its peak ripeness. This ensures the most flavorful jam, requiring less added sugar to achieve a delightful balance.
The Uncomplicated Process: Jam Making Without Packaged Pectin
One of the biggest myths surrounding jam making is the absolute necessity of packaged pectin. While pectin certainly helps some fruits set, many berries and stone fruits contain enough natural pectin to achieve a perfect jam consistency on their own, especially when cooked down properly. My method embraces this natural process, relying on simple observation rather than a precise pectin measurement.
Step 1: Preparing Your Fruit for the Pot
Before you even think about simmering, your fruit needs a little prep. Start by gently washing your berries under cool water. Hull any strawberries, removing the green caps, and pick through raspberries and blackberries to remove any stems or leaves. For cherries, especially the small, sometimes tricky Nanking varieties, I have a simple, ingenious trick:
Nanking cherries, and even bigger but softer, juicier sour cherries, can be a challenge to pit individually. They’re not quite firm enough for a traditional cherry pitter, and doing them one by one is a tedious task. My solution is wonderfully pragmatic: I usually cover them with a small amount of water in the pot, bring them to a gentle simmer, and let them cook until they soften. Then, I press them through a colander back into the pot. This separates the flesh and juice from the pits with incredible ease, much like draining spaghetti. This simple step ensures you get all the delicious cherry flavor without the hassle of individual pitting.
For other berries, simply give them a gentle mash with a potato masher or the back of a spoon to help them release their juices once they hit the heat.
Step 2: The Gentle Simmer and the Sugar Balance
Once your fruit is prepared, combine it in a heavy-bottomed pot. This type of pot helps distribute heat evenly and prevents sticking. Now comes the sugar. While traditional recipes often call for a 1:1 fruit-to-sugar ratio, I prefer a less sweet approach, letting the natural fruit flavor shine. I typically add about half as much sugar as there was fruit, measured completely by eyeball. This is the beauty of small-batch, no-recipe jam: it’s forgiving and adaptable to your taste.
Don’t be afraid to adjust this ratio based on the sweetness of your fruit. If your berries are incredibly tart, you might add a little more sugar. If they’re perfectly ripe and sweet, you might even use a bit less. The sugar isn’t just for sweetness; it also acts as a preservative and helps the jam set by interacting with the fruit’s natural pectin. Give everything a good stir to combine, ensuring the sugar starts to dissolve into the fruit juices.
Step 3: Cooking to Perfection – The Visual Cues and Wrinkle Test
Bring your fruit and sugar mixture to a simmer over medium heat, stirring occasionally to prevent sticking. At first, the berries will look like simmering fruit—loose and watery. But as the mixture heats and the water evaporates, magic starts to happen. You’ll notice the fruit condensing, the bubbles becoming slower and larger, and the initial foamy layer beginning to disappear or thin out. This is where observation becomes your best tool.
Continue to cook, stirring more frequently as the jam thickens, ensuring it doesn’t scorch on the bottom. The mixture will start to look less like fruit and more like warm, glossy jam. This stage can take anywhere from 15 to 30 minutes, depending on the fruit’s water content and the heat level. The most reliable way to tell if your jam is ready is the “wrinkle test.”

To perform the wrinkle test:
- Keep a small ceramic plate or saucer in your freezer or refrigerator.
- Once you suspect the jam is ready, spoon a small amount (about half a teaspoon) onto the cold plate.
- Return the plate to the freezer for a minute or two, or let it sit on the counter for a few minutes until it cools to room temperature.
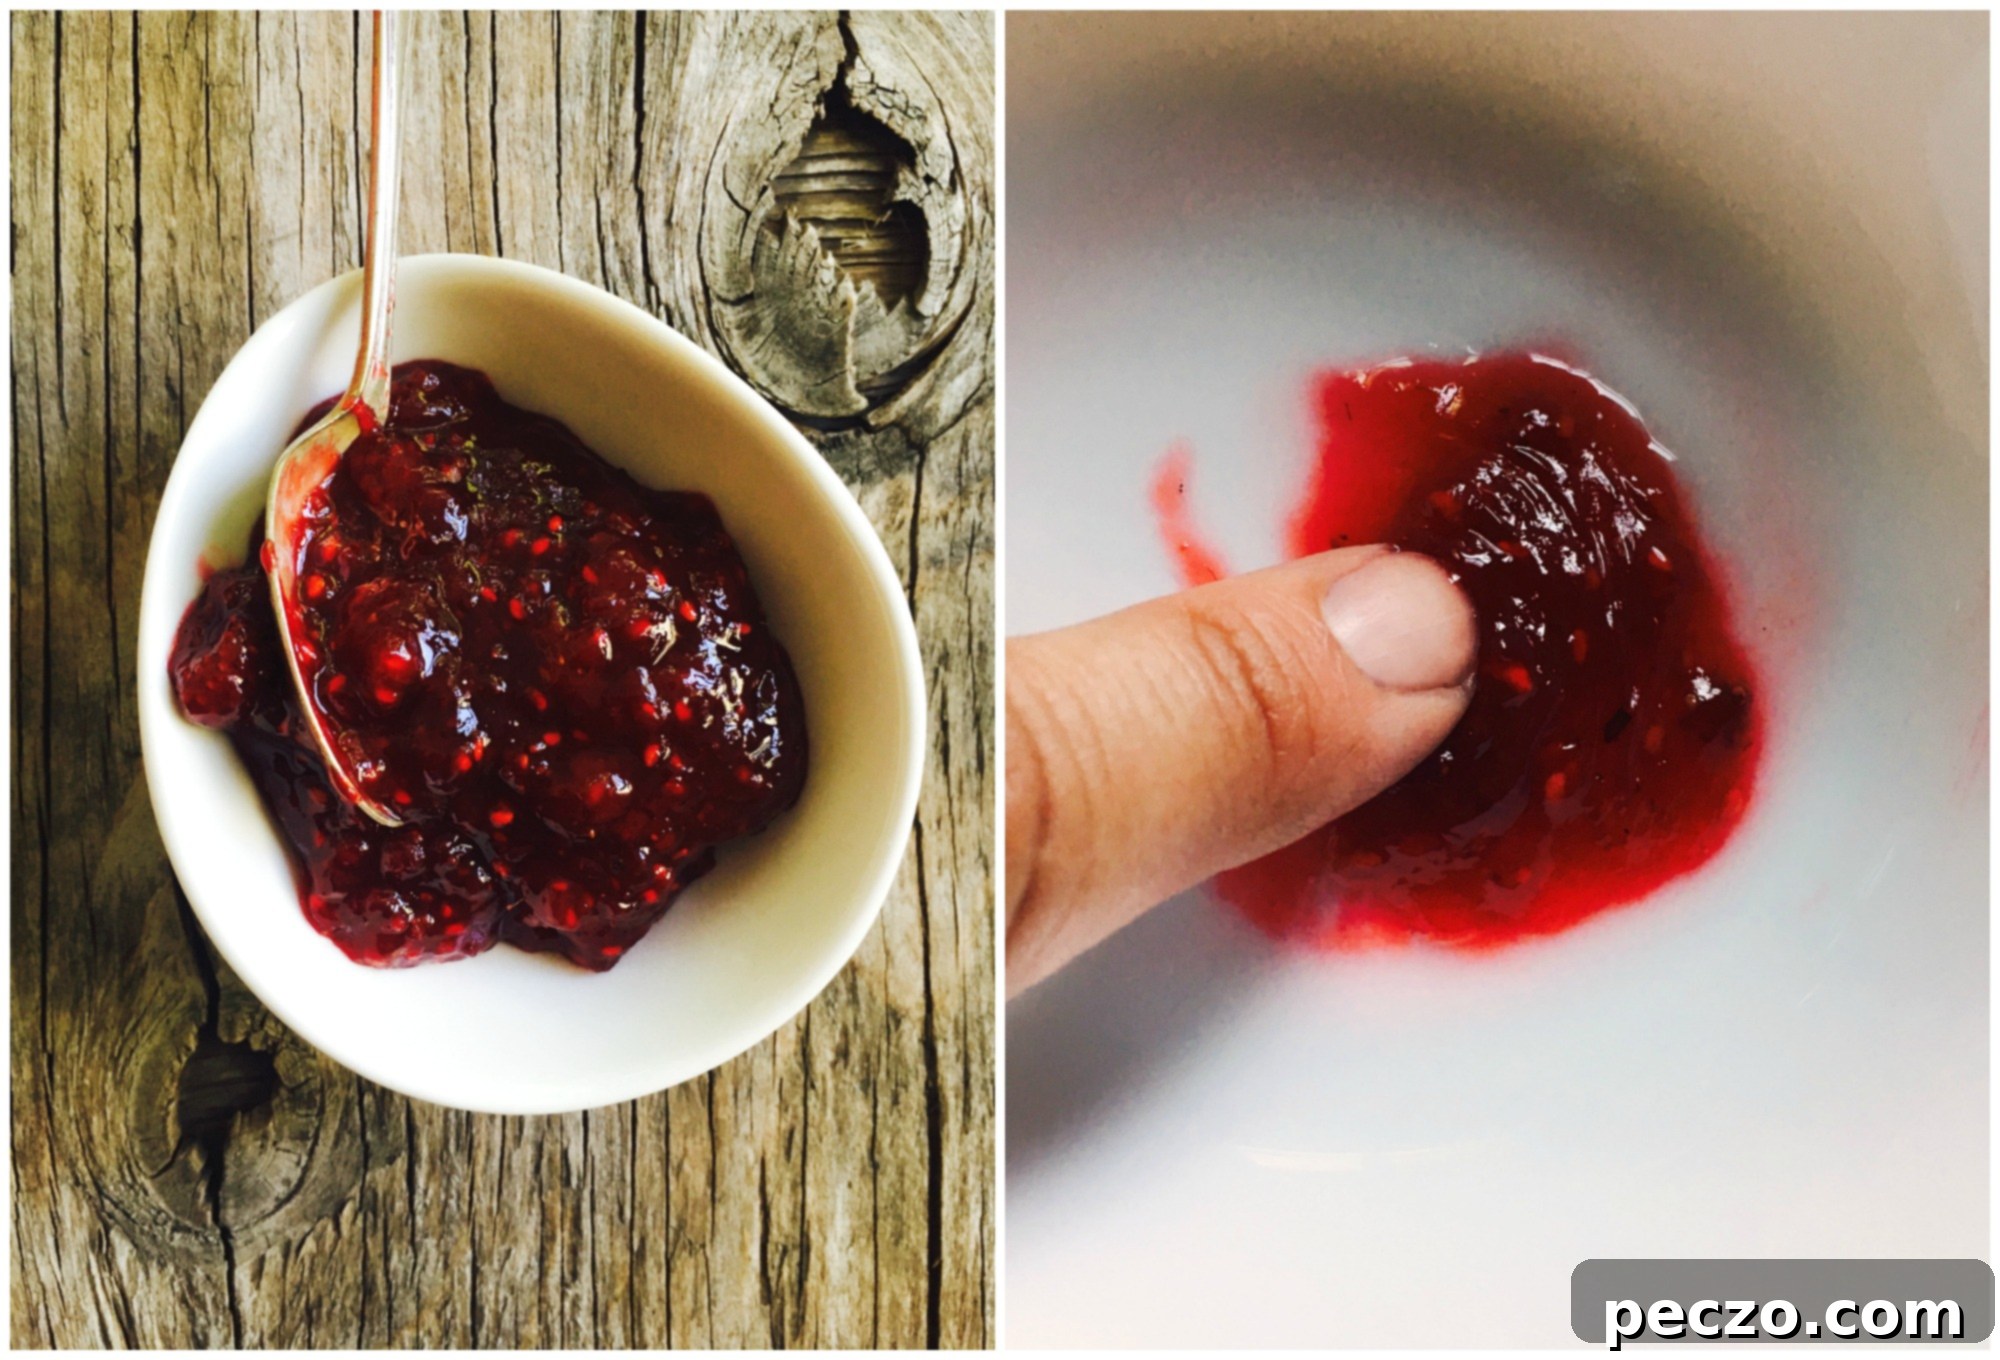
- Push the edge of the jam with your finger. If it wrinkles and holds its shape, your jam is perfectly set and ready. If it’s still runny, continue to cook for a few more minutes and test again.
I often let mine cool slightly in the pot after the wrinkle test. If, upon cooling, it still seems a bit too runny for my taste, I simply bring it back to a boil for another minute or two and test again. Seriously, it’s that easy and forgiving. Trust your instincts and your observations!
The Simple Science of Set: Natural Pectin at Play
While we’re making jam without *added* pectin, it’s helpful to understand what’s actually happening to create that wonderful, spreadable consistency. Fruits naturally contain pectin, a soluble fiber that acts as a gelling agent. The amount of pectin varies from fruit to fruit; for instance, citrus peels, apples, and cranberries are high in pectin, while strawberries and cherries have moderate amounts, and peaches and apricots have less.
When you cook fruit with sugar and acid (which is often naturally present in fruits like berries), these three elements work together. The heat breaks down the fruit’s cell walls, releasing the pectin. The sugar then binds with the water molecules, allowing the pectin strands to link up and form a gel. The acid helps to optimize the pectin’s gelling ability. By simmering your fruit down, you’re concentrating the natural pectin and sugar, allowing that perfect set to occur.
The beauty of this method is that you don’t need to know the exact pectin content of your specific cherries or strawberries. By relying on visual cues and the wrinkle test, you’re letting the natural chemistry of the fruit guide you to a perfect homemade jam every time.
Beyond Toast: Creative Ways to Enjoy Your Homemade Jam
While a warm, buttered slice of toast or a freshly baked scone is the quintessential pairing for homemade jam, the possibilities extend far beyond the breakfast table. Having a jar or two of your vibrant, fruity creation in the fridge opens up a world of culinary delights:
- Classic Pairings: Elevate your morning oatmeal, yogurt parfaits, or a simple bowl of cottage cheese.
- Dessert Enhancements: Swirl it into plain yogurt for a quick dessert, use it as a filling for thumbprint cookies, layer it in a trifle, or spread it between cake layers. It’s also fantastic spooned over ice cream or pancakes.
- Savory Adventures: Don’t limit jam to sweet dishes! Red berry jams, especially those with a hint of tartness, can be glorious glazes for roasted pork or chicken. Mix a spoonful into balsamic vinaigrette for a fruity salad dressing, or serve it alongside a cheese board with sharp cheddar or creamy brie.
- Beverage Boost: Stir a teaspoon into a glass of sparkling water for a refreshing spritzer, or add a dollop to cocktails for a burst of fruity flavor.
- Peanut Butter’s Best Friend: Reinvigorate the classic peanut butter and jam sandwich with the superior taste of your homemade preserve.
Each spoonful is a reminder of the season, a testament to your hands-on effort, and a burst of concentrated flavor that store-bought alternatives simply can’t match. It’s a small jar of joy, ready to be deployed whenever a craving strikes.
Storing Your Precious Jar (or two): Simple Preservation for the Home Cook
The convenience of small-batch jam extends to its storage. For most home cooks making just a jar or two, there’s no need for the laborious process of traditional hot-water-bath canning. My preferred method is wonderfully straightforward:
- Refrigerator Storage: Once your jam has cooled completely, spoon it into clean, airtight jars and store it in the refrigerator. It will keep beautifully for several weeks, if not a couple of months. The high sugar content and acidity act as natural preservatives, keeping it fresh and delicious for immediate enjoyment. This is perfect for the “have it in my fridge for toast and scones” approach.
- Freezer Storage: For longer-term preservation without the fuss, the freezer is your best friend. Fill your clean jars (leaving about half an inch of headspace to allow for expansion) with the cooled jam, seal them, and pop them into the freezer. Frozen jam can last for up to a year, retaining its vibrant color and fresh flavor. Simply thaw a jar in the refrigerator overnight when you’re ready to enjoy it. This method is incredibly easy and ensures you always have a taste of summer on hand.
This simplicity is key to demystifying jam making. You don’t need to invest in specialized canning equipment or worry about precise sealing techniques for these small quantities. The goal is to make a delicious product that you can enjoy fresh, whenever you desire.
Embrace the Simplicity: Your Jam-Making Journey Awaits
So, let’s banish the myth: jam making is not scary! It’s an incredibly rewarding kitchen endeavor that can be as simple or as involved as you want it to be. With so many good red (and purple!) things growing right now – from strawberries to raspberries, cherries to plums – I’m genuinely hoping more people will feel empowered to try this. It’s a beautiful way to connect with the seasons, enjoy the bounty of fresh fruit, and create something truly delicious with your own hands.
There’s immense satisfaction in spooning out jam you made yourself, knowing exactly what went into it. It’s a tangible piece of summer captured in a jar, ready to brighten any day. No complicated recipe required, just fresh fruit, a little sugar, a pot, and a willingness to observe and experiment. Trust your senses, enjoy the process, and get ready to spread some homemade happiness!
