The Ultimate Moist Pumpkin Bundt Cake with Cream Cheese Frosting & Caramel Drizzle
As autumn leaves begin to fall and the air turns crisp, there’s one flavor that truly captures the essence of the season: pumpkin! This delightful pumpkin bundt cake isn’t just a dessert; it’s a warm hug on a cool evening, perfect for any fall celebration or simply to enjoy with a cup of coffee. Get ready to embrace the cozy vibes and fill your home with the inviting aroma of pumpkin spice.
Your New Favorite Fall Dessert: Easy Pumpkin Bundt Cake
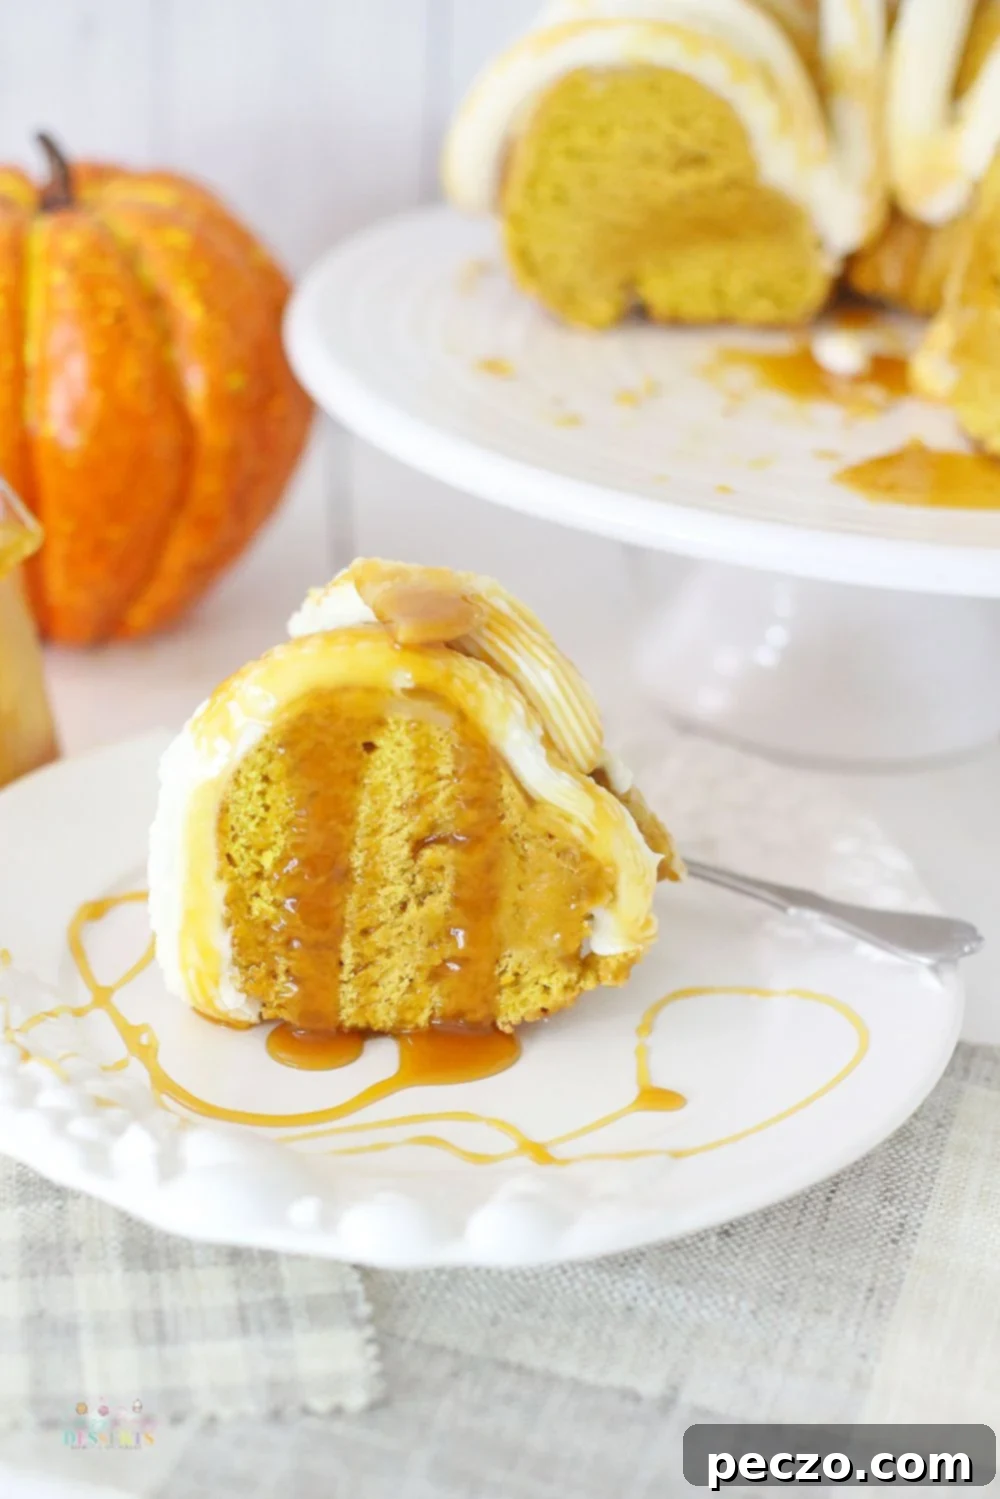
Welcome to pumpkin spice season, where every bite is a celebration of fall! If you’re looking for the ultimate crowd-pleasing dessert that’s both incredibly delicious and surprisingly simple to make, this pumpkin bundt cake recipe is an absolute must-try. Imagine a dessert that beautifully combines the rich, comforting flavors of pumpkin pie with the moist, tender texture of a classic cake. This is it! It’s guaranteed to become the star of every family gathering and holiday feast this year, enchanting everyone with its seasonal charm and irresistible taste.
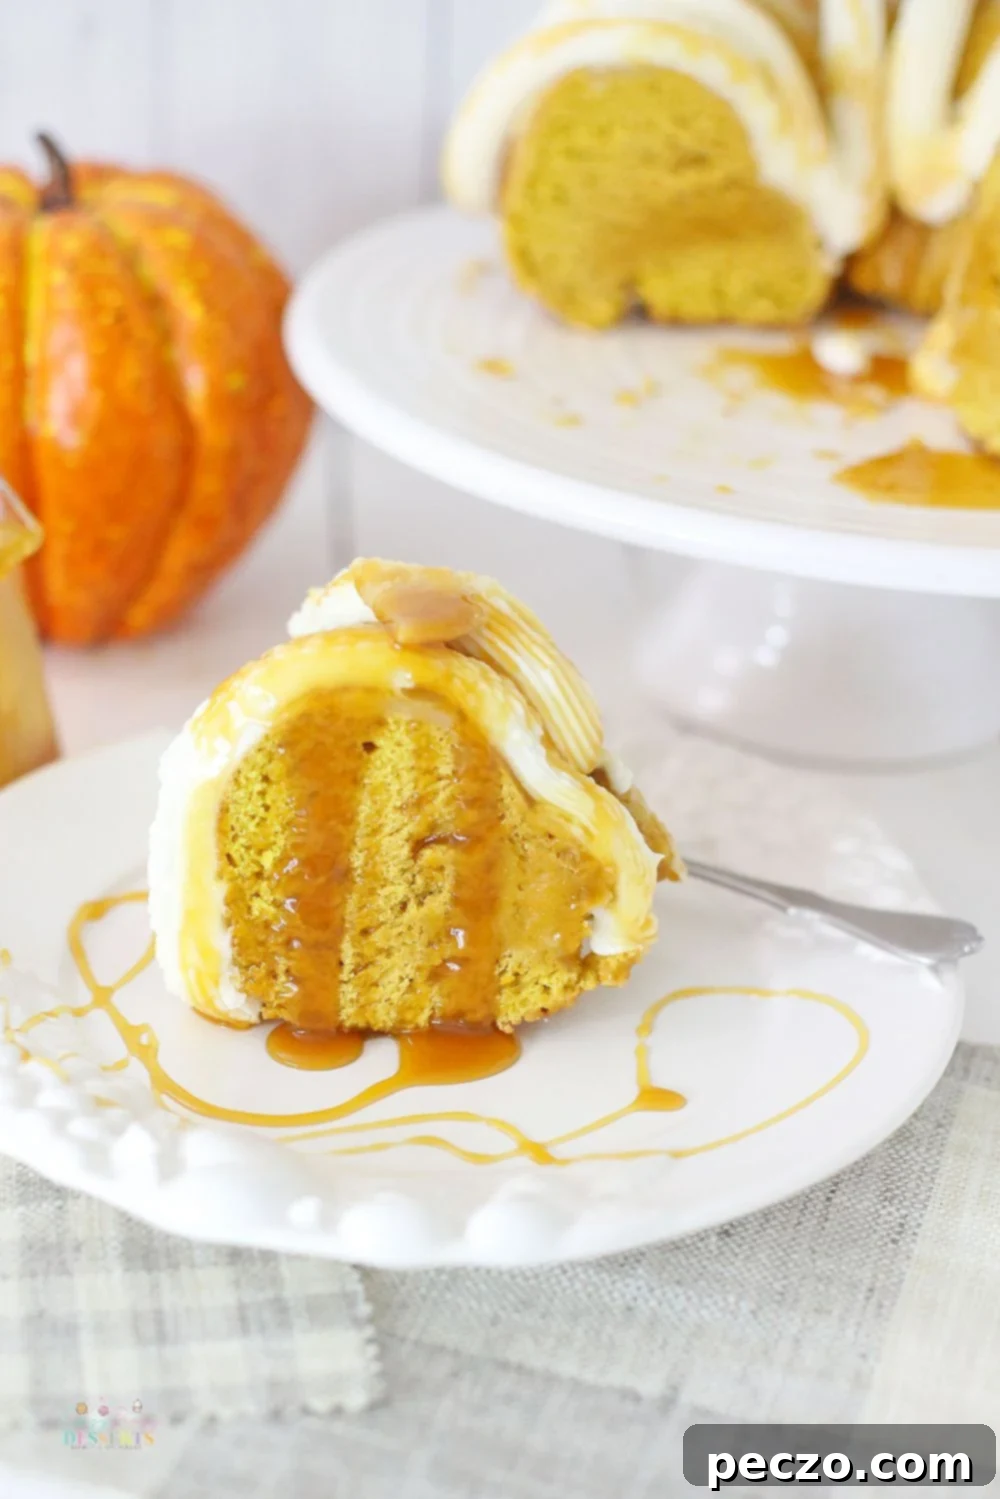
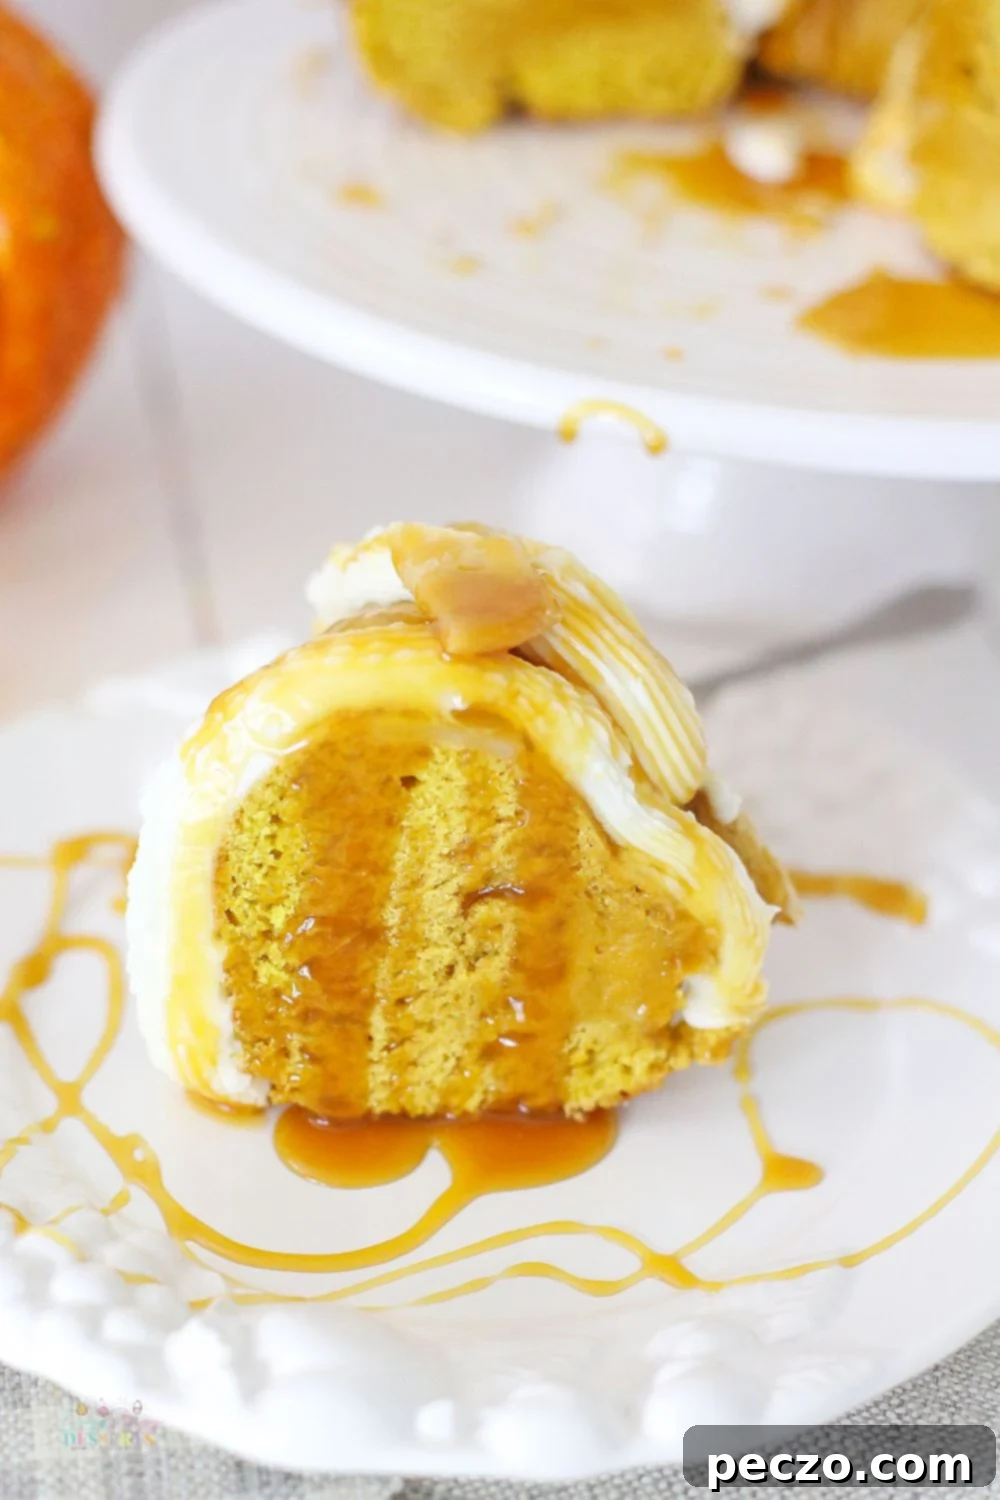
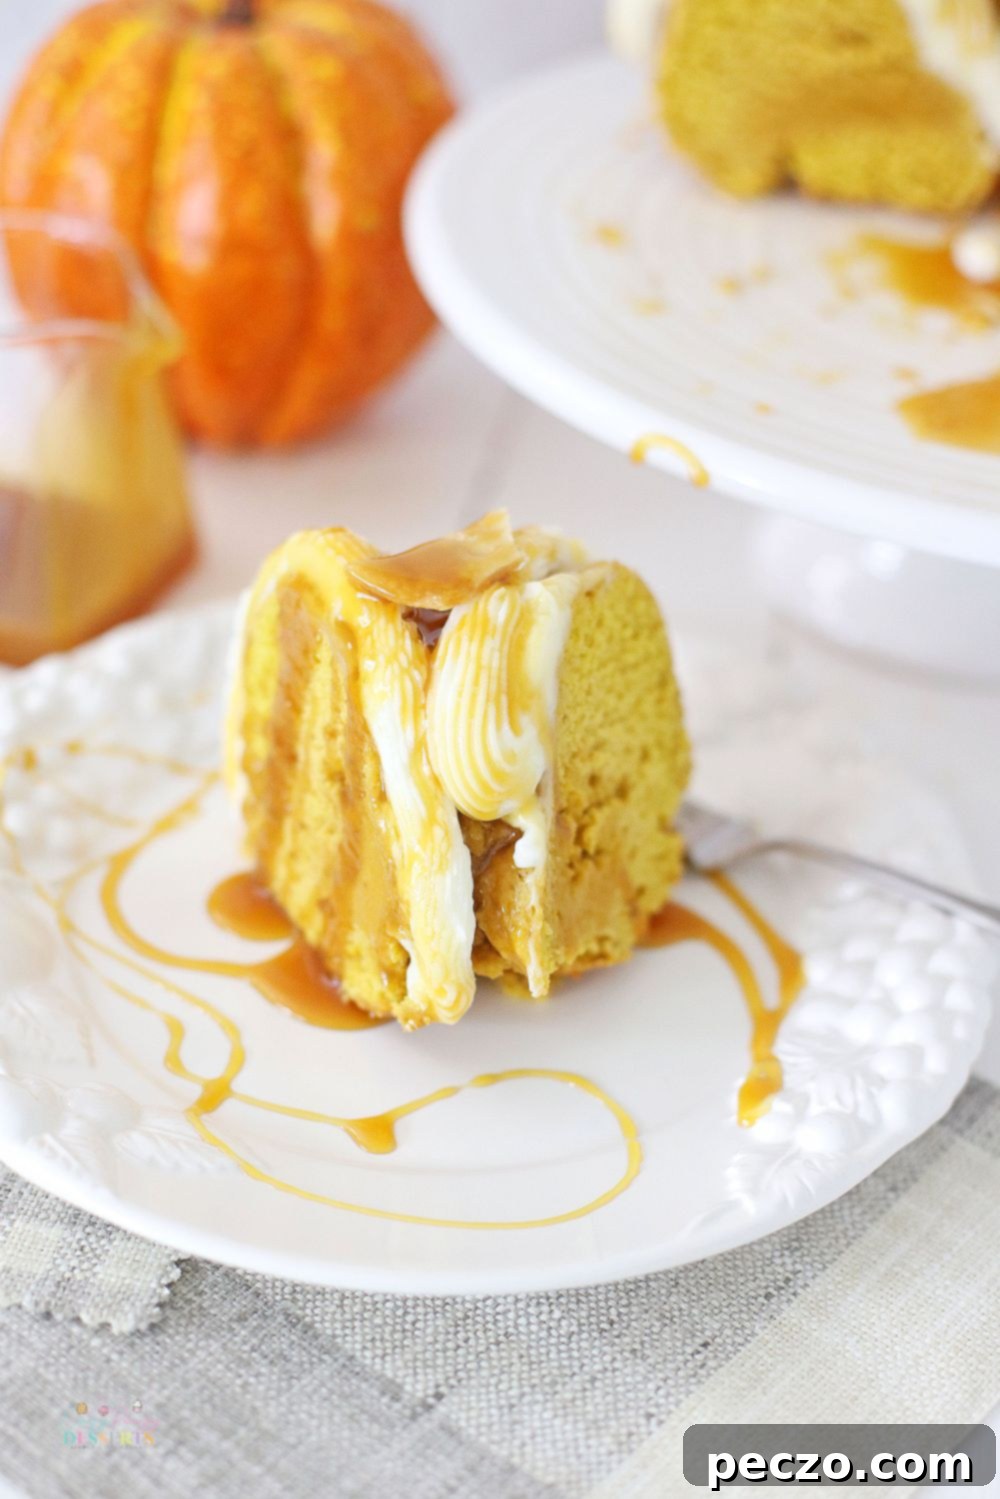
What makes this pumpkin bundt cake truly special is its unique construction and irresistible flavor profile. Picture this: a delightfully crunchy pre-made pie crust base forming the bottom of the cake, providing an unexpected yet satisfying contrast to the soft, spiced pumpkin cake above. The cake itself is wonderfully moist, imbued with a perfect blend of warm autumn spices like cinnamon, nutmeg, and ginger, and perfectly sweetened to complement the natural pumpkin flavor. It’s then generously crowned with a smooth, velvety cream cheese buttercream frosting and a luxurious drizzle of rich caramel sauce, creating a harmonious blend of textures and tastes in every single forkful. This isn’t just a cake; it’s a stunning centerpiece that will impress your family and friends, earning a permanent spot in your recipe collection. The combination of pie and cake in one bite offers a truly unique dessert experience that you won’t find just anywhere.
Beyond its incredible taste, this pumpkin bundt cake boasts an inherent elegance thanks to the intricate design of a bundt pan. The beautiful shape means it requires minimal effort for decoration, making it an ideal choice for busy hosts who still want to present a show-stopping dessert. However, if you’re feeling creative, the possibilities for embellishment are endless! Whether you stick to the classic buttercream frosting and caramel drizzle or explore more adventurous toppings, this fall favorite is sure to be a hit. Its warm, comforting flavors are utterly impossible to resist, making it a delightful challenge to stop at just one slice. This cake embodies everything we love about autumn, wrapped up in a beautifully baked package, making it a perfect addition to any fall occasion.
Love Pumpkin Desserts? Explore These Tempting Recipes!
- Pumpkin Donuts in the Air Fryer
- No-Churn Gingersnap Pumpkin Ice Cream
- Vegan Baked Pumpkin Donuts
- Air Fryer Pumpkin Snickerdoodles
How to Customize Your Pumpkin Bundt Cake: Creative Variations
One of the best things about this pumpkin bundt cake is its versatility. While it’s absolutely perfect as is, you can easily personalize it to suit your taste or occasion. Here are some fantastic ideas to add your own creative spin:
- This easy pumpkin cake is a dream companion to your favorite warm beverages. Enjoy it alongside a steaming cup of freshly brewed coffee, a delightful whipped hot chocolate, or a mug of spiced hot cider for the ultimate cozy fall treat. The rich flavors of the cake perfectly complement the warmth of these drinks.
- For an extra shot of delicious fall flavors and a delightful temperature contrast, add a generous scoop of our homemade gingersnap pumpkin ice cream right on top of a warm slice. The cool, creamy ice cream melting into the warm, spiced cake is simply divine and adds another layer of indulgence.
- Make this cake uniquely yours by customizing it with your favorite mix-ins. Consider folding in a cup of finely chopped and lightly toasted walnuts or pecans for a delightful nutty crunch that pairs wonderfully with pumpkin. For the chocolate lovers, adding some chocolate chips (dark, milk, or white chocolate all work beautifully) to the batter before baking will create a rich, melty surprise in every slice.
- While the classic buttercream frosting truly enhances this cake, feel free to get creative with your topping. You can skip it entirely for a simpler, less sweet cake, or replace it with a light glaze. Options like a simple powdered sugar glaze, a maple glaze, or a brown butter glaze would also be fantastic and add a different flavor dimension without overpowering the pumpkin.
- Elevate the visual appeal and add an extra layer of texture by sprinkling some chopped nuts (pecans, walnuts, or even candied almonds) over the top of the frosting. If you’re looking to add a bit more color and a touch of whimsy, especially for a festive occasion like Halloween or Thanksgiving, fall-themed sprinkles can also be a fun addition, making the cake even more appealing to younger guests.
Expert Tips for Baking a Flawless Bundt Cake
Baking in a bundt pan can sometimes feel a bit intimidating, especially if you’re new to using one. The goal is always a perfectly shaped cake that releases cleanly, showcasing its beautiful design. While there are many tricks to getting your cake out in one beautiful piece, these are a few essential tips that have consistently worked wonders for me, helping you avoid frustrating baking mishaps.
First and foremost, proper pan preparation is absolutely key. I highly recommend always using solid vegetable shortening to thoroughly grease the entire inside of the bundt pan. Don’t be shy; use your fingertips or a pastry brush to get into every intricate crevice, nook, and cranny of the pan! After greasing, lightly coat the inside with all-purpose flour. This creates a non-stick barrier. Be sure to gently tap and rotate the pan to ensure the flour adheres evenly, then invert the pan and knock out any excess flour. If you notice any spots that are missing either shortening or flour, repeat the process. Skipping this crucial step or leaving bare patches risks your cake sticking, which can be incredibly frustrating after all your hard work! For darker-colored cakes, you might use cocoa powder instead of flour to avoid white residue.
Another incredibly useful tip, especially for achieving a level bottom on your bundt cake (which will be the top when flipped), is to slightly adjust the batter once it’s in the pan. After pouring the batter, gently tilt and rotate the pan around a bit. This action helps to settle the batter and allows it to become slightly higher around the edges of the pan compared to the center. This small but effective trick works wonders to prevent the top of your baked bundt cake from forming a high, undesirable dome, thereby allowing it to sit perfectly flat and stable on your serving platter or cake stand, creating a much more aesthetically pleasing presentation.
How Do I Know My Bundt Cake Is Perfectly Baked?
Patience is truly a virtue when it comes to baking bundt cakes, and this delicious pumpkin bundt cake is absolutely worth the wait! The recommended 40-45 minute bake time might feel long, but it’s essential to ensure your cake is thoroughly baked all the way through, from the delicate outer crust to the dense center. An underbaked cake can collapse in the middle, be gummy, or stick to the pan, while an overbaked one can be dry and crumbly. Finding that sweet spot of perfect doneness is crucial for a truly delightful result.
One of the easiest and most reliable ways to ascertain if your cake is completely baked is by using the classic toothpick or wooden skewer test. Simply insert the toothpick or skewer into the very middle of the cake, often the thickest part. If it comes out clean, with no wet batter or sticky crumbs clinging to it, then your pumpkin spice bundt cake is ready to be removed from the oven. However, if the toothpick emerges with wet batter or is notably sticky, it’s best to allow the cake a bit more baking time. Check again in 3-5 minute intervals until it passes the test. This method helps ensure the interior is cooked without over-drying the exterior.
You can also look for other subtle cues that indicate doneness. A finished bundt cake will often begin to pull away slightly from the edges of the pan. This indicates that the cake has set and shrunk a little. Additionally, if you very gently press down on the top of the cake (the side that was at the bottom of the pan while baking), it should feel firm and spring back slightly when released. If your finger leaves an indentation, it likely needs more time. While these visual and tactile cues are helpful, the toothpick method remains one of the best and most accurate options to be absolutely sure your cake is perfectly baked and ready for its next stage.
The Art of Cooling: Do You Cool a Bundt Cake Before Flipping?
As I mentioned earlier, patience is not just key for baking, but equally important for the cooling and release process of this pumpkin bundt cake. Rushing this stage is a common mistake that can lead to a beautifully baked cake becoming a crumbled mess. Properly cooling your cake is paramount for a successful release from the pan and a perfect, intact finish.
Once your wonderfully fragrant pumpkin cake is out of the oven, do *not* immediately attempt to flip it. This is a crucial step! Instead, allow it to cool on a wire rack, still in its bundt pan, for a good 20-30 minutes on the counter. During this crucial cooling period, often referred to as “carryover baking,” the cake continues to set, and its delicate structure firms up, making it much less prone to breaking when handled. As it cools, the cake also naturally contracts slightly from the sides of the pan, which aids significantly in its clean release. While your cake is in its initial cooling phase, this is the perfect opportunity to prepare your smooth and delicious buttercream frosting, ensuring your time is still used efficiently.
Furthermore, ensure your bundt cake is completely cooled to room temperature before you begin the exciting part of frosting it. If you apply frosting to a cake that is still warm, even slightly, the heat will quickly melt your beautiful buttercream. Instead of elegant ribbons and swirls, you’ll end up with a disappointing pool of melted frosting at the bottom of your cake platter, ruining the presentation. The longer you can wait for your pumpkin cake to cool—ideally for at least 1-2 hours, or even more for a very dense cake—the better your frosting will look and set, creating a truly professional and appetizing finish that holds its shape beautifully.
Mastering the Release: How to Get Your Cake Out of the Bundt Pan
After your pumpkin bundt cake has had its essential cooling time, the moment of truth arrives: releasing it from the pan. The goal is a clean, intact cake, and with a bit of technique, it’s easily achievable. This method minimizes risk and maximizes your chances of a picture-perfect result. I find the easiest and most effective way to do this is by carefully inverting the cake onto your chosen serving platter or a sturdy wire cooling rack.
To execute this, first ensure the cake has cooled sufficiently in the pan (as described above). Then, place your serving platter or cooling rack upside down directly over the top of the bundt pan, centering it as best you can. While holding the platter tightly against the pan (using oven mitts for protection if the pan is still slightly warm), confidently flip them over together in one swift, smooth motion. The cake should ideally slide out onto the platter due to gravity and the cake’s contraction. If it doesn’t come out immediately, don’t panic – there’s still plenty of hope and a few more tricks up your sleeve!
If the cake remains stubbornly in the pan after the initial flip, try giving the pan a few gentle taps all around the edges and on the bottom. Sometimes, a little vibration is all it takes to encourage the cake to loosen its grip and fall out. These gentle taps help to dislodge any small sections that might still be clinging to the pan’s intricate design. If this initial gentle persuasion doesn’t work, don’t force it by shaking aggressively. Simply leave the pan upside down on the cooling rack and allow it to sit for another 10-15 minutes. As the cake continues to cool and contract further, gravity will often do the rest, and the cake should gracefully fall out of the pan on its own. Patience here is your best friend for a perfectly presented bundt cake that maintains its beautiful shape.
Oops! What Do I Do If My Cake Doesn’t Come Out Perfectly?
While this recipe includes the clever addition of a pie crust at the bottom, which significantly reduces the chances of sticking, sometimes accidents can still happen, even to the most seasoned bakers. So, if your bundt cake doesn’t come out in a single, perfect piece, or if it stubbornly remains in the pan, please don’t panic! All is not lost. You might not have the classic bundt cake shape on your hands, but you absolutely can transform those delicious cake pieces into a brand-new, equally delightful dessert. Remember, a broken cake is just a deconstructed cake ready for a creative makeover!
The possibilities are truly endless for salvaging a less-than-perfect bundt cake. You could easily try making delightful cake pops or elegant truffles. Simply crumble the cake pieces into a bowl, then mix them with a thicker cream cheese icing (or even a little melted chocolate or ganache, or some of the leftover buttercream) to act as a binder. Roll the mixture into bite-sized balls, then, if you like, insert lollipop sticks for cake pops or simply chill them for truffles. Dip them in melted white chocolate, dark chocolate, or a colorful candy melt, and decorate to your heart’s content – you’ll have a fantastic new treat ready to go! Alternatively, you could create a stunning pumpkin spice bundt cake trifle. Layer the crumbled cake pieces with generous dollops of whipped cream, luscious salted caramel sauce, and crunchy chopped nuts (like pecans or walnuts) in a beautiful glass trifle bowl. This creates an impressive, multi-layered dessert that’s bursting with flavor and looks incredibly sophisticated, even if it started as a “failed” bundt.
Don’t let a minor baking mishap deter you; embrace the opportunity to get creative in the kitchen! There’s no need to waste a single crumb of this delicious pumpkin cake. The versatility of this bundt cake, even in its “deconstructed” form, means it will still be an absolute hit with anyone you decide to share your culinary skills with. Everyone will love these inventive treats, and you’ll be praised for your resourcefulness and creativity!
Essential Ingredients for Your Delicious Pumpkin Bundt Cake
Gathering your ingredients before you start baking ensures a smooth and enjoyable process, preventing last-minute scrambles. Here’s what you’ll need for this incredibly flavorful pumpkin bundt cake, featuring a unique pie crust base and a luscious buttercream frosting:
- All-Purpose Flour
- Baking Soda
- Baking Powder
- Salt
- Vegetable Oil
- Granulated Sugar
- Light or Dark Brown Sugar
- Vanilla Extract
- Large Eggs
- Canned Pumpkin Puree (make sure it’s 100% pure pumpkin, not pumpkin pie filling, for the best flavor and texture)
- Pre-made Pie Crust (one box, typically containing two sleeves; you’ll use one sleeve for the base of the bundt cake)
For the Rich Cream Cheese Buttercream Frosting:
- Unsalted Butter – softened completely to room temperature
- Full-Fat Cream Cheese – softened to room temperature (essential for a smooth, creamy frosting)
- Powdered Sugar (also known as confectioners’ sugar), sifted to avoid lumps
You’ll also need caramel sauce to generously drizzle on top for that extra touch of decadence and visual appeal, but that’s totally optional if you prefer to keep it simple or use another topping like a sprinkle of cinnamon sugar or chopped nuts.
Step-by-Step Guide: How to Make Your Perfect Pumpkin Bundt Cake
To Prepare the Cake Batter
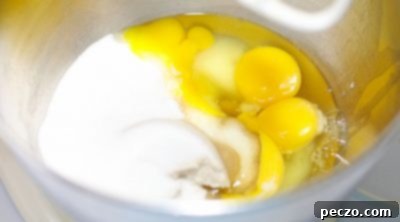
- In the large mixing bowl of a stand mixer fitted with the paddle attachment, add the eggs, granulated sugar, vanilla extract, pumpkin puree, brown sugar, and vegetable oil. Begin mixing on low speed to gently combine all the wet ingredients. Once roughly blended, increase the speed to high and continue mixing for about 2-3 minutes until the mixture becomes light, fluffy, and slightly pale in color. This step is crucial for incorporating air, which contributes to the cake’s tender crumb.
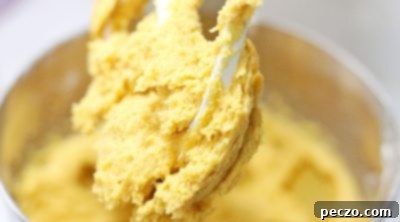
- Next, add the dry ingredients to the wet mixture: the all-purpose flour, baking soda, baking powder, and salt. Mix on low speed until the dry ingredients are just incorporated and no visible streaks of flour remain, being careful not to overmix, as this can lead to a tough cake. Then, increase to medium-high speed for about 30 seconds to ensure everything is thoroughly combined but still maintain a tender cake. Use a rubber spatula to scrape down the sides and bottom of the bowl to ensure all ingredients are evenly mixed before a final quick mix.
To Bake Your Beautiful Cake
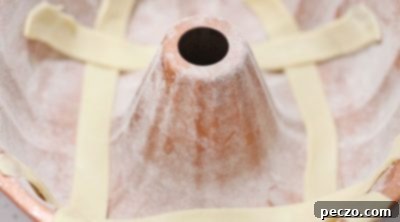
- Prepare your bundt pan meticulously. Generously grease the entire inside of the bundt pan with solid vegetable shortening, ensuring every intricate crevice is covered. Then, lightly dust the pan with all-purpose flour, tapping out any excess. Unroll one sleeve of your pre-made pie crust and carefully cut it into 1-inch wide strips. Artfully lay these strips, slightly overlapping, into the bottom and up the sides of the bundt pan until the entire base and lower sides are covered with pie crust. This unique addition creates a delightful crunchy base for the cake.
- Carefully pour the prepared pumpkin cake batter directly on top of the pie crust layer in the bundt pan, spreading it evenly with a spatula to ensure a consistent bake.
- Place the prepared bundt pan into a preheated oven (set to 350°F or 175°C, as per standard cake baking) for approximately 40 to 45 minutes, or until a wooden toothpick inserted into the center of the cake comes out clean, indicating it’s fully baked through.
- Once baked, remove the bundt pan from the oven and place it on a wire rack to cool for about 5-10 minutes. This allows the cake to slightly firm up and contract from the pan. Then, place a heavy-duty wire cooling rack over the top of the bundt pan. Using oven mitts for protection, firmly hold the handles of the pan and the cooling rack together, then gently but confidently flip the cake pan over, turning the cake out onto the wire rack. Allow the cake to cool completely to room temperature, which can take 1-2 hours, before proceeding to frost.
To Make the Creamy Buttercream Frosting
- In the clean mixing bowl of a stand mixer fitted with the paddle attachment, add the softened unsalted butter and softened cream cheese. Beat them together on medium-high speed until the mixture is light, fluffy, and well combined, with no lumps of butter or cream cheese remaining. This usually takes about 2-3 minutes, creating a smooth base.
- Gradually add the powdered sugar, a little at a time, mixing on low speed between additions. This prevents a cloud of sugar from engulfing your kitchen! Continue mixing until all the powdered sugar is fully incorporated and the frosting is smooth, creamy, and spreadable. If it’s too thick, you can add a tiny splash of milk or cream until desired consistency is reached.
- Once the frosting is ready, remove the bowl from the mixer. It is crucial to ensure the cake has cooled completely to room temperature before you proceed to frost it, to prevent the frosting from melting.
Decorate and Serve Your Masterpiece
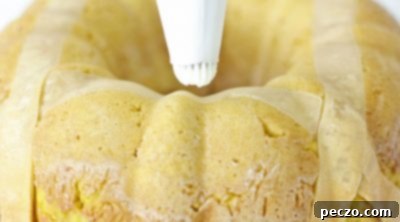
- Transfer the prepared buttercream frosting into a pastry bag fitted with a large fluted tip. This tip creates beautiful, thick ribbons of frosting that enhance the cake’s appearance. Pipe the frosting artistically onto the top and down the sides of the cooled cake, moving the pastry bag back and forth or creating elegant swirls to achieve your desired pattern.
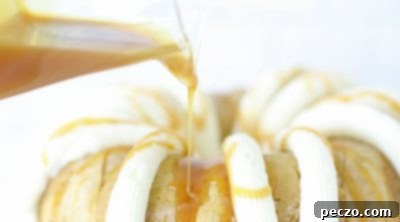
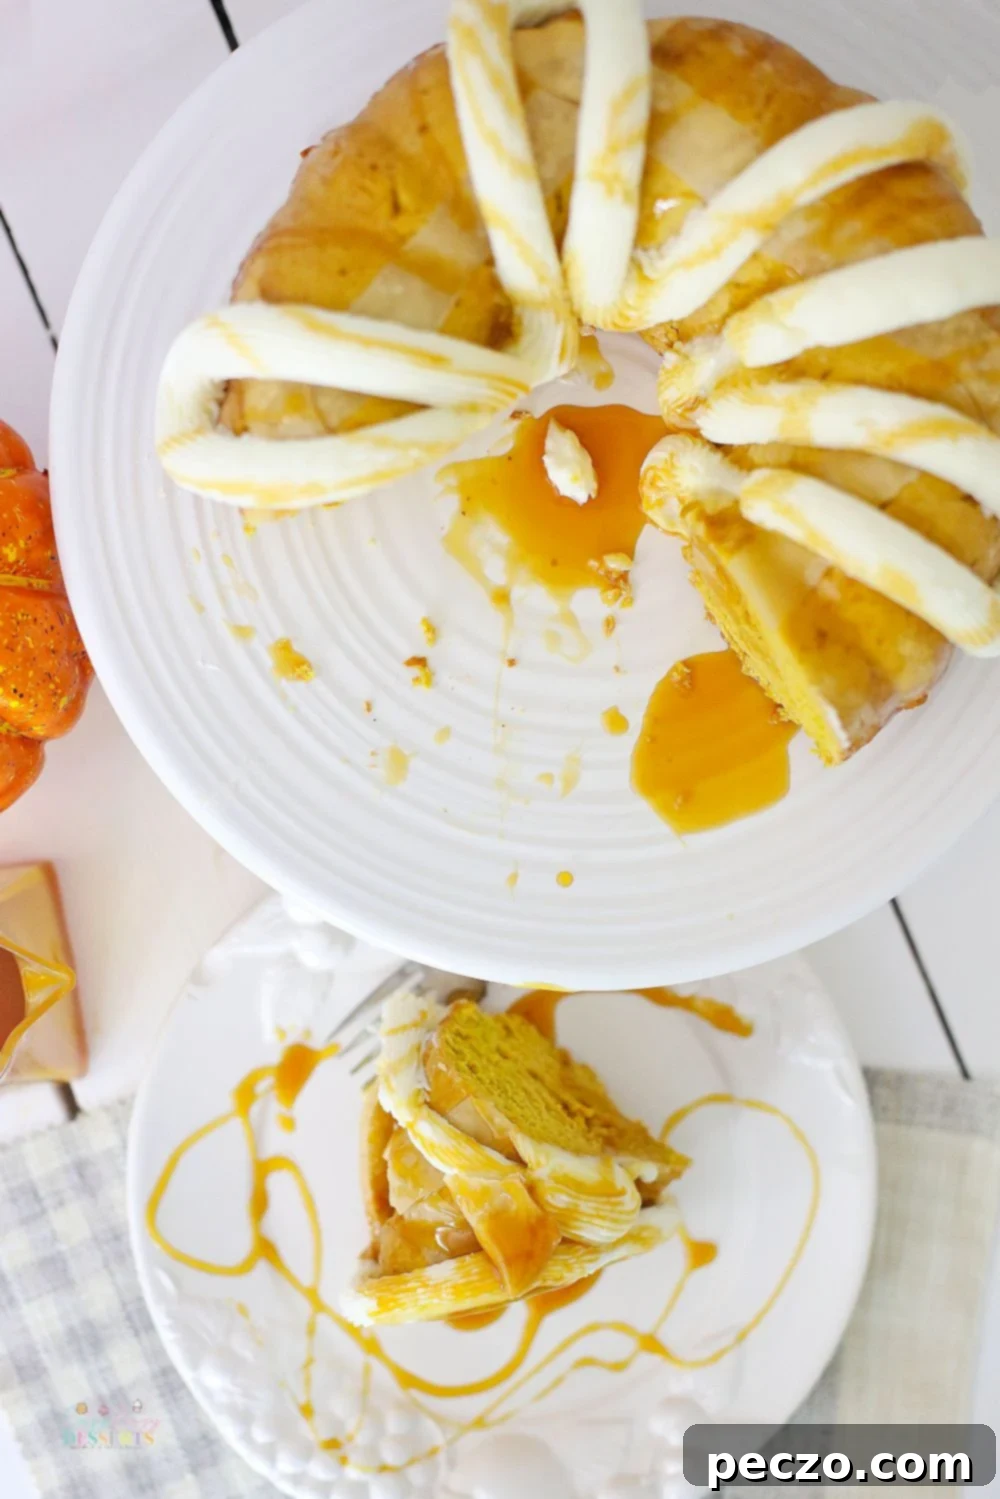
- For an extra touch of indulgence and visual appeal, generously drizzle caramel sauce over the top of the cake, allowing it to cascade beautifully across the frosting and even onto the exposed pie crust strips. This adds another layer of rich flavor and a glossy finish.
- Once decorated, carefully cut the cake into two to three-inch slices using a sharp, serrated knife. Serve immediately and savor every delicious, fall-inspired bite! Enjoy sharing this stunning dessert with your loved ones and watching them delight in its unique flavors and textures.
Pin to save this irresistible recipe for later!
Print the recipe card below for easy access!
Pumpkin bundt cake
petro
Pin Recipe
Equipment
-
bundt pan
-
stand mixer
Ingredients
For the cake
- 2 1/2 cups Flour
- 1 tbsp Baking Soda
- 3/4 tsp Baking Powder
- 1/2 tsp Salt
- 1 cup Vegetable Oil
- 1 Cup Sugar
- 3/4 cup Brown Sugar
- 2 tsp Vanilla
- 3 Eggs
- 1 15oz can Pumpkin
- 1 box Pre-made Pie Crust
For the buttercream frosting
- 4 tbsp Butter softened
- 4 oz Cream Cheese softened
- 4 Cups Powdered Sugar
- Caramel Sauce to drizzle on top
Instructions
-
In the mixing bowl of a stand mixer, add the Eggs, Sugar, Vanilla, Pumpkin, Brown Sugar and Vegetable Oil, and mix on low until blended, then mix on high until light and fluffy.

-
Add the Flour, Baking Soda, Baking Powder, and Salt, and mix until blended, then mix on Medium High for about 30 seconds. Scrape down the sides of the bowl, and mix again.

-
Grease and Flour the Bundt Pan. Unroll 1 sleeve of the Pie Crust, and cut the pie crust in 1 inch strips, and lay the strips, overlapping in the bottom and up the sides of the Bundt Pan until all pie crust has been used.

-
Pour the Cake Batter on top of the Pie Crust. Bake at 350 degrees for 40 to 45 minutes, or until a toothpick inserted in the center comes out clean. Remove the Bundt Pan from the oven to a wire rack to cool for about 5 minutes. Then place a heavy wire cooling rack over the top of the Bundt pan, and using oven mitts to hold the handles on the pan, gently flip the cake pan over, turning the Cake out onto the wire rack. Let the cake cool completely.
-
In the mixing bowl of a stand mixer, add the softened Butter, and Cream Cheese, and mix until light and fluffy. Add the Powdered Sugar a little at a time, mixing between additions, until all the Powdered Sugar is mixed. Remove bowl from Mixer. Make sure the Cake is cooled completely. Place the Frosting in a Pastry bag with a large fluted tip, and pipe the Frosting on to the top and sides of the Cake in thick ribbons, moving the pastry bag back and forth across the cake.

-
Generously drizzle Caramel Sauce on top of the Cake, across the Frosting, and pie crust strips. Cut the Cake into two to three inch pieces, serve, and Enjoy!

