Irresistible Red Velvet Valentine Cupcakes: The Ultimate Homemade Treat
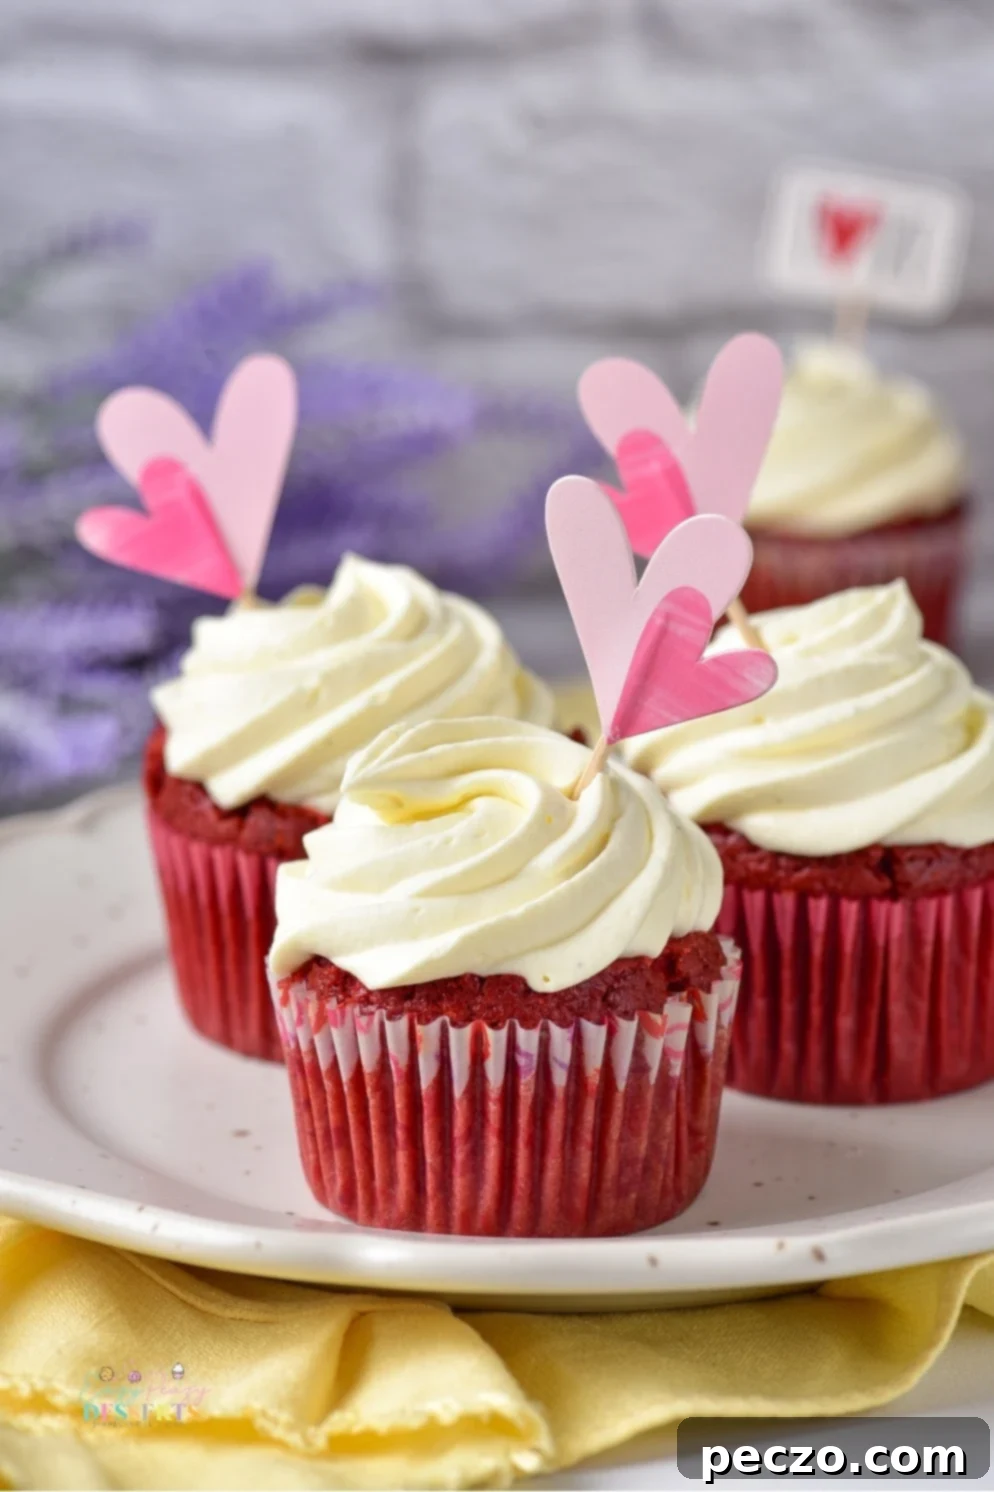
This Valentine’s Day, skip the ordinary and delight your special someone with a batch of enchanting Red Velvet Valentine Cupcakes! These luxurious, crimson-hued treats are more than just a dessert; they are a heartfelt expression of love, perfect for celebrating romance. With their signature tender crumb, delicate cocoa flavor, and generous swirl of rich, tangy cream cheese frosting, these cupcakes are guaranteed to leave a lasting impression. Forget the store-bought options; our easy-to-follow recipe will guide you through creating delicious, fluffy, and visually stunning homemade red velvet cupcakes from scratch, making your Valentine’s Day celebration truly unforgettable.
Why Red Velvet Cupcakes are Perfect for Valentine’s Day
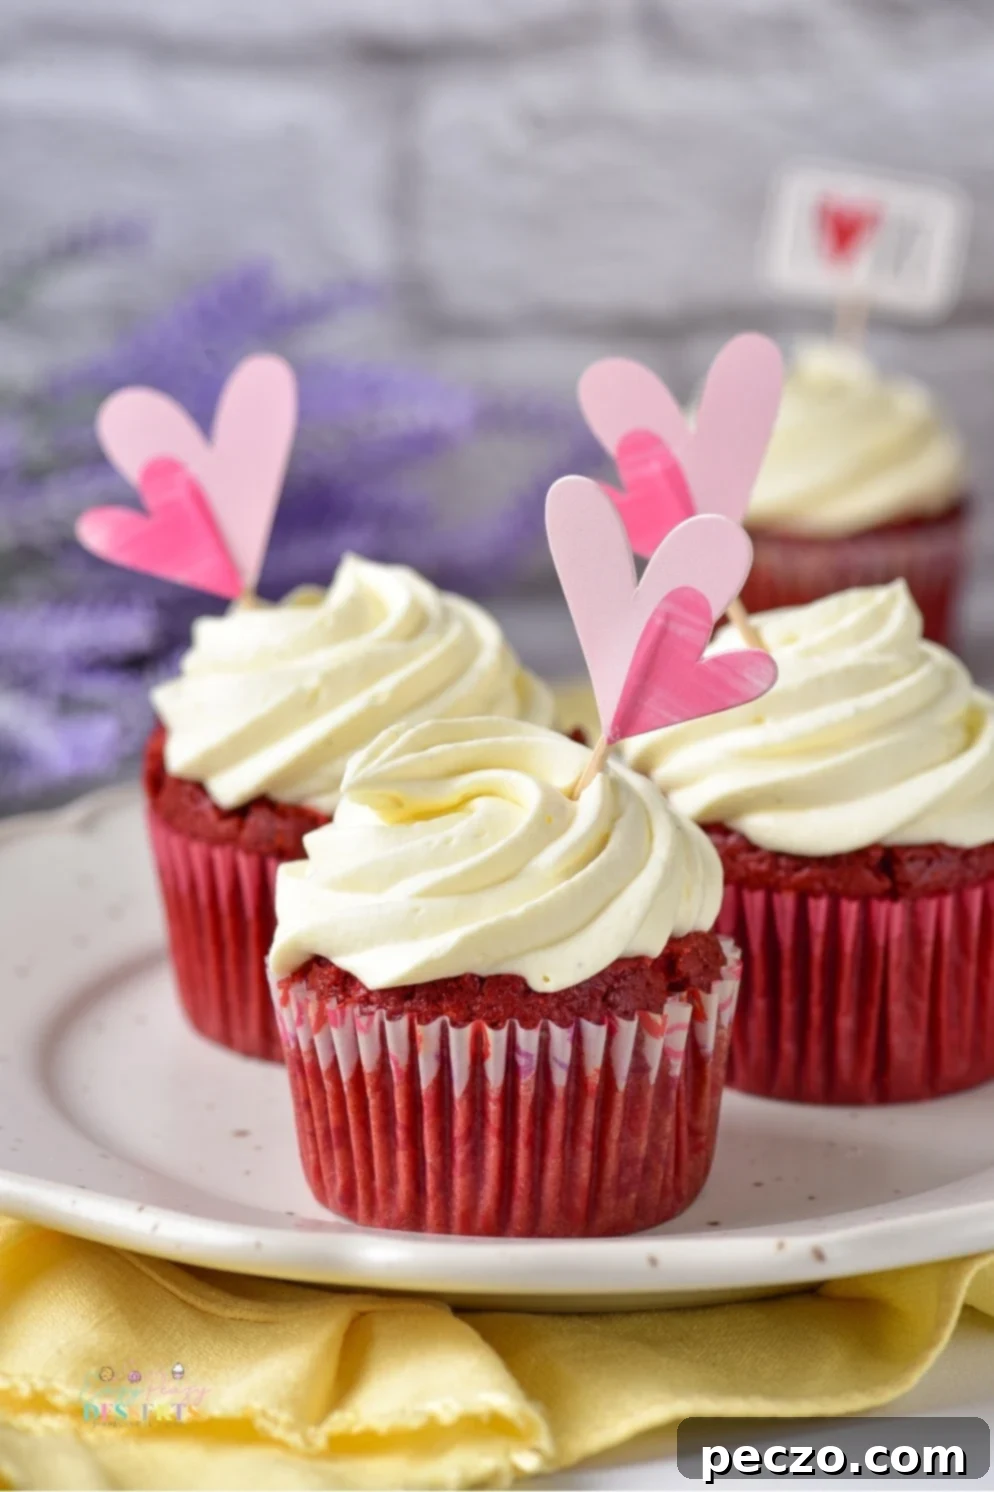
Red velvet cupcakes have long been a symbol of indulgence and affection, making them an ideal choice for Valentine’s Day. Their distinctive deep red color is synonymous with love and passion, instantly setting a romantic mood. Beyond their striking appearance, the flavor profile is equally captivating: a subtle hint of cocoa perfectly balanced with the slight tang of buttermilk and vinegar, resulting in a supremely moist and tender cake. When topped with a luscious, fluffy cream cheese frosting, these treats offer a delightful contrast of textures and tastes that truly elevates them above ordinary desserts.
Crafting these delicious treats from scratch adds an extra layer of thoughtfulness. Instead of relying on a pre-made cake mix, you’ll be creating a truly unique dessert that speaks volumes about your care and affection. Whether you choose to bake a grand tower of these beautiful cupcakes for a larger gathering or just a few individual delights for an intimate celebration, their charm is undeniable. Plus, baking homemade red velvet cupcakes is a surprisingly straightforward and rewarding process, even for novice bakers. Adorn these tasty Valentine’s Day cupcakes with charming decorations like heart-shaped sprinkles, a dusting of edible glitter, or delicate fresh fruit slices for a presentation that will surely impress your loved one. Dive into the joy of making your own red velvet cupcakes today and let the love spread!
More Delicious Cupcakes to Explore
If you love baking cupcakes, here are some other fantastic recipes to try for any occasion:
- Chocolate fudge cupcakes
- Carrot cake cupcakes
- M&M cupcakes with chocolate frosting
- Chocolate mint cupcakes
- Yellow cupcakes with chocolate buttercream
Making the Perfect Red Velvet Batter from Scratch
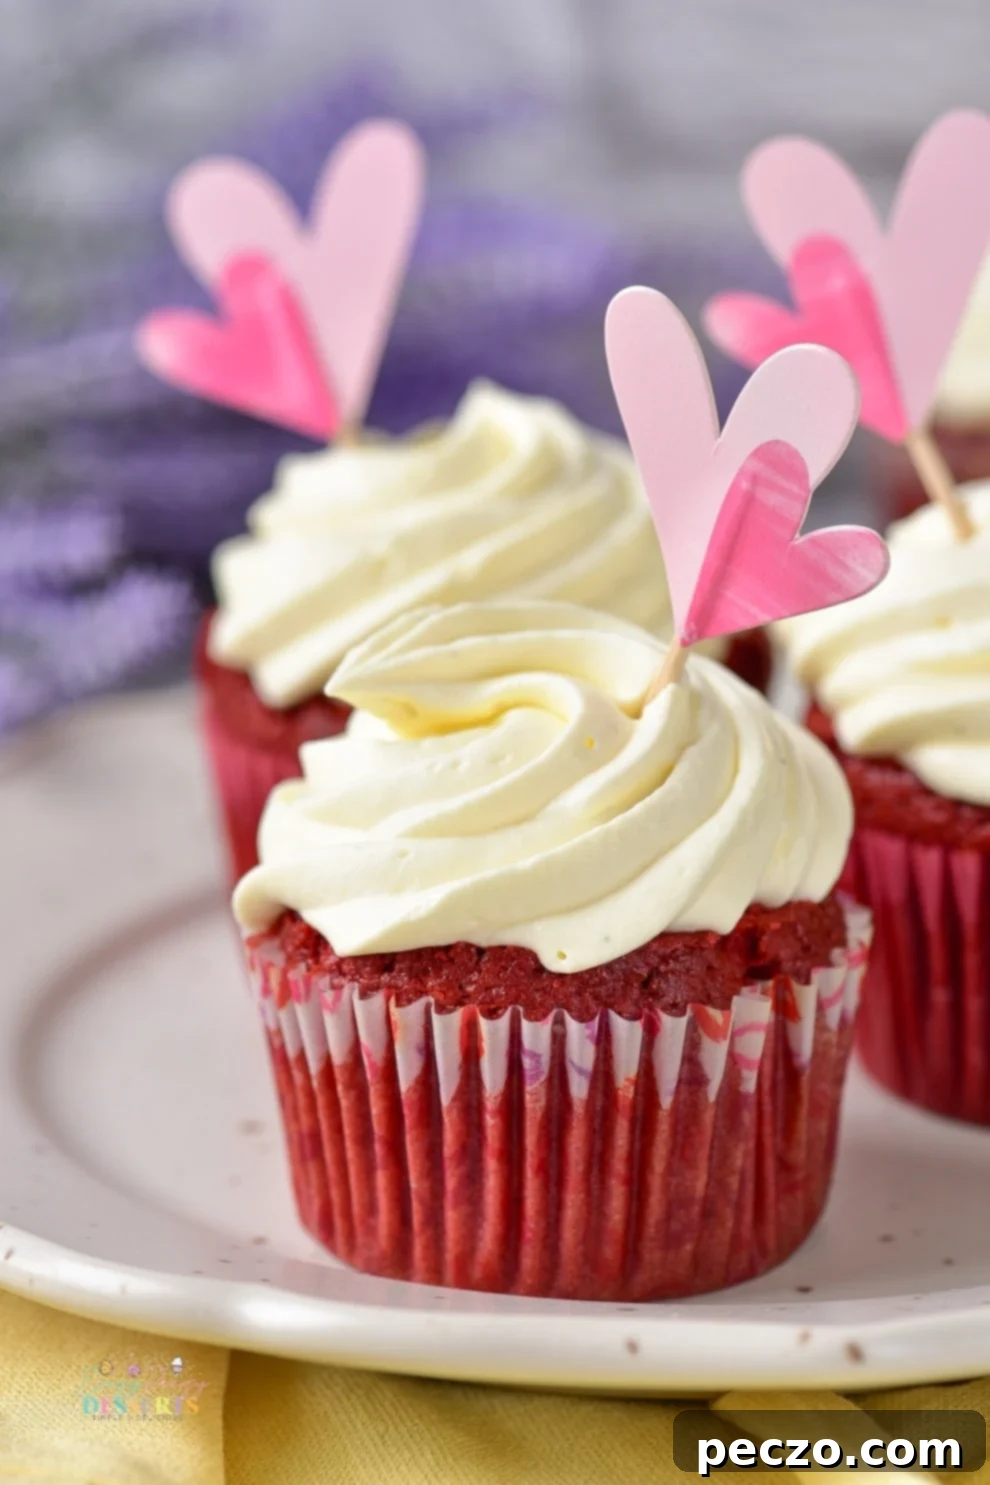
Creating a truly magnificent red velvet cupcake starts with the perfect batter. This recipe emphasizes baking from scratch, ensuring a superior taste and texture that simply can’t be achieved with a boxed mix. The combination of all-purpose flour, a touch of cocoa powder, and the leavening agents works in harmony with the liquid ingredients to produce a light, airy, and incredibly moist cupcake. The distinct red hue, which gives these cupcakes their romantic appeal, comes from red food coloring, making them visually captivating.
These Valentine cupcakes are also remarkably versatile, making them excellent for larger celebrations beyond just a romantic dinner. Consider baking several batches and showcasing them at parties or gatherings to add a touch of sweetness to any holiday event. You can easily customize each individual cupcake with a variety of different toppings and decorations, ensuring there’s a delightful option for every guest. With so many creative possibilities, you’re sure to discover the ideal sweet treat for Valentine’s Day, or any special occasion, this year!
One of the best advantages of these delightful red cupcakes is their simplicity. They don’t demand extensive effort or exotic ingredients. You’ll only need a handful of common pantry staples, along with creamy salted caramel for an optional luscious filling, a dreamy cream cheese frosting, and a few festive decorations like sprinkles and edible glitter. Once you have all your ingredients prepped, it’s just a matter of combining, baking, and topping them off with your personal decorative flair. With just a little time and thoughtful effort, you can effortlessly create these delightful red velvet cupcakes to savor this Valentine’s Day or any day you desire a touch of sweet elegance!
So, if you’re searching for an easy, delicious, and deeply heartfelt treat to express your love this Valentine’s Day, look no further than this fantastic red velvet cupcake recipe. They are truly the perfect holiday dessert that everyone will adore! Don’t hesitate – gather your ingredients and get baking today!
What are Some Popular Flavors for Valentine’s Day Cupcakes?
While classic red velvet cupcakes are an iconic choice for expressing your love this Valentine’s Day, the world of cupcakes offers a wide array of delicious flavors to choose from. Expanding your palate can lead to exciting new favorites!
Beyond the beloved red velvet, popular choices often include rich chocolate, classic vanilla, indulgent salted caramel, sweet strawberry, bright lemon curd, and even a mix of these. Imagine a chocolate cupcake with a raspberry buttercream or a vanilla cupcake filled with a tangy lemon curd. With such a variety of options, you can mix and match different combinations to create unique treats that cater to every taste bud. For an extra special touch, consider adding some homemade fruit jam or preserves right in the middle of the cupcakes for an unexpected burst of sweetness and flavor. Alternatively, whip up some delightful raspberry-flavored buttercream frosting instead of the traditional cream cheese for a fruity twist.
No matter which delightful flavor you ultimately choose, Valentine’s Day cupcakes are always a guaranteed hit with family and friends, bringing smiles and sweetness to any celebration!
Why Do Cupcakes Sometimes Stick to Their Liners?
It can be frustrating when your perfectly baked cupcakes stubbornly cling to their liners. This common issue is usually due to using paper liners that lack a proper non-stick coating, such as a greasy or wax-based finish. If you frequently encounter this problem, there are several effective solutions. Try switching to parchment paper liners, which naturally have non-stick properties. Alternatively, opt for silicone baking cups, or use paper liners that are specifically coated with a thin layer of fat, like vegetable oil or butter, before you add the batter. These methods will create a barrier that helps prevent your delicious cupcakes from sticking, making them much easier to remove once baked and cooled. Additionally, a crucial tip is to avoid overfilling the liners. Aim to fill them only about two-thirds full for optimal results, as overfilling can cause the batter to overflow and bake onto the liner edges. By following these simple tips, you can effortlessly tackle any sticky situation and ensure your cupcakes slide out beautifully!
Will Cupcake Liners Burn in the Oven?
The possibility of cupcake liners browning or even burning during baking largely depends on the type of liner you use and the oven temperature. Generally, parchment paper liners are a safer and more reliable option than standard paper liners, as parchment is designed to withstand higher temperatures without burning. Liners with a fat-based coating, such as those treated with vegetable oil or butter, are also less prone to burning. However, even with the right liners, it’s essential to always keep a close eye on your cupcakes while they are in the oven, especially towards the end of the baking time. Oven temperatures can vary, and what might be perfect for one batch could cause issues in another. Remove your cupcakes promptly once they are cooked through and a wooden skewer inserted into the center comes out clean. This vigilance will help ensure your liners remain intact and your cupcakes look as good as they taste.
How to Decorate Red Velvet Cupcakes for Valentine’s Day?
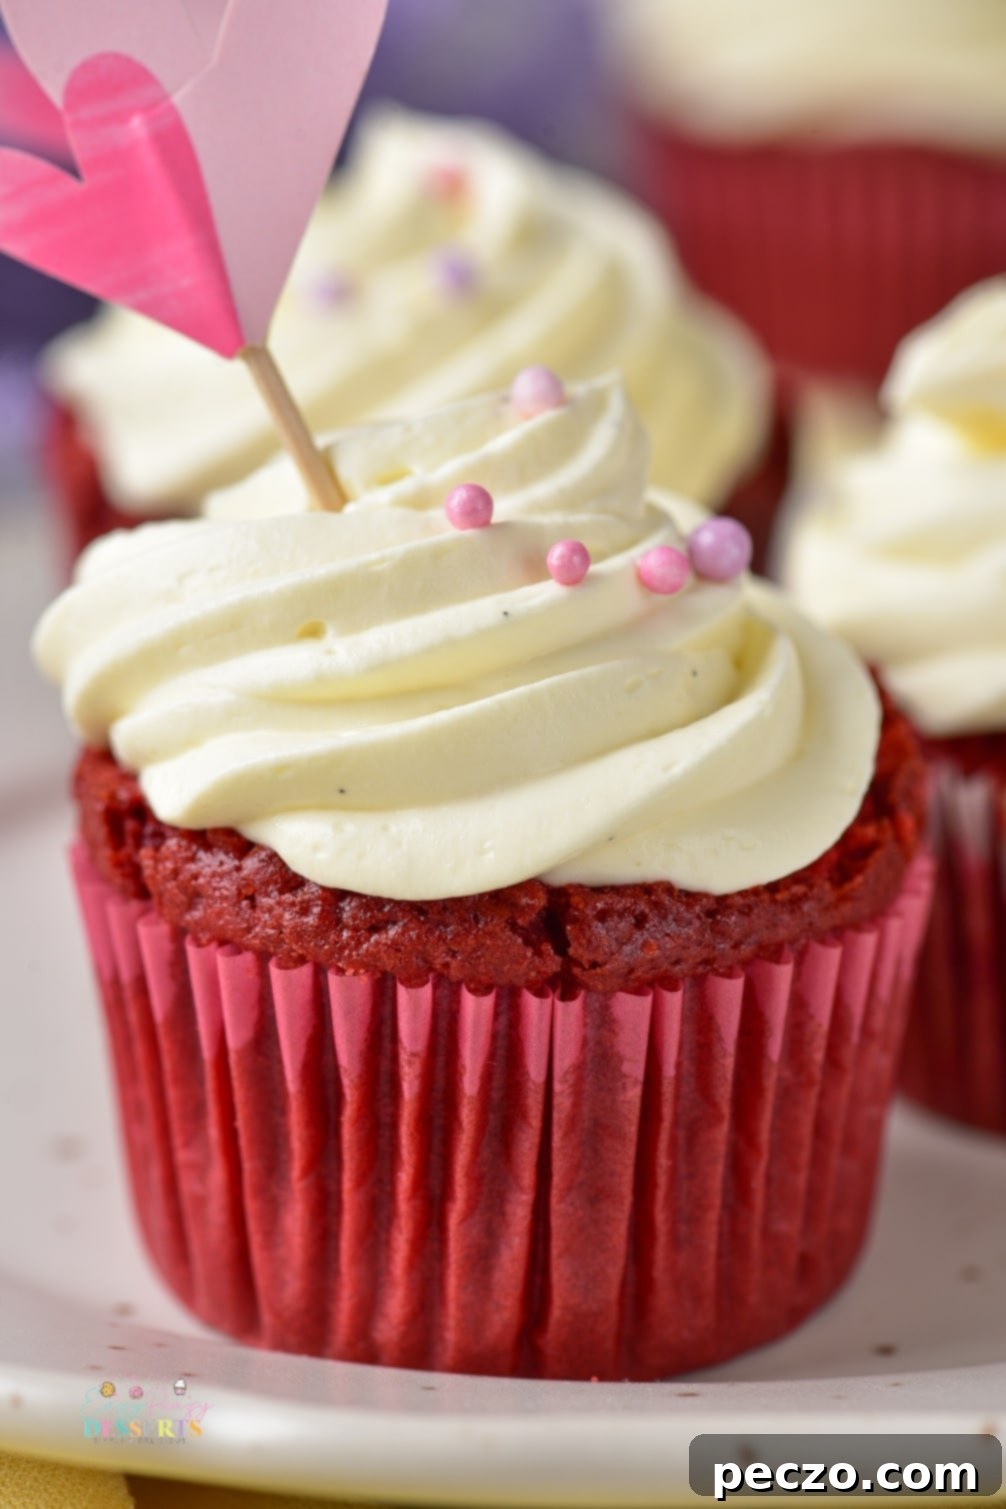
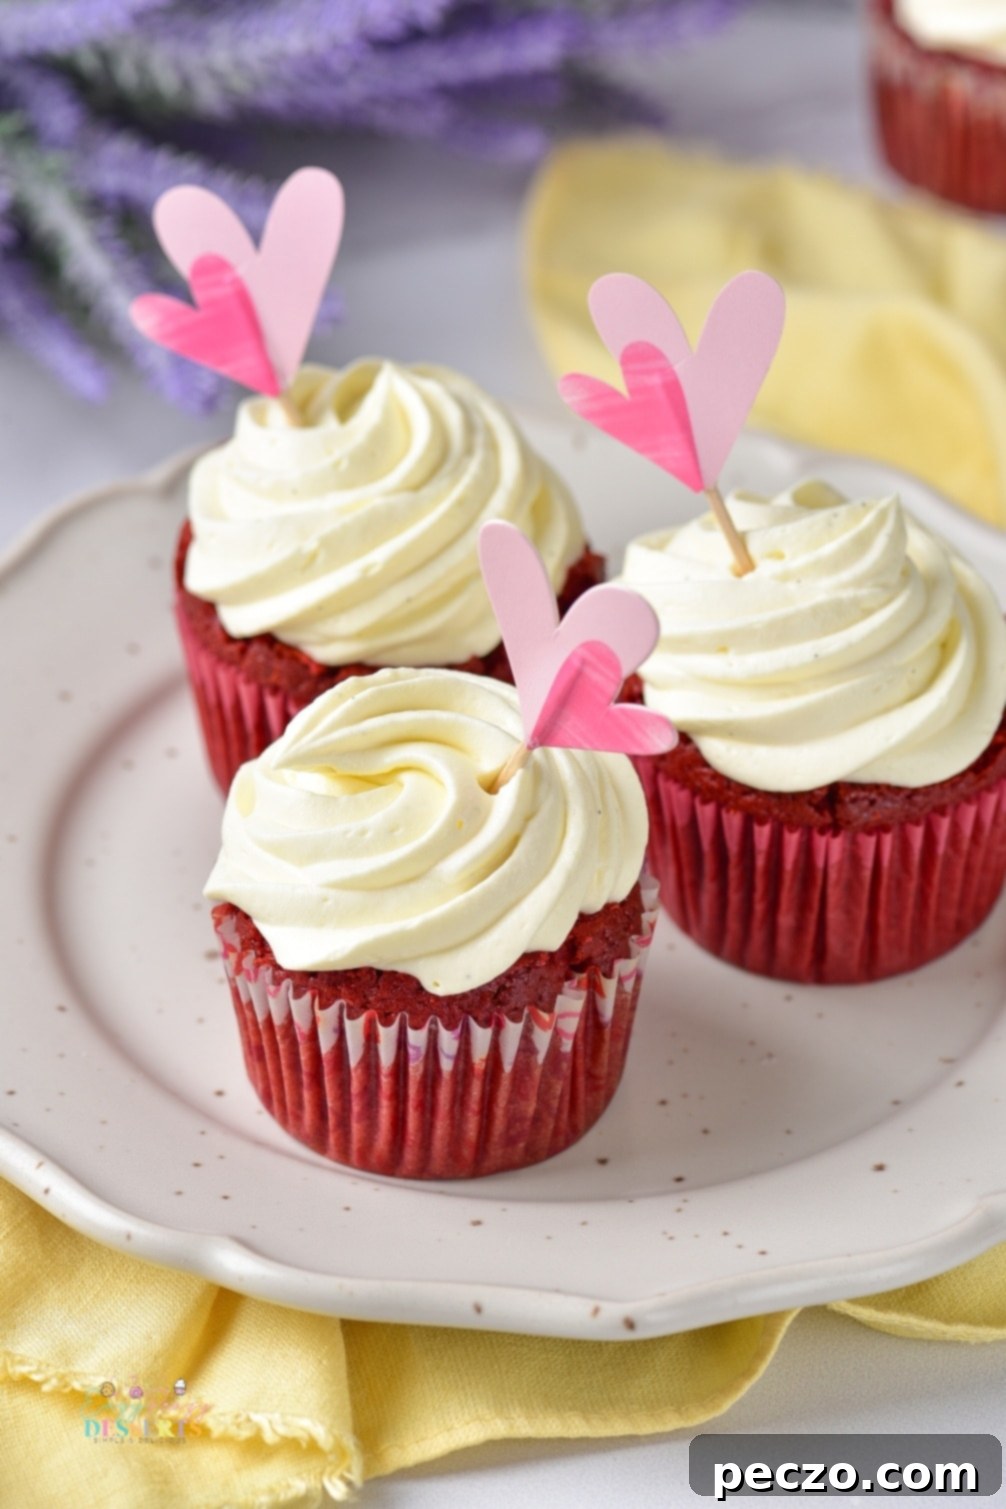
Valentine’s Day red velvet cupcakes are a blank canvas for festive and romantic decorations! Elevate their presentation with a variety of creative touches. You can start by generously topping them with homemade cream cheese frosting, piped elegantly with a star tip or simply spread with an offset spatula. Then, let your imagination run wild! Consider a shower of heart-shaped sprinkles, a delicate shimmer of edible glitter, or vibrant fresh fruit slices like strawberries or raspberries for a pop of color and freshness. For an extra special, personalized touch, try crafting your own fondant toppers. Use cookie cutters to create adorable shapes like hearts, stars, or even initials, which can be placed on top of the frosting. Other charming options include adding ready-made cupcake toppers such as decorative straws, small flags with sweet messages, or simply writing “You’re Sweet” or “Love” directly onto the frosting using a food-safe marker. For a truly decadent finish, garnish with chocolate-covered strawberries or a sprinkle of finely grated dark chocolate. The possibilities are endless to make your red velvet cupcakes as unique and lovely as your sentiments!
How to Store Valentine’s Day Cupcakes for Optimal Freshness?
Proper storage is key to keeping your delicious Valentine’s Day cupcakes fresh and enjoyable for as long as possible. Once baked and cooled, unfrosted cupcakes can be stored in an airtight container at room temperature for up to 3 days. This method works well for short-term enjoyment. For longer storage, especially with cream cheese frosting, it’s best to place them in the refrigerator, where they should remain fresh for up to a week. The cool environment helps preserve the delicate frosting and extends the shelf life of the cupcakes.
If you’re planning to bake ahead or have leftovers that you want to enjoy much later, freezing is an excellent option. To freeze, ensure the cupcakes are completely cooled, then wrap each unfrosted cupcake individually in plastic wrap and place them in an airtight freezer-safe container or bag. They can be frozen for up to three months. When you’re ready to serve them, simply thaw them at room temperature, then frost and decorate as desired. This makes it incredibly convenient to prepare your treats in advance, ensuring you always have a delightful dessert ready when the occasion calls!
What Do I Need to Make These Delicious Red Velvet Cupcakes?
To embark on your baking journey and create these magnificent red velvet cupcakes, here are the essential ingredients you’ll need. Each plays a crucial role in achieving the perfect flavor, texture, and vibrant color:
- **All-purpose flour:** The foundational ingredient, providing structure to the cupcakes.
- **Cocoa powder:** Delivers the subtle chocolate flavor characteristic of red velvet.
- **Sugar:** Sweetens the cupcakes and contributes to their moist texture.
- **Baking powder:** A leavening agent that helps the cupcakes rise and become fluffy.
- **Vegetable oil:** Adds moisture and tenderness, resulting in a rich, velvety crumb.
- **Egg:** Binds the ingredients, adds richness, and aids in leavening.
- **Buttermilk:** Crucial for the traditional tang and moistness, reacting with the cocoa and baking powder.
- **Red food coloring:** Gives red velvet its iconic, vibrant red hue.
- **Salted caramel:** (Optional, for filling) Provides a luxurious, sweet, and salty center.
- **Cream cheese:** The star of the tangy, rich frosting.
- **Whipping cream:** Adds lightness and volume to the cream cheese frosting.
- **Vanilla extract:** Enhances the overall flavor of both the cake and the frosting.
Step-by-Step Guide: How to Make Red Velvet Valentine Cupcakes
Follow these detailed instructions to create your perfect batch of homemade red velvet cupcakes, complete with a delightful caramel filling and luscious cream cheese frosting:
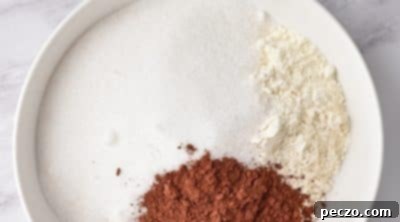
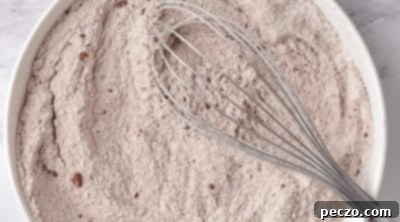
- **Prepare Dry Ingredients:** Begin by preheating your oven to 360°F (180°C). In a large, deep mixing bowl, combine the all-purpose flour, cocoa powder, sugar, and baking powder. Using a whisk, thoroughly mix these dry ingredients until they are completely homogeneous and free of lumps. This ensures even distribution and proper rising.
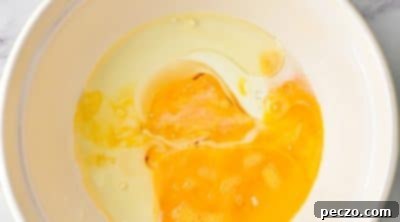
- **Mix Wet Ingredients:** In a separate medium-sized bowl, whisk together the buttermilk, vegetable oil, and the beaten egg until well combined.
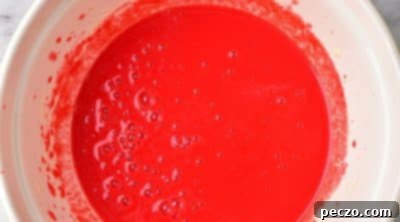
- **Add Red Food Coloring:** To the liquid ingredients bowl, add your red food coloring. Mix diligently until the color is vibrant and evenly distributed, with no streaks or undissolved coloring remaining. This is what gives red velvet its signature look!
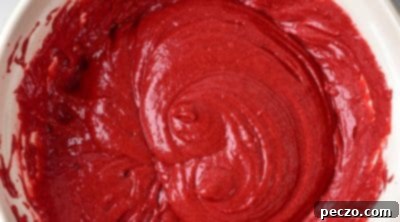
- **Combine Wet and Dry:** Gradually add the flour mixture from the first bowl to the bowl of wet ingredients. Stir gently using a whisk or spatula until the ingredients are just combined. Be careful not to overmix, as this can lead to tough cupcakes. A few small lumps are perfectly fine.
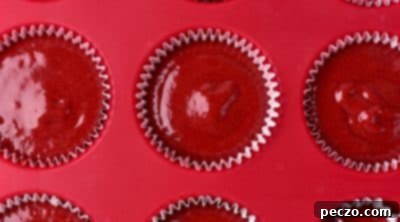
- **Fill Cupcake Liners:** Line a standard muffin pan with paper cupcake liners. Carefully spoon the batter into each cup, filling them about two-thirds full. This allows room for the cupcakes to rise without overflowing.
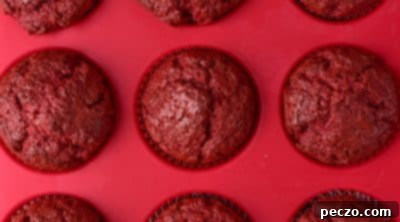
- **Bake the Cupcakes:** Place the muffin pan in the preheated oven and bake for approximately 20 minutes.
- **Check for Doneness:** To confirm the cupcakes are fully baked, insert a wooden skewer or toothpick into the center of one. It should come out clean with no wet batter clinging to it. If it’s still wet, bake for a few more minutes and test again.
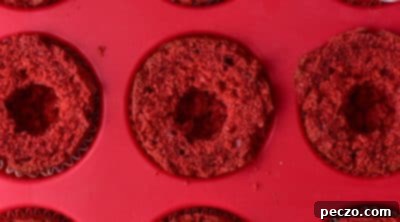
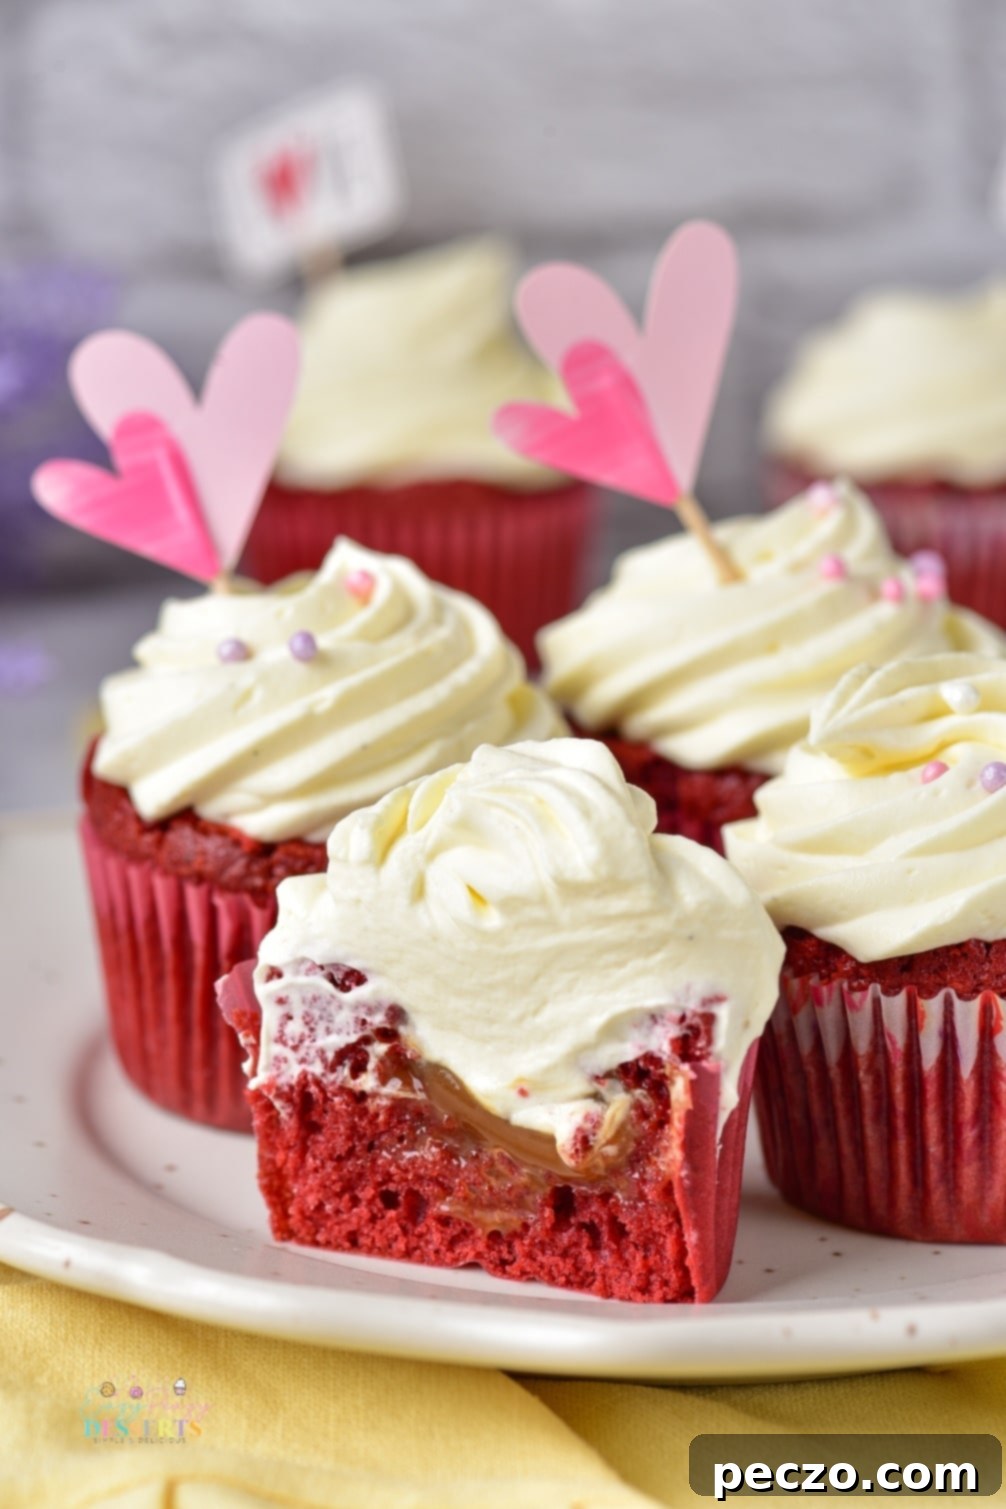
- **Cool and Prepare for Filling:** Once baked, remove the finished cupcakes from the oven and let them cool completely on a wire rack. This is crucial before frosting or filling. Once cool, carefully cut a small cone-shaped piece from the top of each cupcake and remove the middle section to create a cavity for the caramel filling.
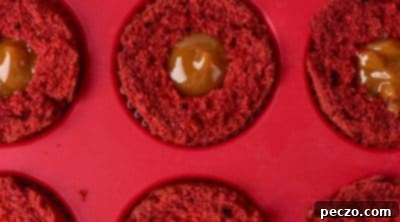
- **Fill with Caramel:** The easiest and neatest way to fill the cupcakes is by using a piping bag. Snip off the tip of the piping bag, fill it with the salted caramel, and gently squeeze the caramel into the prepared cavities of each cupcake.
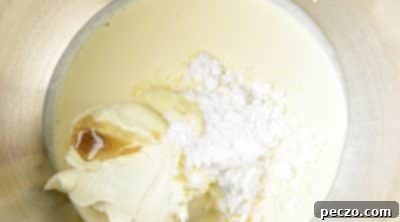
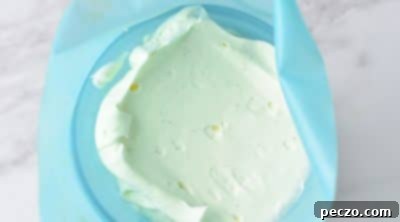
- **Prepare the Cream Cheese Frosting:** In a clean mixing bowl, pour in the whipping cream. Add the powdered sugar, softened cream cheese, and vanilla extract.
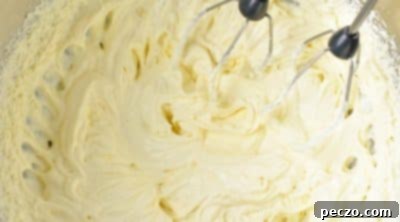
- **Whip the Frosting:** Using an electric mixer, beat the ingredients together on medium-high speed until a thick, fluffy, and homogeneous cream cheese frosting is obtained. Be careful not to overbeat, as this can make the frosting too thin.
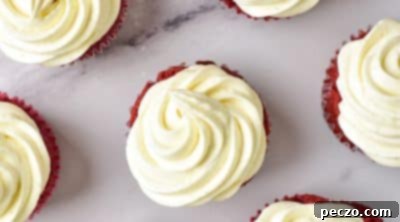
- **Frost and Decorate:** Transfer the prepared cream cheese frosting into a piping bag fitted with your preferred cream scoop or tip (a star tip works wonderfully for a classic look). Pipe generous swirls of the cream on top of each cupcake. For an extra festive touch, decorate additionally with candy sprinkles, edible glitter, or any other desired toppings.
These homemade red velvet valentine cupcakes are an easy-to-make, flavorful treat that everyone will truly adore. Whether you’re searching for something special to serve at your next Valentine’s Day celebration, or simply wish to show someone how much you care with a sweet, decadent dessert, these stunning cupcakes are sure to please and impress!
Pin to save for later
Print the recipe card
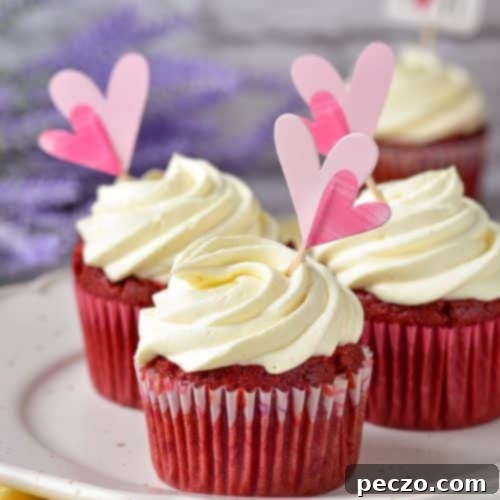
Red velvet valentine cupcakes
petro
Pin Recipe
Equipment
-
mixing bowl
-
whisk
-
electric mixer
-
cupcake liners
-
muffin pan
-
piping bag
Ingredients
For cupcakes
- 3/4 cup all-purpose flour
- 1 tbsp cocoa powder
- 1/2 cup sugar
- 1 tsp baking powder
- 1/3 cup vegetable oil
- 1 large beaten egg
- 1/2 cup buttermilk
- red food coloring
For filling
- 4 tbsp salted caramel
For frosting
- 1 cup cream cheese
- 2/3 cup whipping cream
- 3 tbsp powdered sugar
- 1 tsp vanilla
Instructions
-
Preheat the oven to 360F. Pour flour, cocoa powder, sugar, baking powder into a deep bowl.

-
Thoroughly mix everything with a whisk

-
In another bowl, mix buttermilk, vegetable oil, and egg.

-
Add coloring to the liquid ingredients and mix until there are no lumps left.

-
Add dry ingredients to the bowl of wet ingredients, stir until fully combined.

-
Place paper cups in a cupcake pan and fill each cup with batter to the top half an inch. Bake at 360F for 20 minutes.

-
To check the readiness of the cupcake, pierce it with a wooden skewer – it should remain dry.

-
Remove the finished cupcakes from the oven, let them cool, then cut off the tops and remove the middle to place the caramel inside.

-
It is most convenient to place the caramel inside the cupcake using a piping bag.

-
To make the cream, pour the whipping cream into a bowl, add the powdered sugar, cream cheese, and vanilla.

-
Beat with a mixer until a thick, fluffy, homogeneous cream is obtained.

-
Transfer the cream to a piping bag fitted with a cream scoop.

-
Spread the cream on top of the cupcakes. Decorate additionally with candy sprinkles.

Nutrition
