Irresistibly Easy No-Bake Chocolate Mousse Cake with Ladyfingers: A Decadent Dessert Masterpiece
Craving a dessert that’s both elegant and incredibly simple to make? Look no further! This delightful **No-Bake Chocolate Mousse Cake** with layers of delicate ladyfingers is your answer. It’s a show-stopping dessert that requires absolutely no oven time, making it perfect for any occasion, from casual gatherings to sophisticated dinner parties. Prepare to impress your family and friends with a dessert that tastes like it came from a high-end patisserie, yet is surprisingly effortless to create.
The Magic of a No-Bake Chocolate Mousse Cake
While a classic chocolate mousse cake might seem like a complex endeavor, often involving delicate baking and intricate techniques, this no-bake version streamlines the entire process without compromising on flavor or texture. We’re talking about a dessert that perfectly balances rich, airy chocolate mousse with the light crispness of ladyfingers, all coming together to create an unforgettable culinary experience. The beauty of this recipe lies in its simplicity; it looks incredibly intricate, but it’s genuinely approachable for home cooks of all skill levels. Forget the stress of ovens and precise baking times – this recipe is all about assembly, chilling, and pure enjoyment.
Unveiling the Simplicity: Why This Mousse Cake is a Game Changer
Despite its luxurious appearance, this chocolate mousse cake is ridiculously easy to make. The star of the show, the chocolate mousse itself, is surprisingly straightforward. If you’ve ever felt intimidated by making mousse, our detailed tutorial for crafting a rich dark chocolate mousse will guide you every step of the way. You’ll wonder why you didn’t attempt it sooner! You only need a few basic kitchen tools, such as a hand mixer and a trusty spatula, along with a handful of quality ingredients to bring this exquisite dessert to life. What’s more, this particular chocolate mousse recipe is made without raw eggs, ensuring it’s perfectly safe for everyone to enjoy, especially children and those with dietary concerns, adding an extra layer of peace of mind.
More Decadent Chocolate Desserts to Explore
- Wacky Cake Recipe
- Chocolate Fudge Cupcakes
- Homemade Chocolate Fudge with Milk Powder
- Chocolate Peanut Clusters
- Nutella Puff Pastry Flowers
- M&M Cupcakes with Chocolate Frosting
- Air Fryer Chocolate Zucchini Muffins
What Exactly is a Ladyfinger Chocolate Mousse Cake?
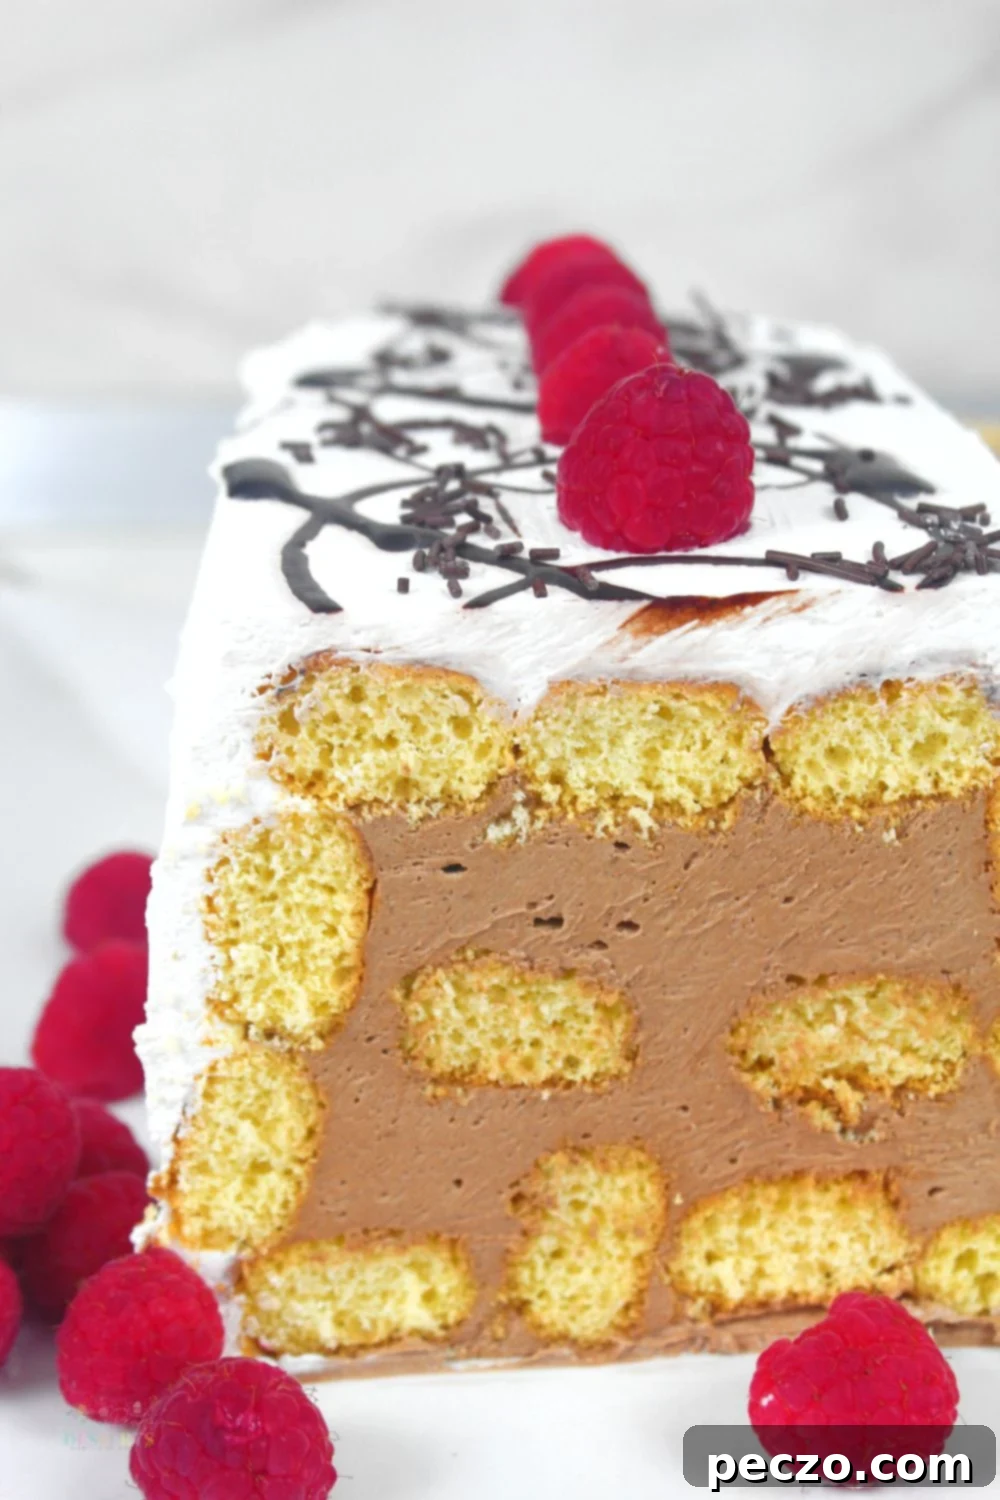
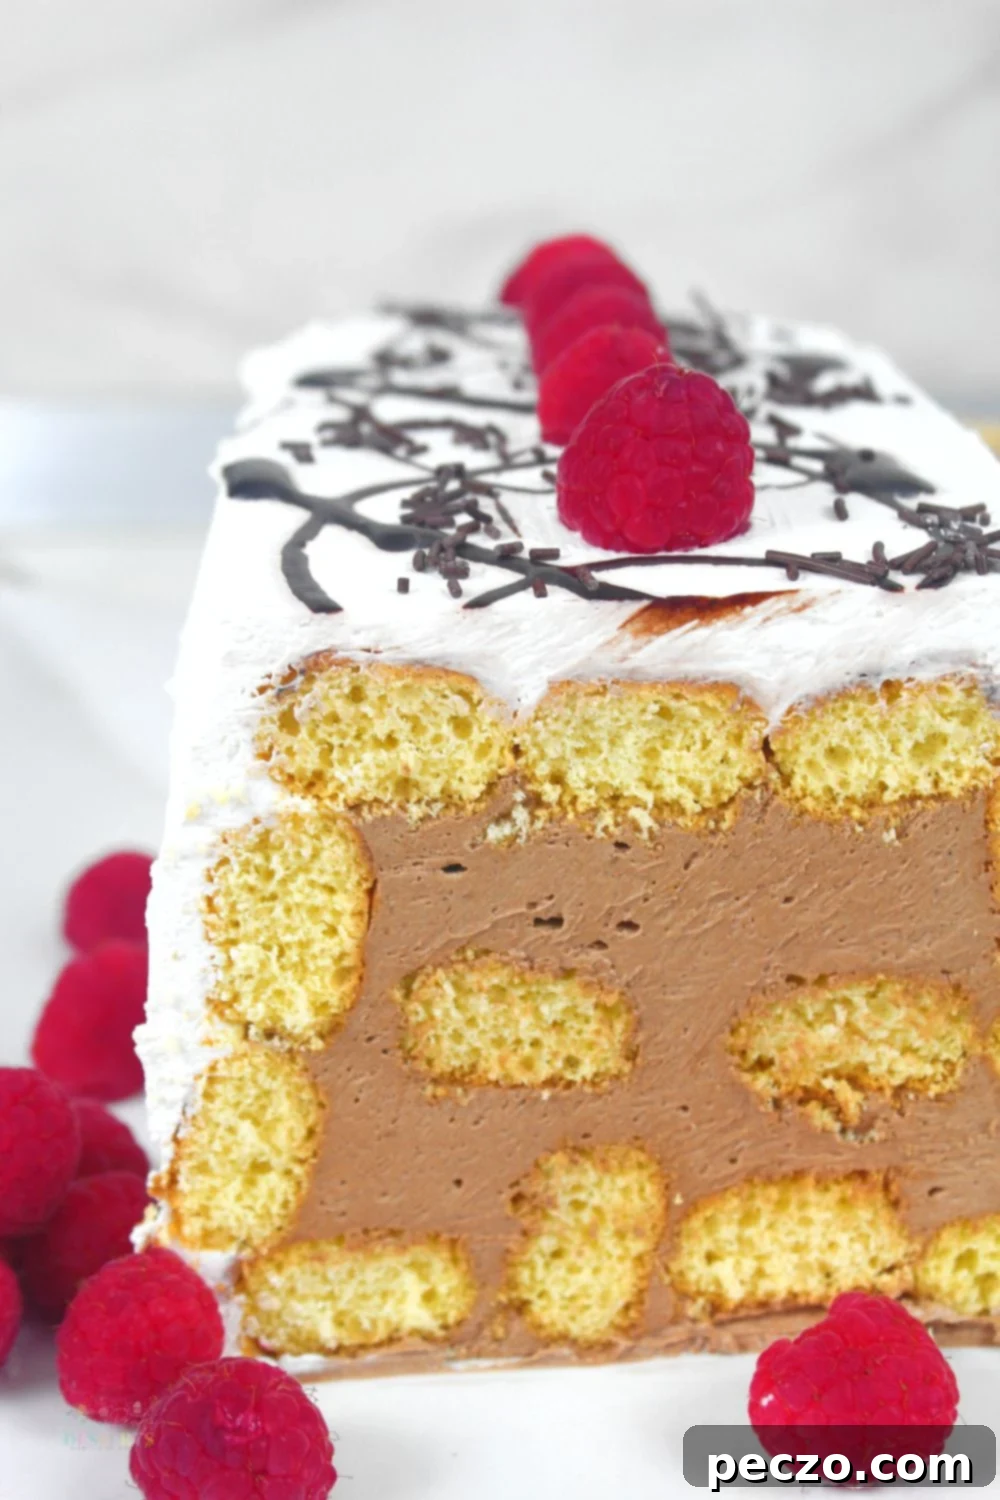
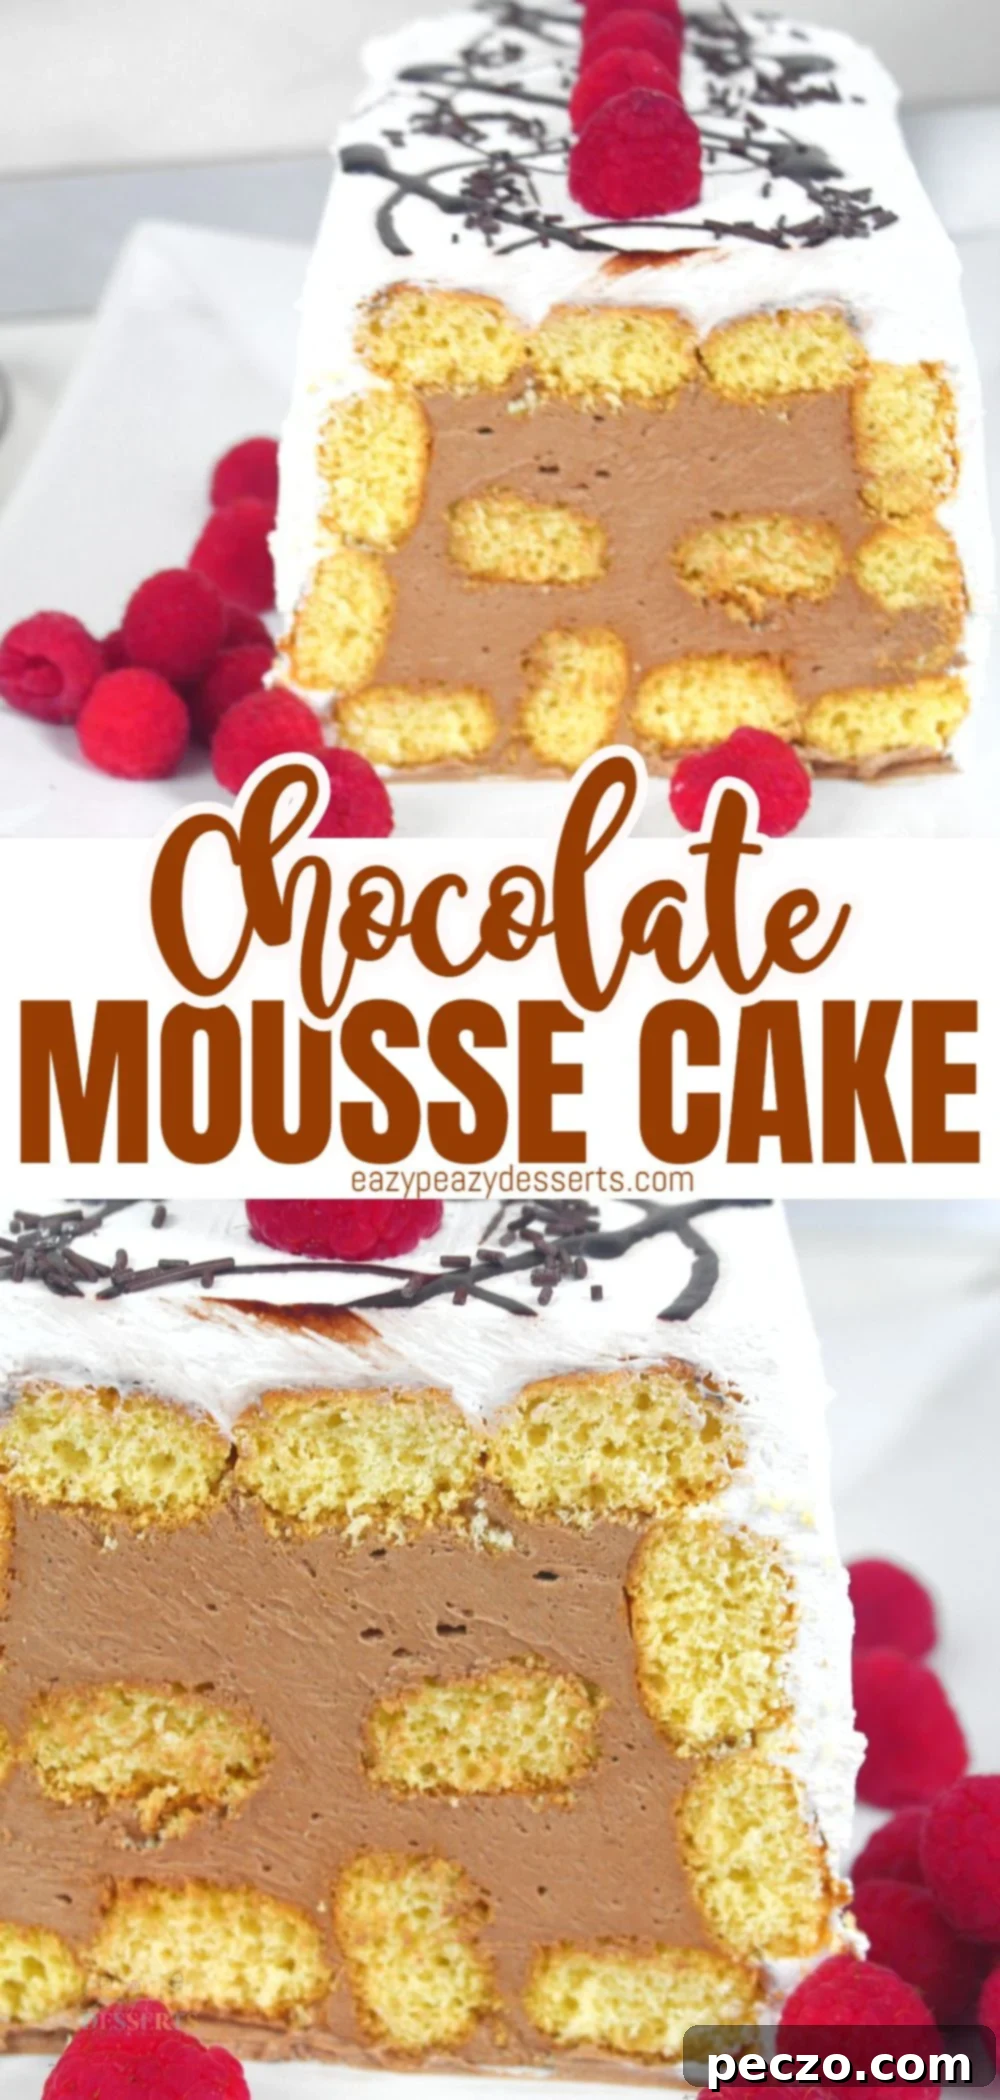
Our dark chocolate mousse cake is arguably one of the most straightforward and most gratifying versions of a mousse cake you’ll ever encounter. Once your luscious chocolate mousse is prepared and chilled, the assembly process becomes incredibly swift and enjoyable. This dessert is designed to minimize fuss and maximize deliciousness. At its heart, it’s a stunning no-bake creation built from elegant layers of crisp or tender ladyfingers, enveloped by our rich and velvety dark chocolate mousse. To introduce a delightful contrast and cut through the sweetness, we’ve thoughtfully placed fresh raspberries between the layers. These bright, tart berries are entirely optional, but they offer a wonderful pop of color and a balanced flavor profile that elevates the overall experience.
After the cake is meticulously assembled into its beautiful layered form, it embarks on a crucial journey to the refrigerator. Here, the magic truly happens: the chocolate mousse chills and sets, binding all the layers together into a cohesive, sliceable masterpiece. This vital chilling period ensures structural integrity and allows the flavors to meld harmoniously. The grand finale involves generously covering the chilled cake in fluffy, homemade whipped cream, then artfully decorating it with a drizzle of rich chocolate syrup and a scattering of vibrant fresh raspberries. The result is a dessert that not only tastes incredible but also looks absolutely stunning on any dessert table.
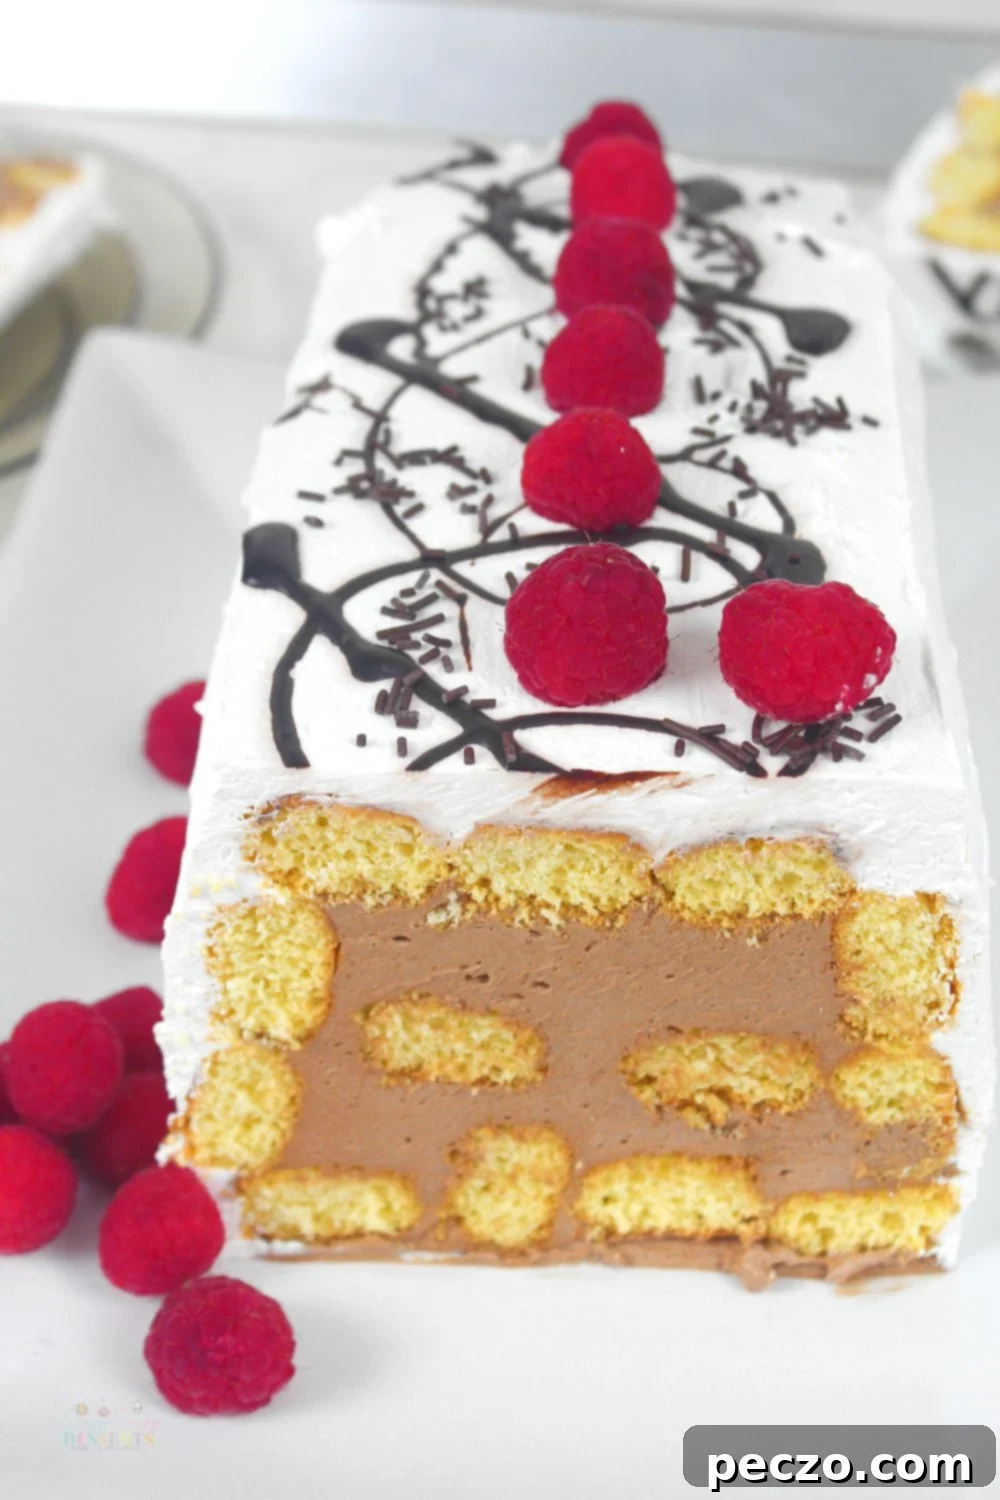
Expert Tips and Tricks for Your Best Chocolate Mousse Cake Ever
Achieving the perfect no-bake chocolate mousse cake is simple when you know a few key secrets. These tips will help you elevate your dessert from good to absolutely unforgettable:
- Choose the Right Ladyfingers: For the ideal texture, opt for soft, spongy ladyfingers. These readily absorb a little moisture from the mousse, contributing to a delightful, slightly yielding texture while still retaining a hint of their original crispness. Harder ladyfingers might remain too firm, impacting the overall delicate mouthfeel of the cake.
- Mastering Whipped Cream: The secret to perfectly stiff and stable whipped cream lies in temperature. Always chill your mixing bowl and whisk attachment in the freezer for about 10-15 minutes before whipping. This cold environment helps the fat in the cream emulsify more effectively, resulting in a much stiffer, more voluminous, and longer-lasting whipped cream.
- Sugar for Whipped Cream: While powdered sugar is often recommended for its quick dissolving properties and ability to prevent separation, I’ve personally found that using fine granulated sugar delivers superior results in both taste and texture for my whipped cream. It provides a subtle sweetness and a satisfying mouthfeel that powdered sugar sometimes lacks. Experiment to find your preference!
- Maintain Freshness: To ensure your cake tastes as fresh and vibrant as possible, prepare the whipped cream and decorate the cake just before serving. Whipped cream can lose its peak freshness and texture over time, so a last-minute application guarantees the best presentation and taste.
- Chocolate Selection is Key: The quality and type of chocolate you choose will significantly impact the flavor of your mousse. For a more intense and robust chocolate flavor, opt for high-quality dark chocolate or good-quality dark chocolate chips. If you prefer a slightly milder, richer, and sweeter profile, semi-sweet chocolate is an excellent choice. Always use chocolate you enjoy eating on its own!
- Patience is a Virtue (Especially for Chilling): This step cannot be rushed! Allow your assembled cake to chill in the refrigerator for at least 6 hours, or ideally overnight, before serving. This extended chilling period is crucial. It allows the mousse to fully set, the ladyfingers to soften slightly, and all the flavors to meld together beautifully. This not only ensures a firm, sliceable cake but also deepens the overall taste experience.
The Great Ladyfinger Debate: To Dip or Not To Dip?
In this particular no-bake chocolate mousse cake recipe, there’s actually no strict need to dip the ladyfingers before layering them. Our carefully crafted chocolate mousse provides just enough moisture for the ladyfingers to absorb a subtle amount, allowing them to retain their unique, slightly crunchy yet tender texture which adds a wonderful dimension to the cake.
However, if you have a preference for a decidedly softer ladyfinger layer, dipping is certainly an option! This opens up a world of flavor possibilities that can beautifully complement or contrast the rich chocolate mousse. The most common and readily available choice is usually strong, freshly brewed coffee, which adds a classic tiramisu-like essence. Many adults also enjoy a sophisticated touch by lightly dipping ladyfingers in rum, brandy, or various dessert liqueurs. These alcoholic options infuse the cake with a warm, aromatic depth that is truly exquisite. It’s important to remember, however, to omit both coffee and alcohol if you plan on serving this delectable chocolate mousse cake to children or to guests who avoid these ingredients.
For a universally safe and equally delicious alternative, consider preparing a simple syrup or a caramel milk sauce for dipping. A simple syrup (equal parts sugar and water, gently heated until sugar dissolves) can be infused with vanilla or other extracts. A caramel milk sauce would add an extra layer of sweet, buttery richness, transforming the cake into an even more indulgent treat for all ages.
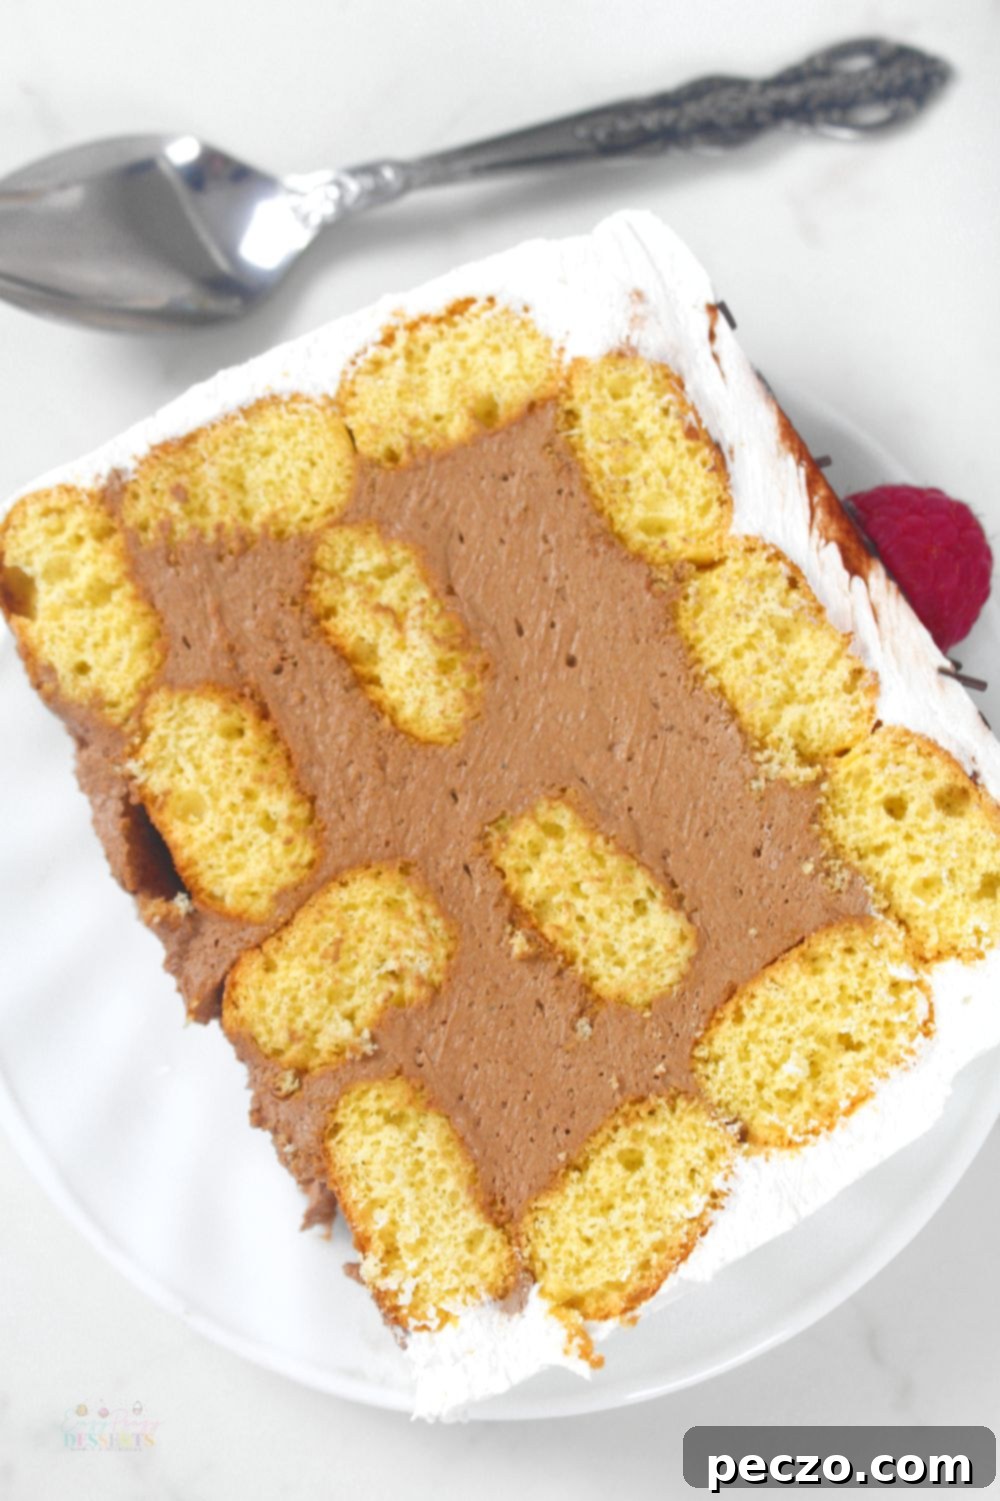
Crafting Your Cake: Assembly Techniques and Presentation Ideas
Assembling your no-bake chocolate mousse cake is a straightforward process that allows for some creative freedom in presentation. For my personal recipe, I found a standard loaf pan to be incredibly effective in helping me achieve those neat, rectangular slices. However, don’t feel limited! You can easily use any firm dish you have on hand, such as a traditional cake pan, a square baking dish, or even a deep pie dish. The key is to select a pan with rigid sides (avoid flexible silicone molds for this particular cake, as they might not hold the structure as well during chilling and flipping) to ensure your cake maintains its beautiful shape.
For an extra touch of elegance and individual serving perfection, consider assembling this dessert in small, clear cups or glass jars. Layering the ladyfingers, mousse, and raspberries in transparent containers creates a visually stunning presentation that highlights each delicious component. Alternatively, use solid-colored cups for a charming “surprise” effect, where the vibrant layers are revealed only upon the first spoonful. These individual portions are not only beautiful but also convenient for parties and easy to serve.
To make the removal from a loaf or cake pan even easier, consider lining your chosen pan with parchment paper or plastic wrap, leaving an overhang on the sides. This “sling” will allow you to gently lift the chilled cake out of the pan before inverting it onto your serving plate, ensuring a clean release and a perfectly shaped dessert.
Elevating Your Dessert: Creative Garnishing for Your Mousse Cake
The final touches truly bring your no-bake chocolate mousse cake to life! Here are some fantastic garnishing ideas to make your dessert not only taste incredible but look absolutely irresistible:
- Fresh Berries Galore: While raspberries are a classic choice, don’t stop there! A vibrant row of strawberry halves, plump blueberries, or a colorful medley of mixed berries scattered between layers and artfully arranged on top will add a beautiful pop of color against the pristine white whipped cream. The tartness of the berries also provides a lovely contrast to the richness of the chocolate.
- Elegant Chocolate Accents: For a sophisticated touch, adorn your cake with delicate chocolate shards or graceful chocolate curls. You can easily make these by gently scraping a bar of chocolate with a vegetable peeler or a sharp knife. A light dusting of high-quality cocoa powder over the whipped cream creates an elegant, velvety finish and enhances the chocolate flavor.
- Crunchy Nutty Goodness: Toasted almond slivers or shaves add a wonderful textural contrast and a subtle nutty flavor that pairs beautifully with chocolate. Other options include finely chopped pistachios for a hint of green color, or crushed hazelnuts for a rich, earthy note.
- Festive Sprinkles: If you’re aiming for a playful, cheerful cake, especially for birthdays or celebrations, a generous coating of colorful sprinkles is always a hit! They add a delightful crunch and an instant party vibe.
- Fresh Mint Leaves: A few sprigs of fresh mint, strategically placed, can add a refreshing aroma and a vibrant green accent, making your cake look even more professional and appealing.
- Edible Flowers: For a truly show-stopping and romantic presentation, delicate edible flowers can transform your chocolate mousse cake into a work of art.
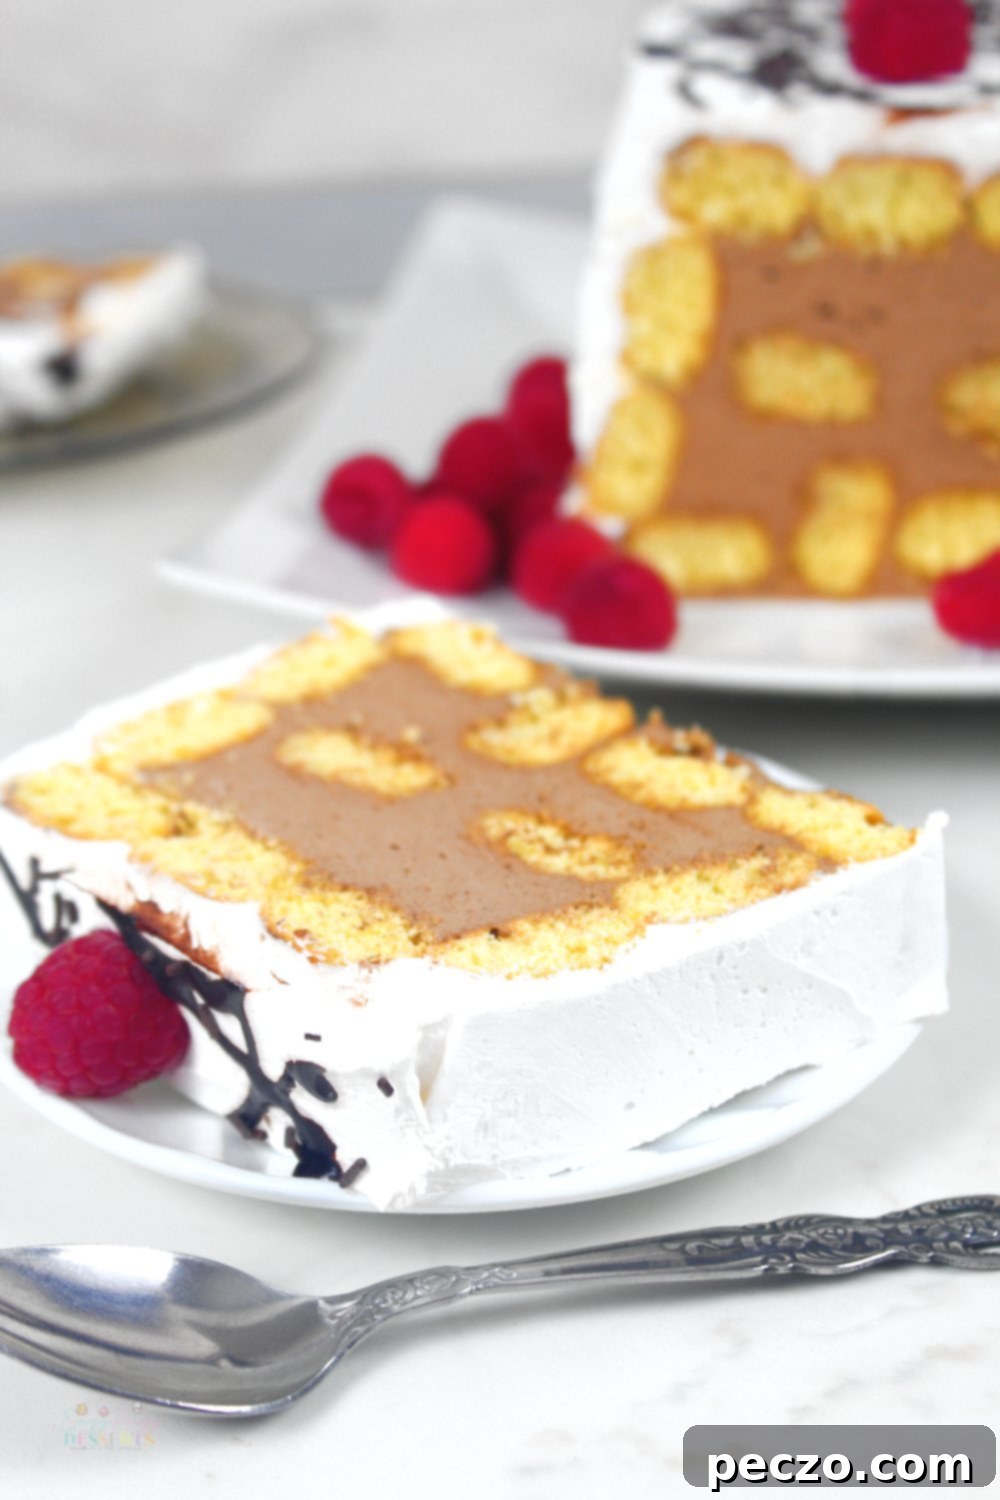
Storing Your Decadent Mousse Cake: Longevity and Best Practices
One of the many advantages of this no-bake chocolate mousse cake is its excellent keeping qualities. When stored properly in the refrigerator, covered loosely with plastic wrap or in an airtight container, it will maintain its deliciousness for up to 5 days. That’s assuming you can keep it away from eager family members for that long!
Looking to prepare ahead or save some for later? This cake also freezes beautifully! You can store the entire cake as a whole in a large, airtight freezer-safe container, or for convenience, cut it into individual slices and store them in smaller containers or wrapped tightly in plastic wrap and then foil. When you’re ready to enjoy a slice of frozen heaven, simply transfer it to the refrigerator overnight to thaw gently. This makes it an ideal make-ahead dessert for entertaining or for satisfying those unexpected chocolate cravings.
We absolutely love this recipe and are confident you will too! But we also know that every home baker has their own unique preferences and brilliant ideas. Please share your own tips, tricks, and favorite variations for making the greatest chocolate mousse cake from ladyfingers in the comments below. We can’t wait to hear from you!
The Full Chocolate Mousse Cake Recipe
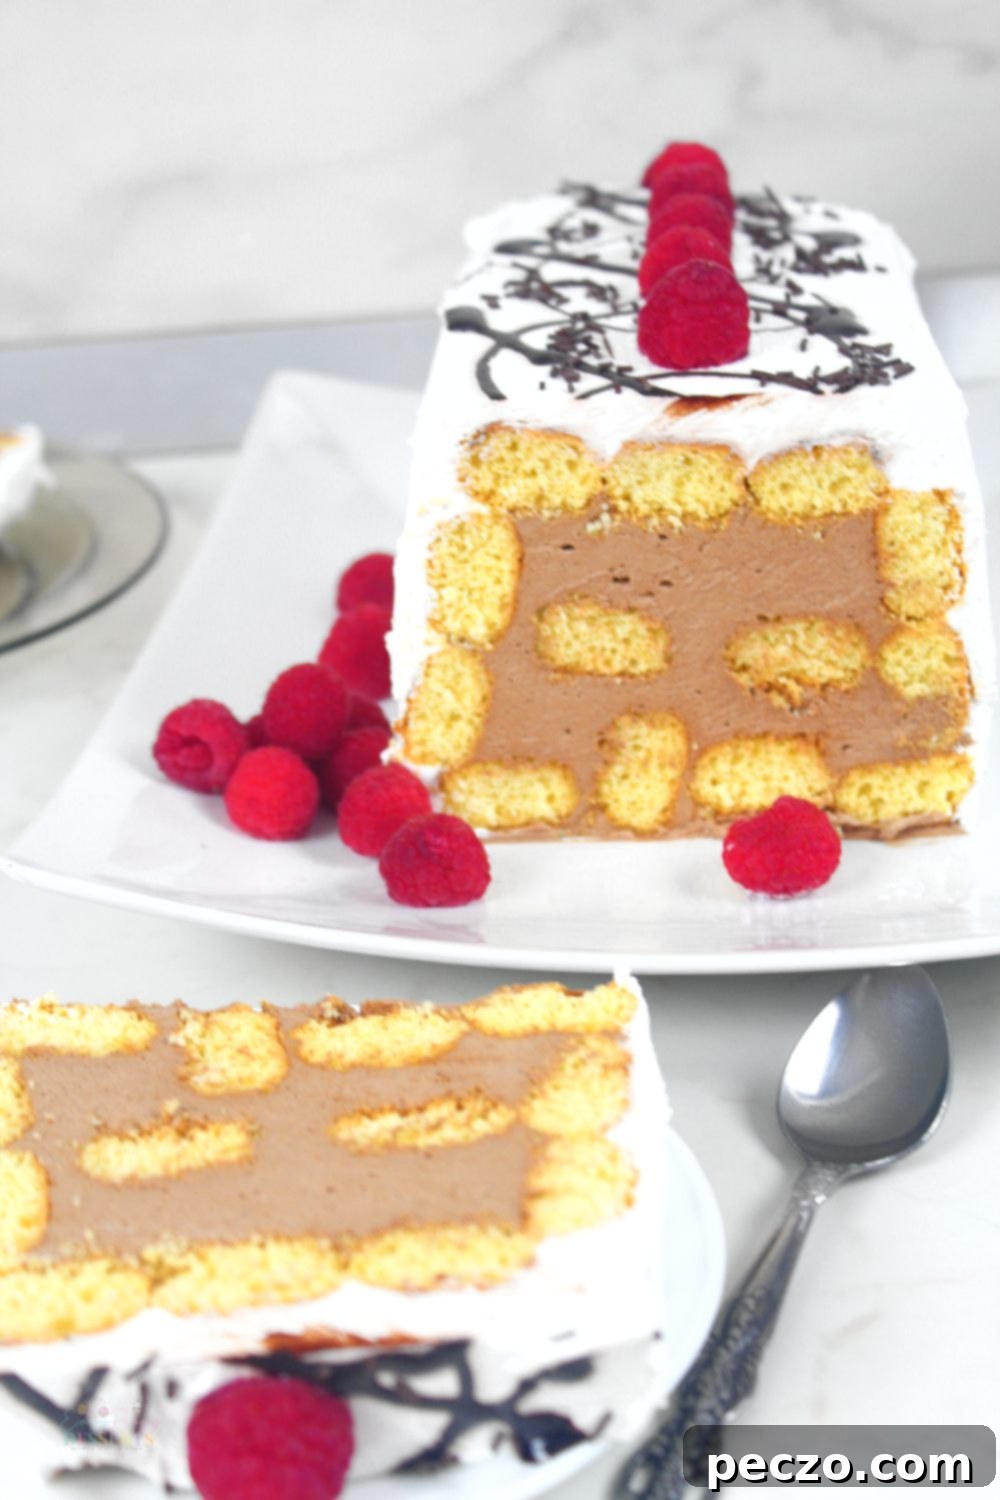
What You’ll Need: Essential Ingredients for this Mousse Cake
- Ladyfingers: Whether you prefer the convenience of store-bought or the personal touch of homemade, ensure they are fresh and relatively soft for best results in this no-bake cake.
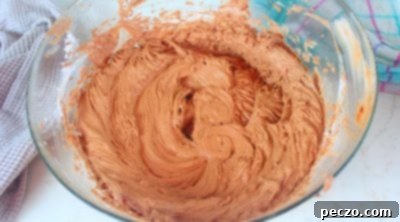
- Chocolate Mousse: Our rich dark chocolate mousse recipe is highly recommended, providing a deep, intense flavor. However, feel free to use your favorite chocolate mousse recipe.
- Raspberries: Optional, but highly recommended! Fresh raspberries add a bright, tart counterpoint to the rich chocolate, enhancing the overall flavor profile and visual appeal.
- Heavy Cream: Essential for making the luscious whipped cream topping that crowns this dessert. Ensure it’s very cold for optimal whipping.
- Sugar: Granulated sugar typically yields the best texture and flavor for whipped cream in my experience, though icing sugar (powdered sugar) can also be used if preferred for quicker dissolving.
- Chocolate Syrup: An optional but lovely addition for decorating the finished cake, adding a final touch of chocolatey indulgence and visual flair.
Step-by-Step Guide: How to Make Chocolate Mousse Cake at Home
Follow these simple steps to create your magnificent no-bake chocolate mousse cake:
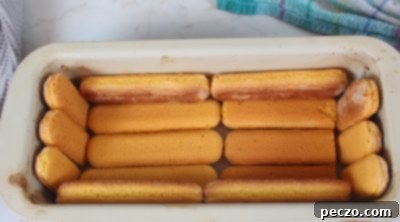
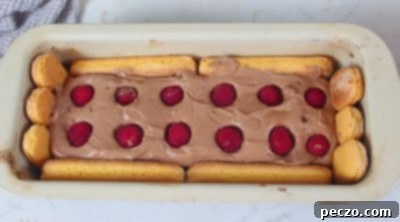
- Prepare Your Pan: Gently grab a loaf pan (or your chosen rigid dish) and line the bottom and sides with a single, snug layer of ladyfingers. You might need to trim some to fit perfectly.
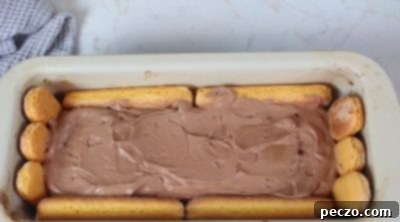
- First Mousse Layer: Carefully spread a generous, even layer of your prepared and chilled chocolate mousse over the ladyfingers.
- Add Raspberries: Artfully arrange a scattering of fresh raspberries over the mousse layer. Remember, even a few go a long way in balancing the sweetness.
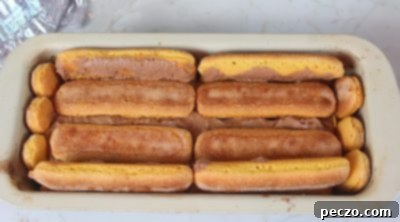
- Second Ladyfinger Layer: Place another layer of ladyfingers on top of the mousse and raspberries, creating the next tier of your cake.
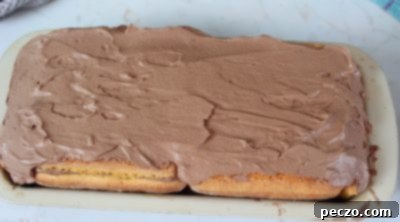
- Continue Layering: Repeat the process, alternating layers of chocolate mousse and raspberries, followed by ladyfingers, until your pan is completely filled. Ensure the top layer is mousse.
- Chill Thoroughly: Once all layers are assembled, gently press down on the top layer to settle. Cover the pan loosely with plastic wrap and transfer it to the refrigerator. Allow it to chill and set for at least 6 hours, or ideally overnight, for best results.
- Prepare Whipped Cream: When the cake is almost ready to serve, make the whipped cream. In a pre-chilled mixing bowl, combine very cold heavy cream and sugar. Using a hand mixer on high speed, beat until stiff peaks form. Avoid over-whipping.
- Unmold and Decorate: Carefully remove the chilled cake from the loaf pan. If you lined the pan, gently lift the cake out. Place it onto your serving plate and generously cover the entire cake in the freshly whipped cream.
- Final Touches: Decorate your stunning no-bake chocolate mousse cake with additional fresh raspberries and an elegant drizzle of chocolate syrup. Serve immediately and enjoy!
Pin to save for later
Print the recipe card
Chocolate mousse cake
petro
Pin Recipe
Equipment
-
12 x 5 loaf pan
-
spatula
-
mixing bowl
-
hand mixer
Ingredients
For the cake
- 30 ladyfingers
- chocolate mousse
- raspberries
- chocolate syrup to decorate
For the whipped cream
- 1 cup heavy cream
- 1/2 cup granulated sugar
Instructions
-
Make the chocolate mousse and chill before using to make the cake.

-
Cover the bottom and the sides of the pan in ladyfingers.

-
Add a layer of mousse.

-
Add as many raspberries as you like. I found that just a few go a long way.

-
Continue with a layer of ladyfinger and mousse until the pan is completely filled.

-
Finish with layer of mousse.

-
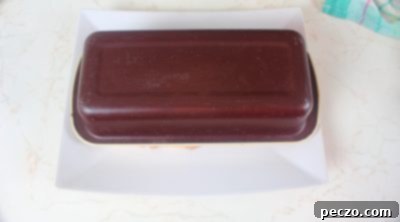
Flip the pan onto a plate and transfer to the fridge for 6 hours.

-
To make the whipped cream, mix heavy cream and sugar in a mixing bowl, using a hand mixer on high, and beat until you get stiff peaks. Keep in the fridge until the cake is ready.

-
Remove the pan from the cake.

-
Cover it in whipped cream. Decorate with raspberries and chocolate syrup.

