Easy & Vibrant Mini Meringue Cookies: Your Guide to Perfect, Colorful Treats
Embark on a delightful baking journey and discover how to create stunning mini meringue cookies that are far from ordinary. This vibrant and cheerful recipe is perfect for home bakers of all skill levels, allowing even beginners to whip up a batch of these impressive sweet treats with ease. Imagine adding a dash of brilliant color and delicate texture to your dessert table, captivating guests with every bite of these airy, crisp delights. Forget standard meringues; it’s time to elevate your baking with these eye-catching, melt-in-your-mouth confections!
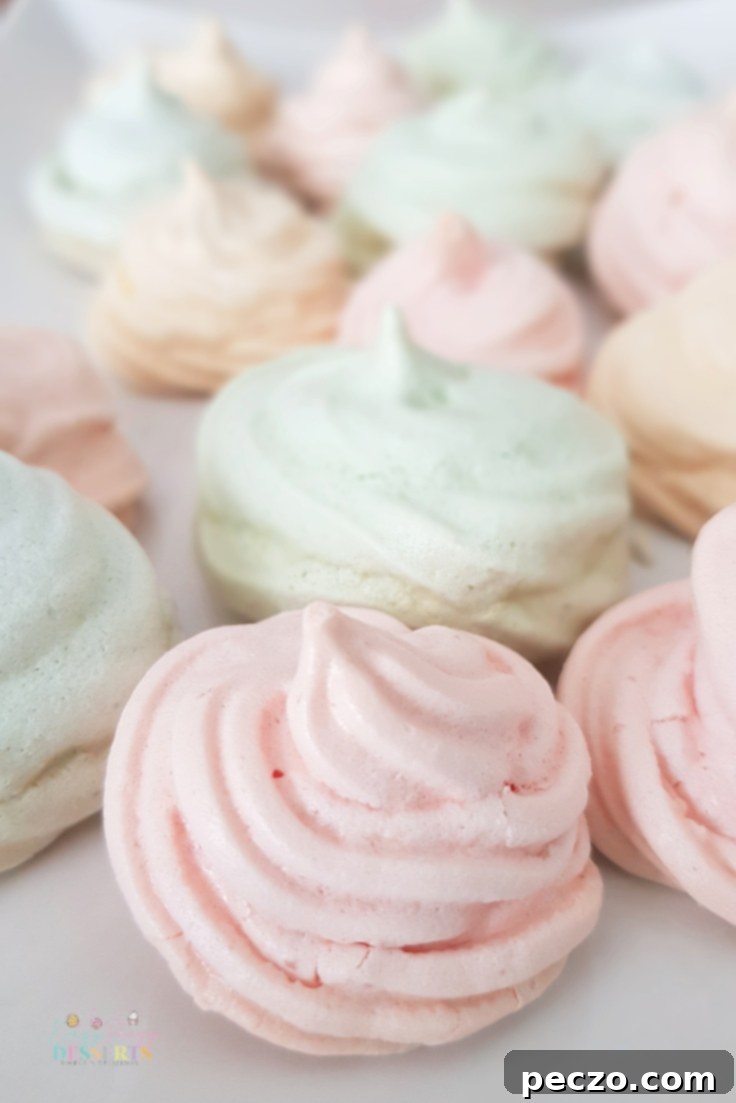
The beauty of this simple meringue cookie recipe lies in its minimalist approach: you only need a handful of ingredients – just six, to be precise – to produce a substantial quantity of these exquisite desserts. Not only are they incredibly easy to make, but they are also remarkably light, typically containing no more than 15 calories per cookie. Meringues are celebrated for their ethereal lightness, fluffy consistency, and wonderfully dry, crisp centers. You might wonder how such a small number of ingredients can yield so many cookies. The secret lies in the egg whites’ incredible ability to increase significantly in volume when properly beaten, transforming into a voluminous, stable batter. So, rest assured, you’ll have plenty of these delightful treats to share!
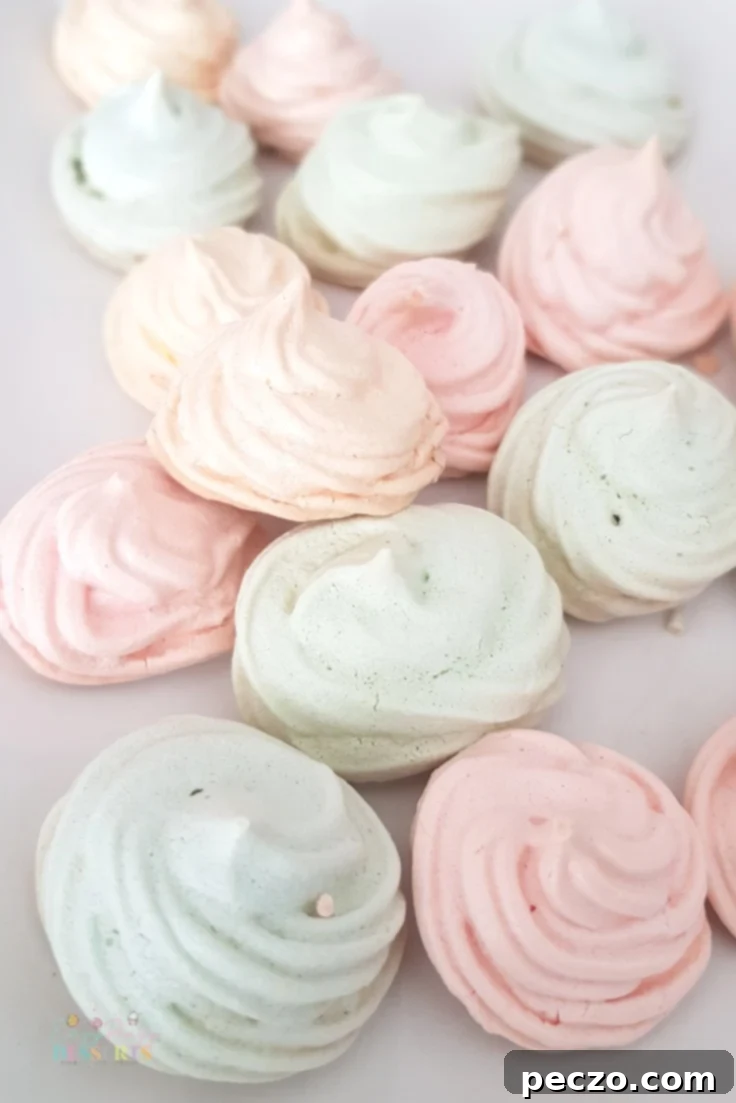
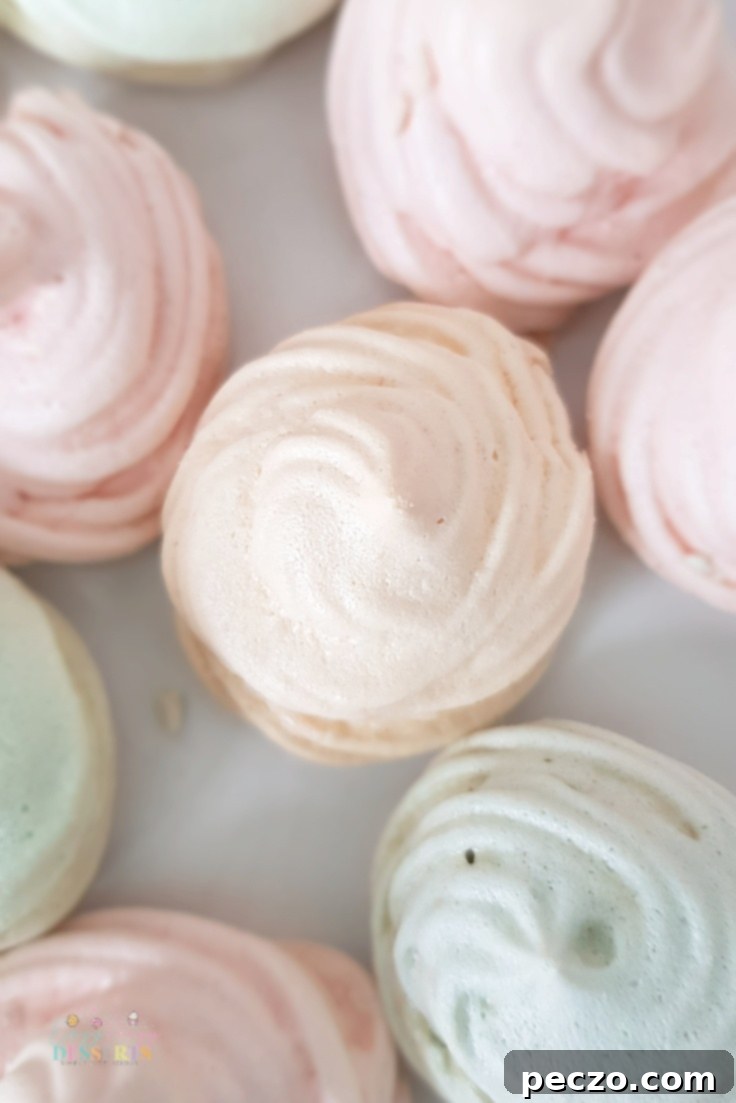
What truly sets this mini meringue recipe apart is the inclusion of food coloring, which transforms the simple batter into a canvas of beautiful shades, adding an artistic flair and undeniable style. Paired with a large 1M decorating tip, these treats achieve their signature swirled shape, making them as visually appealing as they are delicious. A single batch of this straightforward meringue formula yields a generous amount, making it an ideal sweet reward for grand gatherings, elegant wedding parties, festive birthdays, holiday celebrations, and adorable baby showers. The versatility of meringue cookies is boundless; you can customize the color combinations to perfectly match any event’s theme or your personal preference, ensuring your dessert spread is always uniquely yours.
Mastering the Colorful Meringue Cookies Recipe
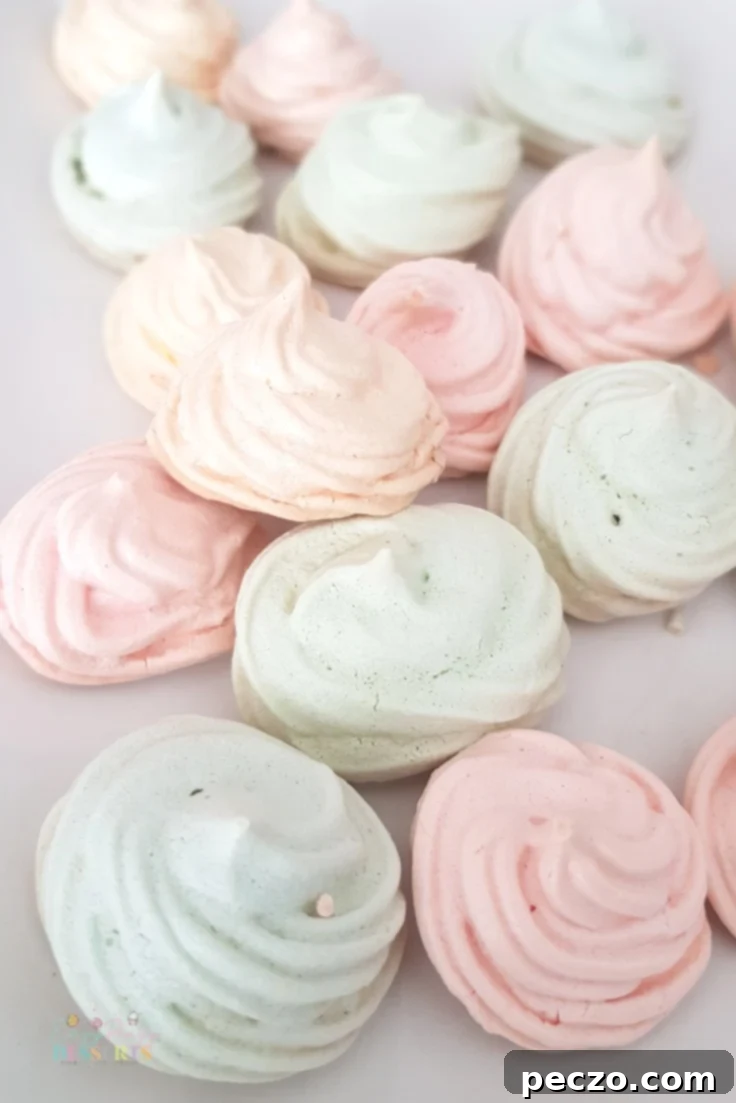
Essential Ingredients and Equipment for Perfect Mini Meringues:
Crafting these perfect colorful meringue cookies requires a concise list of just six fundamental ingredients, each playing a vital role in achieving that signature crisp and airy texture: fresh egg whites, granulated sugar, a touch of lemon juice, a pinch of salt, vanilla extract for flavor, and, of course, food coloring if you desire those adorable vibrant hues. And why wouldn’t you? The splash of color makes them irresistibly charming!
Beyond the ingredients, having the right tools can make all the difference. While it’s possible to beat egg whites by hand, a stand mixer is highly recommended to achieve the necessary stiff peaks, as this process can take some time and consistent effort. For shaping your meringues, a 1M decorating tip is commonly used to create beautiful swirls, but feel free to experiment with other tip sizes to achieve different designs. You’ll also need a piping bag to efficiently dispense the meringue batter, parchment paper to prevent sticking and ensure easy removal, and a sturdy cookie sheet to bake your delicate creations evenly.
Step-by-Step Guide to Making Flawless Mini Meringues:
Creating perfect colorful meringue cookies might seem a bit daunting at first, requiring a touch of practice and patience, particularly with the extended baking and cooling time in the oven. However, with this detailed guide, you’ll be well on your way to success! If you’ve previously tackled recipes like angel food cake, Swiss meringue buttercream, or even homemade whipped cream, you’ll find the process of beating meringue batter somewhat familiar. But even if you haven’t, there’s no need to panic – it’s often easier than it appears. Let’s dive into the steps to create your own batch of irresistible mini meringues!
- **Prepare the Egg Whites:** Begin by beating the egg whites in a very clean, dry, and grease-free bowl using your stand mixer on medium-high speed. Continue until they become foamy and light, resembling a cloud of bubbles. This initial aeration is crucial for building volume.
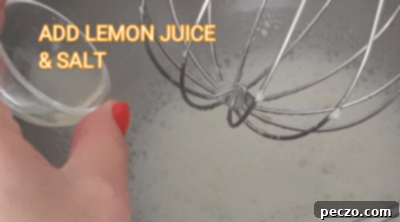
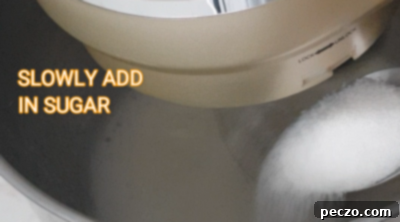
- **Introduce Lemon Juice and Sugar:** Once the egg whites are foamy, add the lemon juice and a pinch of salt. The lemon juice helps stabilize the egg whites, contributing to a stronger, more stable meringue structure. Gradually, spoon by spoon, add the granulated sugar while continuing to beat the mixture on high speed. It’s essential to add the sugar slowly to allow it to dissolve properly into the egg whites. Continue beating until the mixture is glossy, thick, and forms stiff, firm peaks that hold their shape when the beater is lifted. You can test for dissolved sugar by rubbing a small amount of meringue between your fingers; it should feel completely smooth, without any gritty sugar crystals.
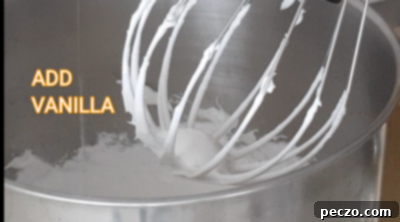
- **Infuse with Vanilla Extract:** Once stiff peaks are achieved and the sugar is fully dissolved, gently fold in the vanilla extract. This adds a wonderful aromatic depth to your meringue cookies. Be careful not to overmix at this stage; just ensure the extract is evenly incorporated.
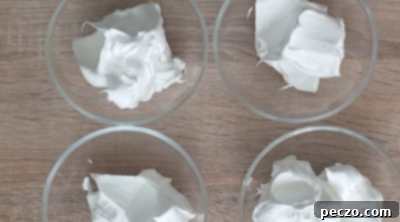
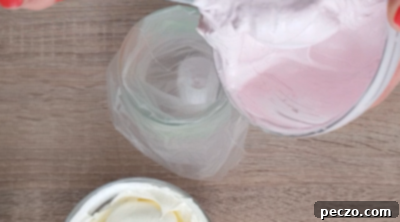
- **Color Your Batter:** For a truly vibrant presentation, divide your meringue batter into separate bowls, one for each color you wish to use. Add a few drops of gel food coloring to each batch, mixing gently until the desired hue is achieved. Gel food coloring is recommended as it’s less likely to thin out the meringue batter compared to liquid food coloring.
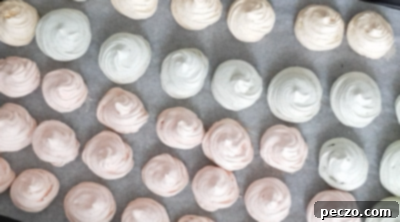
- **Pipe and Bake:** Prepare your baking sheets by lining them with parchment paper. Fit your piping bag with a 1M decorating tip (or your chosen tip) and fill it with your colored meringue batter. Pipe small, consistent dollops onto the prepared baking sheets, leaving about an inch of space between each meringue. Preheat your oven to 300°F (150°C). Bake the meringues for 10 minutes at this temperature, then reduce the oven temperature to 275°F (135°C) and continue baking for another 20 minutes.
- **Cool and Store:** After the baking time, turn off the oven but leave the meringues inside. Allow them to cool completely within the oven for at least an hour, or preferably until the oven is at room temperature. This slow cooling process is vital for ensuring the meringues dry out properly and become perfectly crisp. Once cooled and hardened, remove them from the oven and store them immediately in an airtight container at room temperature to maintain their crispness and freshness.
Expert Tips and Tricks for Achieving Perfect Meringue Cookies:
- **Egg White Purity is Key:** The success of your meringues heavily relies on the purity of your egg whites. Even a tiny speck of egg yolk or any fat can prevent the egg whites from whipping up properly, ruining the entire batch. To avoid this, crack each egg into a separate small bowl first, then carefully transfer only the pure egg white to your main mixing bowl. This way, if a yolk breaks, it won’t contaminate all your egg whites.
- **Immaculate Equipment:** Ensure your mixing bowl and beater attachments are meticulously clean, completely dry, and absolutely grease-free. Any residual grease or moisture can be detrimental to meringue formation, causing the egg whites to fail to whip into stiff, stable peaks. Consider wiping your bowl and whisk with a small amount of lemon juice or vinegar to ensure they are spotless before starting.
- **Gradual Sugar Integration:** When adding sugar, do so one tablespoon at a time, allowing each addition to fully dissolve before adding the next. This gradual process is critical for a smooth, stable meringue. To check for dissolved sugar, take a small amount of the meringue batter between your thumb and forefinger and rub them together. If it feels perfectly smooth without any grittiness, the sugar has fully dissolved.
- **Beat to Stiff Peaks, But Don’t Overdo It:** Beat the meringue mixture continuously until it forms firm, glossy stiff peaks that stand upright when the beater is lifted. The meringue should look smooth and shiny. The moment you achieve these stiff peaks, stop beating immediately. Over-beating can cause the meringue to become brittle and grainy, leading to a less desirable texture.
- **Reviving Soft Meringues:** If your meringues come out of the oven softer than desired, don’t despair! You can often salvage them. Place them back in a preheated oven at a very low temperature, around 225°F (105°C), for an additional 10-20 minutes. Then, turn off the oven and let them cool completely inside for another hour. Keep a close eye on them; if you notice the edges starting to turn golden brown, turn off the heat immediately to prevent burning.
Frequently Asked Questions About Meringue Cookies:
Should Meringue Cookies be chewy?
Ideally, no! When baked correctly and stored under optimal conditions, meringue cookies should be delightfully crisp and airy, melting in your mouth rather than offering a chewy texture. Achieving this delicate crispness can be a little finicky, as several factors play a role. Humidity, for instance, is a meringue’s greatest adversary. The drier the air, the better your chances of producing perfectly crisp meringues, which is why winter is often considered the best season for making these treats. High humidity can cause meringues to absorb moisture from the air, making them soft and chewy.
Furthermore, the balance of wet ingredients is crucial. Adding an excessive amount of liquid flavorings, such as extra lemon juice for lemon meringues or too much vanilla extract, can contribute to a chewier instead of crisp texture. The beating process also plays a significant part: both under-beating and over-beating the egg whites with sugar can result in meringues that are too soft or chewy. The raw meringue batter, once properly beaten, should appear remarkably glassy and dense, not airy or soft, indicating it has reached the correct consistency for crisp results.
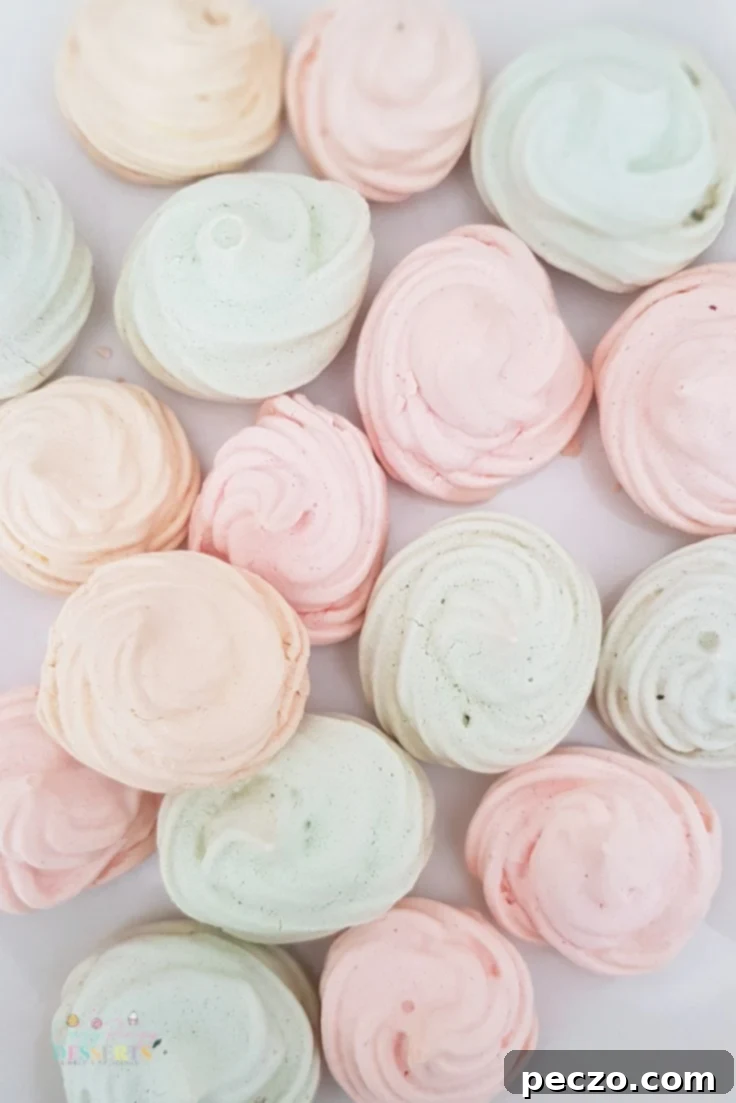
How can you tell when meringue cookies are done?
Determining when meringue cookies are perfectly baked involves a couple of simple but effective methods:
- **The Lift Test:** Gently try to lift one of the meringue cookies off the parchment paper. If it detaches easily and cleanly without sticking, it’s a good indication that the meringue is done and sufficiently dried out.
- **The Tap Test:** Lightly tap the top of a meringue cookie. A well-baked meringue will have a crusty, firm shell and will not deflate or feel soft when tapped. Visually, the tops should also exhibit a very light, delicate golden color, not deeply browned, which signals that they’re ready.
Can I open the oven when cooking meringue?
It is generally advised to avoid opening the oven door while meringues are baking. Opening the door causes a rapid drop in oven temperature and allows humidity to enter, both of which can negatively impact the delicate structure of the meringues. This can lead to them cracking, collapsing, or becoming soft and chewy instead of crisp. Patience is key; resist the temptation to peek until the specified baking time is complete. Once the baking cycle is finished and the oven is turned off, you can open the door slightly to allow them to cool down more gradually, ensuring they harden beautifully.
Does granulated sugar work in meringues?
Yes, granulated sugar works very well in meringues! While different types of sugar can be used, white granulated sugar is a common and highly effective choice. Its fine crystals dissolve readily into the egg whites, creating a smooth, stable, and glossy meringue batter that bakes beautifully. Some bakers prefer superfine (caster) sugar for an even quicker dissolve, but standard granulated sugar, when added slowly and beaten adequately, yields excellent results. My best successes have consistently been with white granulated sugar, producing perfectly crisp and sweet meringue cookies.
Do meringues harden as they cool?
Absolutely, meringues are designed to harden as they cool! It’s a critical part of their development. Meringues should not be completely rock-hard when they initially come out of the hot oven, as this often indicates they might be over-baked, potentially leading to burned edges or an overly dry texture. The hardening process primarily occurs during the cooling phase, both within the turned-off oven and then at room temperature once removed. They continue to dry out and crisp up significantly as they cool. However, leaving them exposed to ambient air for too long at room temperature, especially in humid conditions, will eventually cause them to soften. Therefore, as soon as your meringues reach your desired level of crispness, it is crucial to transfer them into an airtight container to protect them from moisture and preserve their delicate texture for up to one to two weeks.
How to Store Meringue Cookies for Lasting Crispness:
Proper storage is paramount for maintaining the crisp, delightful texture of your homemade meringue cookies. These delicate treats are highly susceptible to moisture, so they should always be stored in an airtight container at room temperature. A well-sealed container protects them from humidity in the air, which is their biggest enemy. When stored correctly, meringue cookies can remain fresh and crisp for 1 to 2 weeks, though their exact shelf life can vary depending on the ambient room temperature and humidity levels. Crucially, meringues should never be refrigerated. The high moisture content and fluctuating temperatures within a refrigerator will cause them to quickly absorb moisture, resulting in a soft, chewy, and undesirable texture.
More Delicious Desserts You Will Love:
- Cranberry White Chocolate Cookies
- Chocolate Caramel Cookies
- Lemon Almond Cookies
- Blueberry Streusel Muffins
- Cookies & Cream Oreo Macarons
- Quick and Easy S’mores Bars
- Vegan Meringue Cookies
- Almond Macaroons
Once you’ve mastered the basic technique of this meringue cookies recipe, the possibilities for customization are endless! Don’t hesitate to experiment with a variety of colors and flavors to truly spice them up. For an extra touch of elegance and festive cheer, you can dip the cooled meringues in melted chocolate and adorn them with colorful sprinkles, transforming them into even more captivating delights. Whether for a special occasion or simply a sweet everyday treat, these meringues offer a canvas for your culinary creativity.
I am genuinely eager to hear about your personal twists and how you’ve managed to personalize your meringue cookies. What unique flavor combinations have you tried, or what other delicious meringue-based desserts have graced your kitchen? Please feel free to share your experiences and insights by dropping a comment below! And if you enjoyed this recipe and found it helpful, don’t forget to give it a star rating on the recipe card. Happy baking, and enjoy creating these beautiful, airy confections!
The Mini Colorful Meringue Cookies You’ve Been Waiting For
petro
Pin Recipe
Equipment
-
standing mixer
-
spatula
-
baking sheet
Ingredients
- 2/3 cup sugar granulated
- 3 egg whites
- 1 tsp lemon juice strained
- pinch of salt
- 1 tsp vanilla extract
- 3-4 drops food coloring gel
Instructions
-
Beat egg whites on high until foamy

-
Add lemon juice and a pinch of salt and continue beating

-
Slowly add in sugar and beat for 10 minutes or until the batter is glassy and thick and the sugar granules are completely melted. You may need to add a bit more sugar so keep some handy

-
Add vanilla extract and beat to incorporate completely

-
Separate the batter for colors and add 3-4 drops of food coloring per batch

-
Pre heat the oven at 300 F. Pipe the batter onto a baking sheet, in small dollops, leaving about 1″ between them.

-
Bake at 300 F for about 10 minutes then turn the oven to 275 F and continue baking for 20 minutes.

-
Turn the oven off and keep the cookies in the oven until cool then transfer to an airtight container, stored at room temperature.

Video
Nutrition
